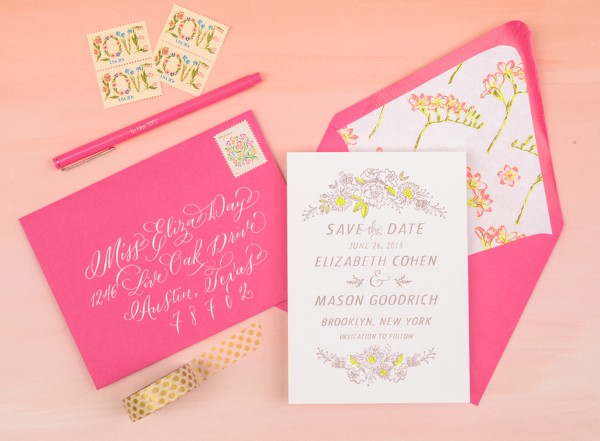
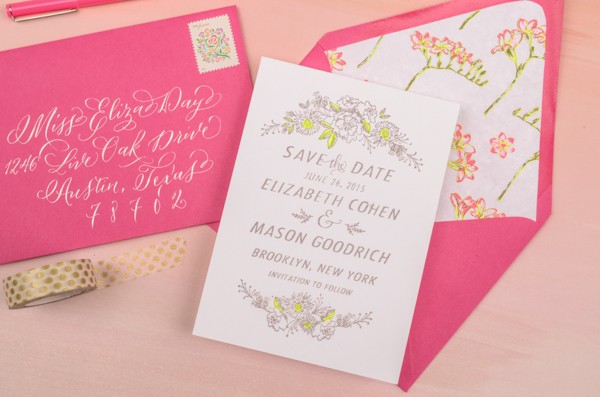
After the dreary days of winter, we are in serious need of bright colors and cheerful designs. This save the date was inspired by an eye grabbing neon floral paper that we recently found. We used a standard highlighter to create the awesome pop of color on the save the date card. Who knew that it would make such a fun addition to the design? –Bailey and Emma of Antiquaria
Materials
Camellia Floral Save the Date Stamp
Laurel Wreath Return Address Stamp
A6 Notecard (we used Pure White)
Highlighters
Double Sided Tape
Calligraphy Pen
Finetec metallic watercolor set
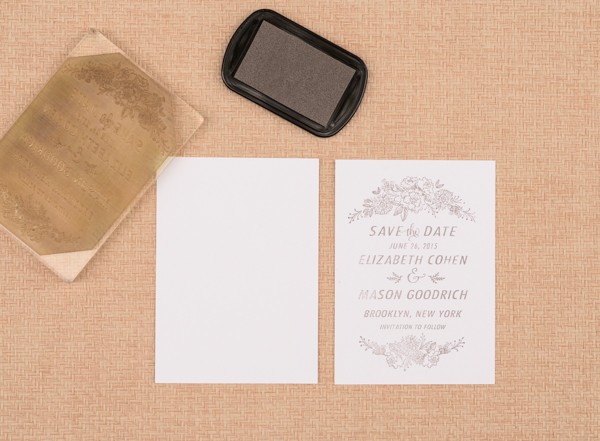
Step One: First, you will want to stamp your save the date (we used our Camellia Save the Date design) on an A6 card. When stamping your card, ink the stamp with the stamp facing you. Center the stamp over your card and press firmly and moderately (not too hard or the image will smudge) and gently lift the stamp off of the paper. Set aside to dry. Please watch this video for more information on inking and stamping an oversized stamp.
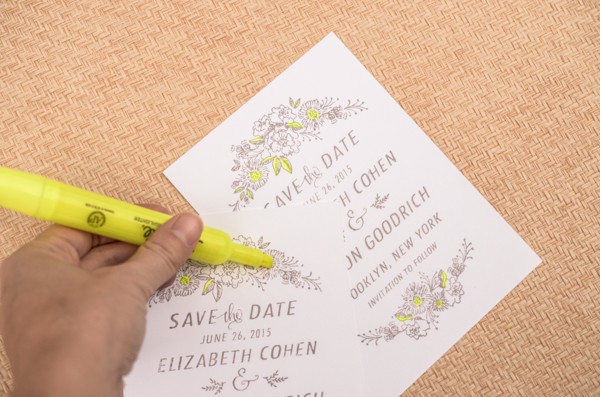
Step Two: To add a fun pop of color, we used a highlighter to color in the leaves and the center of the stamped flowers. This simple touch really makes the design come alive!
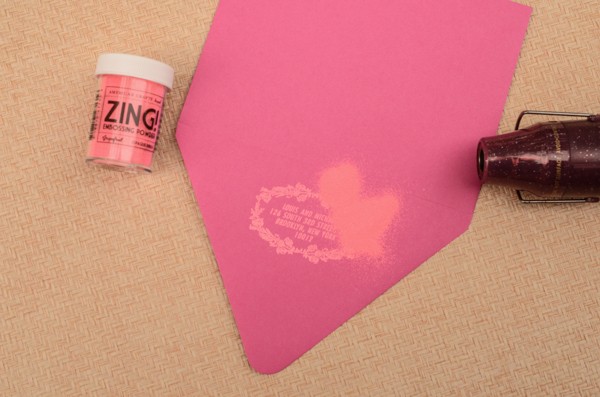
Step Three: Wanting to bring in some of the awesome neon pink from the patterned paper, we decided to use fuchsia envelopes and a tonal, neon grapefruit embossing powder to pull everything together. To emboss, simply stamp your desired return address stamp on the back flap (either in matching ink or with Versamark glue ink, as pictured) dust the powder over it, tap off the excess and heat set the print. For more information about how to emboss using stamps, please watch this instructional video.
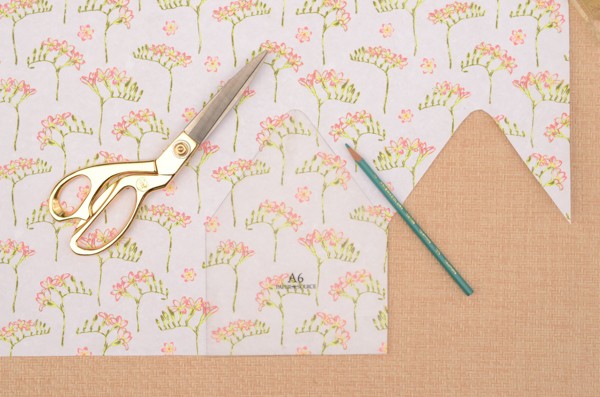
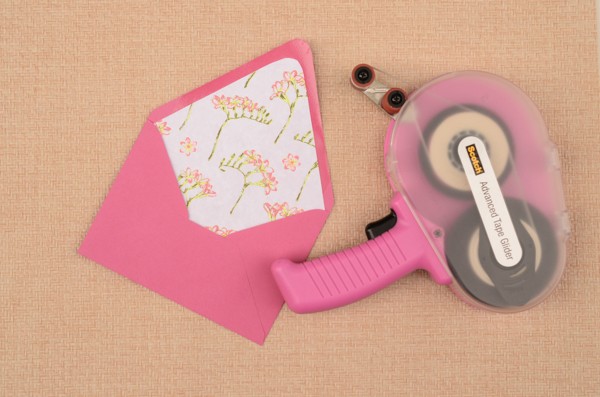
Step Four: Since this suite was directly based off of this amazing paper, it was an easy decision to incorporate it into the design as an envelope liner. We traced the liner template and cut out each liner by hand. Then, we used double sided tape (alternatively, you could use stick glue) to install the liners into the envelopes (adhere around the top triangle).
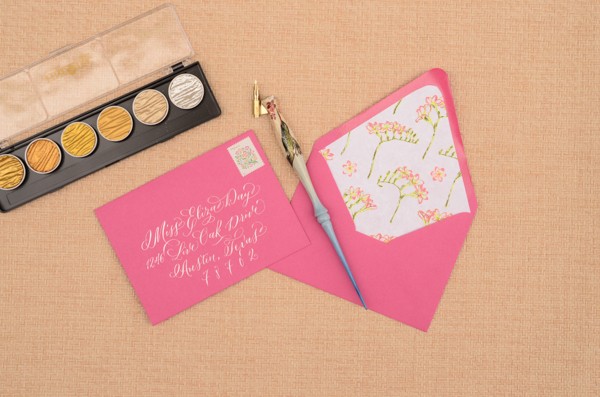
Step Five: It’s time to address your save the dates! We used a beautiful finetec metallic paint palette (the silver one) with a calligraphy pen for this design. Experiment with styles until something feels natural to you! You could also use a silver gel pen and your fanciest handwriting to achieve a similar look.
AntiÂquaria is a memÂber of the Designer Rolodex – you can see more of their beauÂtiÂful work right here!
Photography by Antiquaria for Oh So Beautiful Paper
