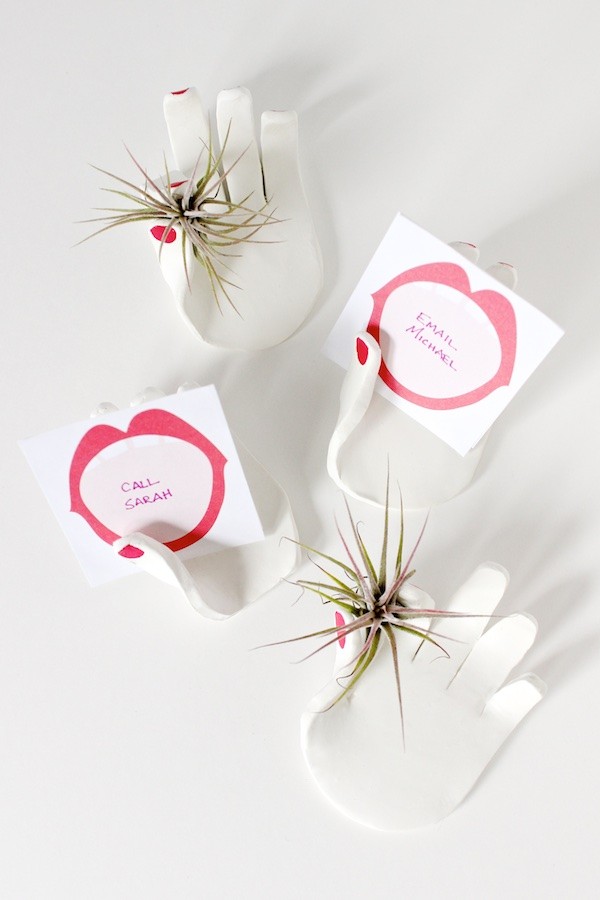
Today, I have a quirky little project whose uses are practically endless. I’m showing how to use oven-bake clay to create little hands perfect for holding everything from name cards to reminder notes to air plants. Imagine how cute these would be holding place cards at a bridal shower or luncheon! –Mandy Pellegrin of Craftcourse
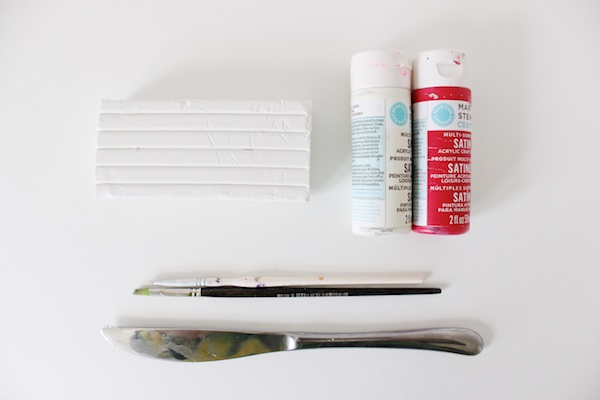 Â Materials
 Materials
White Oven-Bake Clay
Knife
Paint
Paintbrushes
Aluminum Foil
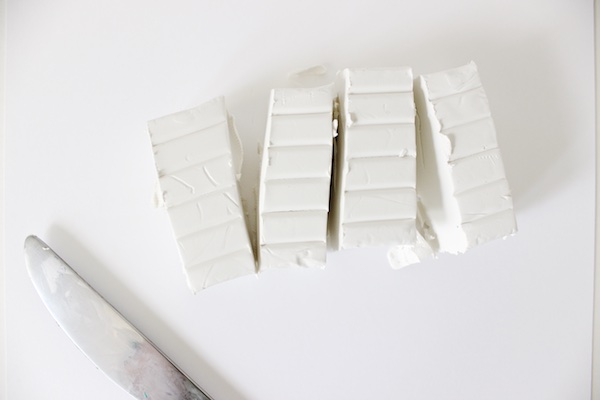
Step One: Use the knife to cut four roughly equally-sized pieces of clay.
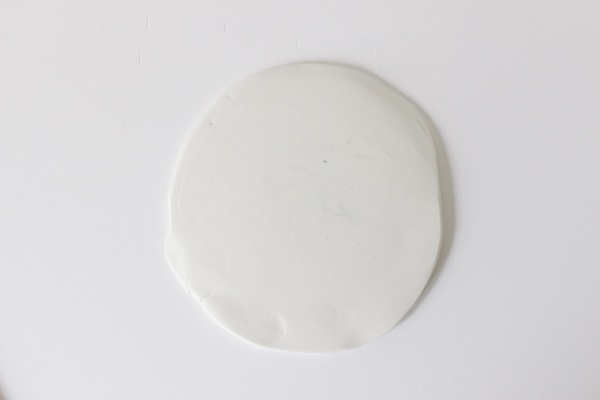
Step Two: For each hand, roll one of the pieces of clay into a ball, and flatten into an oval.
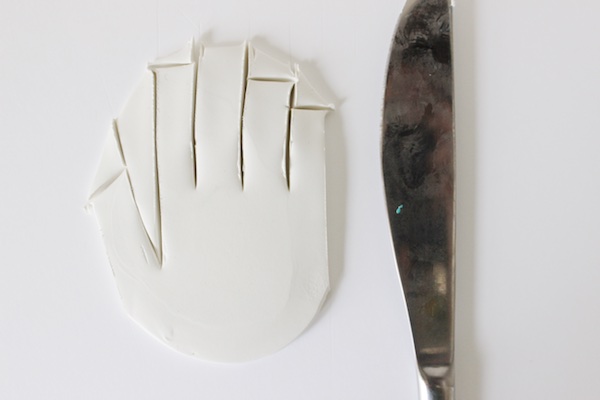
Step Three: Use the knife to cut the oval into the shape of a hand as shown.
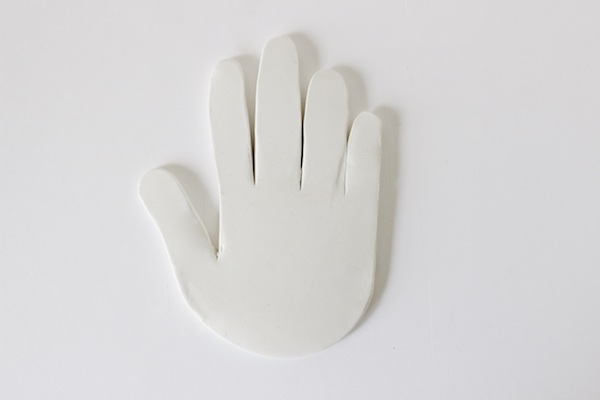
Step Four: Peel away the excess clay, and use your fingers to shape each clay finger and round out each clay fingertip and the palm. To get rid of any of your fingerprints left behind, place a piece of paper on top, and gently roll something like a rolling pin or paint bottle across the paper.
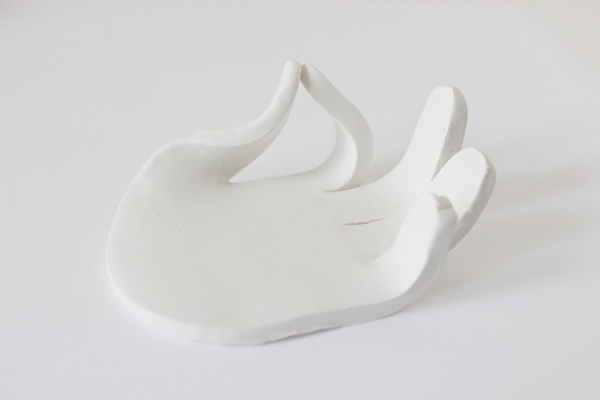
Step Five: Carefully peel the hand off of your work surface. Curl the thumb and forefinger up to touch one another, and bend each of the other fingers up.
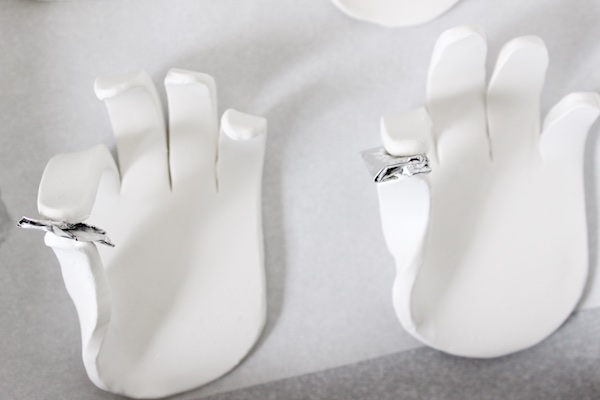
Step Six: Place a small piece of folded aluminum foil between the thumb and forefinger, and bake according to the directions on the clay packaging. (Mine was 15 minutes at 275 degrees.)
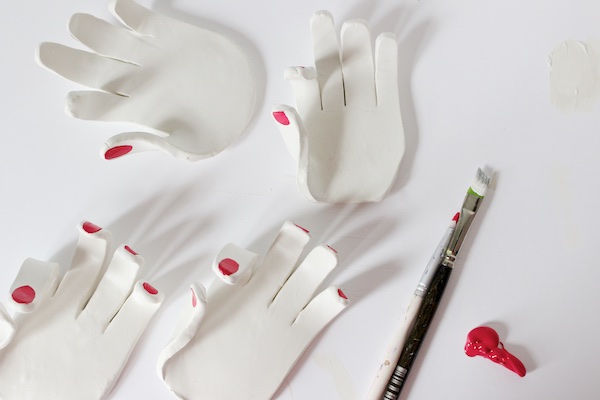
Step Seven: Paint on some fingernails. I personally have a hard time keeping little pieces of lint (and cat hair) out of my clay projects, so I also use white paint to cover up any mishaps. Enjoy!
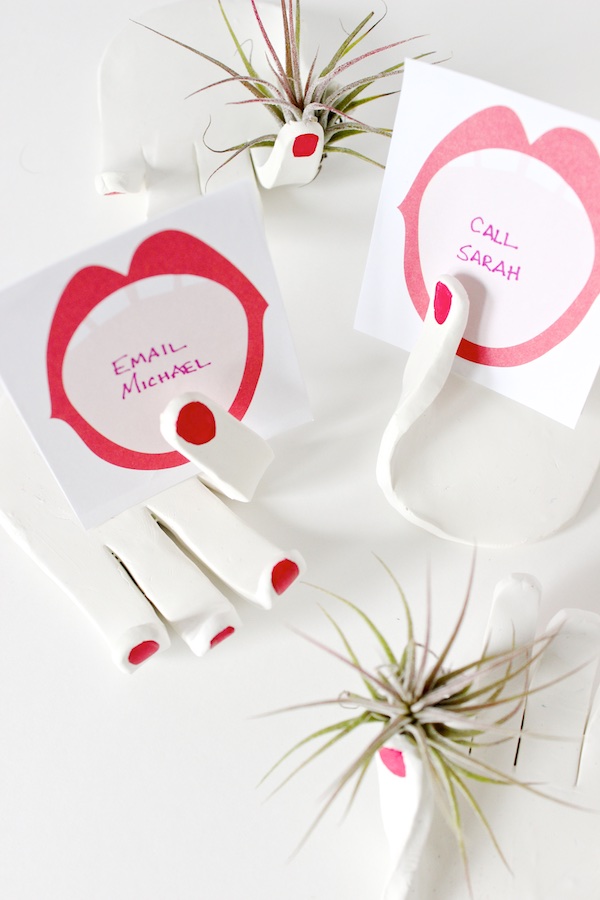
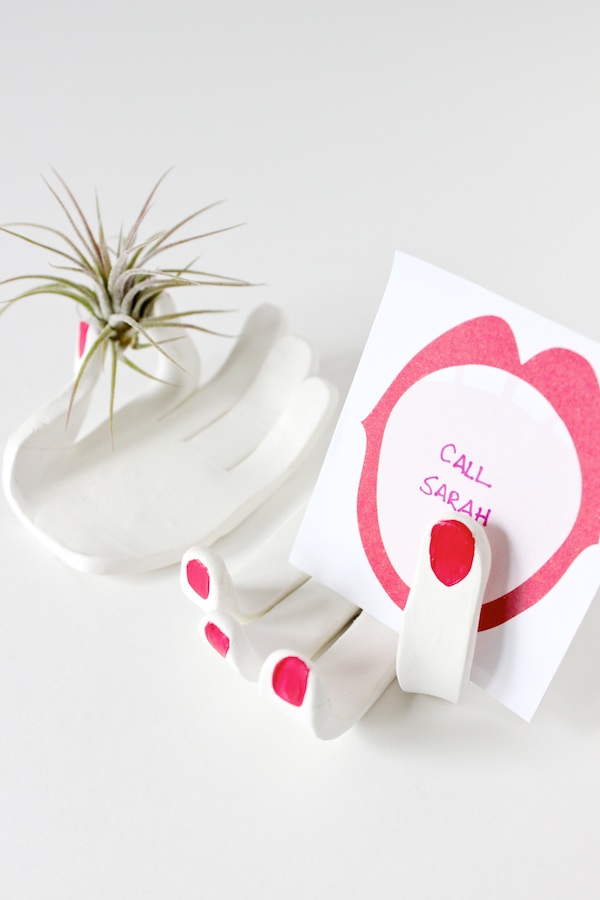
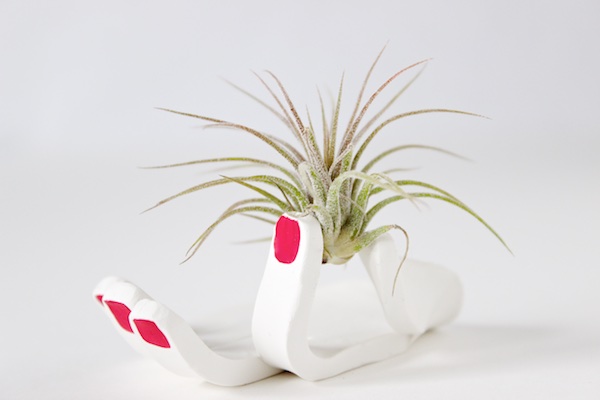
Photo Credits: Mandy Pellegrin for Oh So Beautiful Paper

Awesome diy card holder. Thanks for the great tips.
I shared this article on DIY best posts.