There are so many people to thank on your wedding day, it can be hard to catch them all and tell them how you feel. So how about a quick DIY that adds a bit of decor to your dinner table, becomes a keepsake, and takes care of your thank yous all in one? Here is a simple and easily customizable project that will get all of those things done for you! – Lauren

Supplies
– Plain chargers in any color (you can also use large doilies for a more budget friendly version!). I used these.
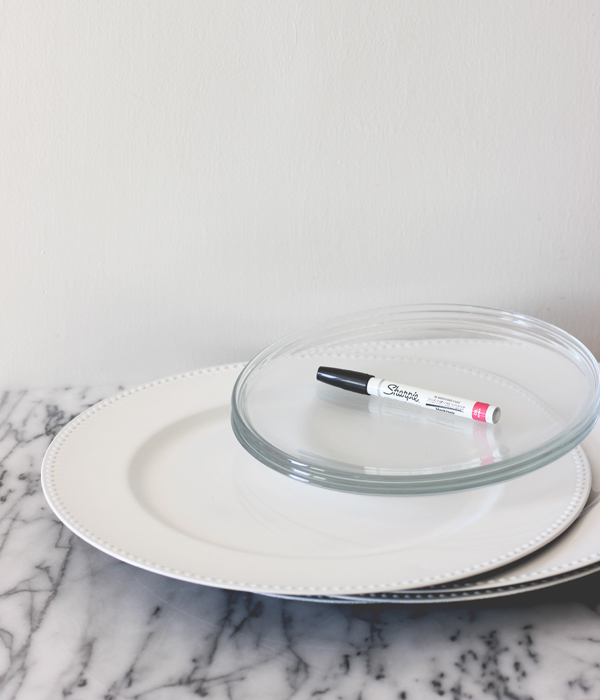
– Clear glass dinner plates
– Permanent pen or glass marker in a contrasting color to your charger

Step 1. Start with your border. I drew the names of the guests first in “mock” calligraphy with my permanent pen and added in some design elements over that. Get colorful here to tie in your color palette if you’d like. This is also a great place to ask an expert or friend with writing and illustration skills to help you out. Then get them back for Step 2!

Step 2. Fill in the center of the charger with a nice note for each of your guests

Step 3. Finalize the setting with the clear glass plate to protect the note and complete your table!

You could do this for every guest – or if that seems impossible with a large wedding, how about just your bridal party and family?
Photo Credits: A Fabulous Fete for Oh So Beautiful Paper