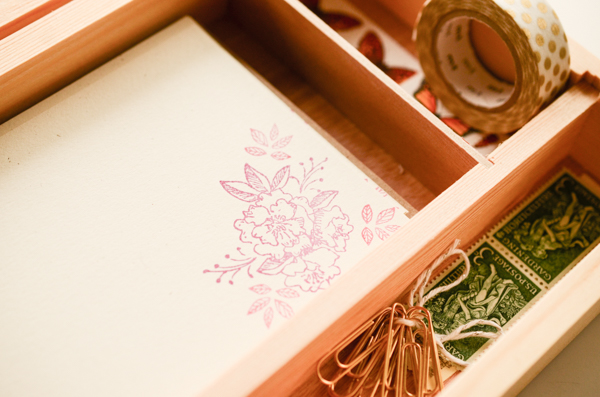
Every year, we try to make at least some of the gifts that we give to friends and family for the holidays. This year, we decided that giving them an all-in-one stationery kit would be perfect! Not only will they love having everything they might need at hand, it also encourages them to send more snail mail throughout the year! For this gift, we converted a little portable sketch box into a fabulous carry all for paper loveliness. We hope our friends and family like them (shh-don’t tell)-and we hope you do too! –Bailey and Emma of Antiquaria
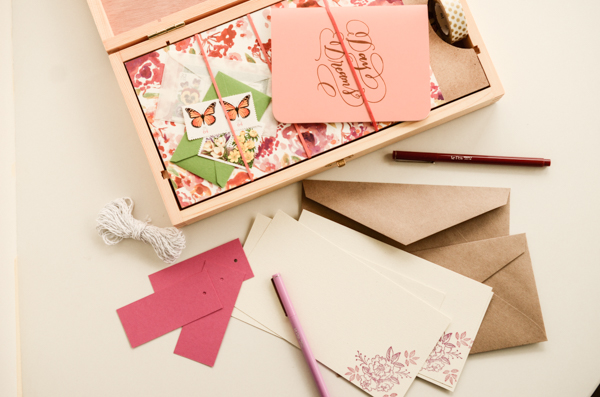
Materials
Small Sketch Box, similar to this. We bought ours locally at Aaron Brothers. They told us that it is a regular in-store item.
Patterned Text Weight Paper in Lucy Floral
Cardstock, in Milkweed and Fuchsia
Stamp Pads, Magenta and Peony
Divine Twine, in Silver
Self Healing Mat, Metal ruler and Craft Knife
Spray Adhesive
1/8 inch hole punch
Rubber Bands
Optional:Â Foil notebook, New and Vintage postage, Pens, Washi Tape, Gold Paper Clips
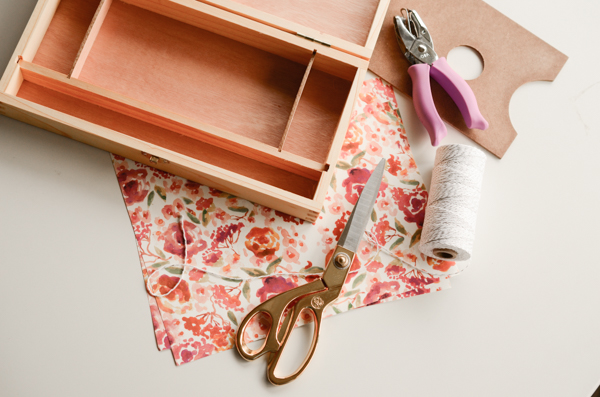
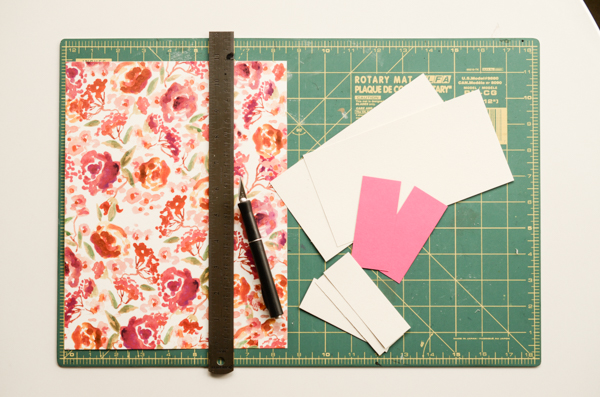
Step One: Cut your papers. For this set, you will need 2 pieces of Lucy floral text paper (cut to 6.5″x10″), 6 pieces of Milkweed card stock (cut to 3.75″ x 7.25″ – should yield 12 cards) and 1 piece of fuchsia card stock (cut to 1.5″ x 3.5″). The smaller tags are the remnants from the Milkweed cards.
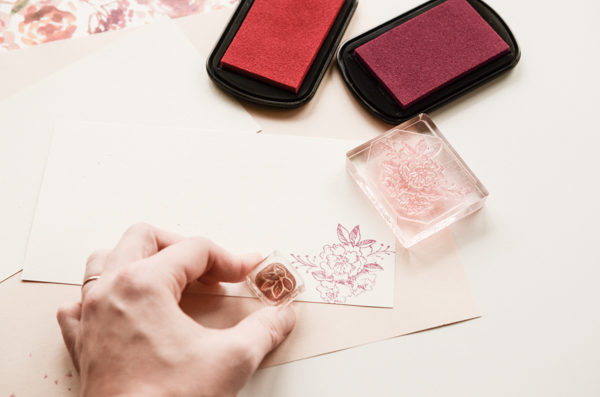
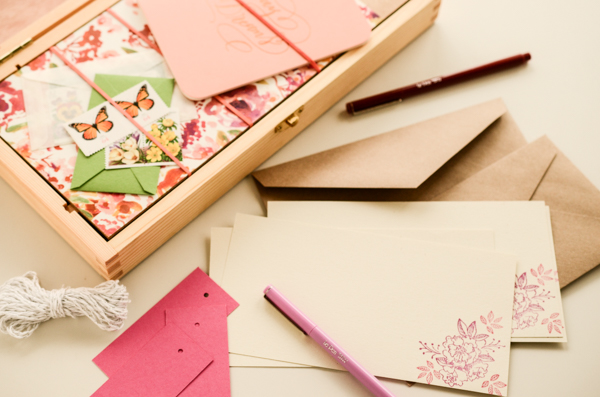
Step Two: Next, you’ll want to stamp your monarch cards for the set. We included 12 cards and envelopes in our kit. Stamp the Camellia pattern stamp first in Peony ink, as shown, and then add the small leaves around it in Magenta ink. We love that every card is a little different! Set cards aside to dry.
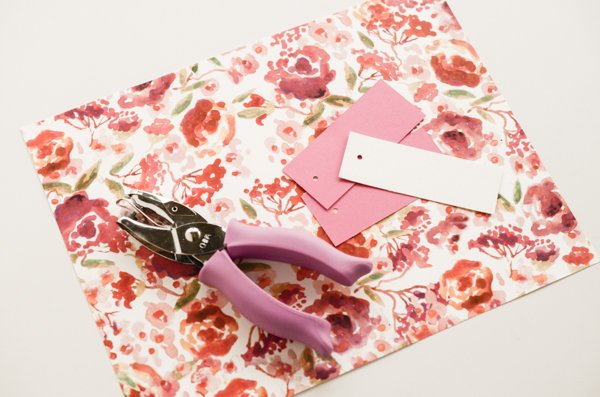
Step Four: Punch holes in your gift tags (fuchsia and milkweed) centering the hole on the small side of the card.
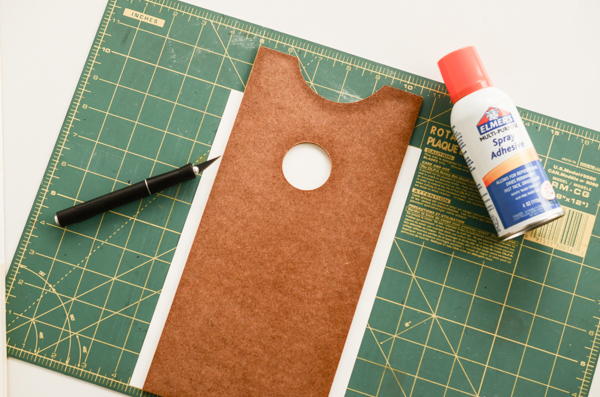
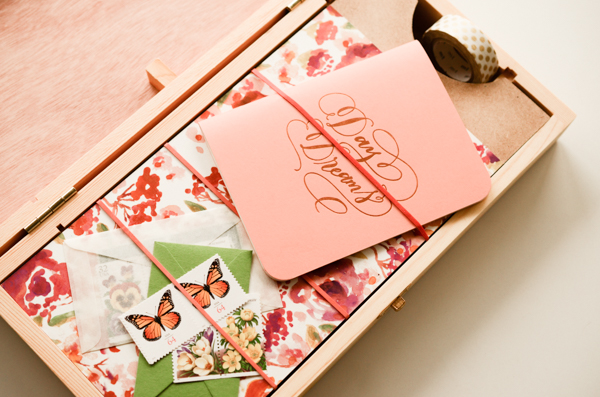
Step Five: To add interest to the kit and to cover up the thumbhole in the “portable palette” part of the kit, you want to cover it with patterned paper. We purposefully cut our paper wider than the palette (6.5″ x 10″), applied spray adhesive to the back of the entire piece, laid the palette down to adhere, and then trimmed off the excess so that it’s fit was exact. Repeat this process for the second side.
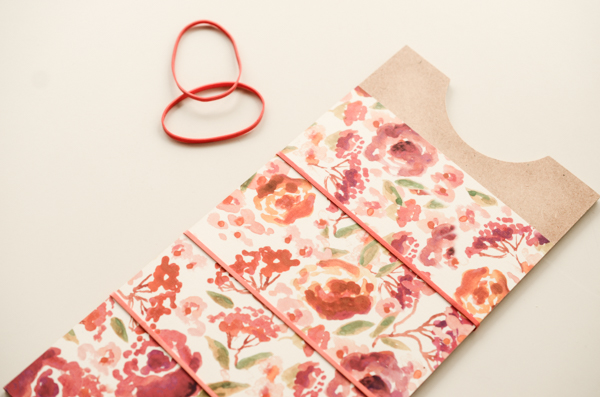
Step Six: We wanted to add some additional items to our kit that didn’t fit in the pre-sized containers below the palette. In order to fit them in, we decided to add rubber bands around the board. Not only are they handy, but we love that we were able to recycle the ones that we’ve been collecting from our grocery store takeout containers. We thought 3 was perfect for what we needed but feel free to use as few or many as you’d like!
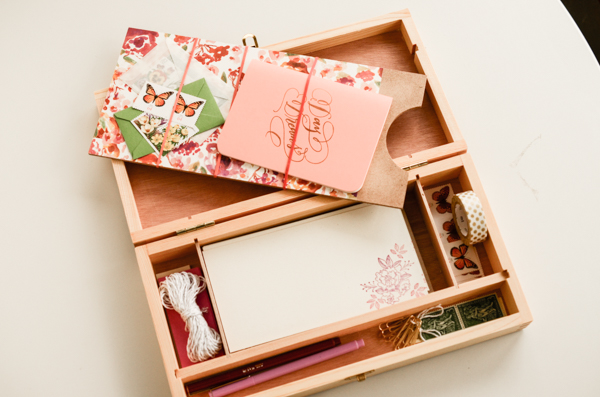
Step Seven: Now all that’s left is to fill the box! We had a ton of fun gathering coordinating items to include. We decided a notebook was good for jotting down thank you notes that need to be written, addresses, or simply quick thoughts.
We also included enough postage for 12 letters. We mixed vintage postage with new postage in a pretty garden theme.
What good is a gift tag without a way to tie it on? That’s why we included a length of silver metallic twine so that the recipient always had some good string at hand when wrapping gifts. Also included are some of our favorite felt tip pens as well as paper clips and of course, washi tape!
For an extra luxe gift, you could also consider including a return address stamp and stamp pad in the kit as well.
These boxes are easy to make and putting them together couldn’t be more fun! We love that every little bit can be customized to each person’s color preferences and stationery needs. We wish you happy DIY-ing this holiday season and hopefully we’ve inspired you to make some gifts this year too!
Photos by Antiquaria for Oh So Beautiful Paper

