I’ve asked some of my favorite creative mamas to help out while I’m away with our new baby. Today, one of my favorite stationers – and mama of two boys! – Lisa from Good on Paper is sharing a super fun and creative DIY project that can be done with children: gift wrap made with hand carved stamps! –Nole
Hi guys! For my final post while Nole is on maternity leave, I’d like to share a fun and easy DIY project I did with my 4-year old son Lucas, based on my friend Sally J. Shim’s new book, Pretty Packages: 45 Creative Gift-Wrapping Projects. I love beautiful packaging, but am not the best gift wrapper. Our family has been going to a lot of kids’ birthday parties lately, which often means quickly stuffing a gift in tissue paper and throwing it into a party bag. Pretty Packages has so many ideas, many of which are kid-friendly, but the one that really stood out to me was the Hand-Carved Stamped Wrapping Paper. I had done some hand carving before, and Lucas loves stamping (both paper and his body!). The instructions were simple and I was able to turn it into a kid-friendly project that we can do over and over. Below are the instructions and materials needed. – Lisa from Good on Paper
Materials
Scrap paper
Carving block
Archival stamp pad
Paper for wrapping your gift
Tools
No. 2 pencil
Bone folder
Speedball Linoleum Cutter Handle
Speedball Linoleum Cutters (blades Nos. 1 and 5)
X-ACTO knife
Instructions
1. Using the No. 2 pencil, draw your stamp design on the scrap paper.
2. Flip the paper right-side down onto the carving block and rub the back of the paper using the bone folder.
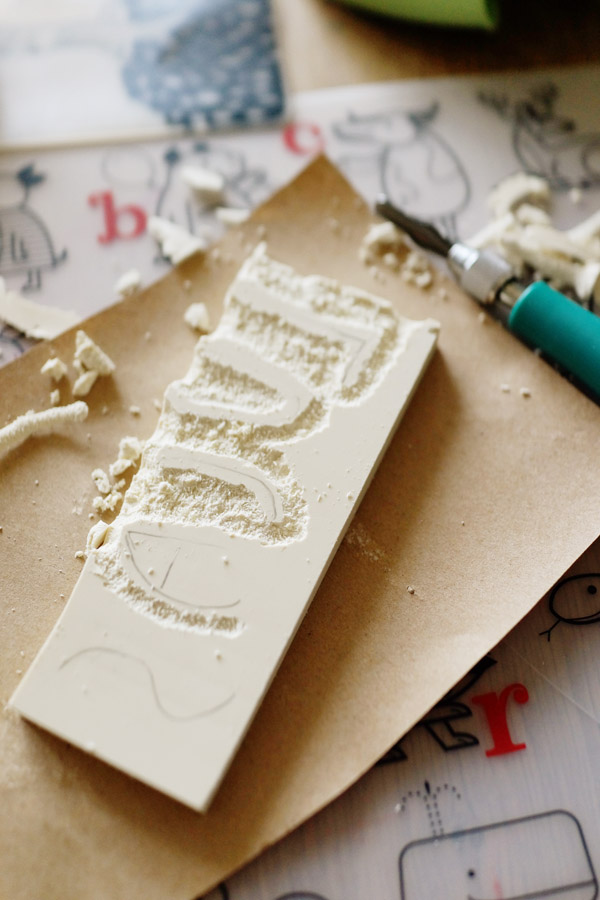
3. Lift off the paper and you will see the transferred design on the carving block. Using a No. 1 linoleum carving cutter, carve out the outline of the stamp design. If the design has details, carve the negative space from the design.
4. When you are finished carving the stamp design, use the No. 5 carving cutter to carve a thick outline around the design. This will help you cut the stamp from the block.
5. Hold the block with one hand and use the X-ACTO knife to carefully cut the stamp image from the block. Please cut with care, and avoid cutting your fingers.
6. Hold the stamp right-side up and press the stamp pad onto the stamp, applying an even layer of ink. Test the stamp on the scrap paper to make sure it prints evenly. If there are any areas that do not stamp clearly, go back and use the No. 1 linoleum cutter to make the stamp edges more crisp. Once you have a stamp that produces a clear image, place the wrapping paper on a flat surface, right-side up, and stamp a pattern. Make sure to apply even pressure on the stamp to ensure a clean printed image. You can stamp a random or repeated pattern.
7. Let the stamped wrapping paper dry for 1 hour before wrapping your gift.
8. Wrap up your gift!
– From Sally J. Shim, Pretty Packages: 45 Creative Gift-Wrapping Projects
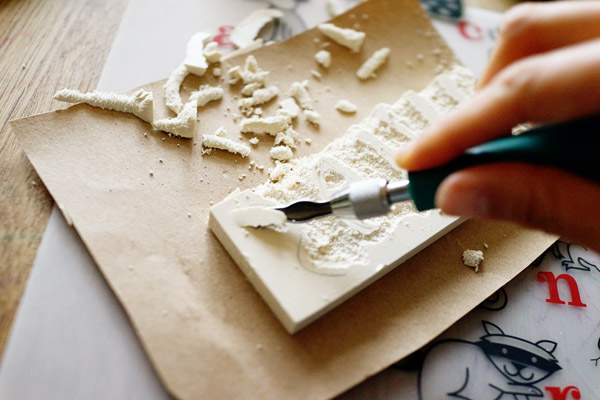
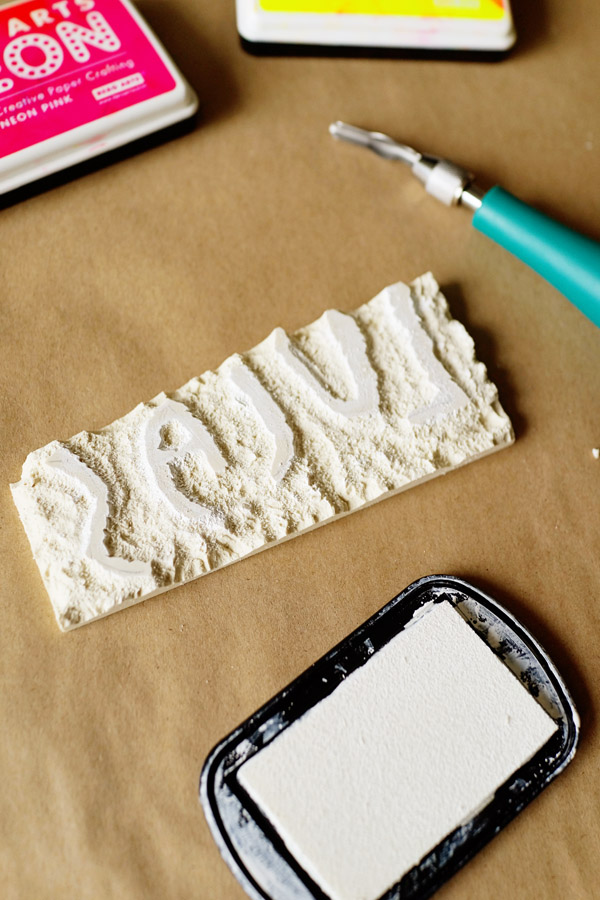
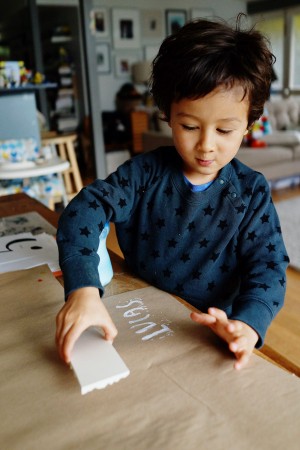
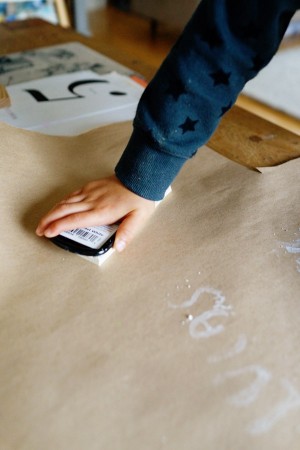
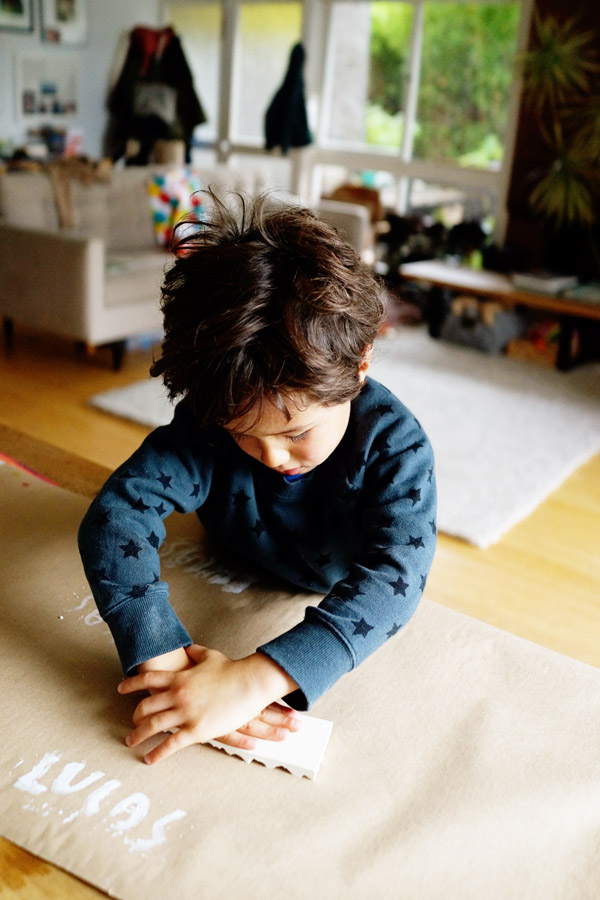

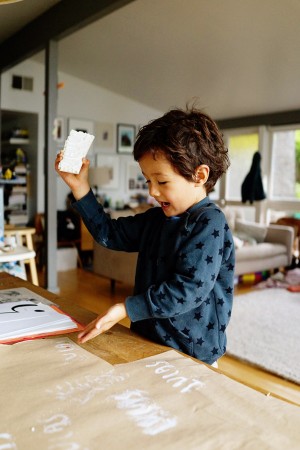
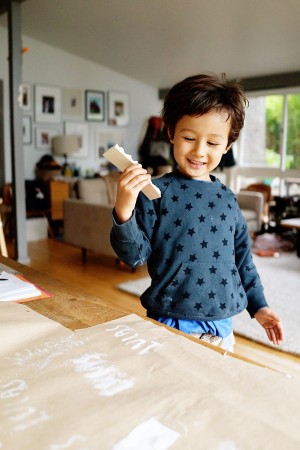
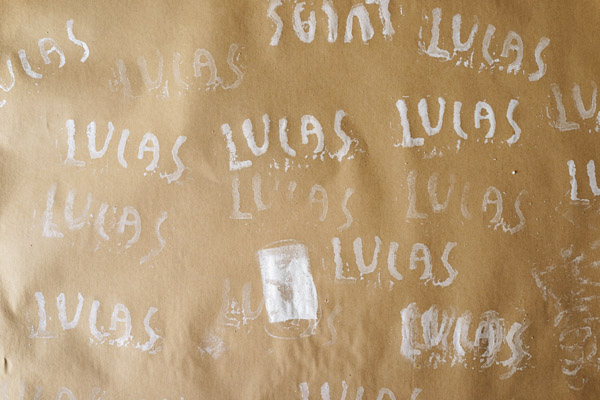
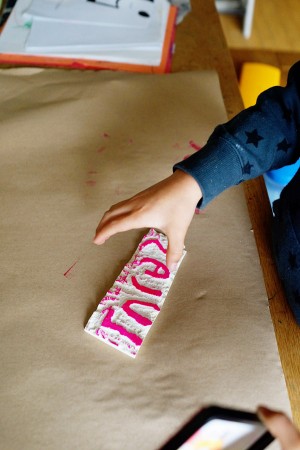


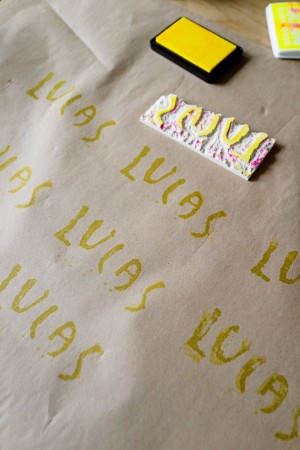
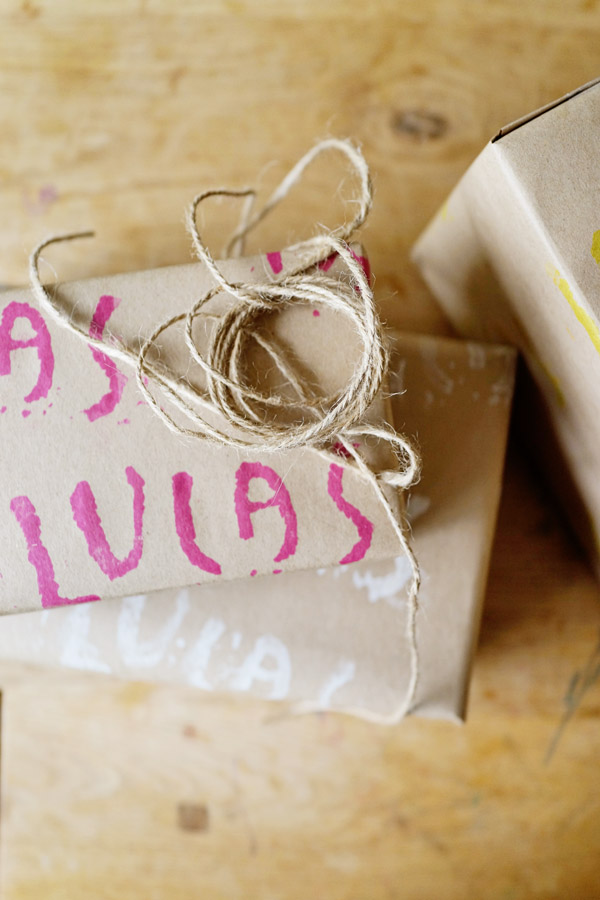
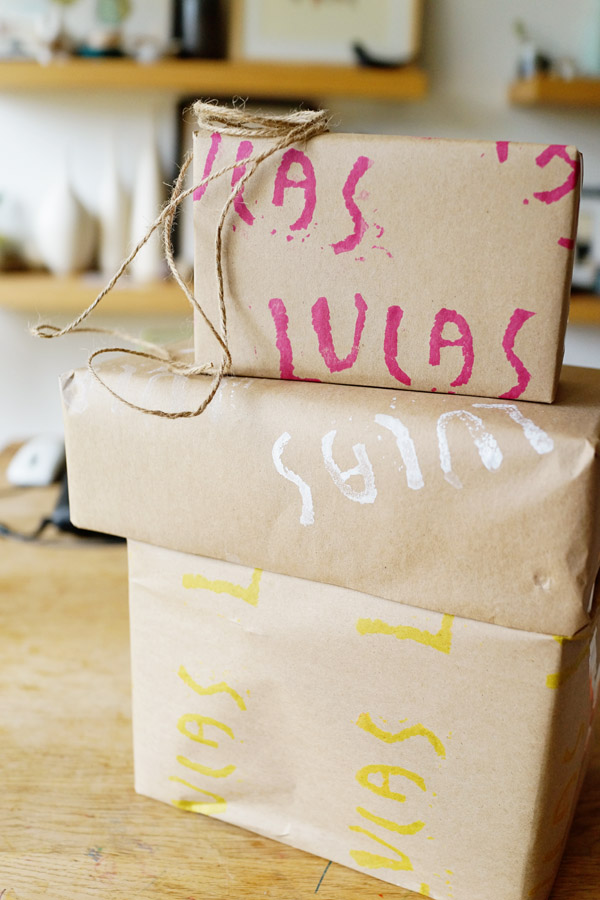
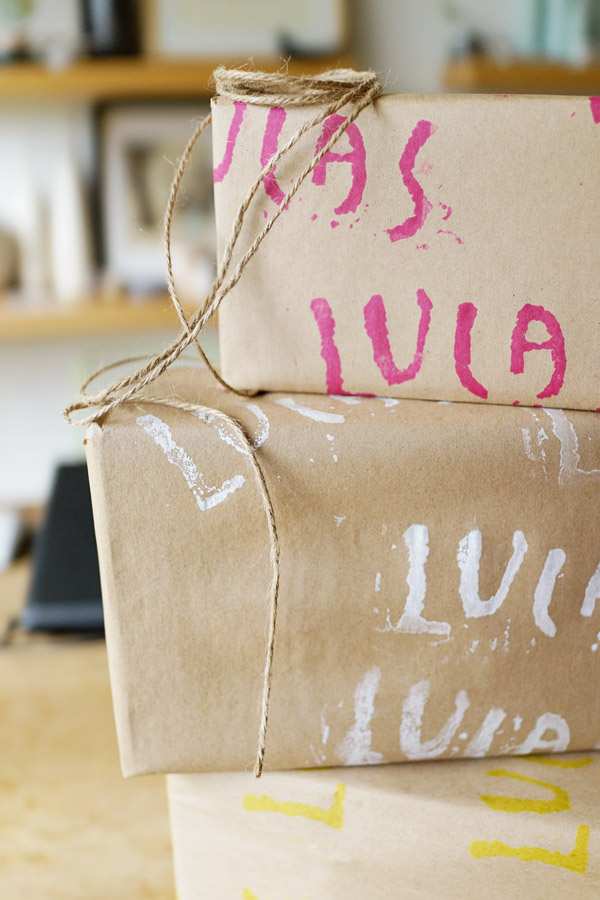
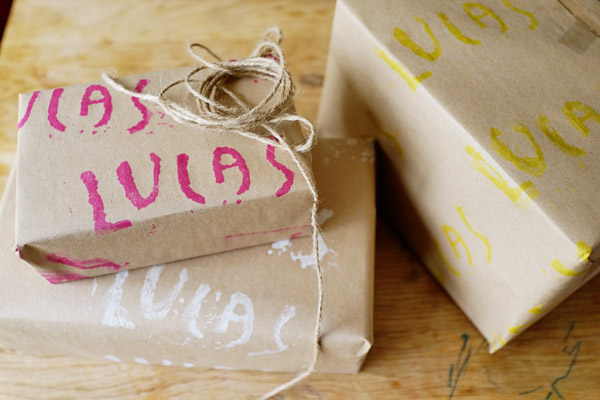
Lucas recently learned how to write his name, which is so cool! I had him write his name out on the scrap paper, then used the linoleum carving cutter to cut around the letters. Lucas chose three ink colors (white, neon pink, and neon yellow) to stamp his name onto the kraft butcher paper. He was so excited to get stamping, and so proud of himself when he saw the finished product and wrapped gifts. Of course, these gifts are covered in his name instead of the recipient’s, but at least the person will know who it’s from! It would also be cute to write out something else, like “Happy” or “Hello”.

Fun! I need to try this with the kids. 😉