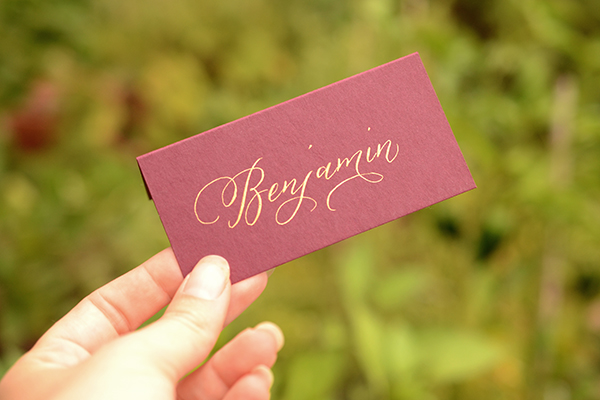
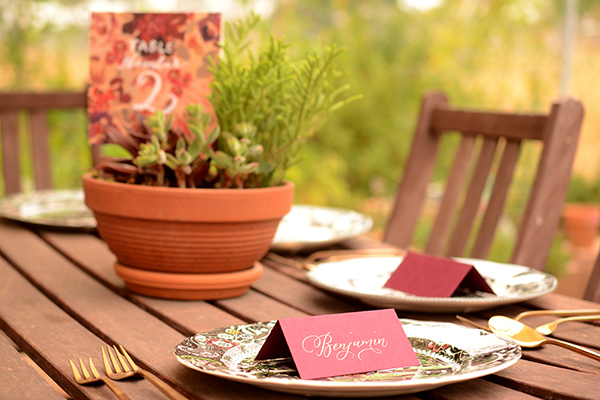
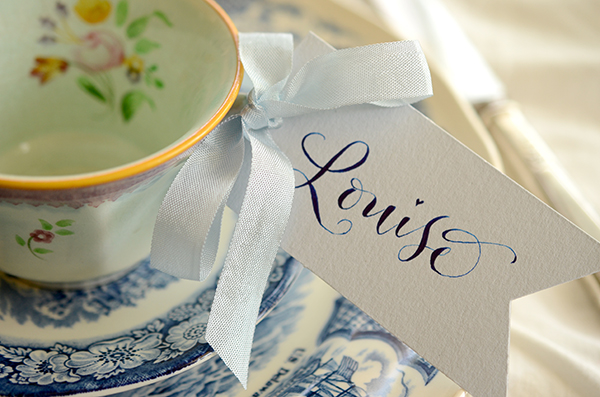
Summer brings wedding galore, and for us…that means party decor! We’ve been helping clients create gorgeous day of stationery and in the process have come up with some fun and festive table numbers that you can do yourself! We know that by the time couples usually think about reception stationery, they’re usually over their budget and are short on time. Luckily, these table numbers are not costly or time consuming. You could easily knock them out in an afternoon. There are endless options once you have the basics of creating them…so the only limit to the project is your imagination! We’ll show you three different styles to kick start your creativity. To complete your tablescape, we’ll also show you place cards to complement to each design. – Bailey and Emma of Antiquaria
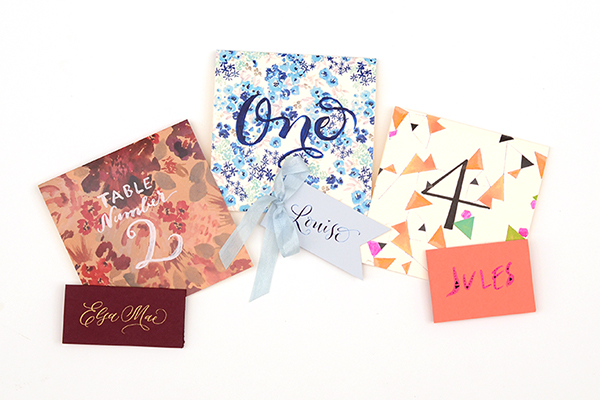
Up until adding the actual numbers to the cards, the process is exactly the same. We will be making 5.5″ square tented cards (showing the pattern on both sides) and the size works perfectly with a standard 8.5″ x 11″ piece of card stock.
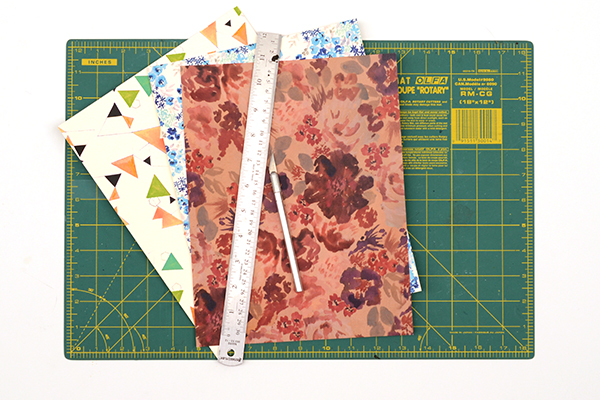
Step One: Select your paper and cut the cards to size. Cut a rectangle measuring 5.5″ x 11″. If you’re using a standard sheet of paper like we did, that is only one cut (since the length is already 11″).
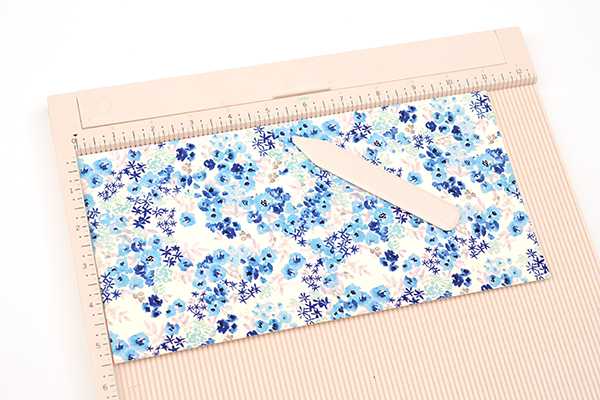
Step Two: To make the tented card and have a clean fold, you’ll want to score the paper at the 5.5″ mark on a score board. Repeat steps one and two until you have enough cards to accommodate all of your tables (usually between 8-25 for a standard wedding).
Option One: Painted Script Floral
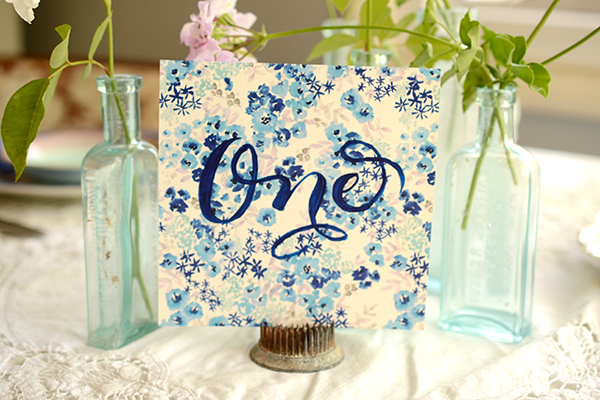
For the first version that we put together, we used our “Paloma” Blue Floral Card Stock and painted the table numbers (spelled out) in navy blue acrylic paint. The effect is playful and traditional at the same time.
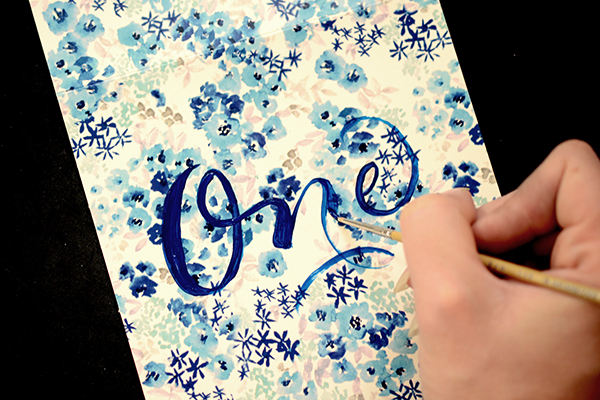
With a small pointed paint brush, write out the table number in cursive across the middle of the card. Go back over the letters, adding weight to the lines (as shown above). If you need help finding out where the weights should go or what shape to paint the letters, refer to a favorite script font or perhaps your invitation suite! That way, everything will coordinate.
Option Two: Modern Neon Geometric
In this interpretation, we’ve put a modern spin on the technique. We used our “Geo” patterned card stock and wrote the number in a simplistic style to create the look. Pops of neon pink painted on help add some punch to the cards.
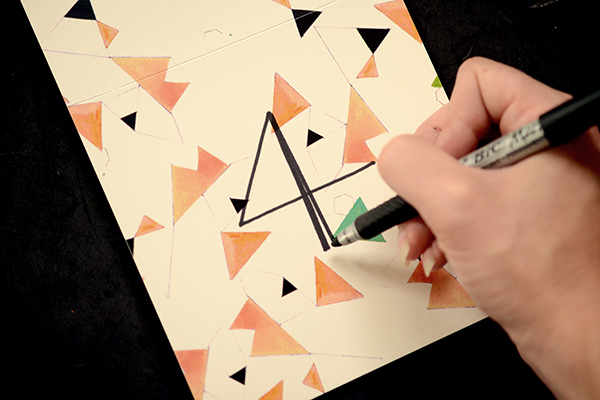
First you’ll write the table number in the center using a permanent black marker. Fill in and bulk up the number as needed (shown above).
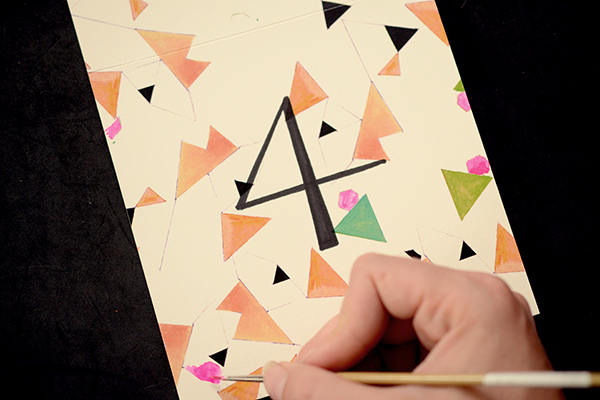
Next you’ll add the final touch of neon using hot pink gouache. We painted into different shapes already printed on the paper making sure they all balanced with one another.
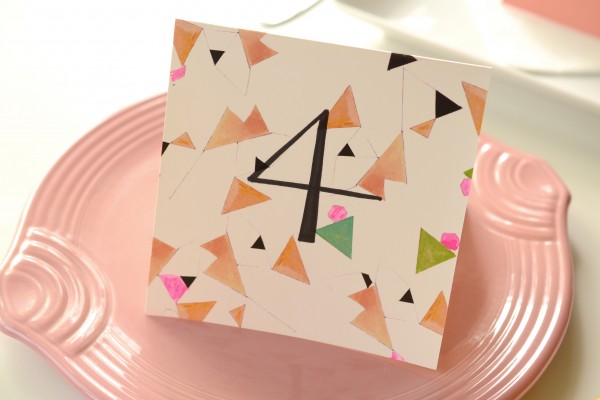
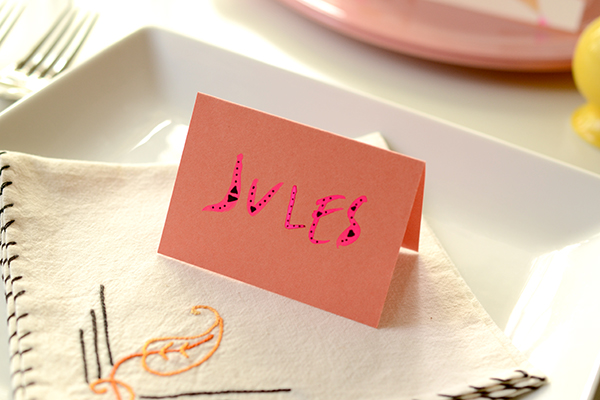
Option Three: Autumn Garden Floral
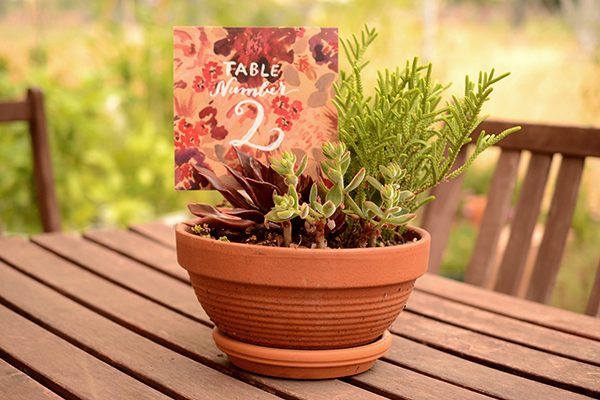
For our final interpretation, we used our “Diana” floral card stock to create the perfect garden inspired table decor. The gorgeous rich shades of the pattern mean that this style would just as easily work for fall and winter weddings.
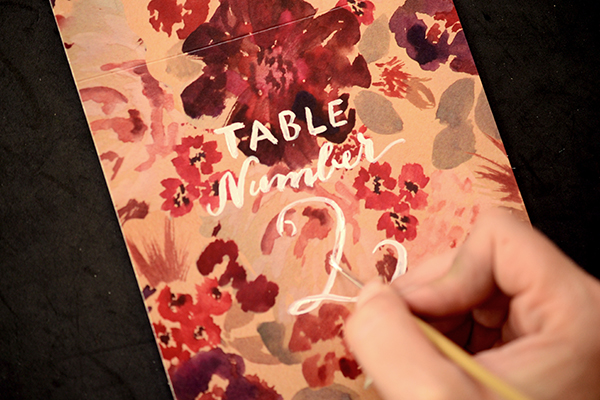
With a small pointed paint brush, paint the word “TABLE” about 1 inch from the fold with white acrylic paint. Below that, in cursive, paint the word “Number,” trying to center it as much as possible. Finally, you’ll add the numeral centered below. Go back over the number, adding weight to the lines (as shown above). It would be extremely helpful to have these cards planned out on a separate sheet of paper before painting on the lettering. That way, you can know exactly how to center the text, and how large you should make it.
Materials
Self Healing Mat
Craft Knife
Metal Ruler
Permanent Marker
AntiÂquaria is a memÂber of the Designer Rolodex – you can see more of their beauÂtiÂful work right here!
Photo Credits: Antiquaria for Oh So Beautiful Paper

