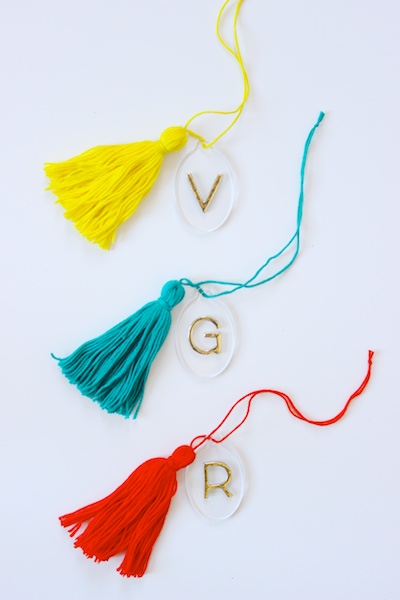
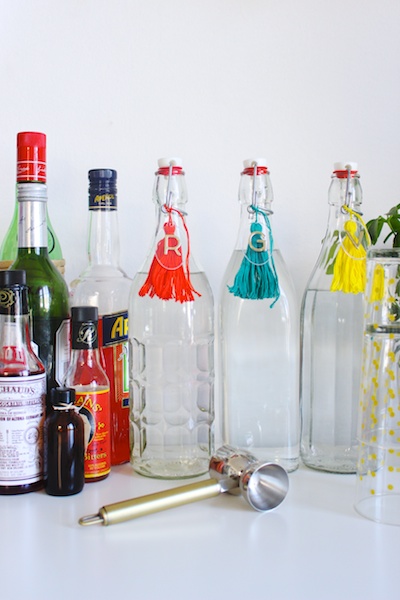
I’m pretty proud to say that over the years my husband and I have cultivated quite the well-stocked home bar, and if you’re a fan of the OSBP Friday Happy Hour, chances are you have too. But if you’re mixing up a particularly sweet or fruity Spring cocktail, I say there’s no shame in using the cheap stuff every now and then, but maybe you don’t want to advertise it for all your guests. Or perhaps you just want a simple, uniform display for your tabletop bar or bar cart. Either way, I’m making up a set of the cutest little acrylic tasseled tags bright and perfect for keeping your spirits straight if you want to transfer them to simple clear swing-top bottles. Cheers!  – Mandy Pellegrin of Fabric Paper Glue
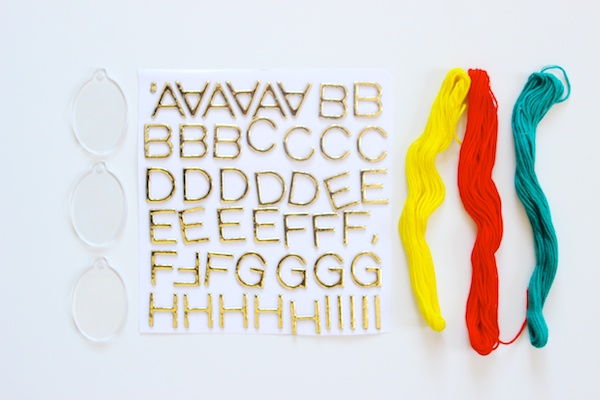
Materials
acrylic tags*
thick gold scrapbook letters
embroidery floss
scissors
*I found my clear, acrylic tags in the scrapbooking aisle at my local big box craft store.
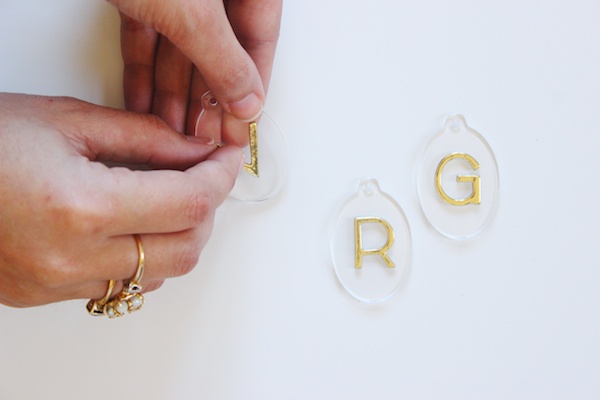
Step One: Begin by affixing a scrapbook letter to each of the acrylic tags. I used a G for gin, R for rum, and V for vodka. I found that my scrapbook letters were sufficiently sticky on their own, but feel free to use craft glue for a little extra adhesion.
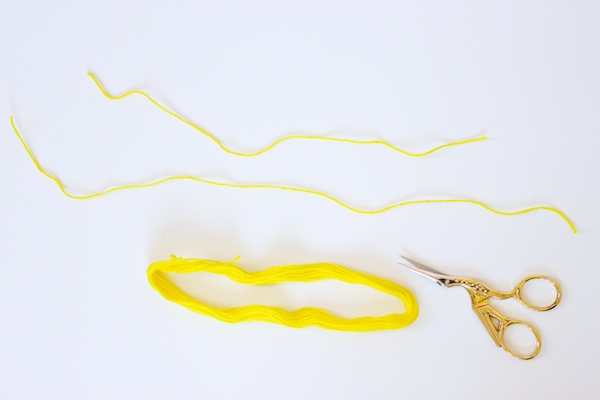
Step Two:Â Cut two pieces about 10-12″ long from each skein of embroidery floss.
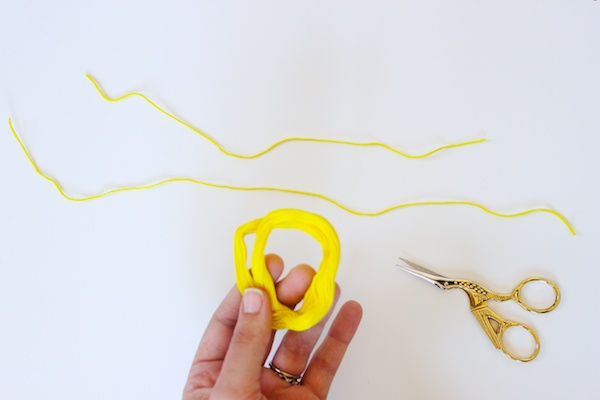
Step Three: Loop each skein of floss back on itself as shown to form a small circle.
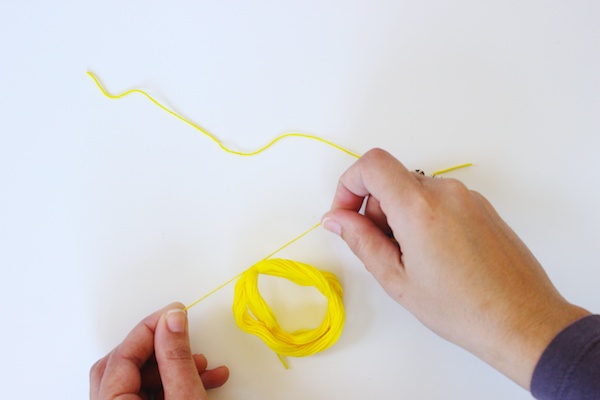
Step Four: Take one of the cut pieces of floss, and knot it tightly around the circle.
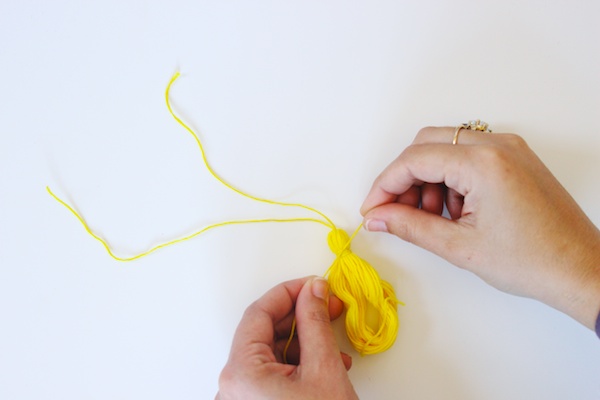
Step Five: Gather the floss just below the tied piece, and tightly wrap the other piece around several times and knot.
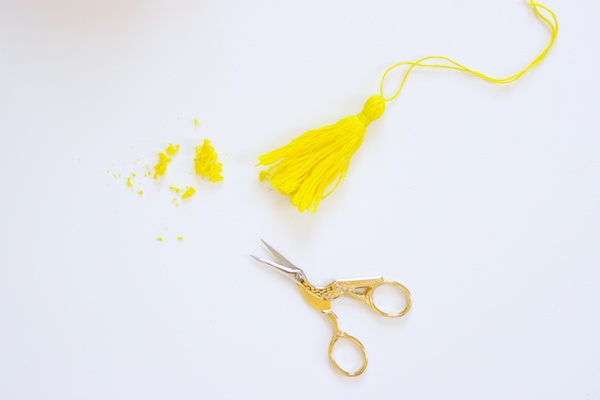
Step Six: To finish off the tassel, cut open the bottom loops, and trim the ends to a uniform length.
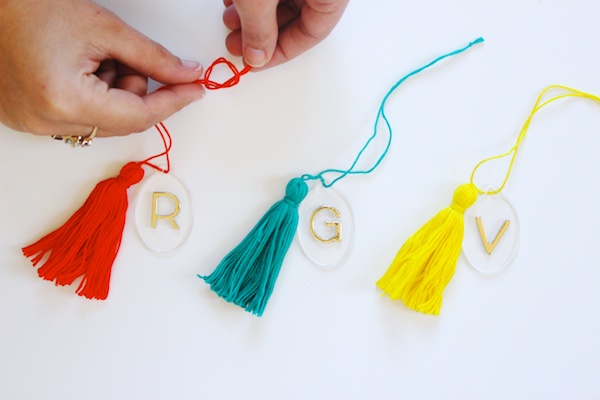
Step Seven:Â Knot the end of each string, and tie onto a bottle.

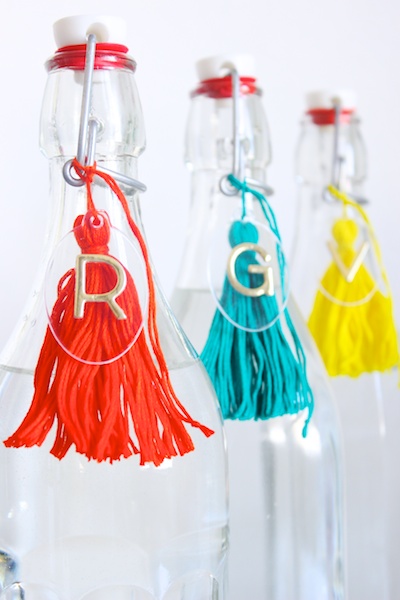
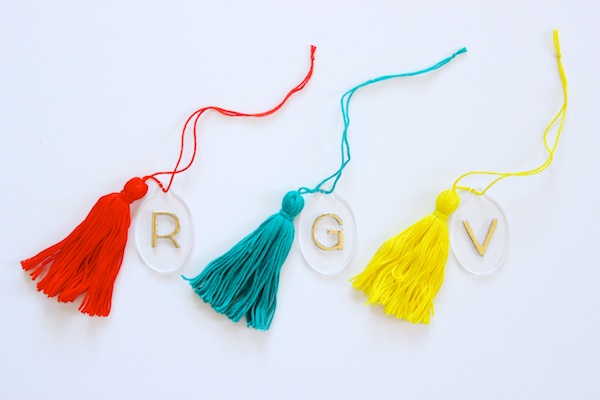
Photo Credits: Mandy Pellegrin for Oh So Beautiful Paper

I don’t drink Alcohol, but I love the idea itself… and such a quick & effortless way to create a Tassel!! 🙂