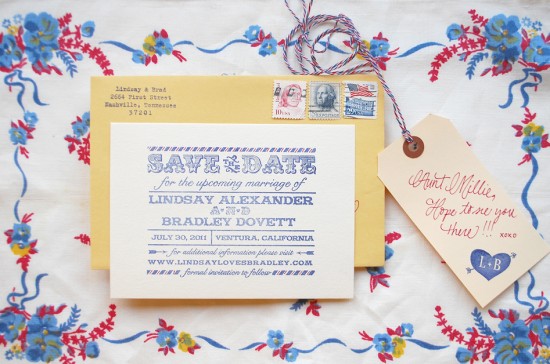
While digging though Emma’s stash of vintage stamps a while back, we stumbled across old airmail that she had received from a long lost pen pal.  It made us nostalgic for the days of hand written correspondence – which in turn made us think it would be the perfect thing to inspire this save the date design and tutorial!  Best of all….it’s super simple to put together.  – Bailey and Emma of Antiquaria
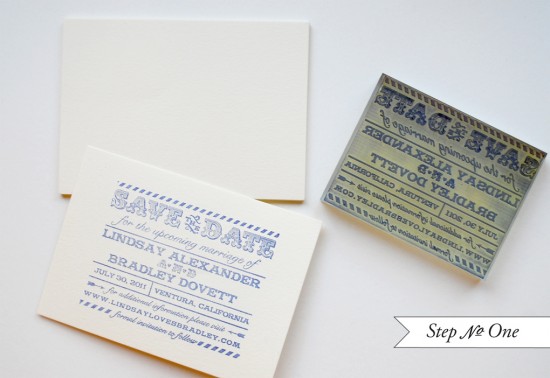
Step One: Lay out an A6 piece of cream heavyweight card stock on a smooth, hard surface. Â Ink your save the date stamp (we used our Airmail Save the Date Stamp) with navy ink. Â Center your stamp over the card and press firmly down to make the print. Â Since there are no longer handles on our stamps (see note at the bottom of the post), you will want to make sure that you apply even pressure to all of the stamp, especially the center. Â Lift stamp off and let the card dry.
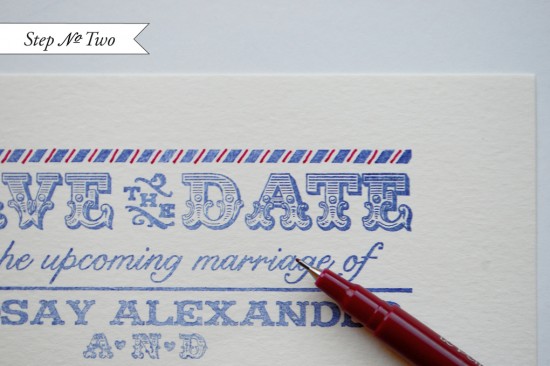
Step Two: To add an authentic airmail feel, draw lines with a red felt tipped marker or pen in between the blue stamped lines.
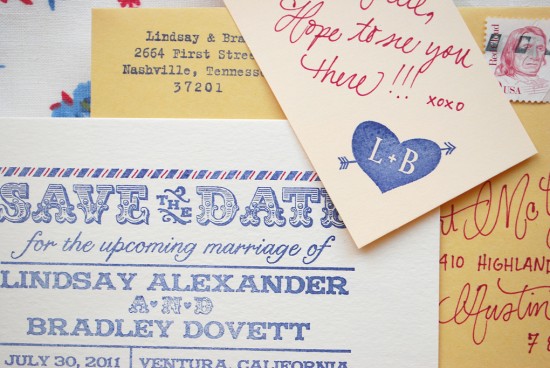
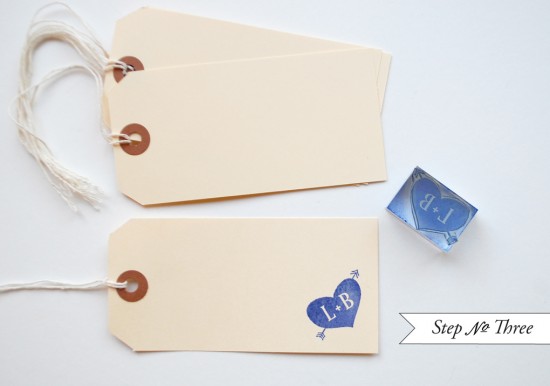
Step Three: Personalizing your wedding stationery makes your guests feel special and really sets the tone for your upcoming event. Â Let them know how you want much them there by adding a note to each guest on a monogrammed manila shipping tag. Â We used our (Cross my Heart Initials Monogram Stamp) in navy ink on the corner of the tag to coordinate the tag & the save the date. Â We then used the same red pen to write a note to each guest!
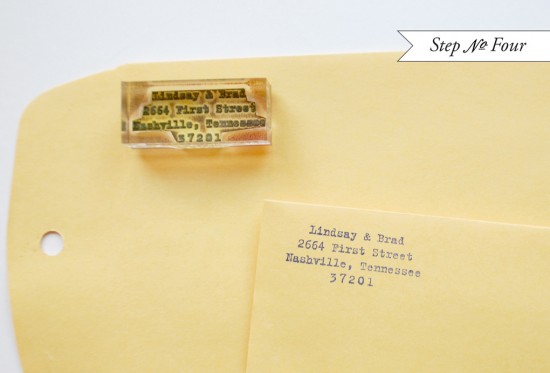
Step Four: Sometimes simple is best. Â On the left hand corner of our envelope, we stamped our return address using our Old Typewriter Return Address Stamp.
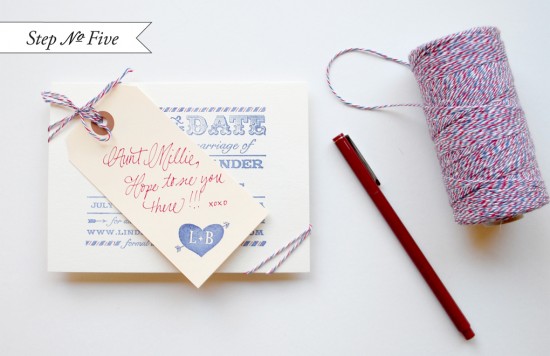
Step Five: We finished off the save the date design by tying the pieces together using this awesome airmail twine! Â It couldn’t be more perfect. Â We addressed the envelopes in red and sent them on their way!
Note: We at Antiquaria are thrilled to announce that we’ve made the switch to acrylic mounts for all of our stamp designs. Â Not only do the mounts make the product look clean, sleek and beautiful, they vastly improve their functionality & make printing the stamps easier!
Materials:
Cross my Heart Initials Monogram Stamp
Old Typewriter Return Address Stamp
Stamp Pad in Midnight
A6 Cards in Luxe Cream
Manila Shipping Tags 4 3/4″ x 2 3/8″
Manilla Envelopes – ours were vintage but this is a similar product
AntiÂquaria is a memÂber of the Designer Rolodex – you can see more of their beauÂtiÂful work right here or visit the real wedding invitations gallery for more wedding invitation ideas!
Photo Credits:Â Antiquaria

