Hi Everyone! Â Before we run off for the holiday weekend, the ladies of Antiquaria are back with a holiday DIY for you! Â You can see lots of awesome holiday cards in my holiday card round ups right here, but if you’re planning to DIY your holiday cards this year, check out the post below for a fabulous idea!
Wow! This holiday season has totally crept up on us…however, we couldn’t be more thrilled that it has arrived. Â For the past few months, we’ve been busy bees designing a new holiday stamp collection! Â This tutorial was born out of our desire to get our hands on some of the new seasonal stamps. Â Add vintage grosgrain ribbon and it’s just icing on the cake. Â This holiday card design is so simple and lovely… it would be a great afternoon project.
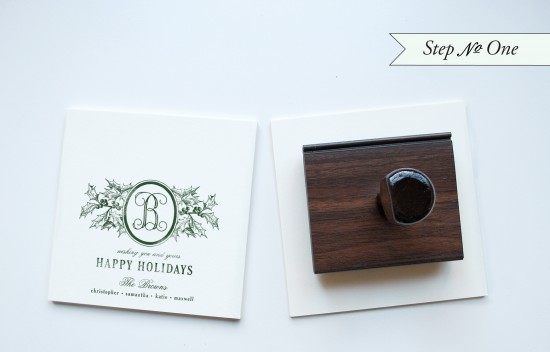
Step One: Cut card to square dimensions (5.5″ x 5.5″). Â Ink the stamp (we used our Holly Berry Greeting stamp) thoroughly and center on the lower half of the square card. Â Press evenly to make print. Â Let dry.
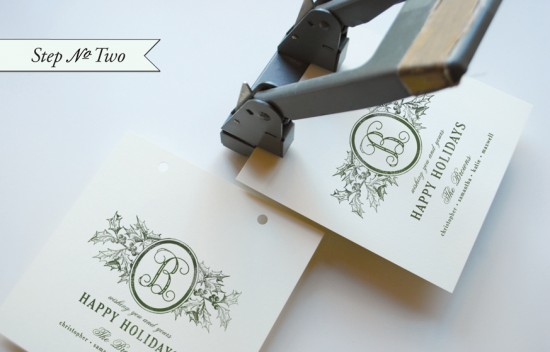
Step Two: Punch 2 holes in the top of the card by either using a 2 hole punch (as shown, makes things really simple) or drawing & punching 2 even dots about 1/2″ from the top and 1″ in on each side.
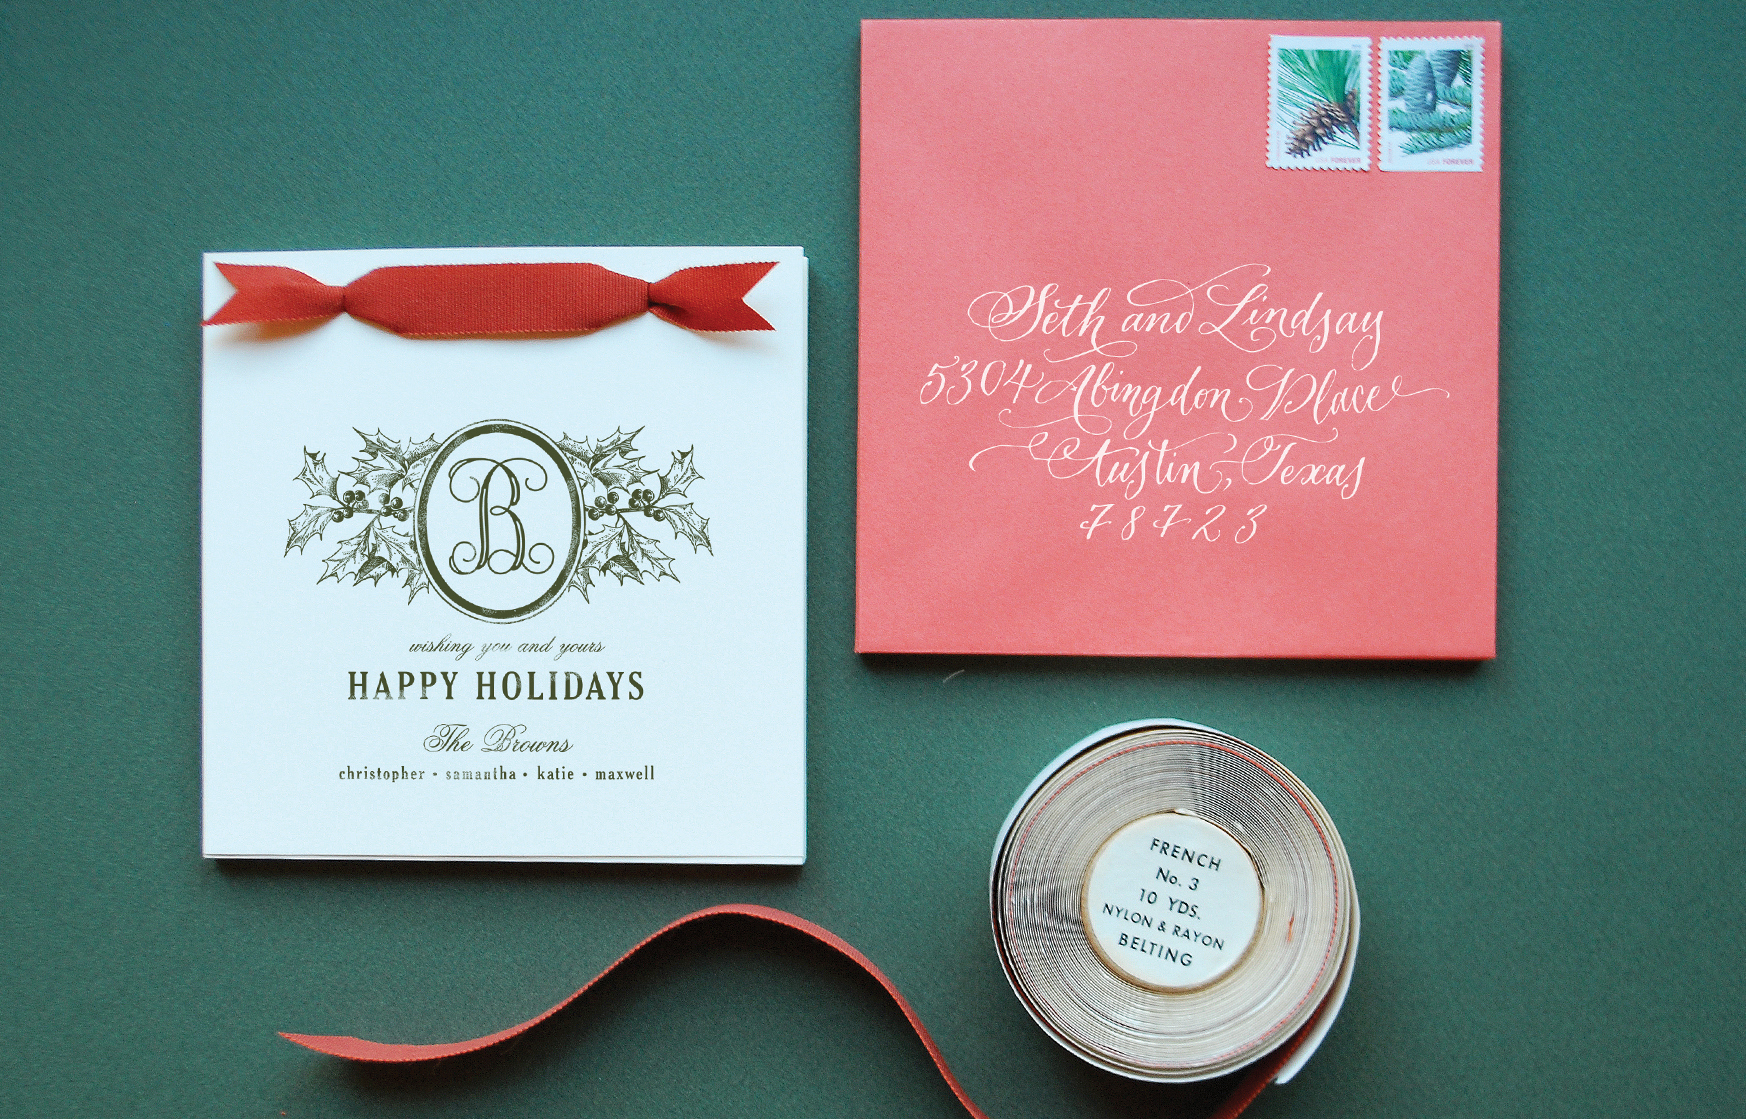
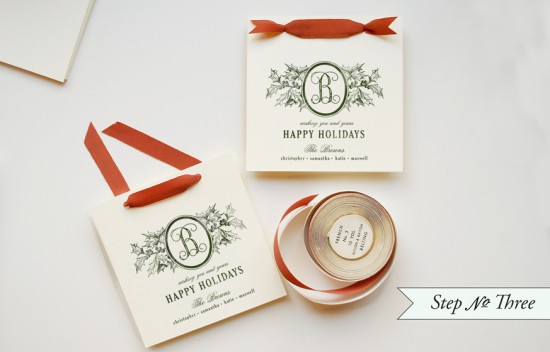
Step 3:Â Cut ribbon in pieces 10-12 inches long. Â Thread ribbon through the holes so that each end is now on towards the back of the card. Â Crossing in the back, thread each end back through the holes and toward the front. Â Fold ribbon in half and cut to make a crisp V shaped end.
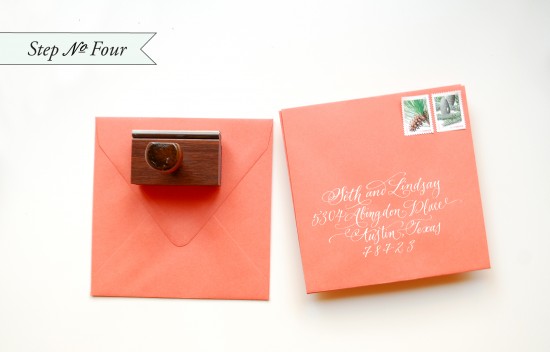
Step 4: Â With everything going on this time of year addressing your envelopes may seem like the last thing you need to spend time on. Â Make the process a bit more fun by trying interesting color combinations that will help your card stand out from the rest. Â Save time by using a return address stamp or fun printed labels, and you’re all done!
Materials:
Holly Berry Greeting Stamp  (Greeting stamps work just as well inside a store bought card)
Holiday Wreath Return Address Stamp
Cover paper, cut into 5.5″x5.5″ square cards
Stamp Pad, we used Hunter Green
Grosgrain ribbon, search Etsy, Ebay or local thrifts for the vintage stuff.
5.75″x5.75″ Envelopes, we used Papaya
Photo Credits: Antiquaria

Great simple tutorial! Love the hand addressed envelope & color combination! Where do you get your custom stamps from?
Thanks! The stamps are from http://www.shopantiquaria.com
I just love it, simply beautiful.
Very Informative! Thanks for the info on rubber stamps.
I love this! This is beyond amazing, so clever!