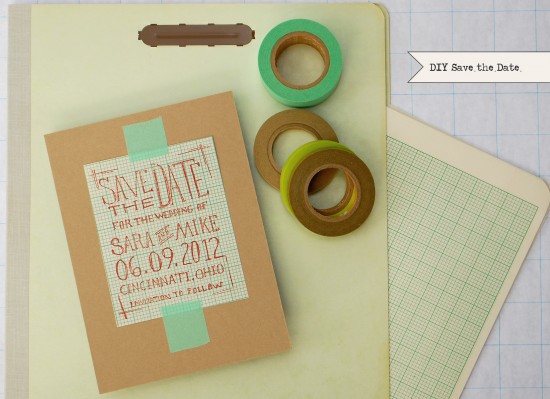
It’s the ladies of Antiquaria, back with another fabulous and creative DIY project for you all! Â This project is for wedding save the dates, but you can easily apply this tutorial to any party invitations or announcements!
Inspired by some awesome vintage graph paper we found while rummaging through an estate sale, we crafted up this super easy (only 3 steps!) and affordable DIY save the date perfect for a casual and cheeky affair!!  This project requires just a few materials and most that are extremely easy to find – you might even have them hanging around your office at this very moment.
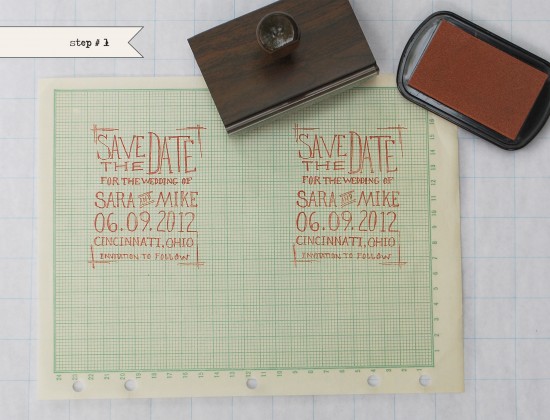
Step One:Â Choose the paper you wish to stamp on (a list of options follows below) and lay it on a flat surface. Â Ink the stamp; we used the “Sketchbook” save the date stamp for this design.
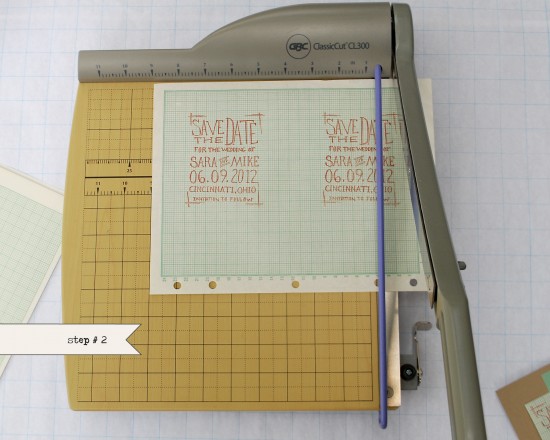
Step Two: Â Once you have all of your images stamped, use a paper cutter or a cutting mat, x-acto knife and ruler to cut them to the correct size. Â Our suggestion is to give 1/8″ to 1/4″ of border on each side of your image.
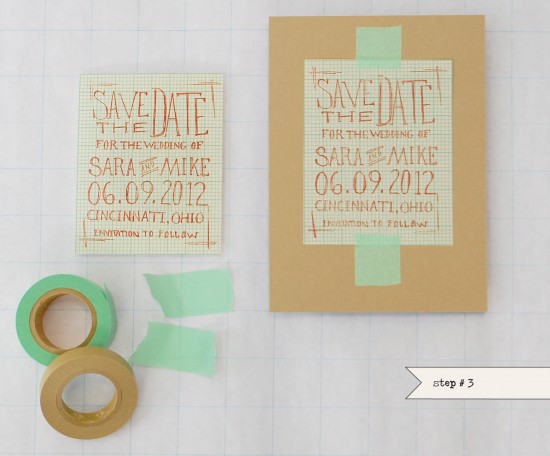
Step Three:Â Tear pieces of decorative washi tape to secure the stamped image in place on the backer (size A6). Â If you want the stamped image to be more securely affixed to the backing, use spray adhesive to adhere them together.
Materials List:
Custom rubber stamp: “Sketchbook” Save the Date
Decorative Paper:Â (this can be found at your local office supply store, thrift stores, estate or garage sales or in your own office!) Â Or, if you want, go here to print your own customizable graph paper for free!!
Paper cutter or self healing matt, X-acto and ruler
Color Box Stamp Pad: We chose a rust/brown color for this tutorial
Backing Paper: We used pre-cut Kraft card stock, size A6
Photo Credits:Â Antiquaria


So adorable! It’s easy to forget how pretty such simple designs can be.
Just love this idea!
This is adorable! I love this idea and how creative you can get with it 🙂
Yayyy, I am one happy Bride to be. Thank you for all your amazing ideas you have given me.