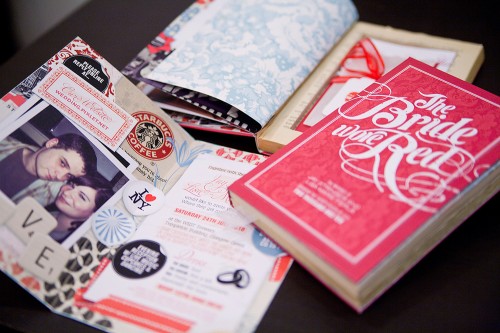
These wedding invitations are just so cool and different – well, they just make me happy.  Lyndsay from It’s a Date Design created this pulp novel invitation suite for the wedding of her friends Lis and Jay, which she made out of re-purposed Mills and Boon books.  This project turned out to be quite an international affair – with the invitations traveling from Lyndsay’s design studio in Melbourne, Australia all the way to Lis + Jay in Glasgow, Scotland!
From Lyndsay: This project was a labour of love for my dear friend Lisa-Marie to celebrate her marriage to Jay – both are talented writers and avid music fans, so when it came to thinking about the format for their wedding invitation, a pulp novel seemed like the perfect solution!
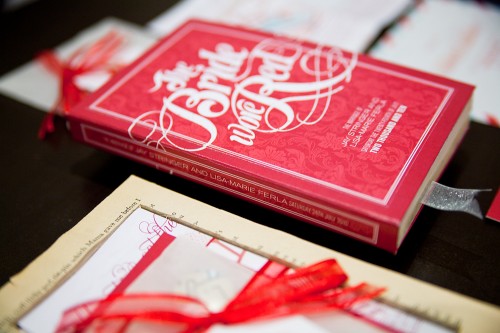
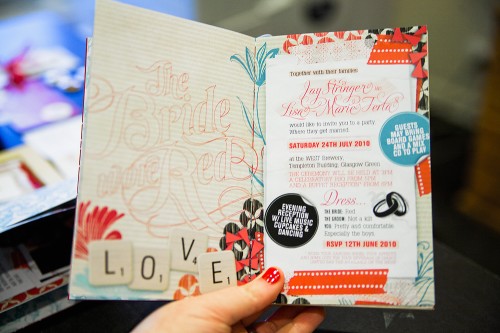
I commissioned good friend Dale Harris of Studio Ink to design a custom type creation for the “front cover” of the book, based on hours of research into the pulp novella genre and lots of Old Hollywood movie posters!
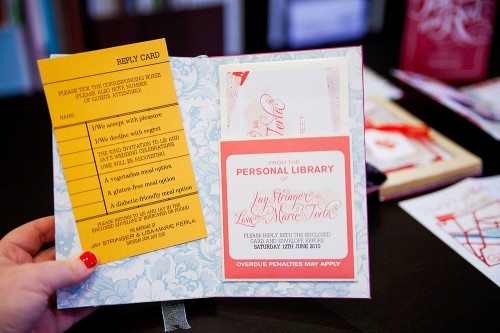
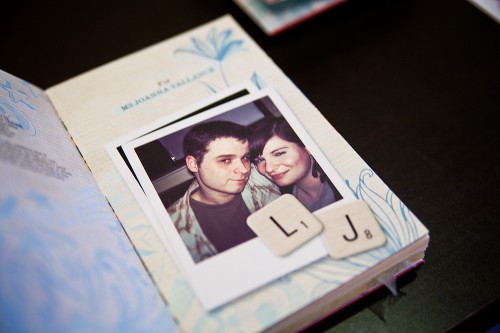
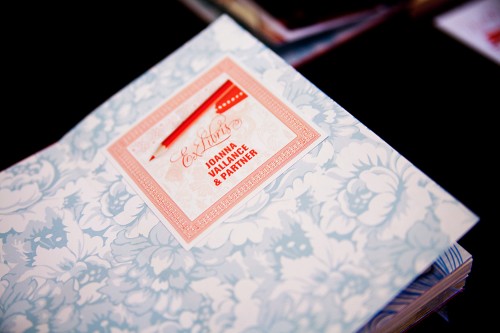
The cover opened to reveal the invitation to Lis and Jay’s nuptials, as well as a short story/scrapbook of how the couple met, and closed with a little library-inspired pocket and library card inside the back cover, which guests could fill out and return to the couple with their attendance plans.
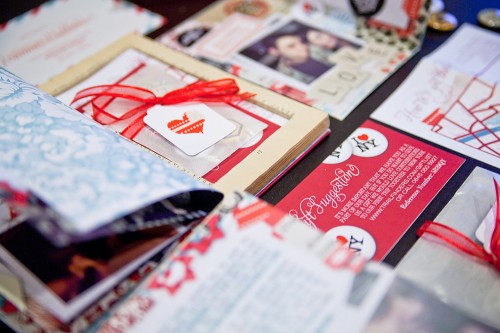
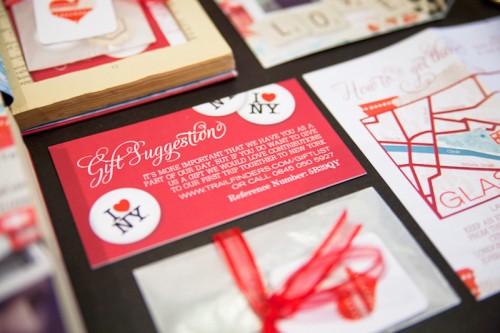
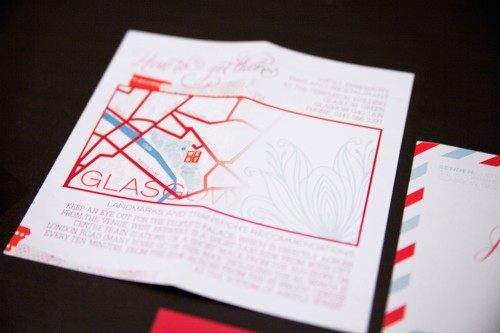
Below the invitation was a hidden compartment which housed a little button badge pack with gift tag, registry information and fold-out map.
Each invitation was re purposed out of vintage romance novels (many a Mills and Boon was harmed, I’m afraid!) which were stuck together page by page to form the hollowed out secret section and rebound with the couple’s custom artwork.
The dedication page was made out to each guest in receipt of an invitation, and each book included a beautiful silk ribbon bookmark. The great thing about this suite, apart from being completely “Lis and Jay”, is that I imagine many went straight to the bookshelf for keeps – a lovely memento of a beautiful day.
Thank you so much Lyndsay – these are fantastic!  Check out a bit more, including some work-in-progress photos, over at Lyndsay’s blog!
{image credits: it’s a date design}

These are AMAZING! And I can’t get over how clever and kind of mysterious the title is…”The Bride Wore Red.” So much fun!
so unique and cute!
Very Cool! We should all be so creative and personal!
Too freakin’ cute! Love them!
Amazing! Love these invites, so creative and unique. It’s a date design do some super cute work.
Gorgeous invites and so incredibly creative! Great job Lyndsay!!
Absolutely gorgeous! So much love and hard work have gone into these and it shows.. awesome work Lyndsay 🙂 xo
Wow as I always knew you are so gifted! these are true works of art! 🙂
I love every single thing about these. AMAZING!
Love these!!
Ive been trying to cut out book pages for a secret hidey hole for a while and can’t seem to do it without destroying the book. Any tips from the designer?
Thankyou for all the kind, lovely comments, and a massive thanks to Nole for popping this up on the blog, it’s a dream come true to see it on OSBP.
Stefanie – this is by no means the best way, but it worked for this project! The pages of the repurposed books were pretty old, rough and pulpy so they glued together quite well – I used cheap glue sticks (for the entire guest list, there ended up being A LOT of glue sticks used, so we went with inexpensive brands!), and glued each page, starting from the back cover, with a quick swipe of glue around the edge of the right hand page in a big rectangle, and then another glue line slightly inside this rectangle – so really concentrating on the part that was going to be glued together, rather than the whole page. I didn’t glue the interior of each page for each spread (too time intensive, and in my opinion perhaps unnecessary?), but did do this every 10-15 pages or so, just a quick “x” glue swipe did the trick. Every so often, I’d close the book completely to check I wasn’t gluing the pages on a slant, which can happen, and whilst the glue is still wet, you can slightly move/adjust the pages so they all line up neatly. Once each book was glued, I’d put it in between two heavier books to keep it flat and compact to dry. I’d leave these for several days if possible, and then I used a really sharp scalpel to cut out the part I wanted “hollowed out”, trying to just cut a few pages deep at a time. If for any reason the “top page” of the glued book looked a little messy or had a wrinkle, etc., I’d just glue another page over the top of it to neaten it up and re-trim the hollowed out section to fit, this made things look nice and finished. Since doing this project, I have read that it is possible to achieve a similar affect by pasting the edges of the pages of a book with glue and a brush, but haven’t tried this method myself, I’m not sure if the result would be the same. As with all repetitive craft projects, picking a good movie to watch whilst you glue helps a lot too! Good luck!
OMG those are outrageously gorgeous! I love these sooo much!!!
Love it!!! Has absolutely inspired me and my FH to do something similar, considering our love of books (maybe a reason not to destroy them!??). Only concern I’ll have is with getting books rebound/creating covers ourselves. But I -adore- the idea! 😀
What an AWESOME Idea!