Hi Everyone! We have another fantastic guest post from Nichole of Coral Pheasant coming up in just a bit, but first I wanted to pop back in to share a quick DIY project that I’ve had brewing in my head for the past couple of months. I thought these DIY Shibori-inspired watercolor placemats might be fun for outdoor celebrations over the long Labor Day weekend – or even for the holidays once we’re forced to move things back indoors. I love Shibori patterns, and I also love dyeing fabric, but the fabric dyeing process can be kind of intense and I wanted a bit more control over the results. So! I decided to break out my 30-color Koi Watercolor Pocket Field Sketch Box and see what I could do with watercolor paint and placemat-sized watercolor paper. These placemats would be a fun and unfussy addition to an informal dinner party (when you don’t necessarily want to bust out the fancy linens) or put a few together to create a colorful table runner!
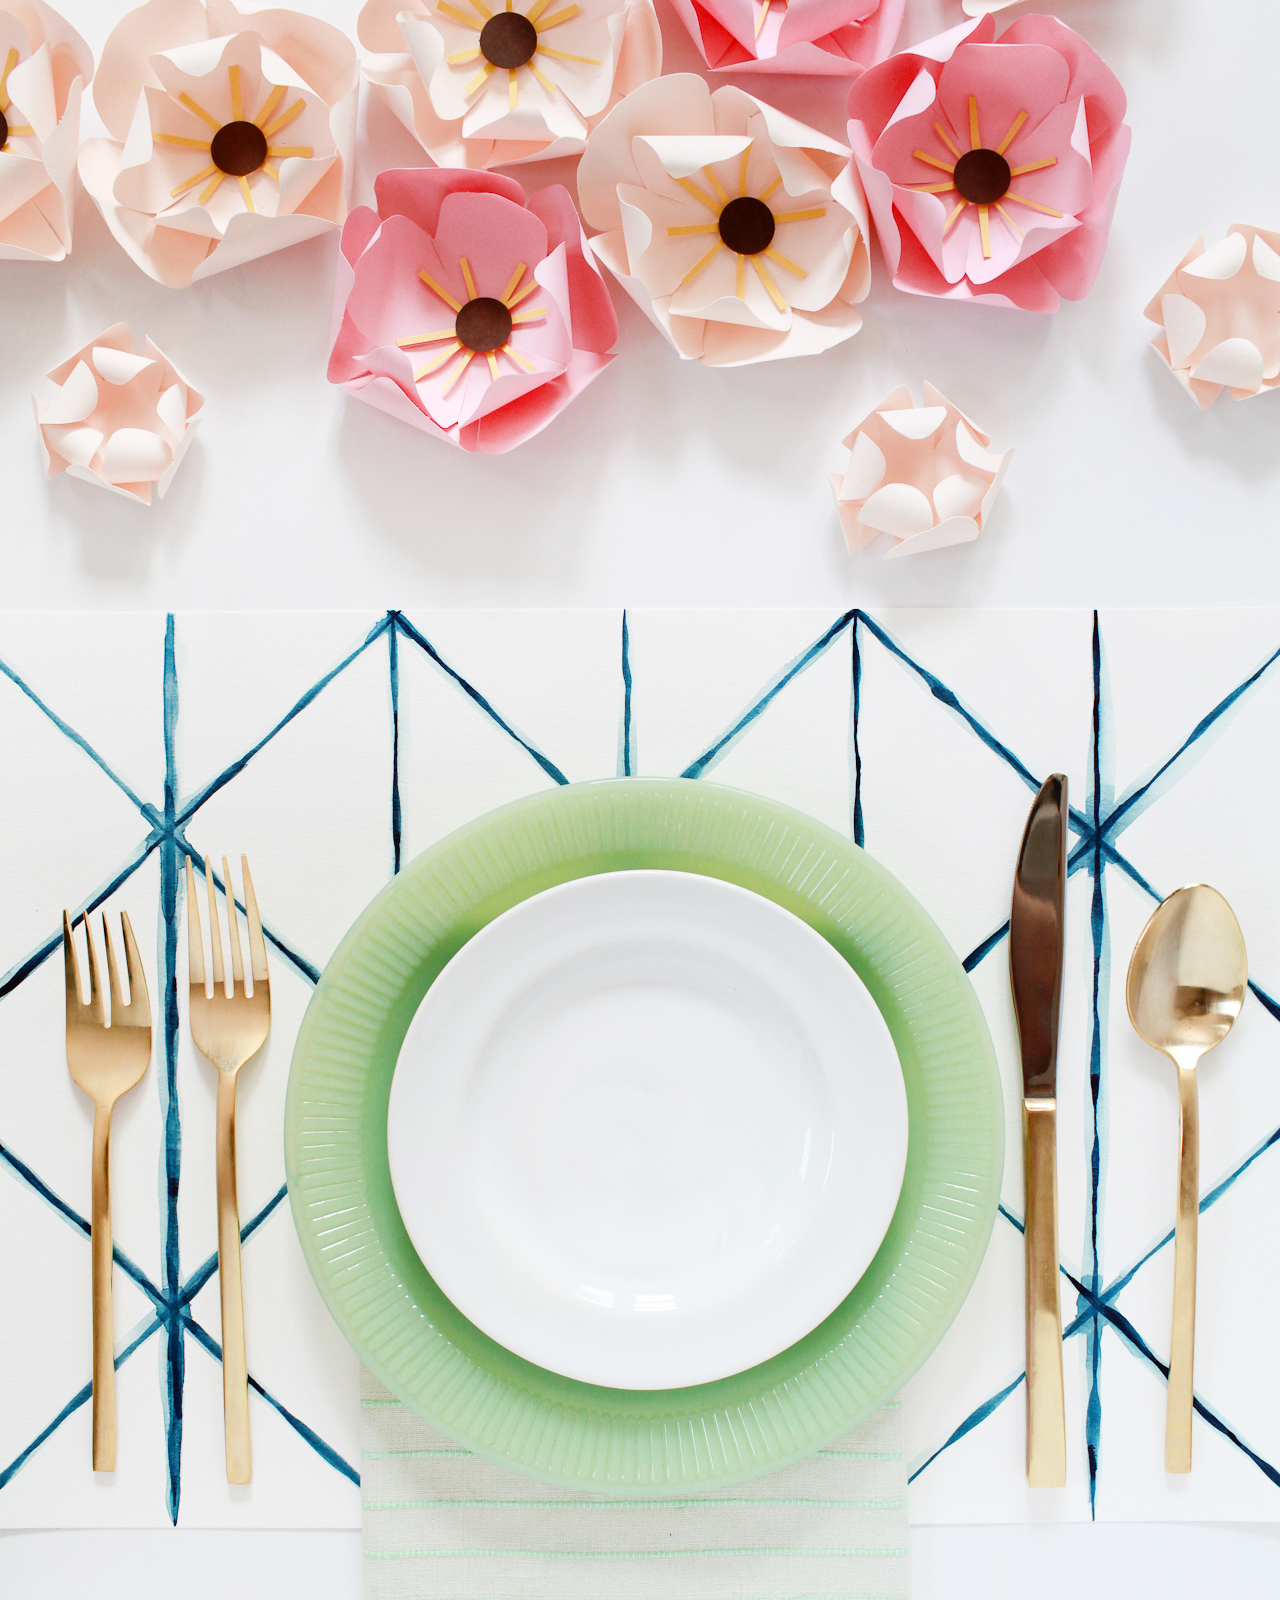
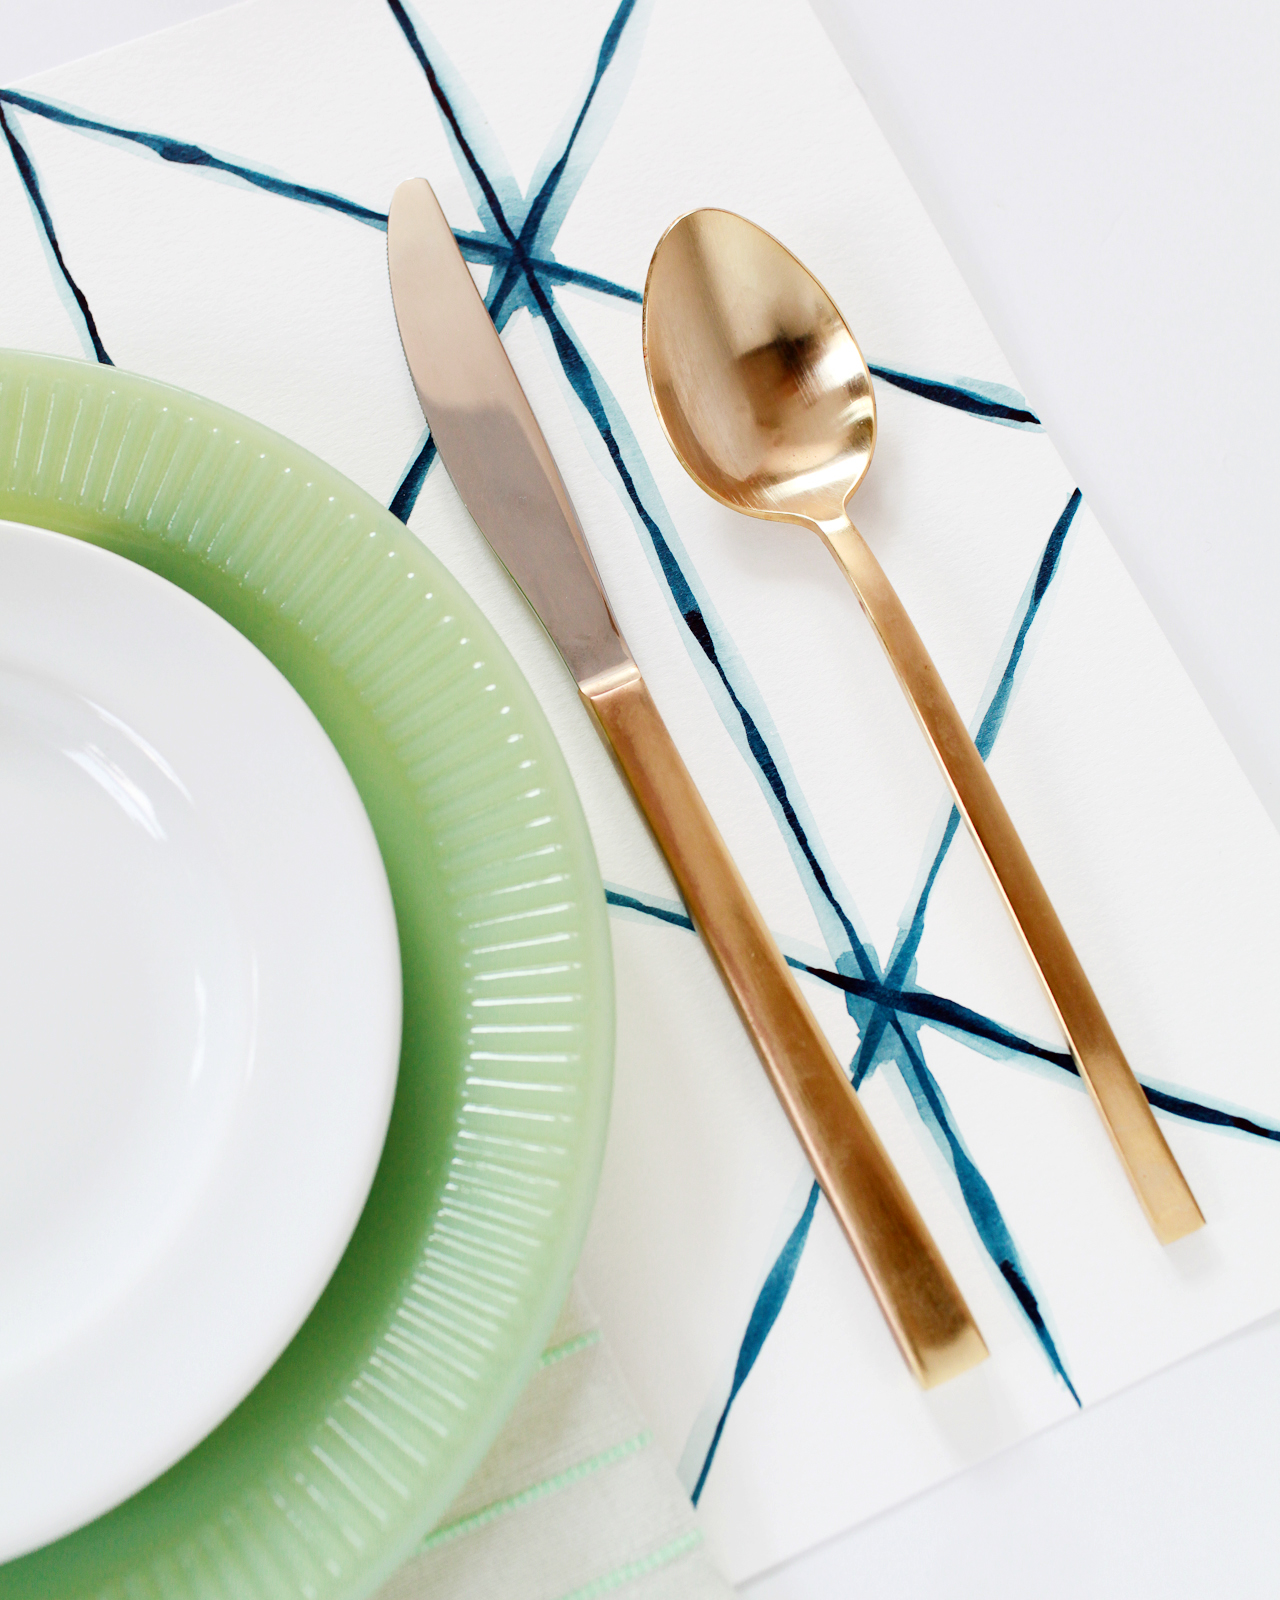
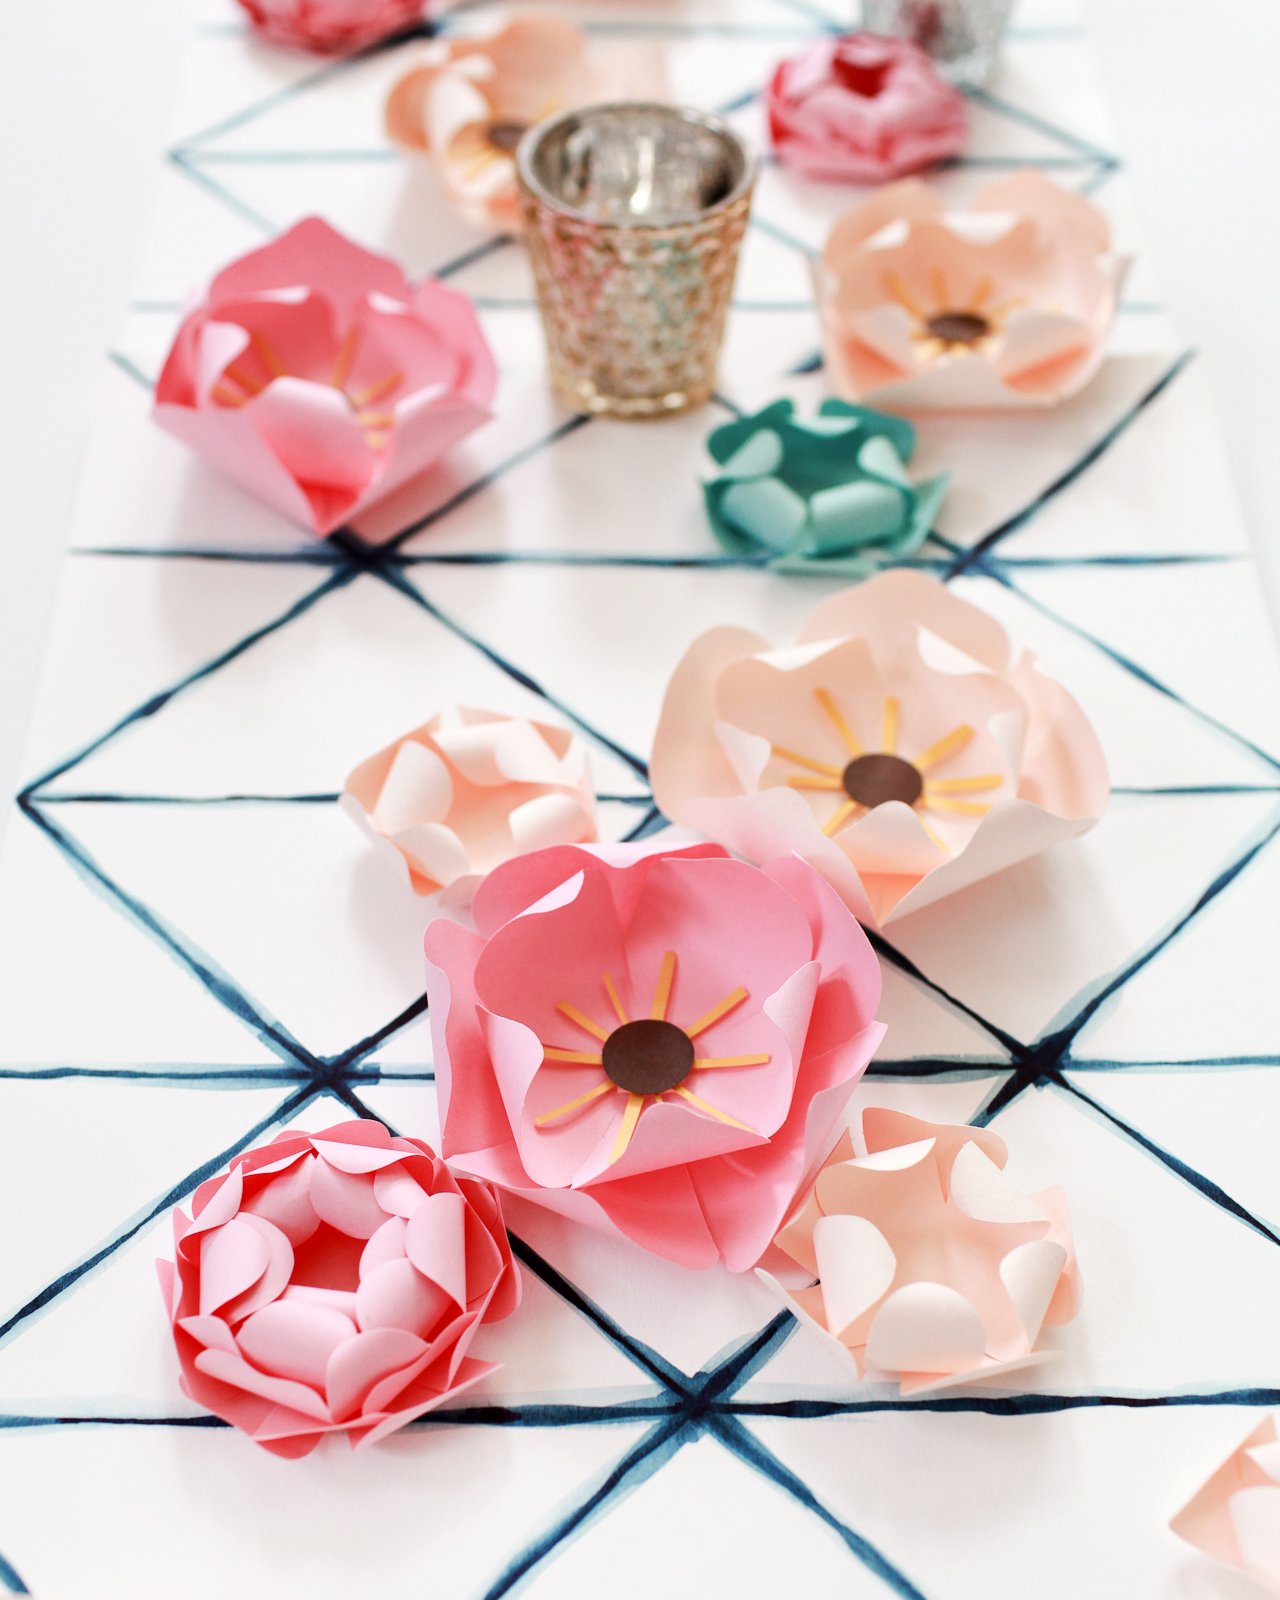
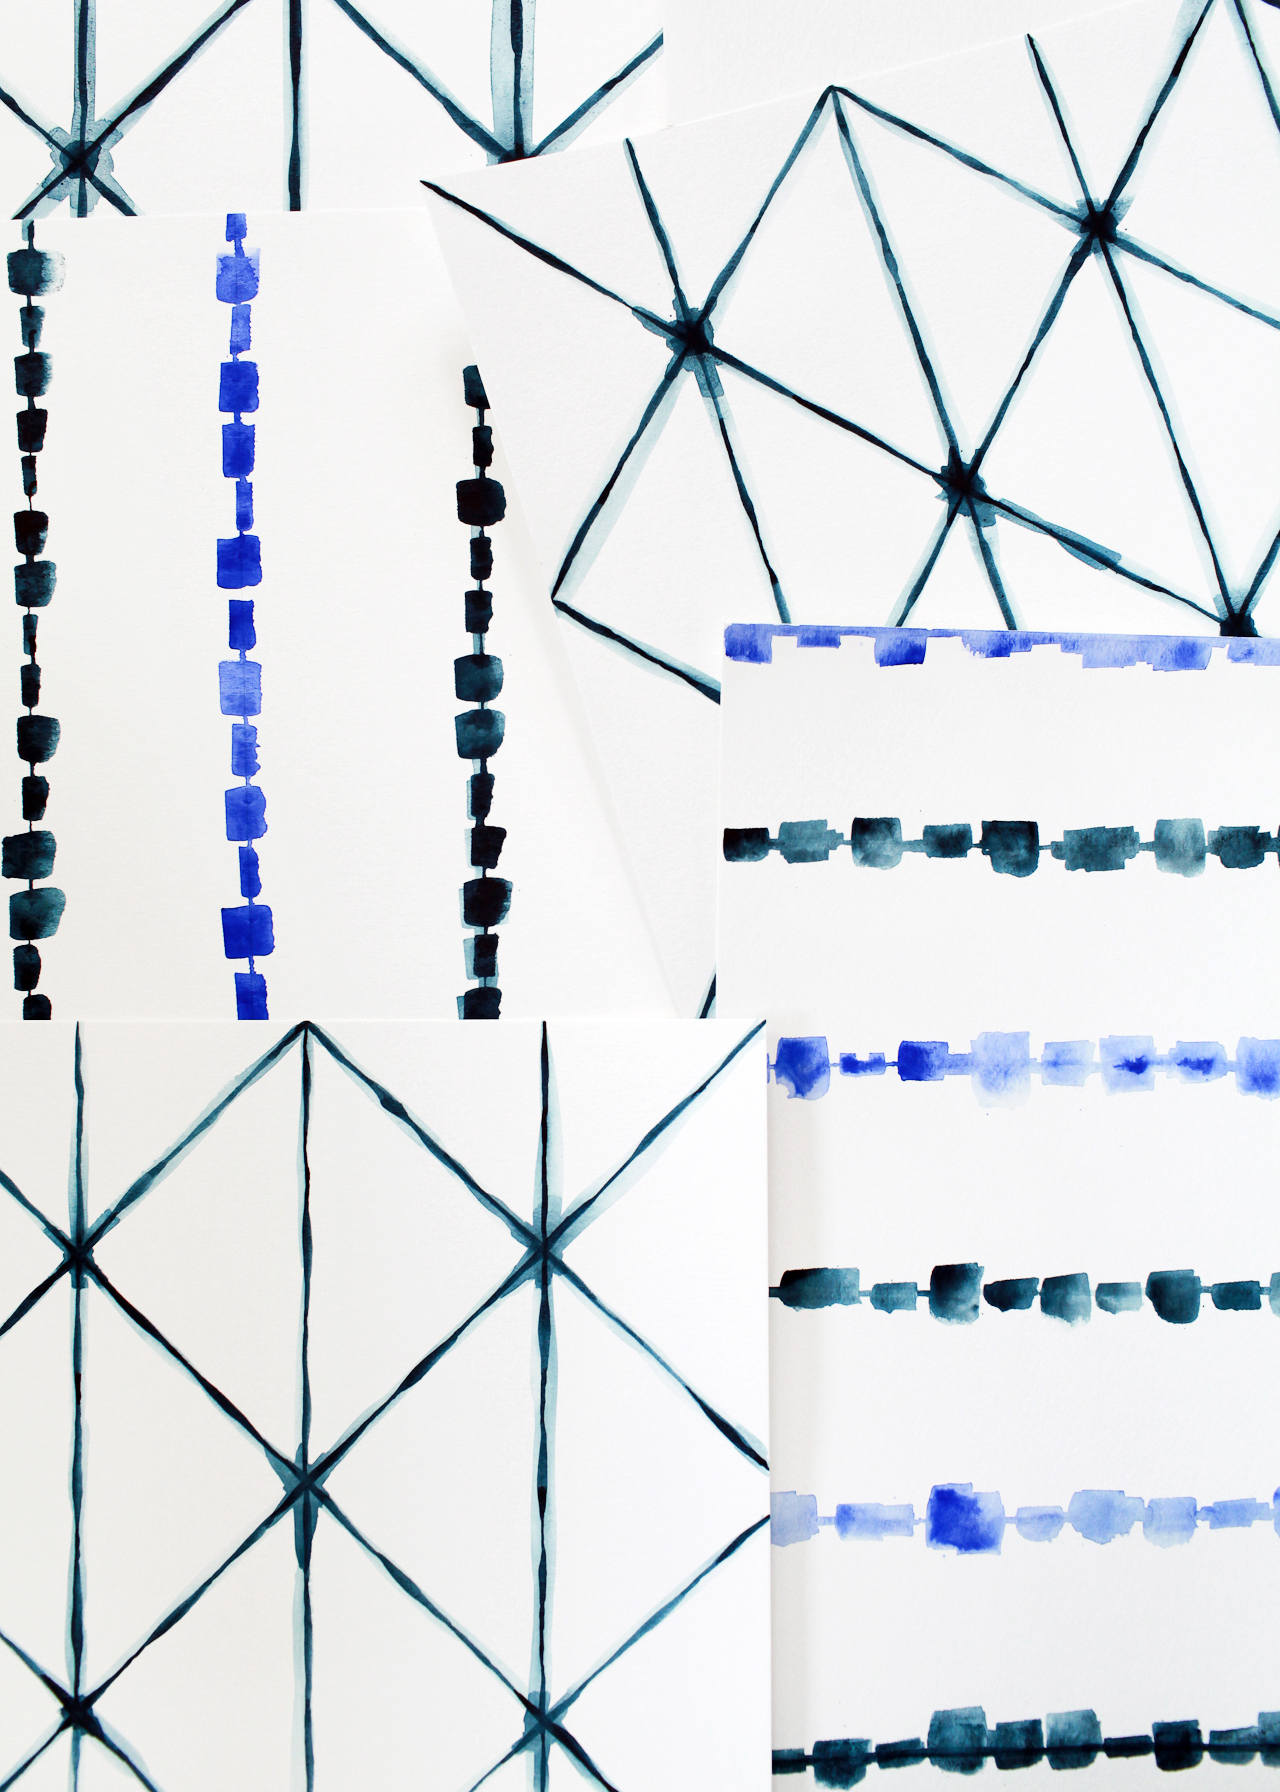
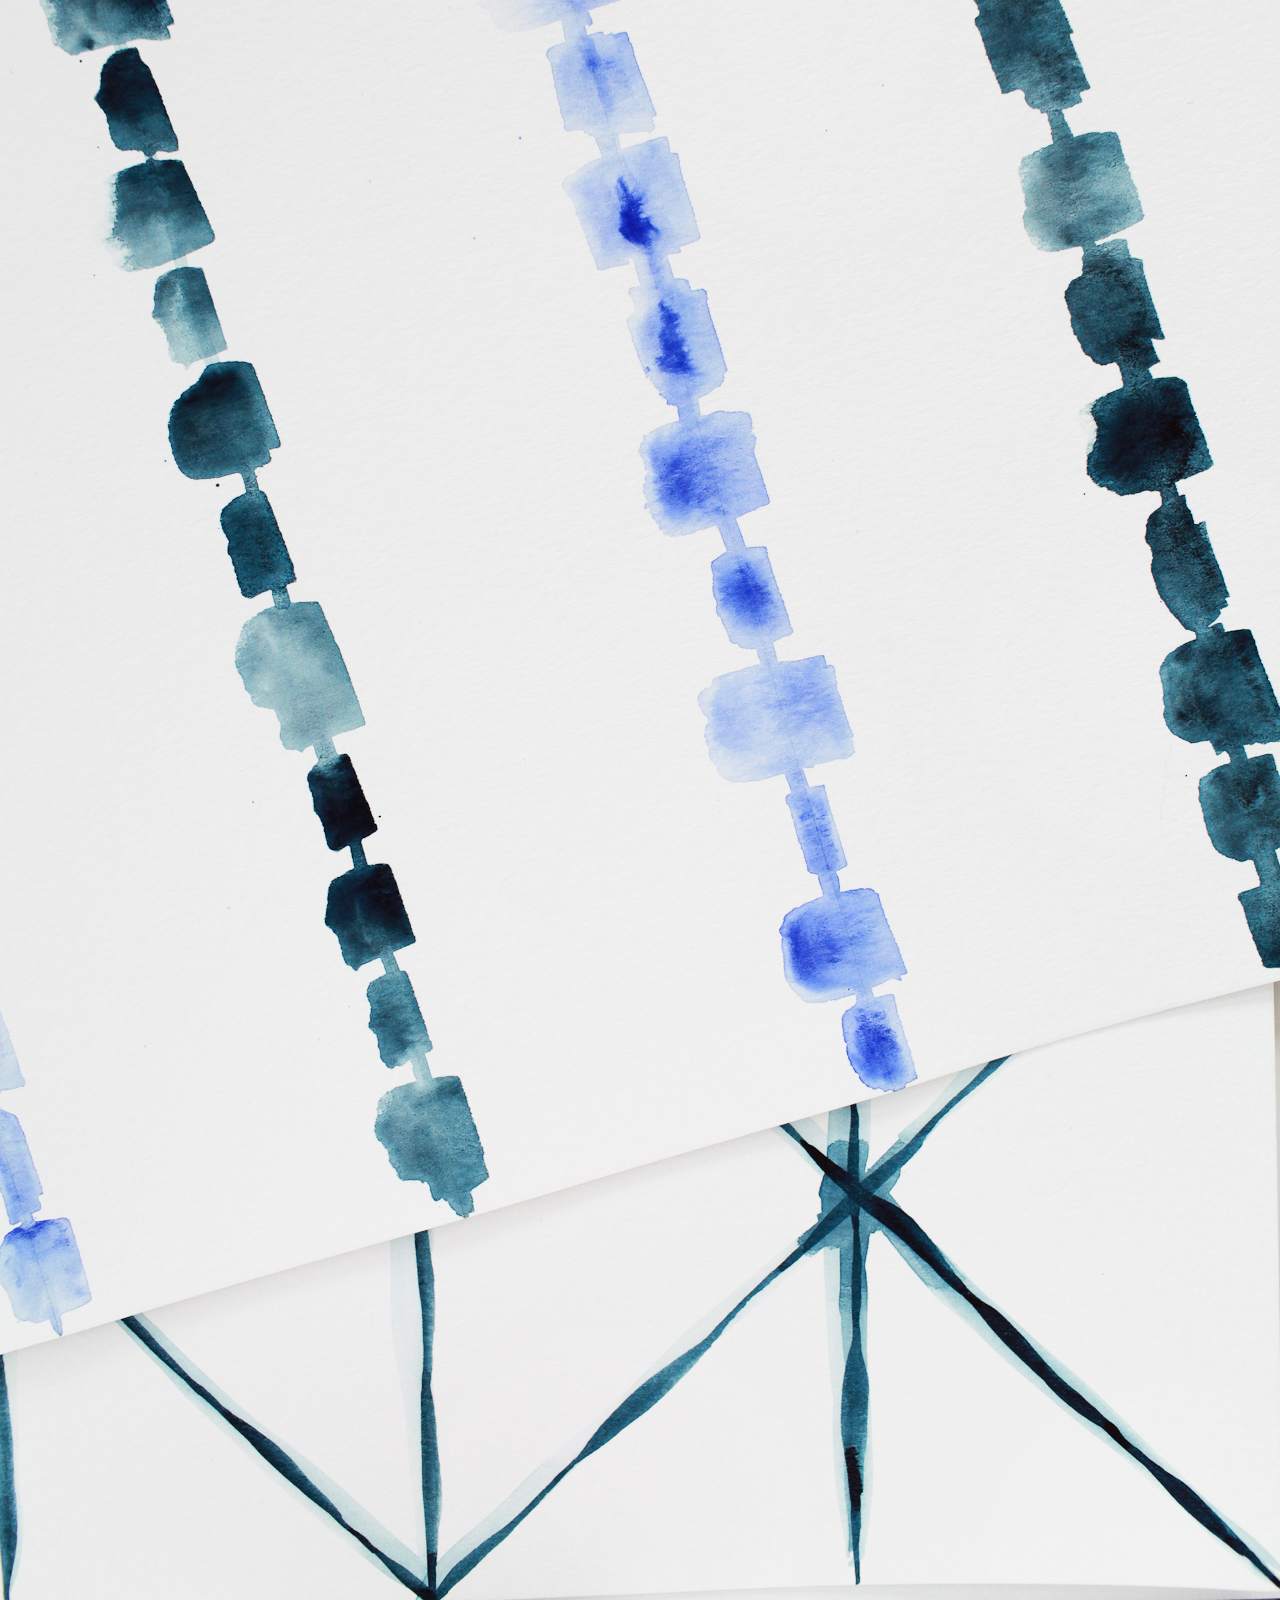
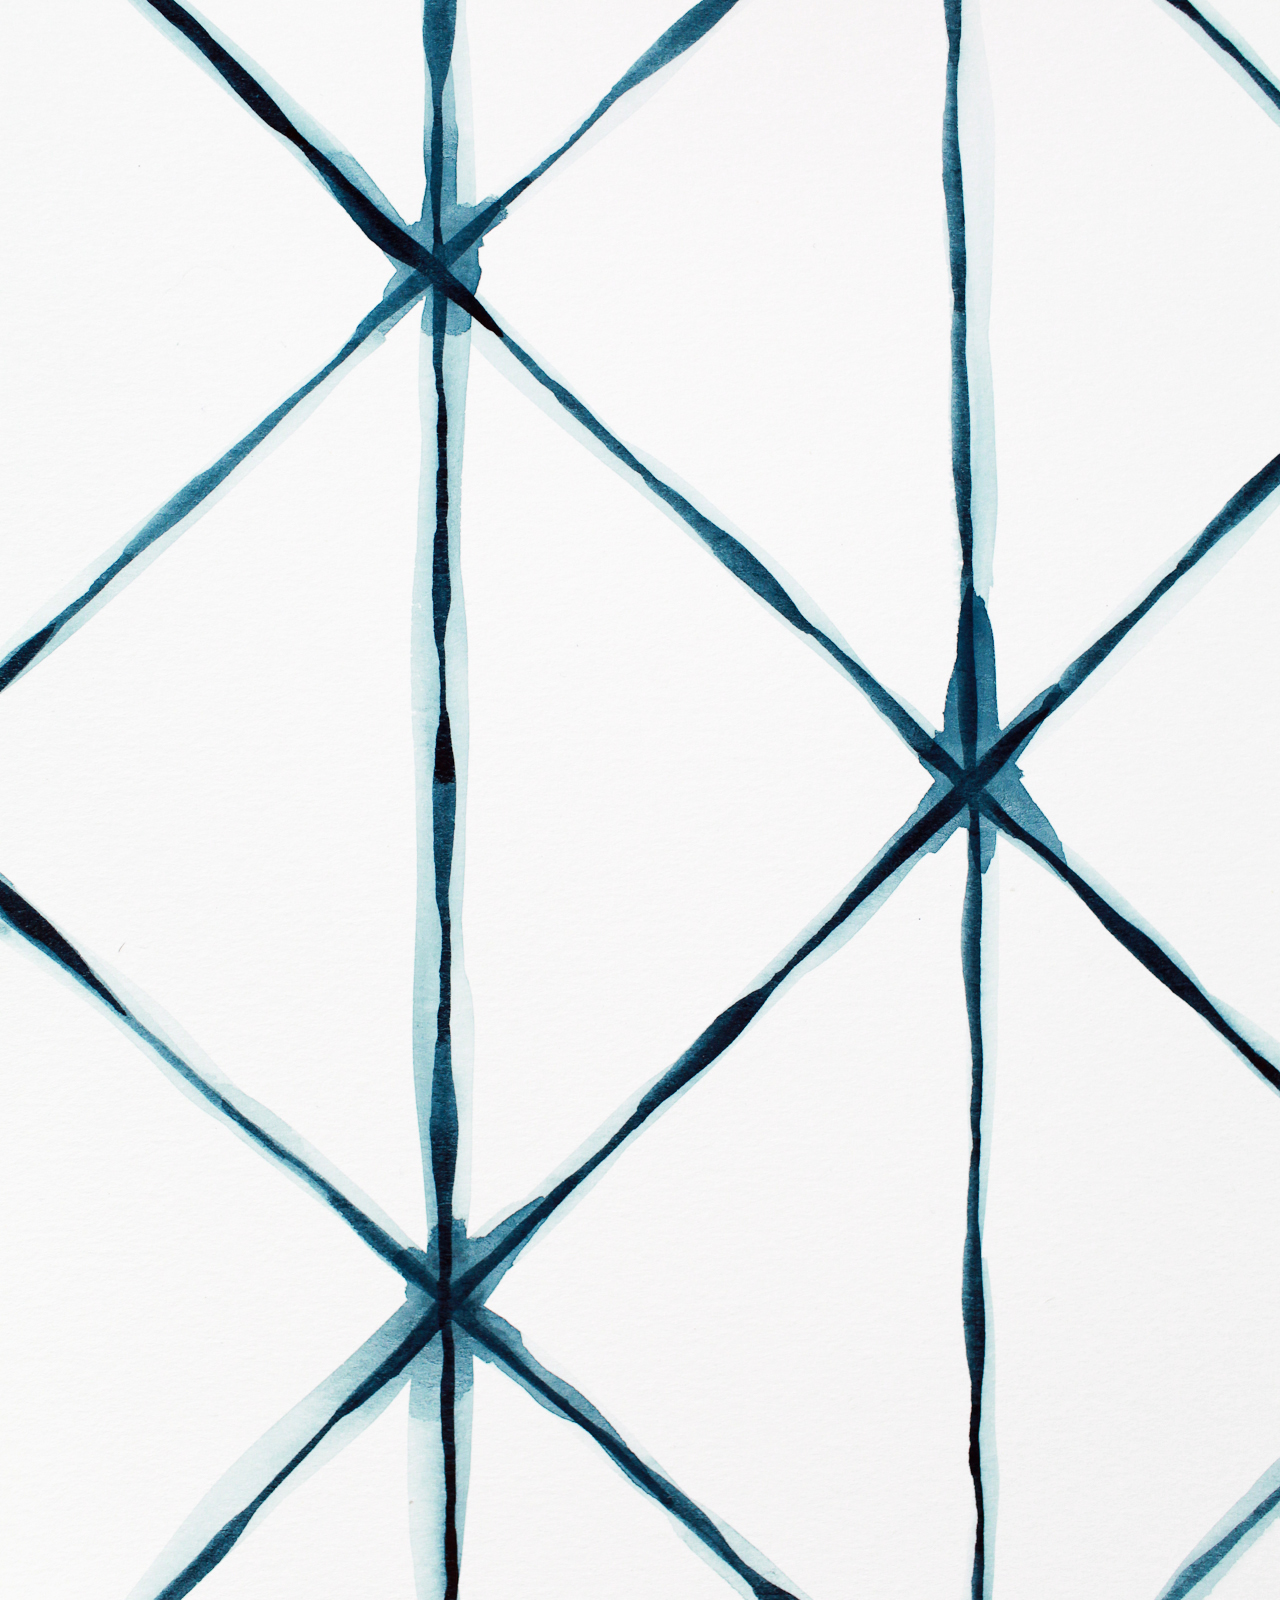
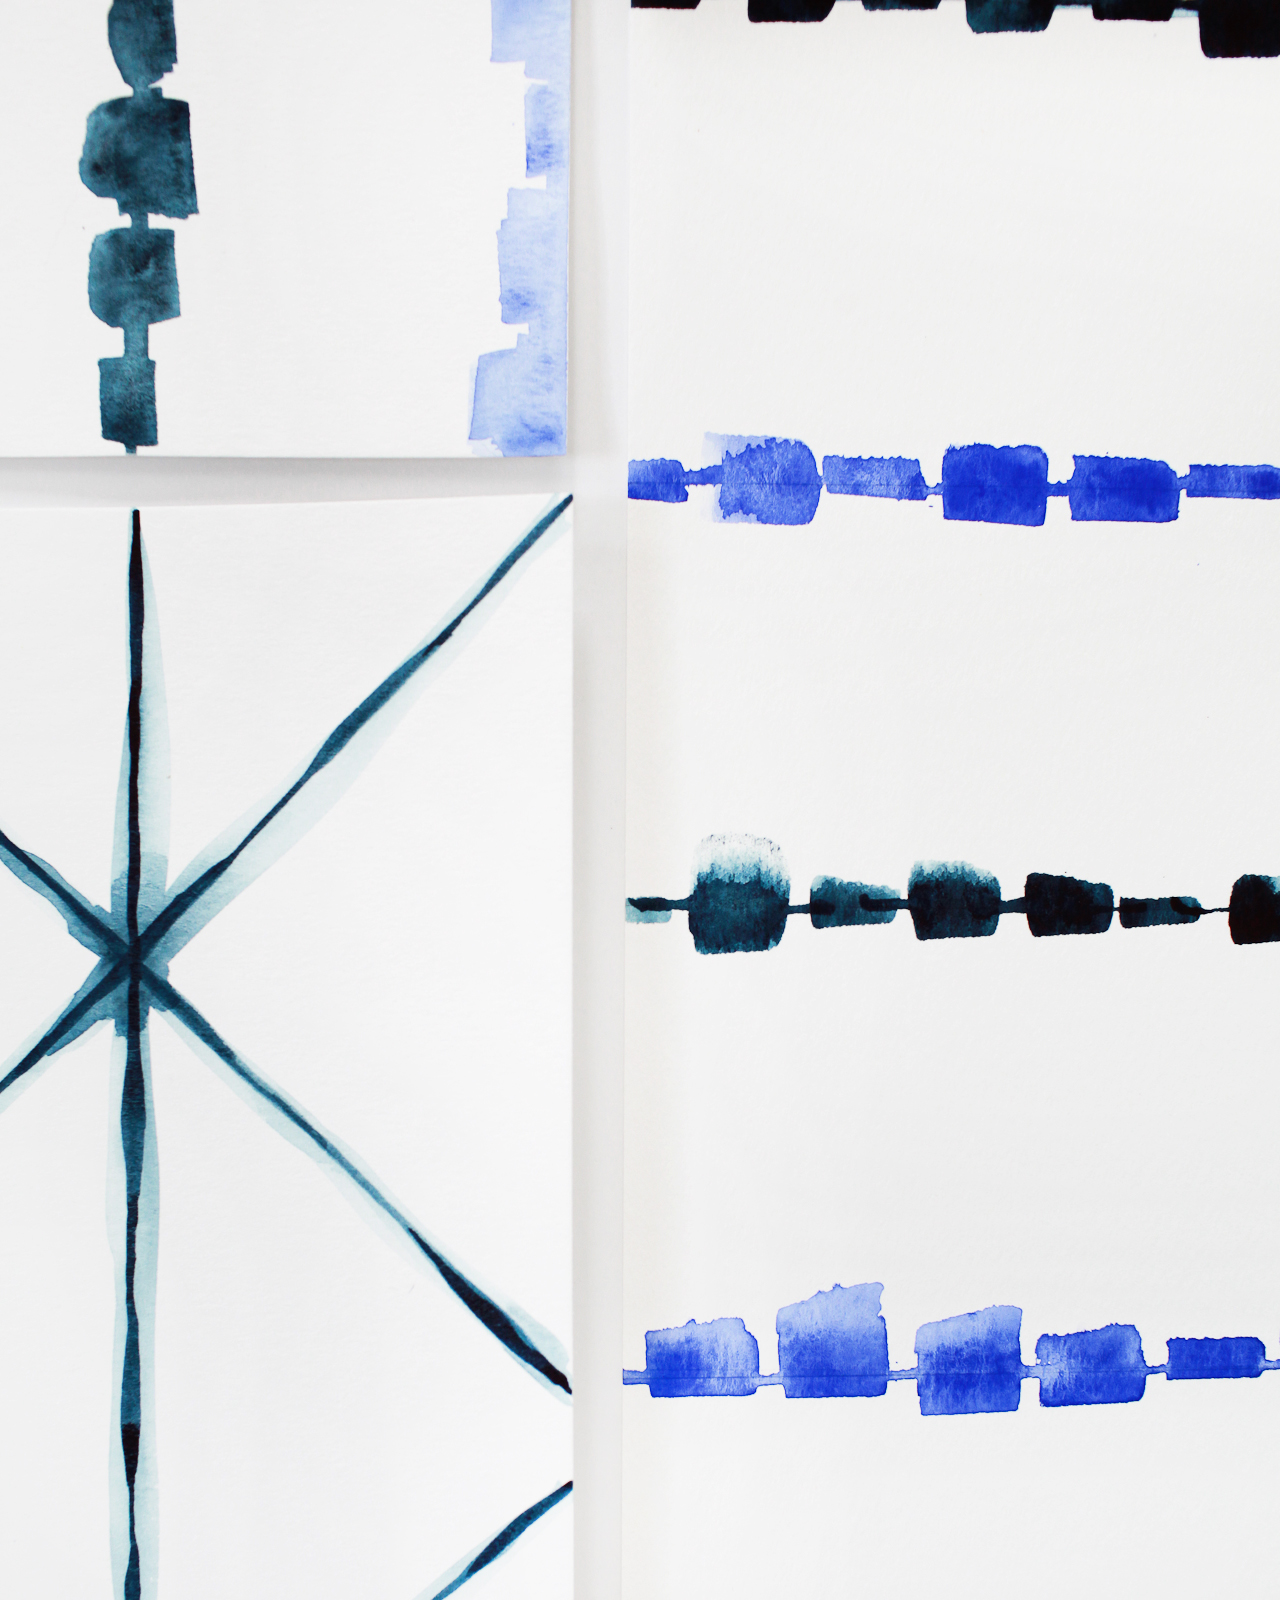
I made two placemat designs: one inspired by the traditional Shibori triangle fold technique, and another striped design loosely inspired by the rubber band resist technique. The triangle fold pattern was actually inspired by my Shibori-inspired shower curtain that I picked up from Target a couple of years ago (of all things), and the striped pattern was inspired by the pattern on this chair. The two patterns work really well together, and I love the mix of cobalt and indigo blue. Also! This is a first for me, but I thought it might be easier for all of you to watch the actual painting process rather than try to photograph each and every step – so I made a video tutorial! Please forgive the video quality (it was just me and Hyperlapse on my phone), but it was so fun to put the whole process together, so hopefully I’ll be able to do more of these videos down the road!
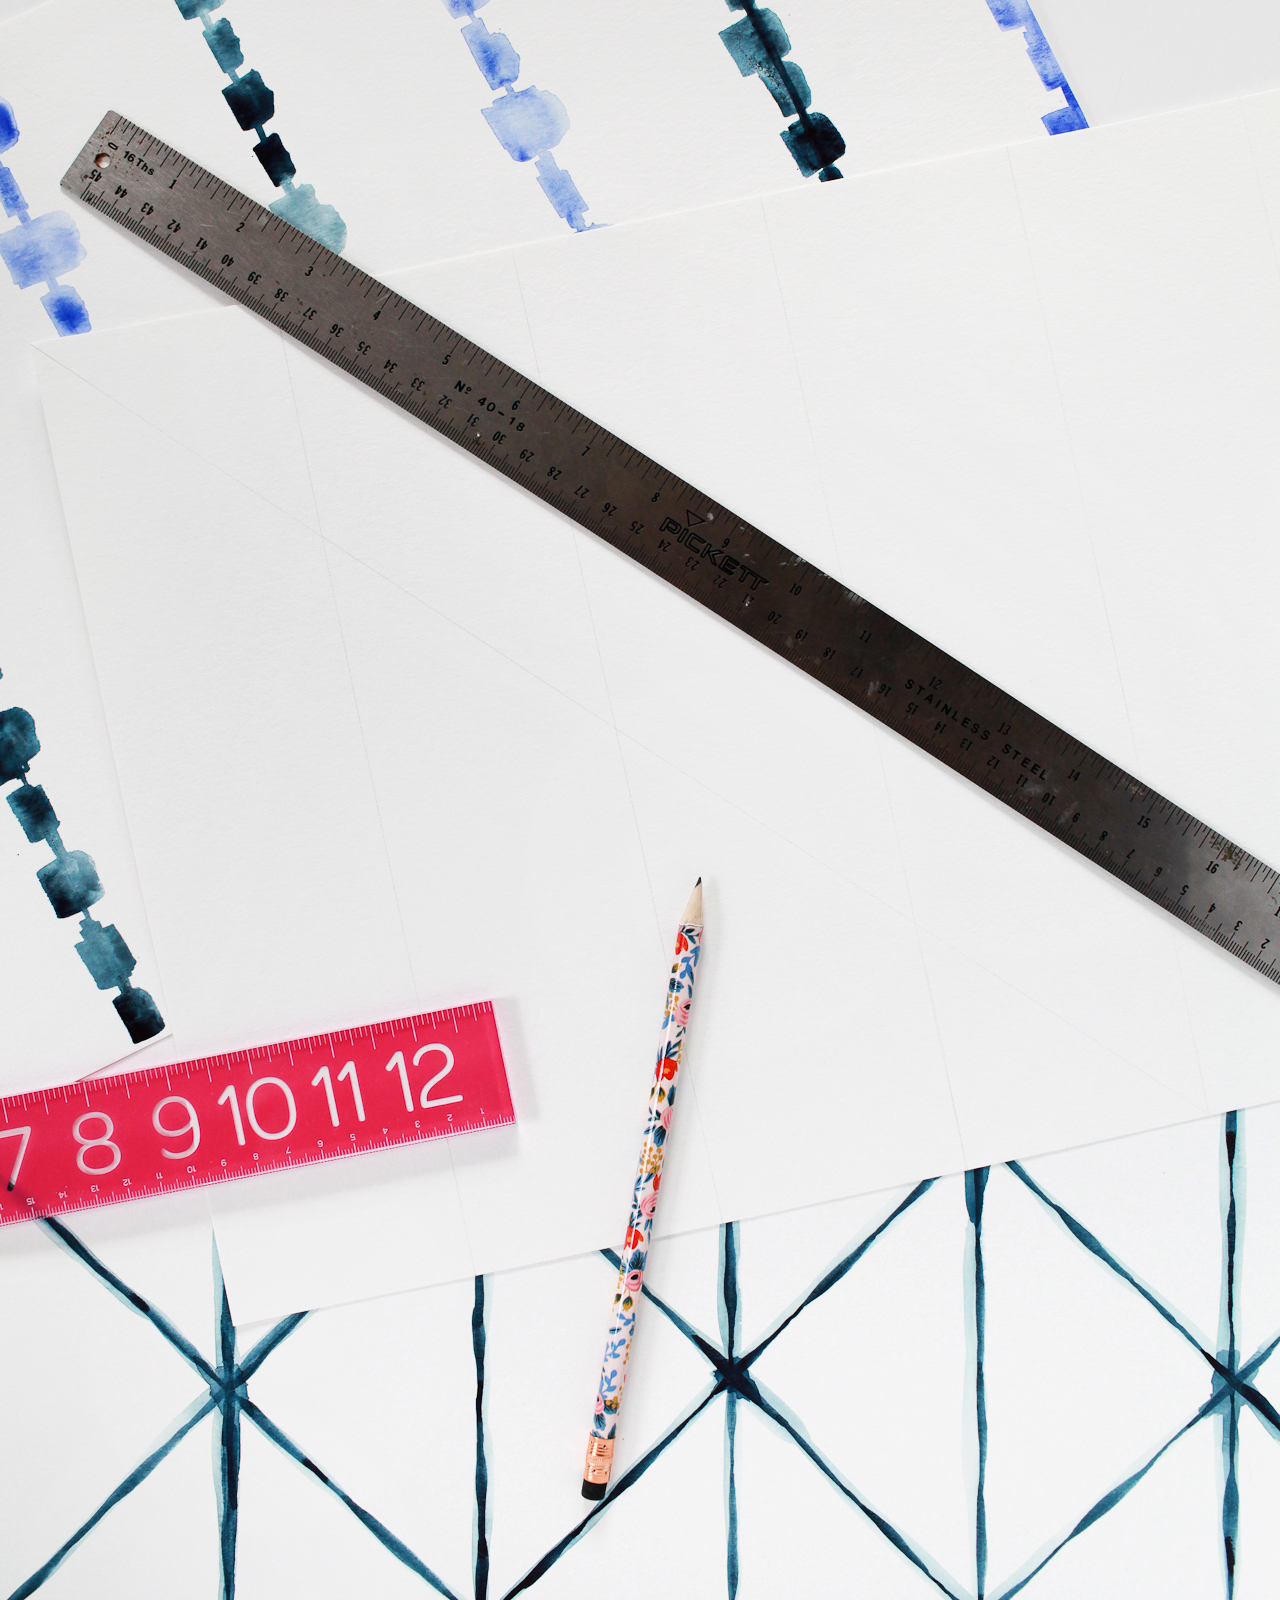
Supplies
30-Color Koi Watercolor Pocket Field Sketch Box
Size 6 Round Brush (I used this one)
3/4″ or 1″ Flat Wash Brush (I used a 3/4″ flat brush from this set)
12″ Ruler
18″ Ruler
Pencil
To Make the “Triangle Fold” Placemats
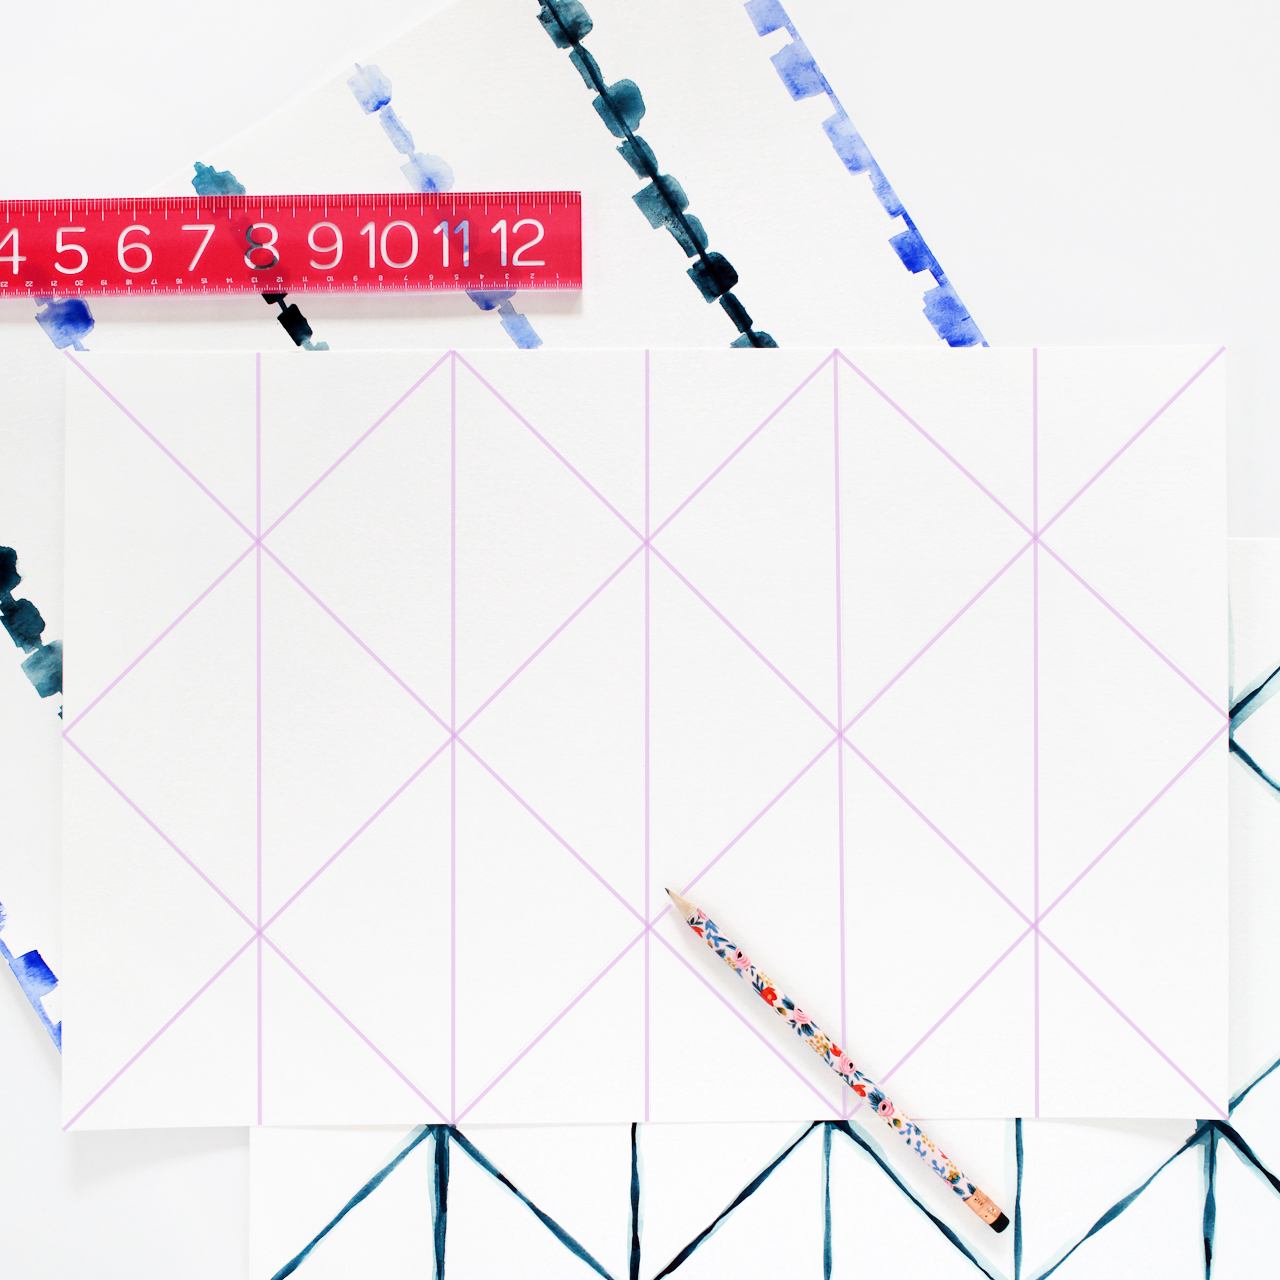
Step 1. Using a pencil and the 12″ ruler, draw very light straight vertical lines at 3″ intervals along your paper. Then, starting in the top left corner and continuing across the page, use the 18″ ruler to draw very light diagonal lines to connect the vertical lines. Once all of the lines have been drawn, the paper should look something like this (I highlighted my lines in lavender so you could see them more easily):
Step 2. Using the brush provided in the Koi Watercolor Pocket Field Sketch Box or a Size 6 round brush, paint the lines a deep indigo color. Use a lot of the indigo pigment and very little water to achieve a deep, saturated watercolor paint color. I recommend working in small sections from left to right (or right to left if you’re left handed) – you’ll see why in the video, because I made a mistake and smudged the wet watercolor paint after painting too far down one of the diagonal lines! Apply different levels of pressure along each line to create wider and thinner sections of each line. Let everything dry completely, about 10 minutes. You can use the drying time to paint more placemats.
Step 3. Use the round brush to add a small amount of indigo pigment to a small cup of water. Once the placemat is fully dry, use the tinted water to go over each line to create a diffuse dye-like effect. Finally, add an extra dose of indigo pigment where the lines intersect. Let the placemats dry completely and they’ll be ready to use!
To Make the Striped Placemats:
Step 1. Using a pencil and a 12″ ruler, draw very light straight vertical lines at 3″ intervals along your paper.
Step 2. Using a 3/4″ flat wash brush, paint varying horizontal widths (mine were between 1/4″ wide and 1″ wide) along each vertical line and alternating between cobalt and indigo on every other line.
Step 3. Use the thin edge of the brush to connect the horizontal sections along each vertical line. Add a layer of tinted water over each horizontal width to blend and create a more diffuse dye-like effect. Let the placemats dry completely and they’ll be ready to use!
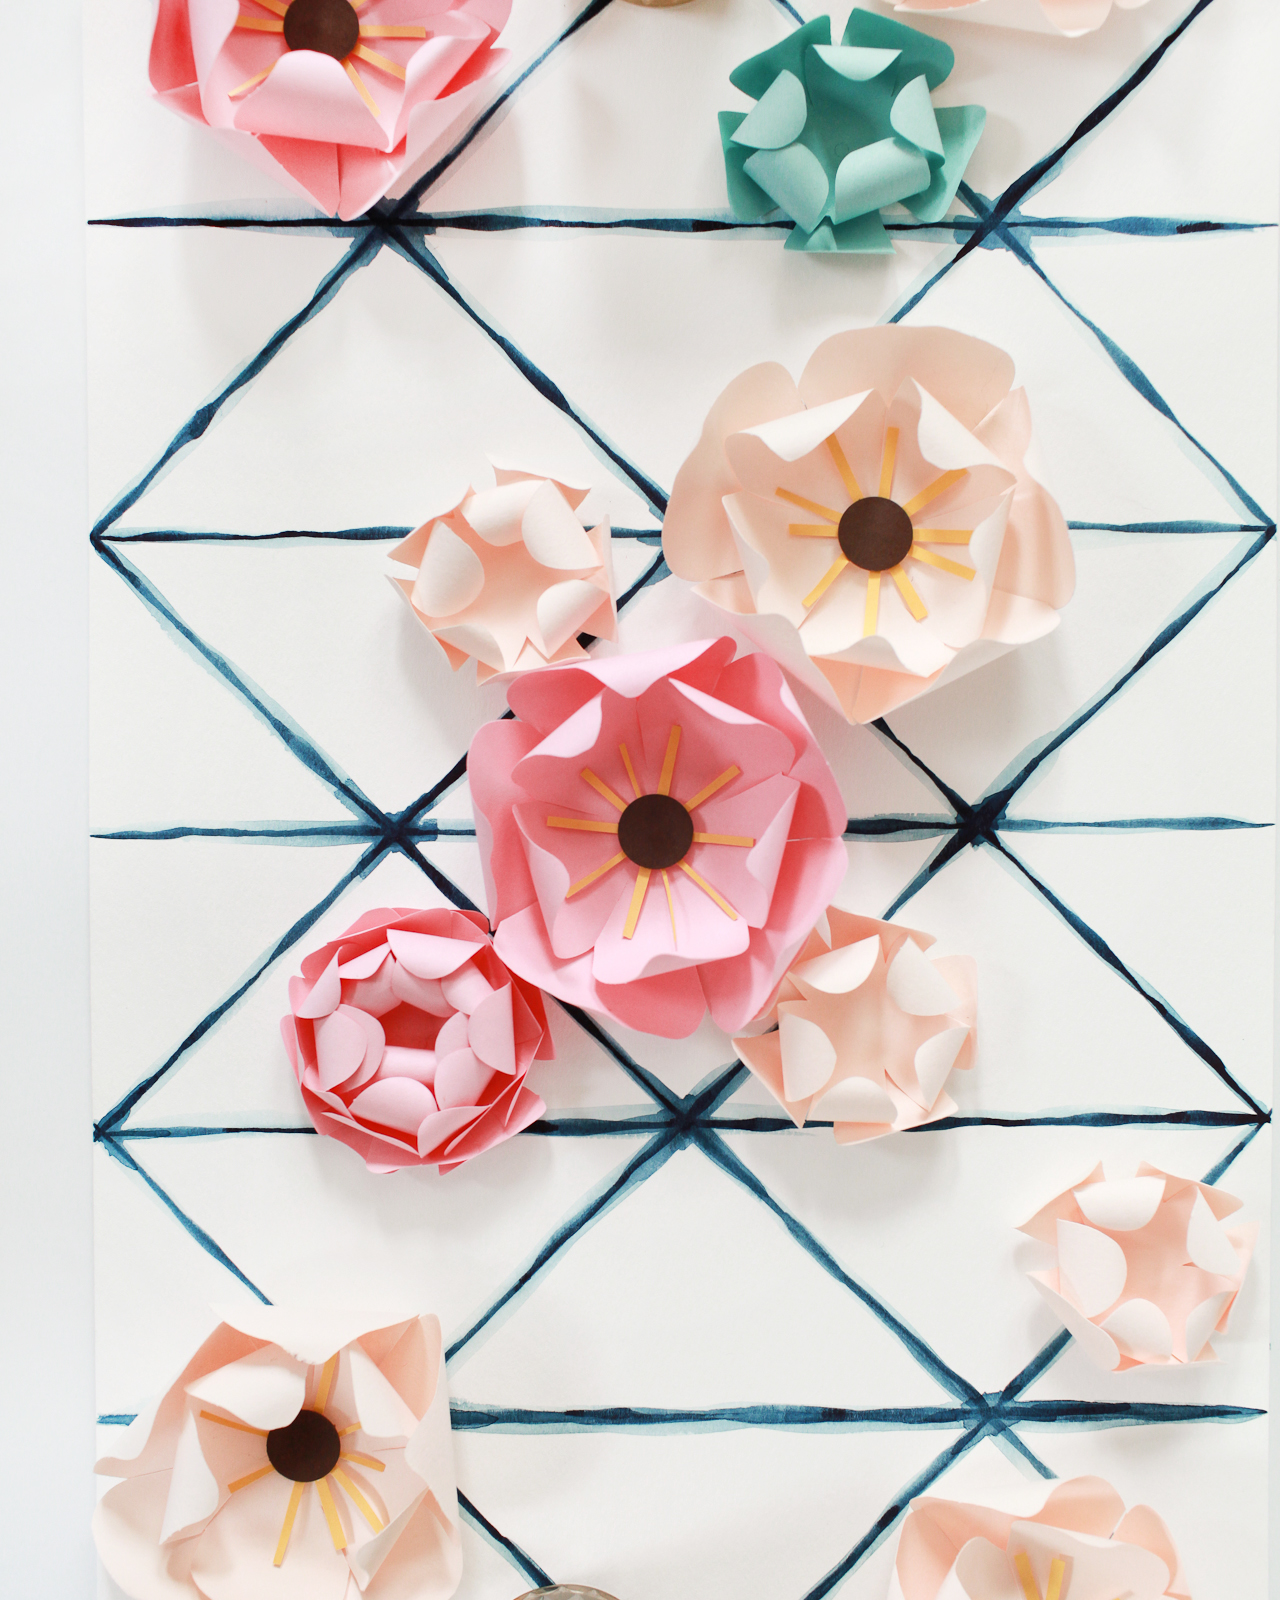
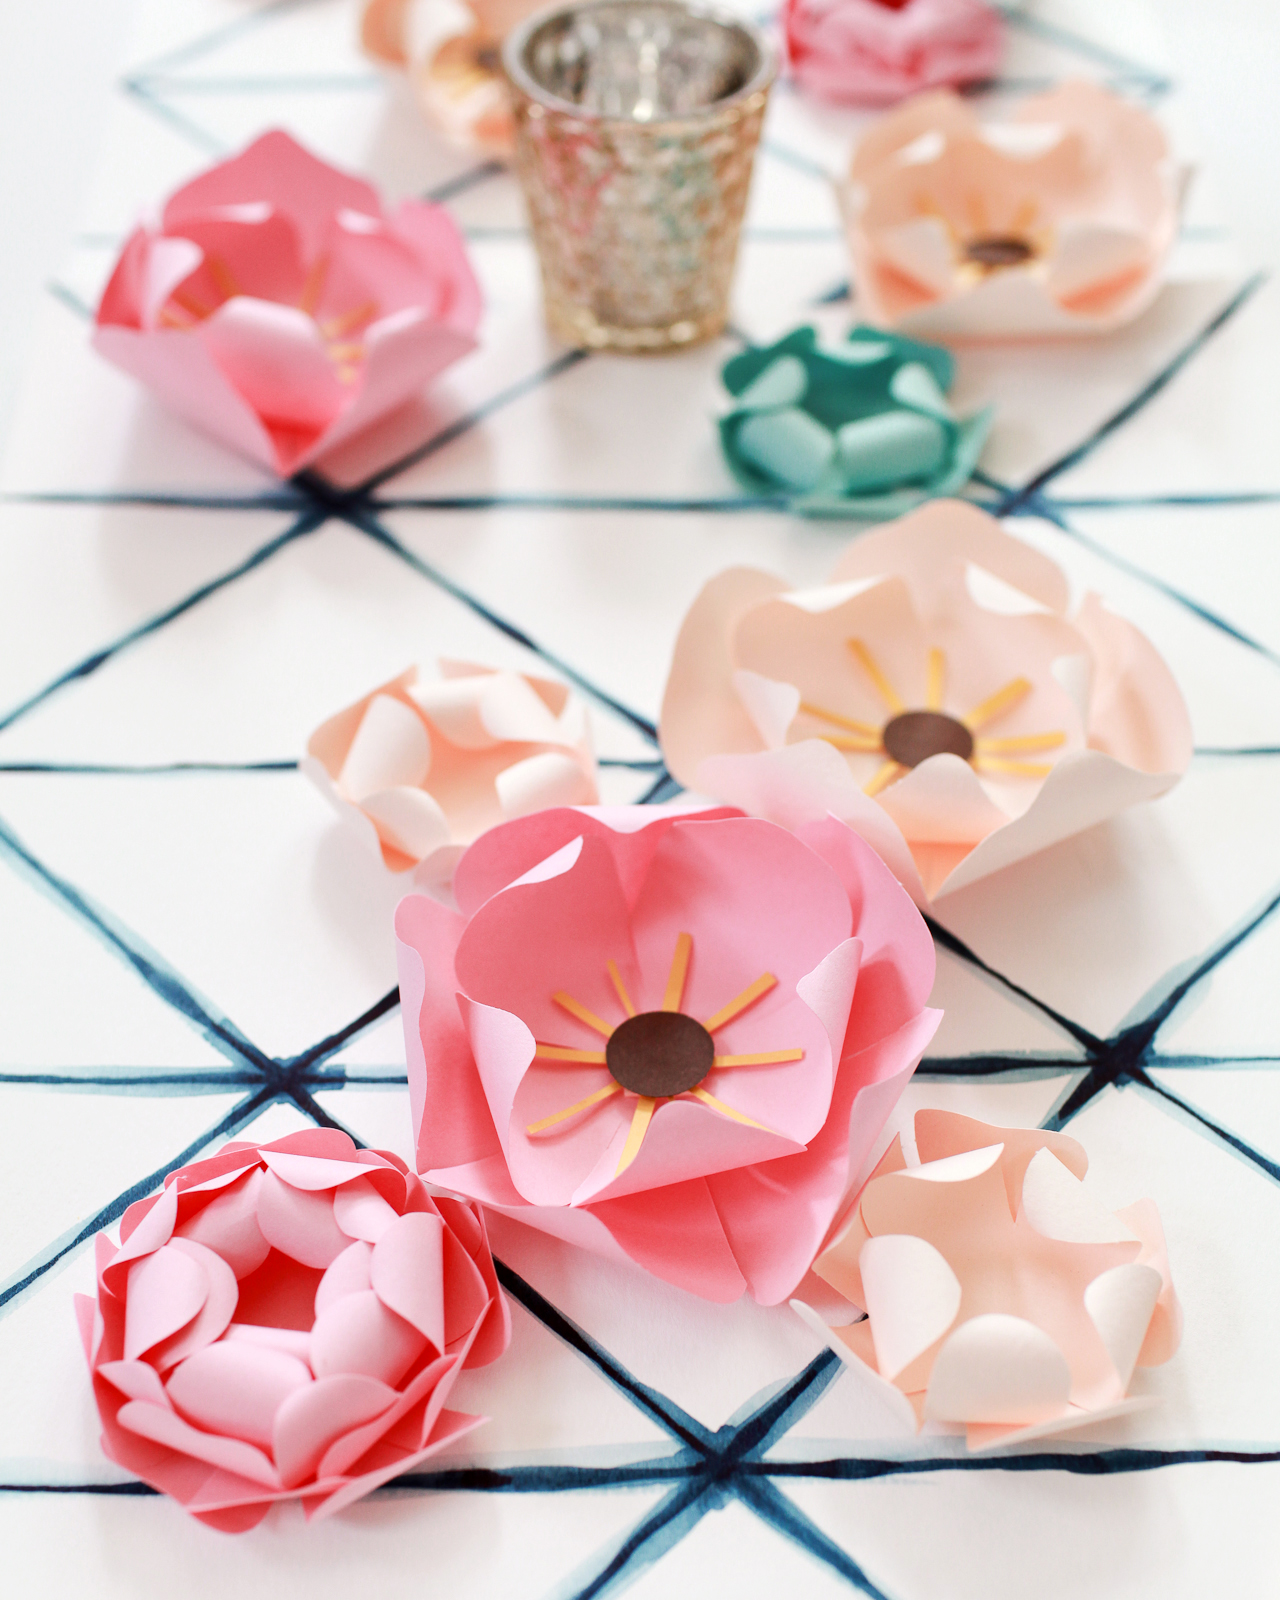
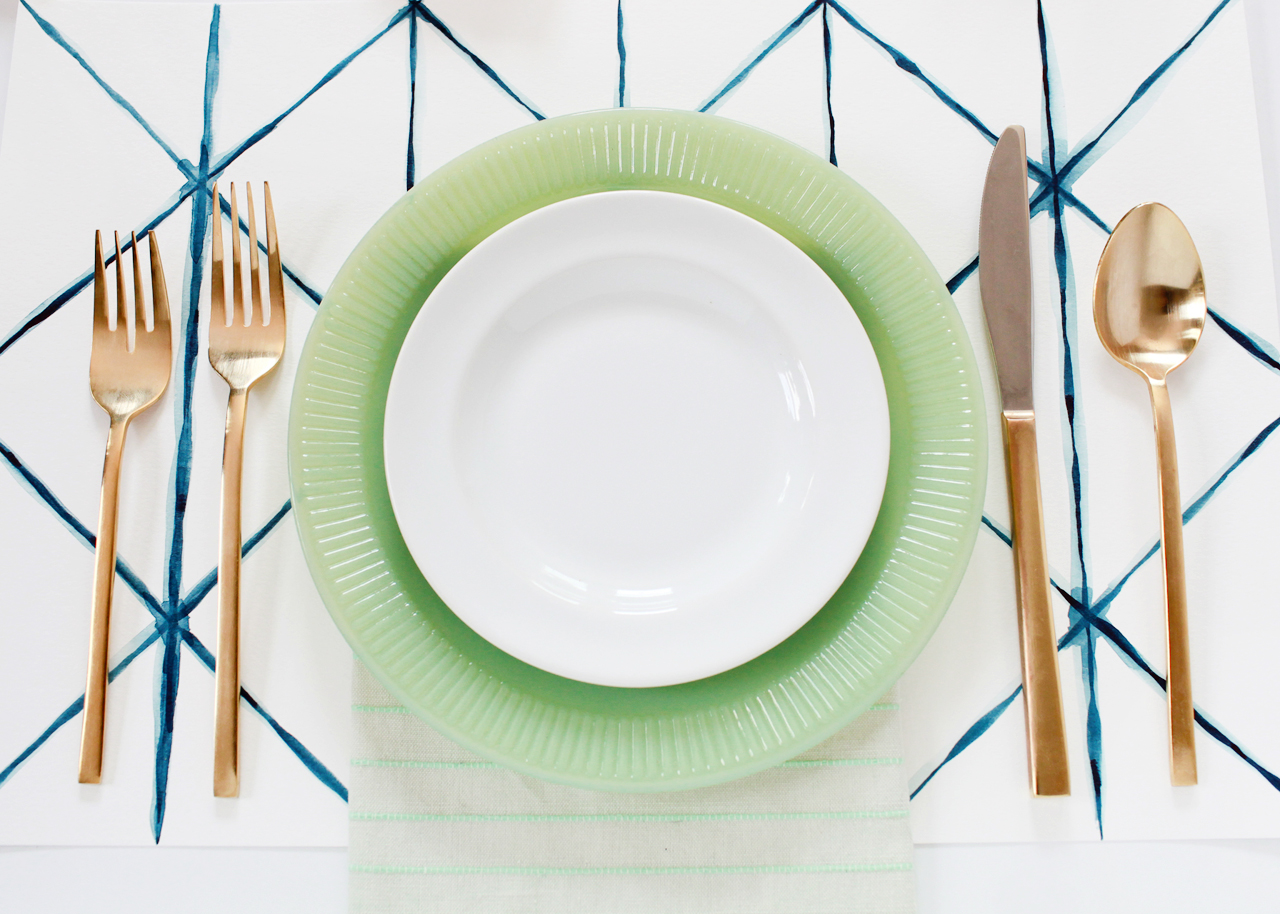

These placemats could easily pull double duty as place cards by writing the name of each guest in a visible location. Or, if placemats just aren’t your vibe, put a few together to make them into a custom table runner! I could totally see them providing a much-needed pop of color between a wood table and a wood or slate cheese plate. Or on top of a console table serving as a temporary bar or dessert station! So many options!
Photo Credit: Nole Garey for Oh So Beautiful Paper
