Last year was the first year that Sophie, my (now) three and a half year-old, really got into the whole Easter experience. We spent the holiday weekend with family, and she absolutely LOVED dyeing Easter eggs and the subsequent backyard hunt with her cousins. So naturally I’ve been thinking of fun ways to decorate our Easter eggs this year, and I’m excited to share some with you! First up, marbled Easter eggs using food coloring! I’ve seen some gorgeous marbled Easter eggs that use nail polish (these are my favorite), but nail polish marbling can be very messy and isn’t food safe. But it turns out that you can create beautiful marbled eggs using just plain old liquid food coloring and a bit of vegetable oil. Super easy and totally toddler friendly!
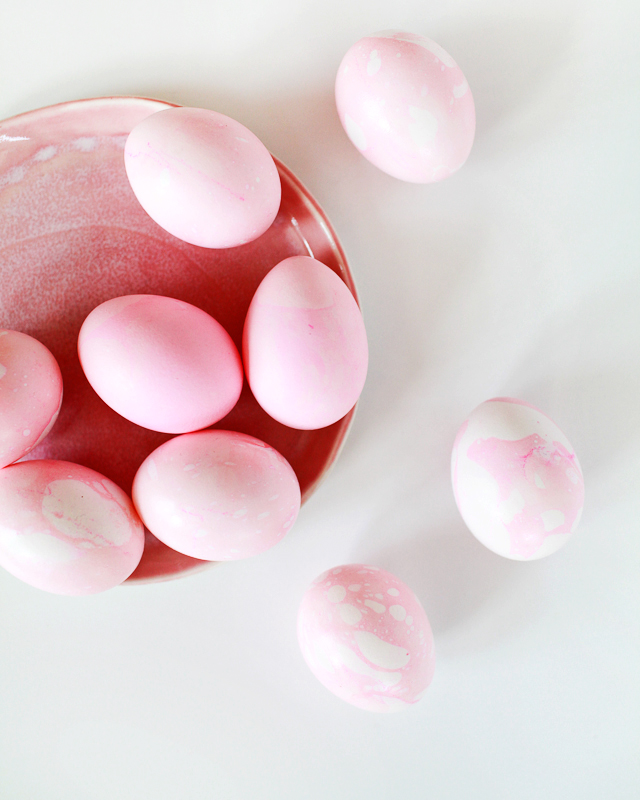
I really had one goal in mind when it came to these eggs: a marbled pattern in my favorite shade of pale pink. It also happens to be Sophie’s favorite color (win win!), but I also think it’s the perfect shade for early spring. Since we’re using regular old liquid food coloring, you can easily adjust the color and shade to your preferences. Start with less food coloring for a lighter shade, or just add more food coloring to achieve a deeper shade of your chosen color.
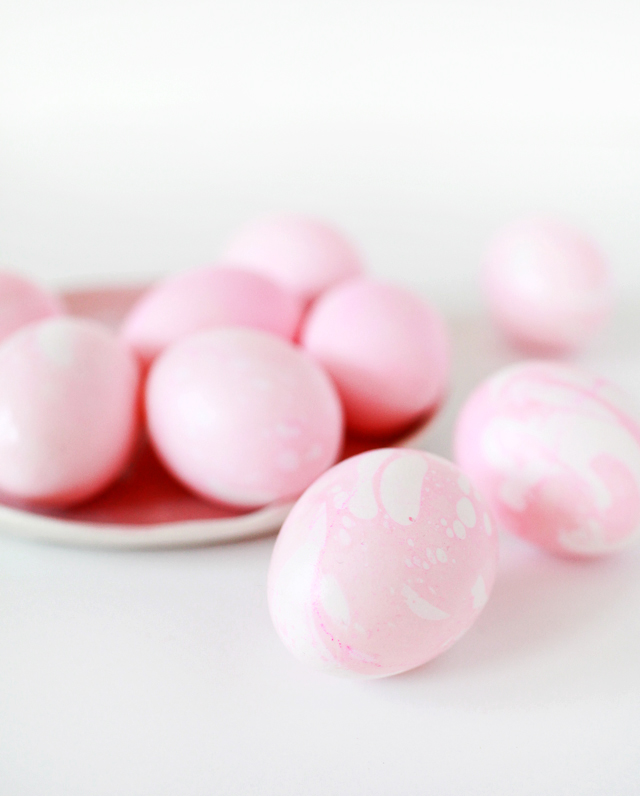

Supplies
Hardboiled Eggs
Liquid Food Coloring
Small Bowl
Vinegar
Vegetable Oil
Spoon
Paper Towels
Disposable Gloves (optional)
To make the eggs:
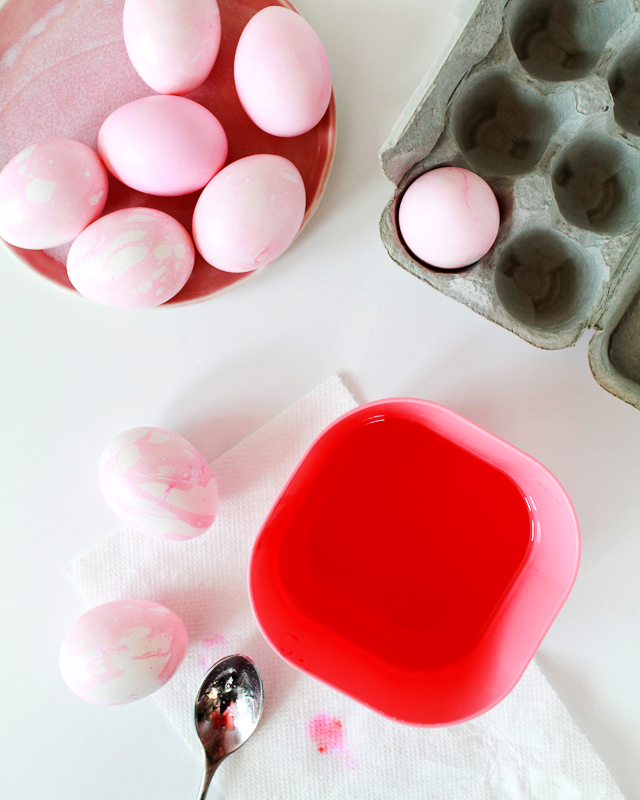
Step 1. Fill a small bowl with hot water (you’ll want enough water to fully cover a submerged egg). Add one tablespoon of vinegar, followed by several drops of liquid food coloring in your chosen color. I added about ten drops of red food coloring to achieve this pale pink color.
Tip: You can test the dye color with a paper towel before submerging your eggs, but keep in mind that a paper towel will absorb the dye much faster than an egg, so you’ll want the paper towel to show a dye color several shades darker than your intended egg color.
Step 2. Add a dash of vegetable oil (or any other oil you might have in the house) to your dye bath, and swirl around with a spoon. The marbling pattern on your egg will be determined by the size of the little oil bubbles floating around the dye bath, so for a more marbled look be sure to give that oil several stirs!
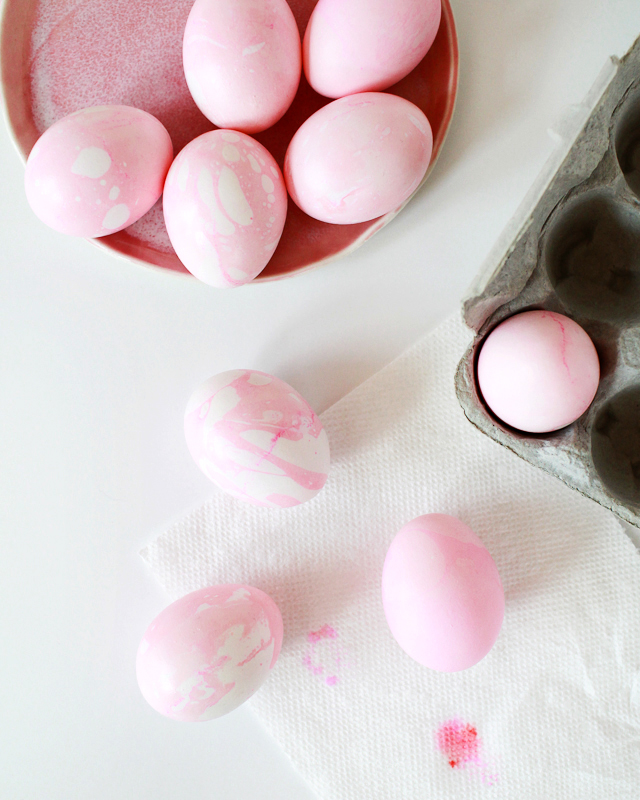
Step 3. Wearing gloves or using a spoon, submerge an egg in the dye bath, rotating it fully to make sure that the entire surface makes contact with the oil bubbles on the surface of the dye bath. Remove from the dye bath immediately and pat dry with a paper towel.
So easy!
If you like, you can achieve a more subtle tone-on-tone marbled pattern by dyeing your eggs a lighter shade of the same color in a separate dye bath before dipping them in the marbled dye bath, which I did to a couple of my eggs. But I honestly love the look of the marbled dye on white eggs, and it takes all of 30 seconds per egg!
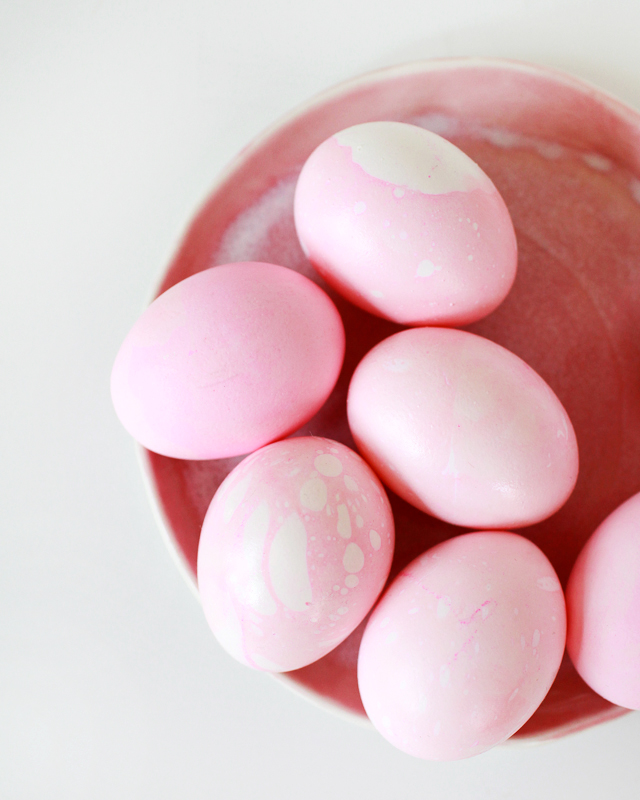
So pretty, right? I’m so excited to make these quick and easy marbled eggs with Sophie (and her cousins) this year! I may even add a few more pastel shades to the final mix. I hope you’ll try making them, too!

Gorgeous idea! Love the soft colors!!
Is your food colouring chemical free?