There really isn’t a better time to get yourself organized and back on track the January! No matter how much you may want to fight the goals and resolutions, there is just something about flipping open your new calendar that screams ‘fresh start’! I spent most of the end of 2014 giving our living space a good cleaning and this month I will be moving that energy to my office. Being a crafter, I have lots of little bits and bobbles that need their places, so collecting jars and boxes has become a new hobby of mine. I also like a little height variation with the containers on my desk, so I thought creating a simple, functional, and also visually pleasing set of containers would meet all of my criteria! – Lauren
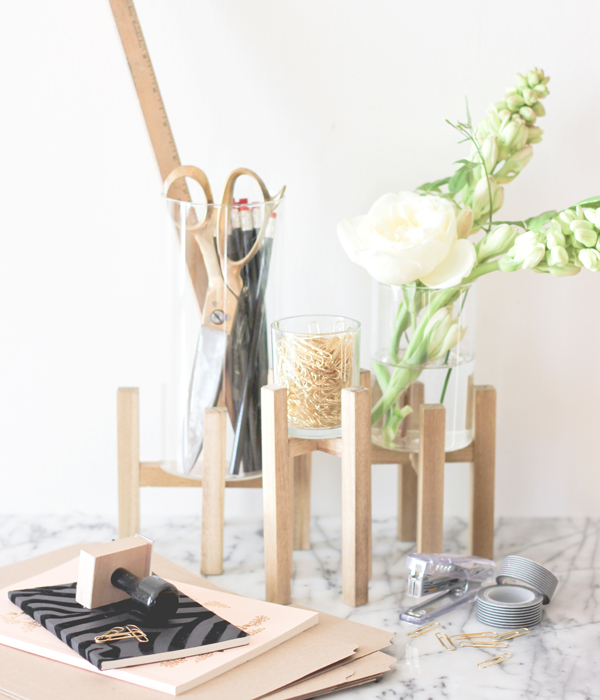
You can use almost any jar, box, vase, or container you have lying around. Here’s how to give them a little more personality and dress up your desk.
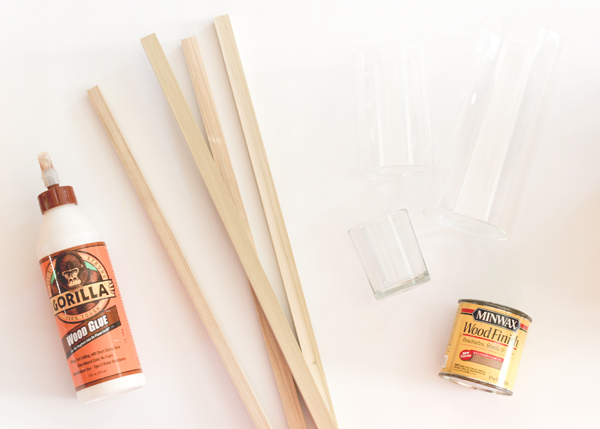
Supplies
– Square wood sticks, about 1/2″ thick (lengths will vary at your hardware store)
– Several glass cylinder vases in different sizes
– Wood stain
– Wood Glue
Tools (not shown):
– Brush or rag for stain
– Hand saw (or just take your measurements to the store!)
– Clamps
Instructions
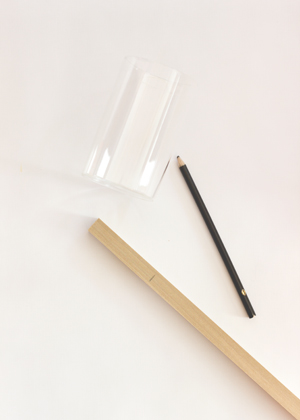
1. Start by measuring the width of the bottom of your cylinder, add about 1/8″ to each side, or a 1/4″ total. This is half of  the base that will hold your cylinder.
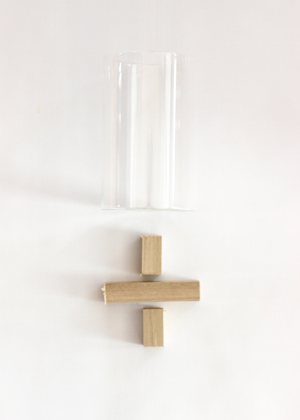
2. Create the 2nd piece that will cross and create an X to support the cylinder. Measure the width of your wood piece, subtract that from the total length of your base piece from step one, and cut. Then cut that piece in half. (So if your first piece is 3 1/2″ and the width of your wood is 1/2″, piece 2 and 3 shown above in the right image will each be 1 1/2″ long) These measurements should create a symmetrical X.
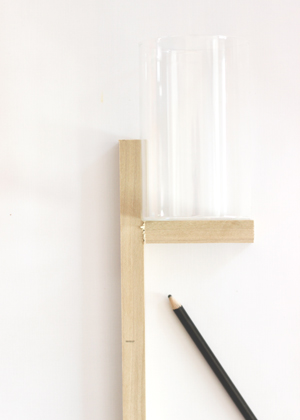
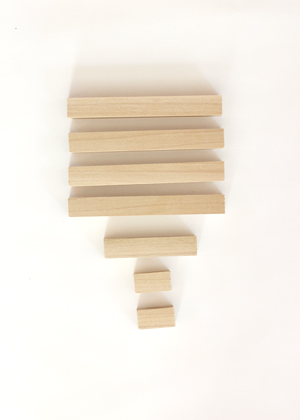
3. Lay your wood base piece from step 1 under your cylinder. Set the uncut wood at a 90 degree angle and mark the height you would like your legs. Have at least an inch or two above the base to keep your cylinder secure, then the bottom measurement will be up to you on how high you’d like them to stand. Cut this piece 4 times to create the 4 legs.
4. These are your final cut pieces, 4 legs and 3 pieces to create an X base.
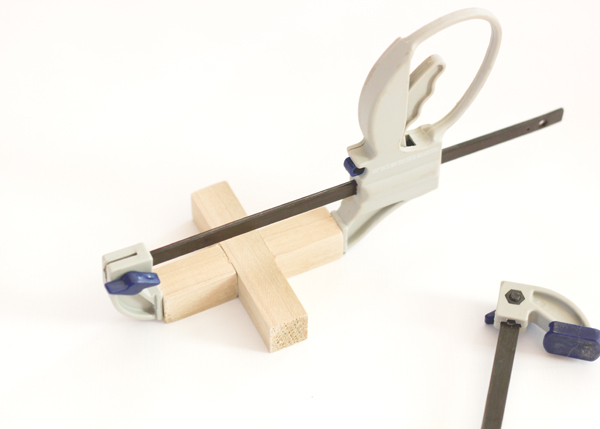
5. Center the 2 smaller pieces on the larger base piece to create the X, glue and clamp (follow directions for timing on your glue).
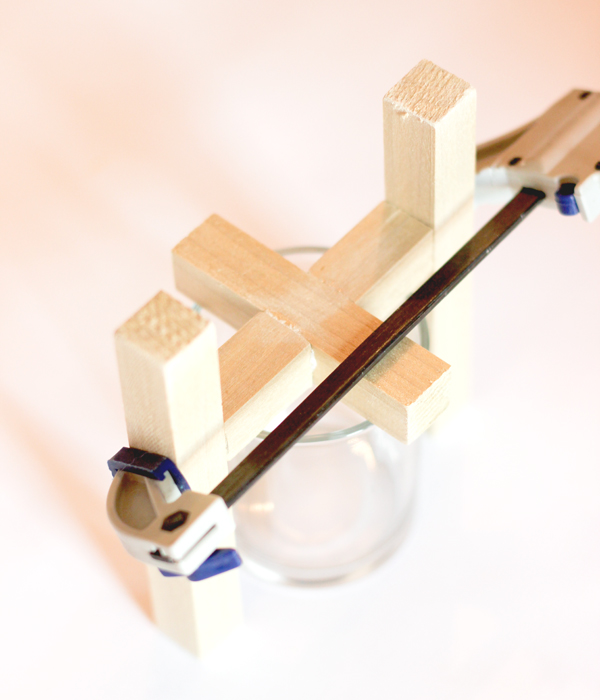
6. Once the base is dry, begin to attach the legs. I found it was easiest to set the base on an object and attach 2 legs at a time to ensure they were level and secure.
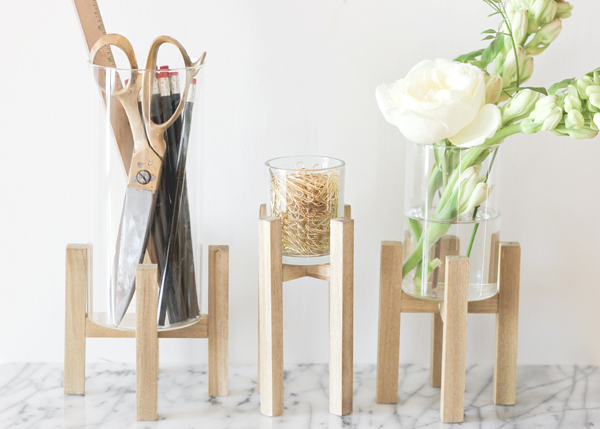
7. Repeat to complete your stands, then stain!
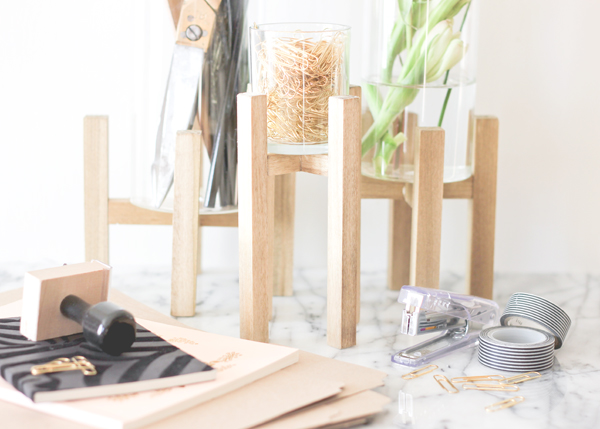
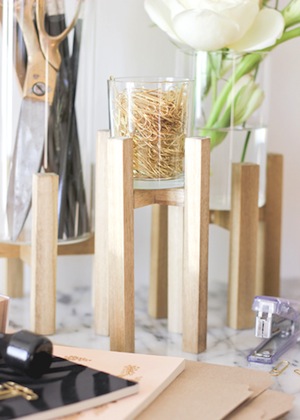
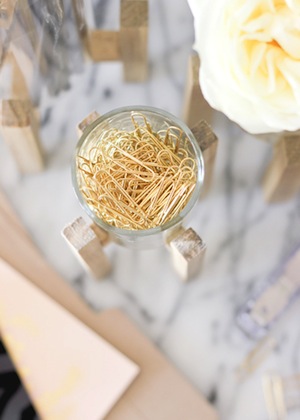
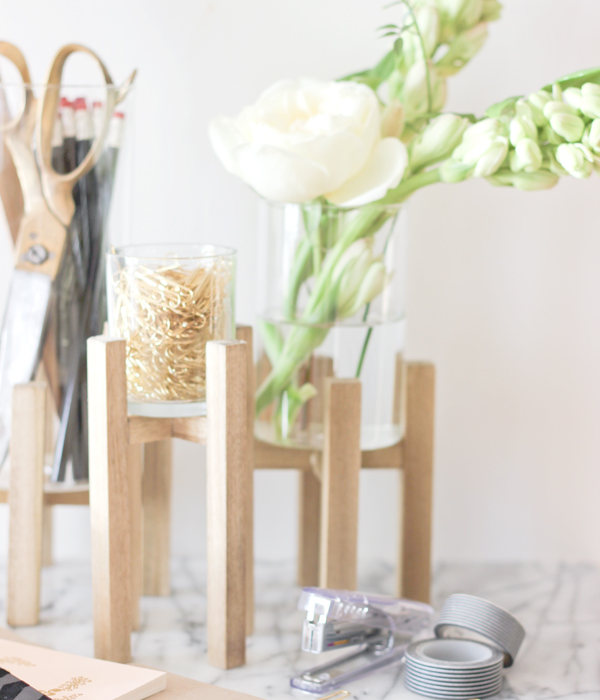
I love that I can grab whatever jar I need and take it with me to work on a project. When you are done, just pop it back on the stand and let it blend in as decor!

This is perfect! I love the glass/wood combination! Absolutely perfect!