Sometimes it’s good to get back to DIY basics. Patterned invitation backers can break the budget for many couples because there is so much time and labor involved. We always like to encourage people to take matters into their own hands – and today we’ll show you exactly how to do that! Over the years, we’ve experimented with backers of all sorts as well as different methods to DIY-ing them. This simple tutorial yields beautiful results if you’re precise and don’t mind getting your hands a little dirty, so to speak! – Bailey and Emma of Antiquaria
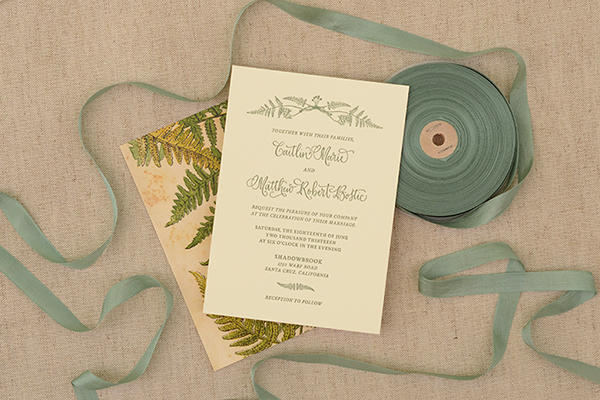
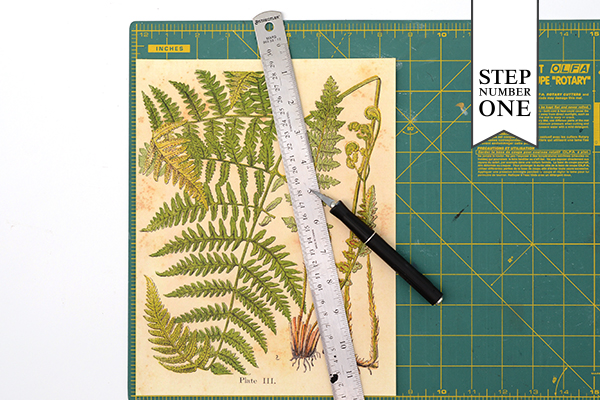
Step One: First you’ll want to decide what paper or material you’d like to use on the back of your invitations. We selected this Botanical Fern Paper in text weight to coordinate with the fern invitation design. Vertical directional patterns like this one mean that you’ll only get one backer out of each 8.5″ x 11″ sheet of text paper. If you’d like to get two backers per sheet, select a non-directional or horizontal pattern. Measure your invitation precisely (very, very precisely), and cut your text paper to that size. Our invitation was 5″ x 7″ so that is the size we cut our paper.
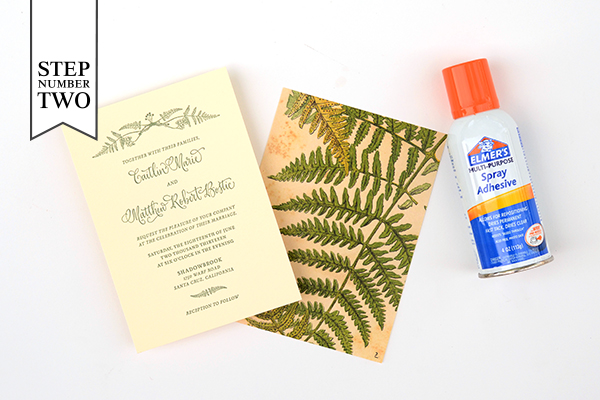
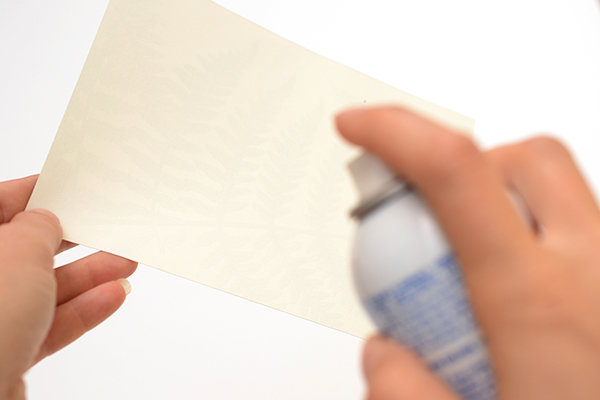
Step Two: Gather all of your materials together. This will be your invitation, pre-cut paper backers, and spray glue. When using spray glue, it is important that you do your project in a ventilated location, preferably outside. Make sure that you have a clean, sturdy table so that you can move immediately to the next step. Hold the patterned paper, back side facing you, and spray with a light coat of spray adhesive (see photo below). When the entire surface is covered, move immediately to Step Three.
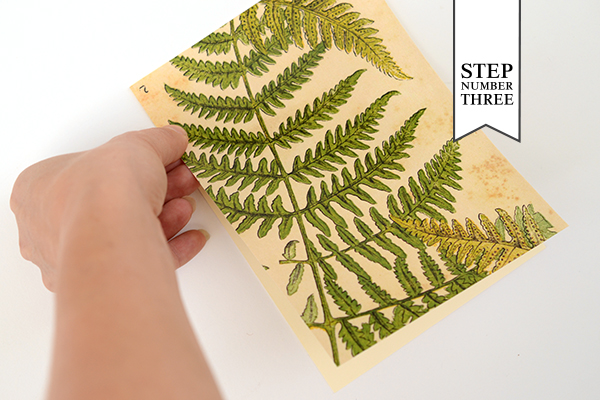
Step Three: On your clean and firm surface, place one invitation face down. Very carefully align the top corners of the backer to the top corners of the invitation. Slowly adhere the paper down the back until you’ve reached the bottom corners. Set aside. The key here is to really get the backer on carefully and straight. It’s just a matter of being precise and having the paper cut correctly to start.
Repeat Step Two and Three until all of your invitations are complete. Then move on to Step Four.
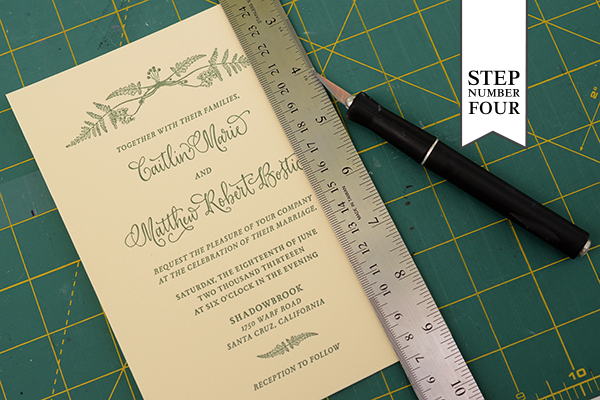
Step Four: Check your invitations and see if there are any paper edges peeking over the edge of the invitation. If there is, carefully trim them off with a ruler and craft knife, being certain not to cut into the invitation itself. Once you’ve checked them all, let them cure. Overnight is best and you can also weigh them down under a heavy book if you’d like. The key is to make certain that they’re really well adhered.
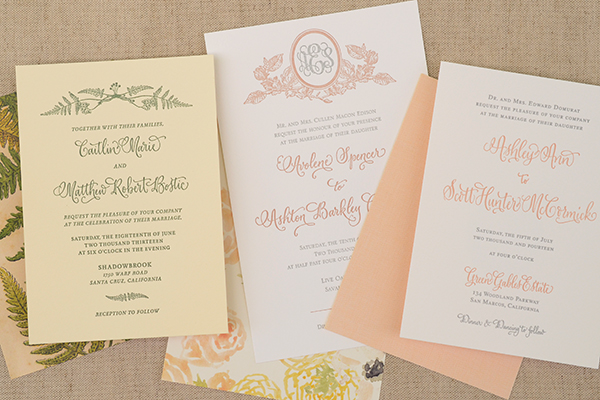
Bookbinding linen, which has a study paper back adhered, is another really beautiful and classic option for backing your invitation (see the blush linen backer in the photo above). There are numerous colors to choose from and it’s just as easy to use as paper! No fraying involved!
Materials
Patterned Paper or Book Binding Linen
Ruler and Craft Knife
AntiÂquaria is a memÂber of the Designer Rolodex – you can see more of their beauÂtiÂful work right here or visit the real wedding invitations gallery for more wedding invitation ideas!
Photography: Antiquaria for Oh So Beautiful Paper

Consider using a double-stick mounting adhesive sheet like Duramount. Spray adhesive isn’t enough to adhere two thick stocks together.
Thanks Jenny! That’s such a great idea. For the project materials here, the regular permanent spray adhesive works very well…but I can see how it might change if you were working with different stocks!
It’s great to remember that it’s always important to test your materials before diving into a project!
-Bailey
Bailey and Emma, your DIYs are always so great! I’ve learned a ton from them and always love seeing what you come up with.
You’re so sweet Kelly! We’re so glad that you enjoy our DIY tutorials. We have a blast coming up with them:)
-Bailey & Emma
Hi Bailey and Emma, I love the ribbon in the first shot! What’s your favorite ribbon, and where do you get it?
Thanks so much!
…aaaaaaand I just found the ribbon on your website. So, thanks! 🙂