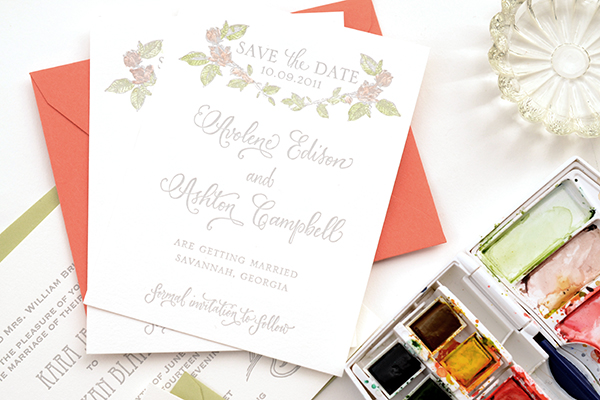
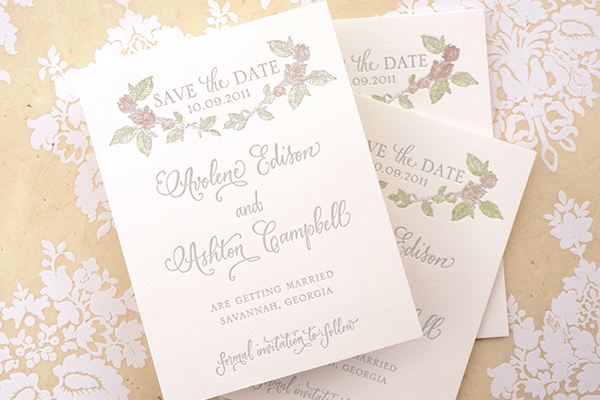
Hand tinting was historically used to color black and white photographs before color photography was invented. It was also used on prints made by etching as a means to color them. For this tutorial, we’ll show you how to use this technique to bring a unique, vintage look to your letterpress save the dates or wedding invitations. Not only is it beautiful, it’s also super easy (as in two steps)! – Bailey and Emma of Antiquaria

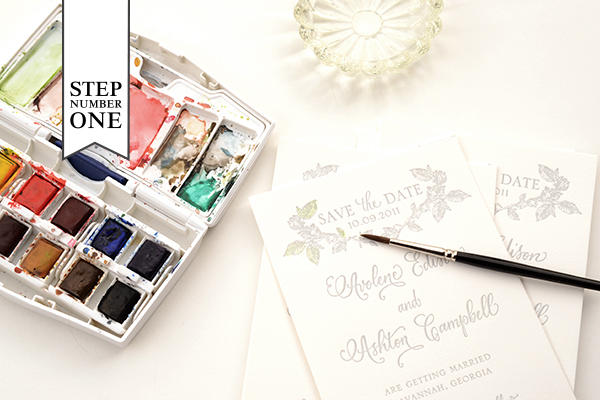
Step One: We chose two colors for this design: green and pink. When deciding what to do with your letterpress design, consider historical references for colors (searching hand tinted etching or photographs yields nice results).
First, we mixed our green color. We wanted it to be a little yellow tinged so we added some yellow to the green in our palette (see the upper left mixing area). The color needs to be very diluted to have it tint and not paint too heavily cover your letterpress print. Make sure to test your colors on an extra piece to make sure you have the technique down before starting the project.
Another key factor is how dry the brush is when it’s tinting the paper. You do not want it to be wet. Brushing it first against a paper towel helps keep the tint from being to watery. Again, it helps to work through this in testing.
Paint your first color in the desired area (in our case, green on the leaves) and set it aside to dry. Repeat on all cards.

Step Two: Next, you’ll be adding in your second color to the flowers on the design. Mix up your desired color and test it on your spare piece until the color and dilution is right. Brush on the color (in our case, pink) in the desired areas. Set aside to dry and repeat on the rest of your cards.

Letterpress printing works exceptionally well with hand tinting because it created an indented texture when the print is made. This helps keep your tint in place and prevents coloring outside the lines or blotchiness. If you do end up with too much water on the print, it’s easy to quickly dab it with a clean paper towel and absorb any excess. No harm done!

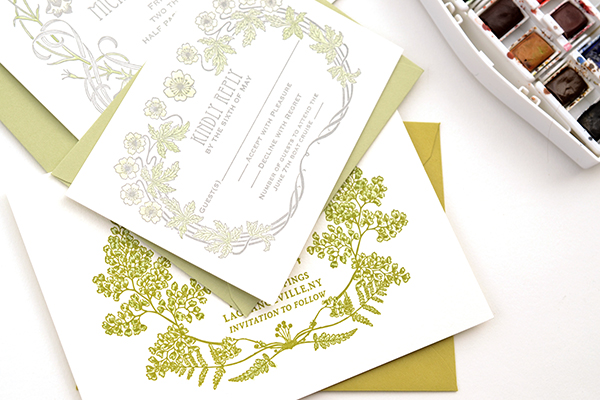
We found that the tinting technique worked most beautifully and effectively on our botanical collection of letterpress cards. The softness and vintage appeal lends to the charm of the designs. Of course, the possibilities are as endless as your imagination!
Materials
Savannah Letterpress Save the Date Card. We recommend ordering extra pieces (10% overage) for testing.
Watercolors
Paint brush. We recommend a very nice, small brush so that you have control and precision.
Water cup
AntiÂquaria is a memÂber of the Designer Rolodex – you can see more of their beauÂtiÂful work right here or visit the real save the dates gallery for more save the date ideas!
Photo Credits:Â Antiquaria for Oh So Beautiful Paper

