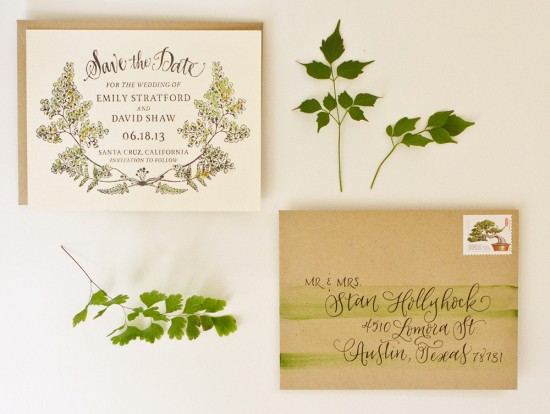
Here at Antiquaria we love ferns. So much so that one of the first china collections that we curated for our vintage shop was dedicated to them! For today’s DIY tutorial, we combined our love for this specific botanical variety and one of our other major obsessions, watercolor, to create a simple and natural save the date.  – Bailey and Emma of Antiquaria
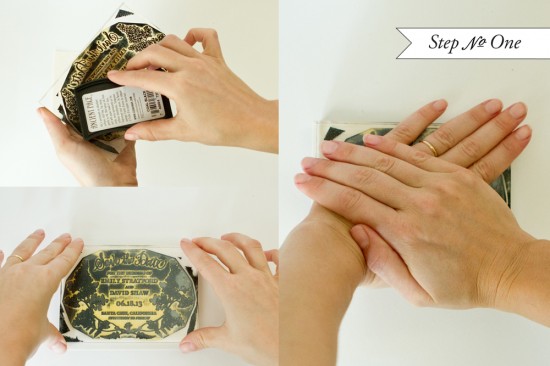
Step One: We get asked the question all the time – “Where do you find a stamp pad large enough for your stamps?” The answer is that any raised bed stamp pad will suffice! Simply flip the stamp (we used our Fern Forest Save the Date Stamp) over in your hand and ink the stamp, dabbing and swiping the pad across it until there is an even layer of ink. Once it is well inked, flip it over and align it over your paper (for this Save the Date you will use an A2 card). Once you’re sure it’s straight, place the stamp down with each hand on either side of the stamp.
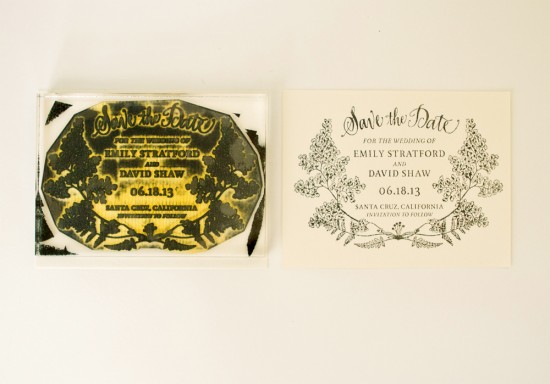
Without moving the stamp, place your hands on the top of the stamp and press down firmly, making sure that you have pressure on all parts of the stamp. Lift the stamp off the paper, set aside and let the print dry. For this design, you will want to use a permanent, waterproof ink.
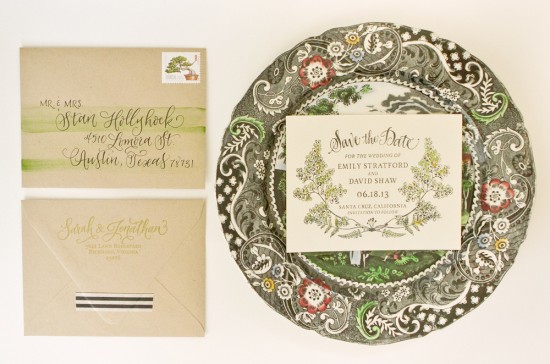
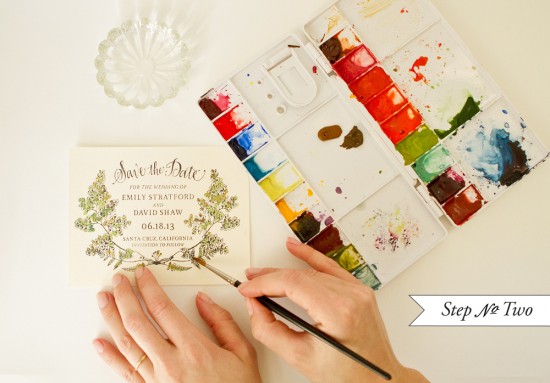
Step Two: Once the print is dry, you will want to fill in the botanical part of the design with color! Using multiple shades of greens and ochres, paint in the leaves with a small fine tip watercolor brush. Try not use too much water in this step to avoid painting too far outside the lines.
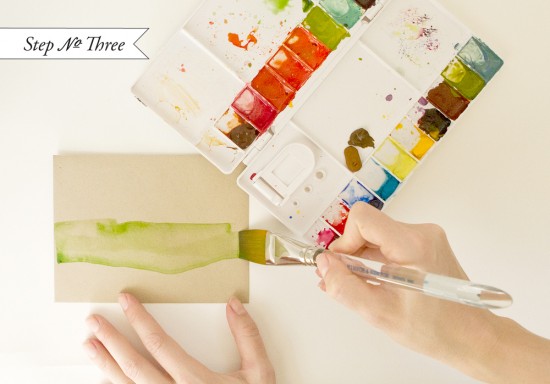
Step Three: Give the lowly envelope a little watercolor flourish as well! Simply sweep a wide, flat watercolor brush loaded with paint across the middle section of your envelope a couple of times and you’re done! Let the paint dry throughly before addressing the envelope.
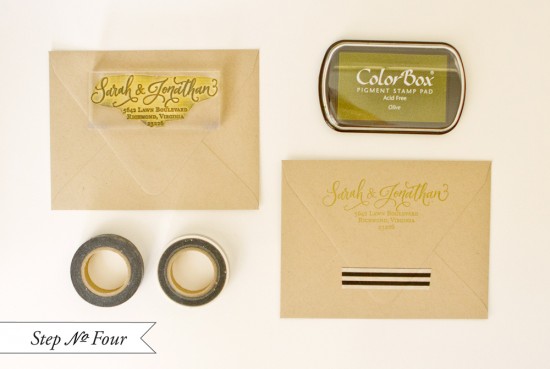
Step Four: Lastly, stamp your return address (we used our Calligraphy Ampersand Return Address Stamp) on the back flap of your envelope in moss-colored ink and let it dry. Use black and white striped washi tape as a decorative seal & send them on their way!
Materials
Fern Forest Save the Date Stamp
Calligraphy Accent Return Address Stamp
Stamp Pad Waterproof black and moss green
Water and Jar
Paint Brushes – fine pointed and 1 in. flat
AntiÂquaria is a memÂber of the Designer Rolodex – you can see more of their beauÂtiÂful work right here or visit the real wedding invitations gallery for more wedding invitation ideas!
Photography by Jamie Simon of Intertwyned

Comments are closed.