We love blue and white as a color combo. It’s fresh, clean & add a great vintage touch without going overboard. A few weeks ago, while picking up some paper for my moving announcements (which will probably be a future DIY project), I spotted from across the room, some gorgeous floral fine art paper. This blue and white paper instantly reminded me of an inspiration post we’d written a while back about our very popular Copenhagen China Collection. After choosing the paper as my starting point, this lovely, demure, save the date came together quite quickly!  – Bailey and Emma of Antiquaria
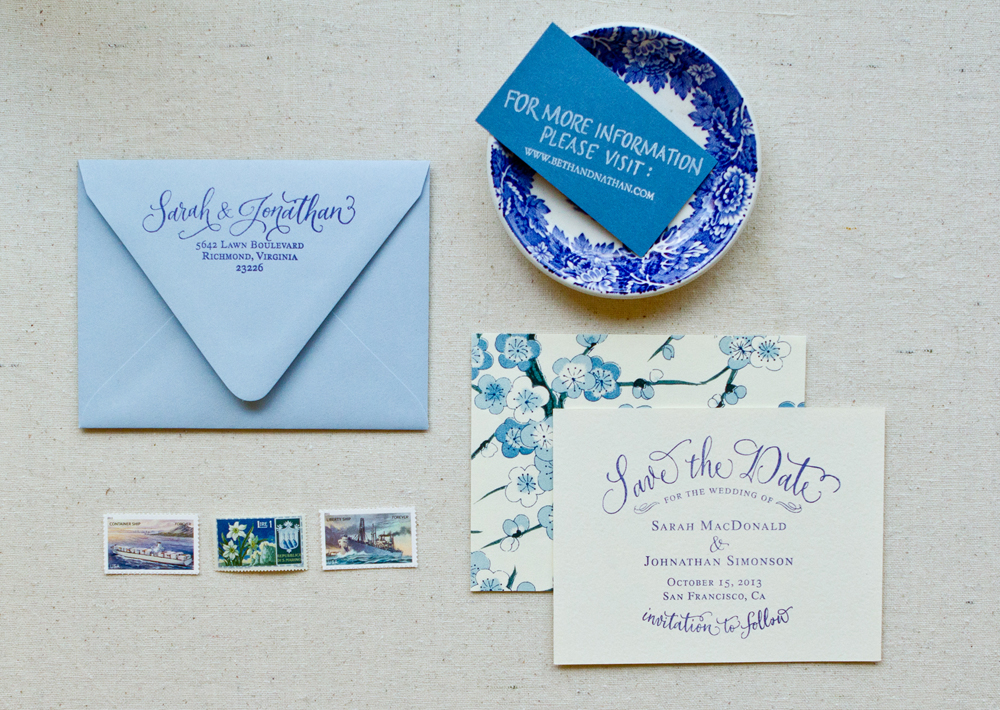
The blue and white floral patterned paper used as backing adds visual interest and a luxurious quality to the design. It could also easily be used as an envelope liner.
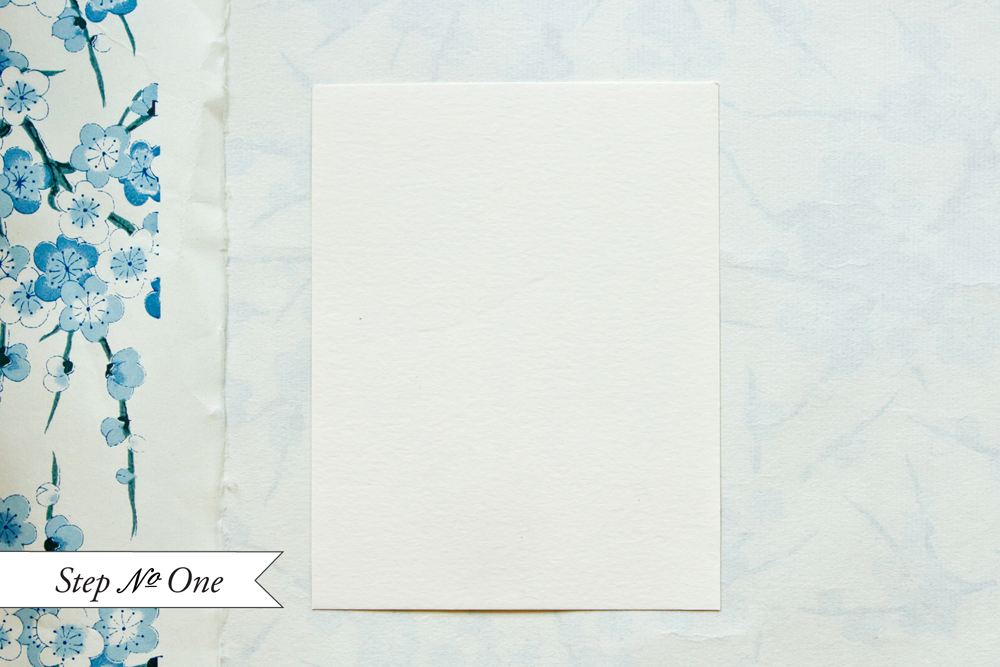
Step One: You’ll want to first adhere the card to the patterned paper. To do this, use permanent spray mount on the back side of your A2 (4.25″ x 5.5″) card. Let the glue get tacky for a few seconds and then place your card onto the backer paper. Let the two pieces adhere well (like overnight) under a heavy book.
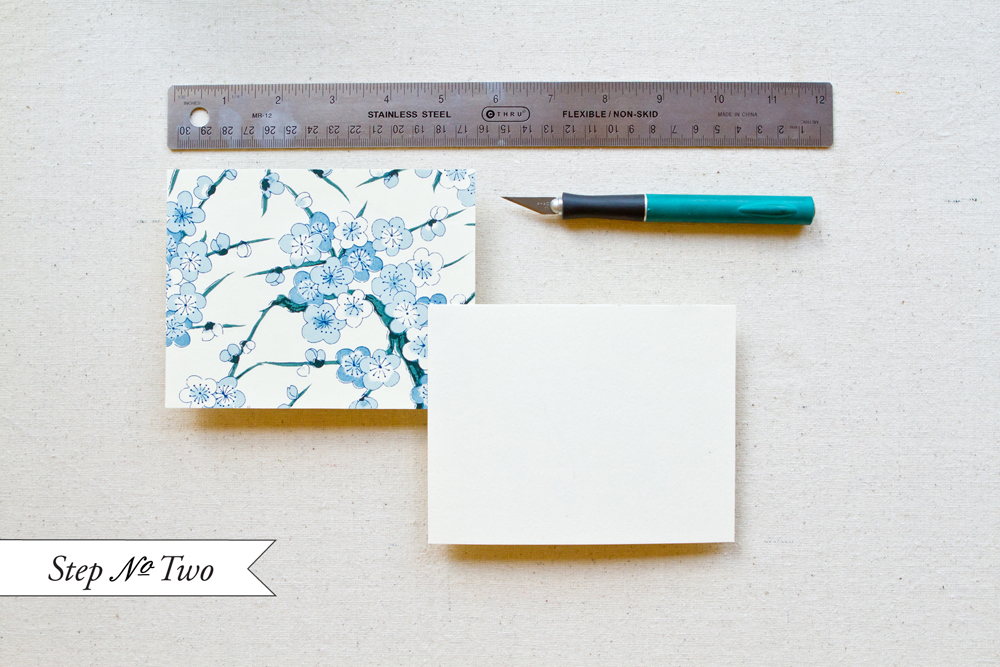
Step Two: Once you’ve waited for the glue to set, carefully trim the card so that the card and backer are the same size. The easiest way to do this is to use a metal ruler and craft knife on a seal healing mat. Take this step slow so that you don’t warp the size of the A2 front.
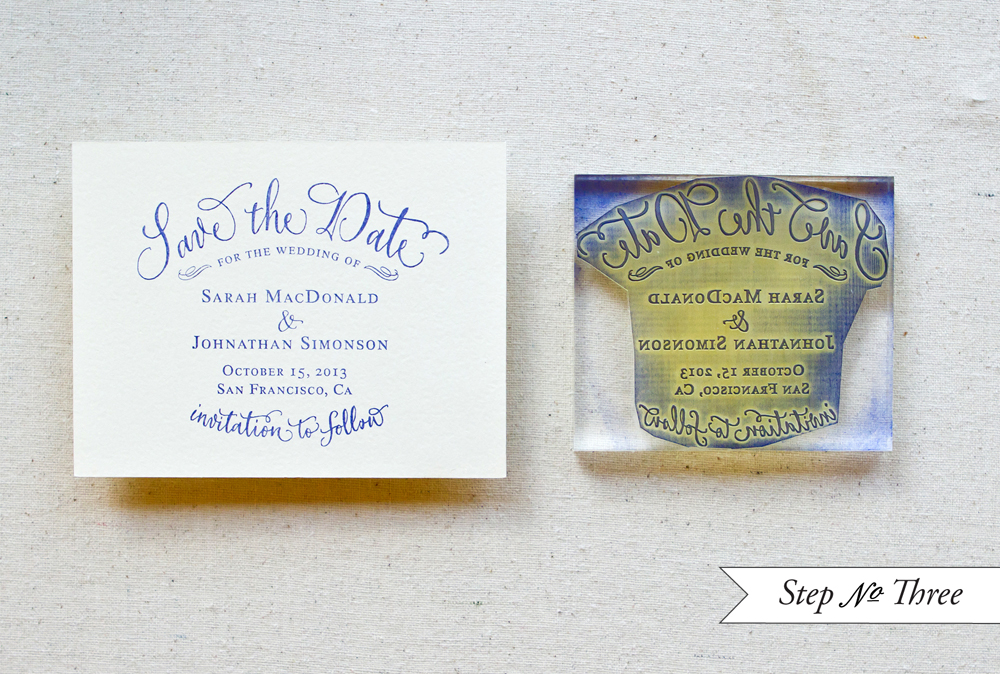
Step Three: Lay your backed A2 card on a hard, flat surface. Ink your invitation stamp (we used our Vintage Calligraphy Save the Date Stamp), using a midnight blue stamp pad and center over the backed card. Press down on stamp making certain to apply even pressure on the entire mount (especially the center). Lift stamp and let the print dry thoroughly.
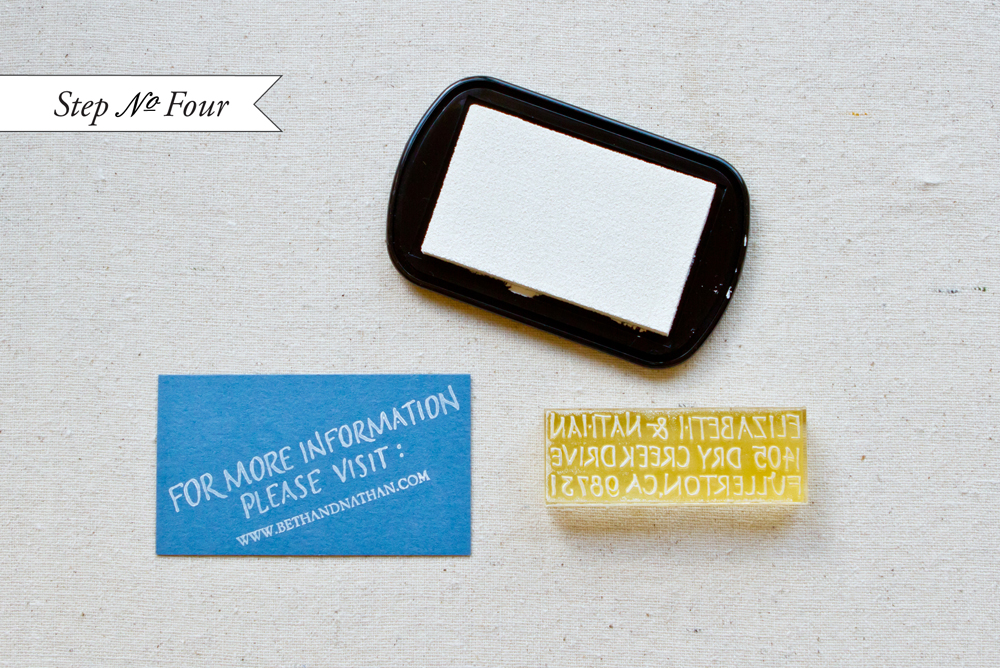
Step Four: For a reverse effect, stamp your website card using white ink on a blue card. We used our Art Deco Website Stamp on a standard business sized card. This white ink pad really did the trick and was super opaque!

Step Five: Before addressing the save the dates, we stamped our return address (we used our Calligraphy Ampersand Return Address Stamp) on our light blue A2 envelopes.  All done!
Materials:
Stamps:
Vintage Calligraphy Save the Date Stamp
Calligraphy Ampersand Return Address Stamp
Stamp Pads: Midnight and Frost White
Paper (available at Paper Source):
A2 Notecards in Luxe White
A2 Envelopes in Bluebell
Business Cards in Lake, for the web card
Fine art paper, used for backer
Other Materials:
Permanent Spray Adhesive
Craft knife, metal ruler, and self healing mat
Photo Credits:Â Intertwyned
This is just loverly! The blues are cool and clean.
I love how simple and beautiful it is.
Girlfriend. These are just gorgeous! I love ’em. Great job!