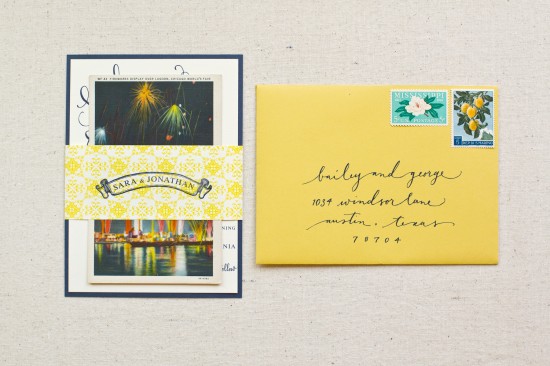
We love the challenge of creating an invitation suite based off of a unique theme, venue or color palette.  For this DIY tutorial, we were inspired by a fabulous vintage firework postcard (that we found while hunting at a local thrift shop)!  This combo would be so perfect for New Years Eve or July 4th nuptials – or even a Fourth of July party!  The mixture of colors and patterns is sure to make a statement to all of your guests. – Bailey and Emma of Antiquaria
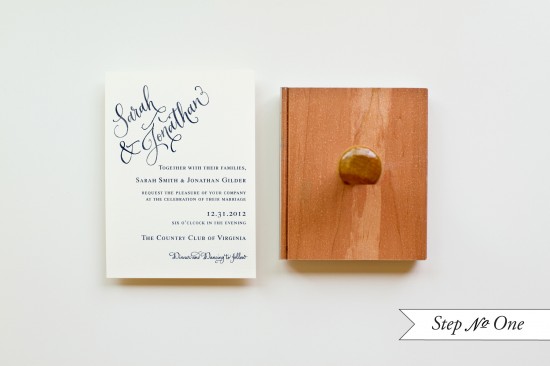
Step One: Lay a 4.25 x 6″ card (preferably a heavyweight card stock) on a stable and hard surface. Â Ink your invitation stamp (we used our Calligraphy Accent Invitation Stamp) and center it over card. Â Press down firmly with moderate pressure, using the handle as the anchor point. Â Lift off the stamp and set card aside to dry.
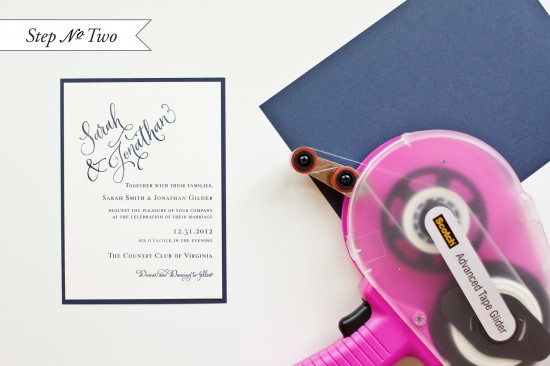
Step Two: Cut a navy sheet of paper into a 4.5 x 6.25″ rectangle.  Once the printed invitation piece is dry, flip over and adhere double stick tape to each edge.  Center over the navy card and stick it down pressing the edges to make sure that the two pieces are stuck together properly.
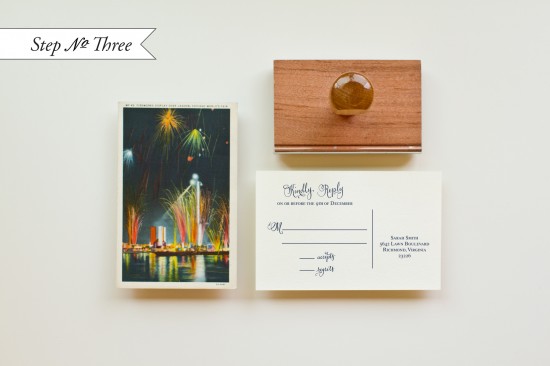
Step Three: In order to use our found postcard for all of our guests, we scanned the front image into the computer and printed out enough cards to suit our quantity. Â (The cards ended up being 3.5 x 5.5″ rectangles). Â We stamped the back of each card using our Calligraphy Accent Reply Postcard Stamp. Â Of course, let the cards dry after inking.
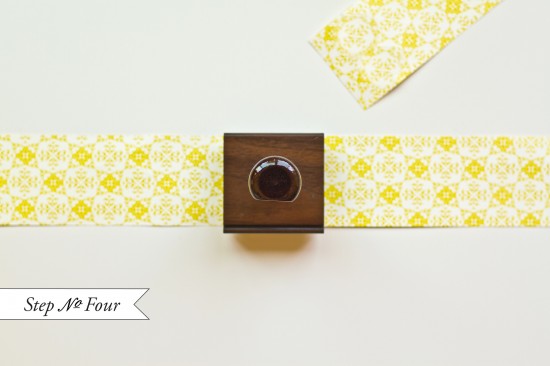
Step Four: To make the belly band, cut a fun, patterned paper into 2 x 11″ or 2 x 12″ (depending on the length of your paper) strips. Â Stamp a monogram (we used our Banner Name Monogram Stamp) in the middle and wrap the band around your invitation suite, securing it in the back with double sided or decorative washi tape. Â Now all of your pieces will stay together and look cute at the same time!
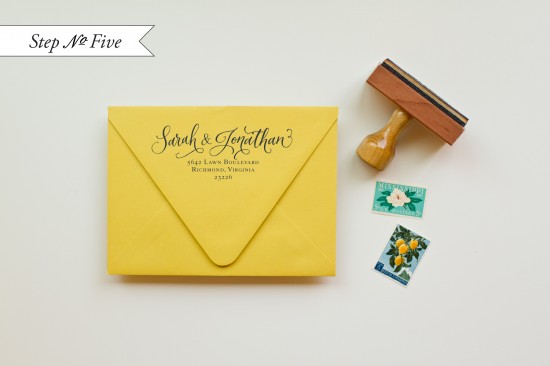
Step Five: Stamp an A6 envelope with your return address (we used our Calligraphy Ampersand Return Address stamp), address the front, pick out your postage and send them on their way!
Materials:
Calligraphy Accent Invitation Stamp
Calligraphy Accent Reply Card Stamp
Calligraphy Ampersand Return Address Stamp
Stamp Pad (we used Midnight)
Cream Cardstock cut to 4.25 x 6 inches
Vintage Postcard measuring 3.5 x 5.5 inches, found locally
Navy Blue Cardstock cut to 4.5 x 6.25 inches
Patterned Paper (ours was custom designed and printed by Antiquaria)
A6 Envelope (we used Curry)
Double sided tape
Tape Gun (optional but definitely helpful in taping on the navy backers)
Photo Credits: Jamie of Intertwyned

I always love seeing Antiquaria’s lovely rubber stamps at work in these tutorials!
Victoria – You are too sweet! We have so much fun dreaming up these DIY’s. We’re glad that you love them!