It’s the ladies of AntiÂquaria, back with another creÂative DIY project for you!  Today they’re sharing a wedding invitation tutorial inspired by the signature blue color of Tiffany & Co.
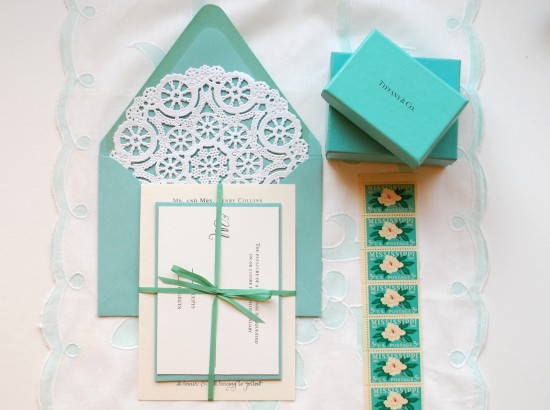
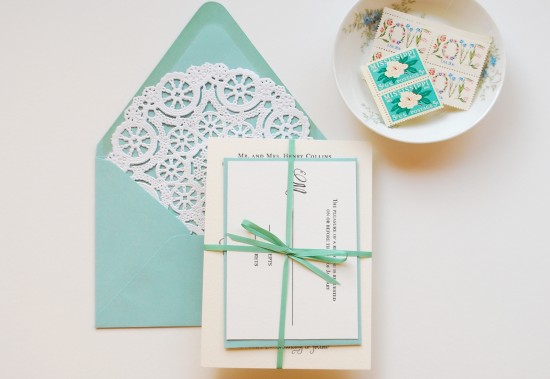
Have you ever felt the rush of excitement when a special friend, spouse, or loved one presents you with a gift packaged in the little blue box?  This wedding invitation suite was designed to elicit that feeling when your guest receives it in the mail.  Imagine their excitement when this feminine and traditional invitation finds its way into their mailbox.  This DIY is fairly simple yet the colors and packaging tie the whole thing together and give it a feeling of luxury.
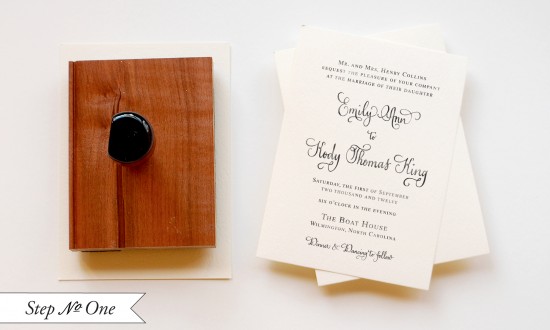
Step One: Cut your paper to size A6 (4.5″x6.25″). Â Since this is a luxurious suite, we would suggest a thick high quality cotton watercolor paper. Â Ink your stamp (we used our Vintage Calligraphy Invitation Stamp) thoroughly and center it over your card. Â Press down moderately to make the print. Â Too hard, the image may be blurry and too light and it may be splotchy. Â Let dry.
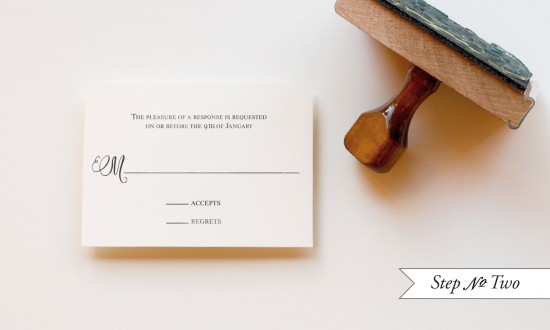
Step Two: In a similar fashion to printing the Invitation piece, you will now print the reply card. Â For this piece, you will want to cut a 4bar (3.5″x5″) card out of the same paper used for the invitation. Â Again, ink your stamp (we used our Vintage Calligraphy Reply Card stamp) thoroughly and make the print. Â Let dry.
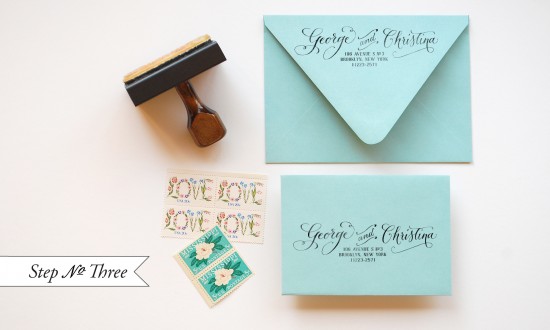
Step Three: Using your return address stamp (we used our Calligraphy Accent Return Address stamp), stamp both the back flap of your A7 envelope and the front of your 4bar envelope. Â This is such a great place to pinch pennies in your stationery budget as you are able to use one stamp for both envelopes and you will have it to use after the event is over!
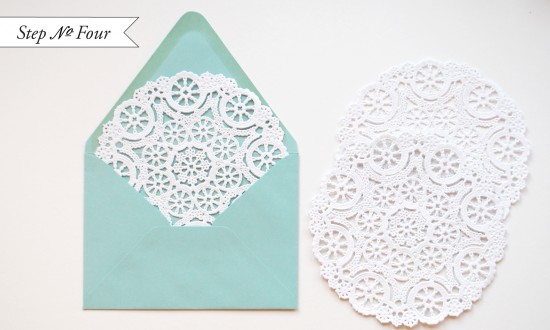
Step Four: To add a little extra flourish to the suite, we’ve used regular round doilies as an envelope liner. Â We love the way that the aqua peeks through the lace and think it would be so fun to be the recipient and have this surprise await us once the seal was broken. Â To install the doily liners, you will use spray adhesive. Â Make sure to do this outside (or in an extremely well ventilated room). Â Spray the back of the doily with a light mist of adhesive. Â Slide the doily into the envelope, making sure not to press until the doily is placed in its intended spot (as shown above). Â Let them dry & cure overnight.
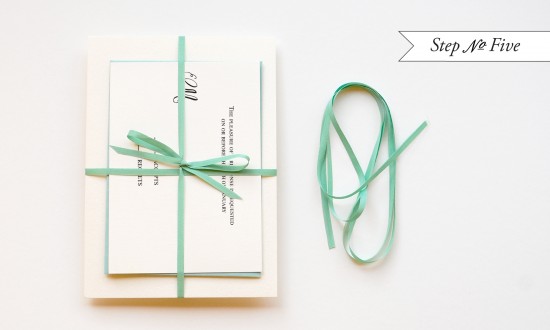
Step Five: Â Use a thin ribbon to tie the suite together. Â This will keep the components together and give your guest the thrill of “unwrapping” your invitation.
Materials
Stamps:
Vintage Calligraphy Invitation stamp
Vintage Calligraphy Reply Card stamp
Calligraphy Accent Return Address stamp
Stamp Pad (we used black)
Heavy Watercolor Paper (for invitations & reply cards)
Ribbon, 1/8″ thickness
6″ Medallion Lace Paper Doilies
Photo Credits: Antiquaria

SO DELICATE
JESSICA
My Gosh these ladies have it going on. Always, absolutely gorgeous.
http://www.cuteanduseful.com
Ok, so: where do you get big ink pads? Because I have something like this and I can’t find an ink pad in a color that is large enough.
Margaret,
The stamp pads that work best are the Colorbox Stamp pads. You can find them here:
http://antiquariadesignstudio.bigcartel.com/product/color-box-stamp-pad
or at your local craft or scrapbooking store. The ink bed is raised so that you can ink the large stamp easily even though the pad is smaller. Any pad that is not raised will not be effective. We certainly hope this helps!
xoxo
Emma & Bailey
Those are some smart little ideas – esp like the doilies!
Love this idea, the stamps are newly vintage (if that makes sense) and the little white doilies add great visual texture!
Where does one find these super cute doilies? The ones at the local Michaels are not nearly as cute.
The doily brand is “Royal Lace”. Hope that helps!!
-Antiquaria