Bohemian Botanical Wedding Invitations

My oh my, I have completely fallen for the newest addition to the Lucky Luxe wedding invitation collection! These bohemian invitations combine watercolor hand lettering with a typewriter font and antique floral engravings – perfect for an understated nature-inspired wedding. Love!

Bohemian-Botanical-Hand-Lettered-Wedding-Invitations-Lucky-Luxe-Couture-Correspondence-OSBP

From Erin: Flora was created to be a reflection of that couple tied to the land and their love — not tied to the standards of wedding paper formality. The script for the suite is painted by hand in watercolor, and all the fine text is an understated typeface taken from our old Remington typewriter. The invitations are then flat printed on 100% cotton Lettra paper, allowing for a layering of color and gradients.

Bohemian-Botanical-Hand-Lettered-Wedding-Invitations-Lucky-Luxe-Couture-Correspondence-OSBP3

The lettering choices, layered with colorful antique engravings from Furber’s Twelve Months of Flowers published in 1730, create a composite that’s altogether modern, bohemian, and nostalgic. We’re thinking of Flora as the new flower child among her sisters in the Lucky Luxe wedding collection.

Bohemian-Botanical-Hand-Lettered-Wedding-Invitations-Lucky-Luxe-Couture-Correspondence-OSBP2

Bohemian-Botanical-Hand-Lettered-Wedding-Invitations-Lucky-Luxe-Couture-Correspondence-OSBP4

Bohemian-Botanical-Hand-Lettered-Wedding-Invitations-Lucky-Luxe-Couture-Correspondence-OSBP8

Bohemian-Botanical-Hand-Lettered-Wedding-Invitations-Lucky-Luxe-Couture-Correspondence-OSBP10

Bohemian-Botanical-Hand-Lettered-Wedding-Invitations-Lucky-Luxe-Couture-Correspondence-OSBP11

Bohemian-Botanical-Hand-Lettered-Wedding-Invitations-Lucky-Luxe-Couture-Correspondence-OSBP13

Thanks Erin!

Lucky Luxe is a member of the Designer Rolodex – you can see more of their beautiful work right here or visit the real invi­ta­tions gallery for more wedding invitation ideas!

Photo Credits: Lucky Luxe

Happy Weekend!

Happy Friday everyone! Today little Alice turns one month old! With Sophie, the newborn stage felt like an eternity – but we wondered if things would be different the second time around since we (now) know how fleeting these early days really are. I’m still not the biggest fan of the newborn stage (I’m much happier when babies start smiling – usually around 8 weeks), but it does feel like these first (hard) few weeks have just flown by! We’ll be celebrating Alice’s first month birthday with take out and doughnuts tonight – but in the meantime…

A-Fabulous-Fete-Printable-Halloween-Invitation

Photo (and printable invitation!) via A Fabulous Fete

…a few links for your weekend!

This week on Oh So Beautiful Paper:

Check back soon for a very special cocktail post! I hope you all have a wonderful weekend, and I’ll see you back here next week! xoxo

Chris + Sara’s Watercolor Calligraphy Wedding Invitations

Sigh. There’s just something so romantic about modern calligraphy. And combine calligraphy with watercolor washes inspired by the sea? Total swoon! Victoria of Moira Design Studio created these one of a kind watercolor and calligraphy wedding invitations for a casual wedding on the Maryland shore. Gorgeous!

Blue-Watercolor-Calligraphy-Wedding-Invitations-Moira-Design-Studio9

From Victoria: Ocean sea breezes and the airy shades of the shore inspired this Maryland seaside invitation suite. We wanted to create a feel of open air and summer breezes. This casual wedding incorporated loose linen table runners, rustic wood tables, driftwood, and pale wood Louis style chairs. The suite features an open and modern calligraphy style in a medium grey tone, and is paired with watercolor washes in shades of blue.

Blue-Watercolor-Calligraphy-Wedding-Invitations-Moira-Design-Studio

Blue-Watercolor-Calligraphy-Wedding-Invitations-Moira-Design-Studio2

Each envelope was delicately painted with a watercolor wash to match the suite, lined in watercolor paper and addressed in the same sloped and loose calligraphy style. The simple map of the Maryland coast depicts the strong blues of the ocean against the sand and points guests in the direction of the ceremony and hotel. The suite was a perfect fit for the casual afternoon summer affair.

Blue-Watercolor-Calligraphy-Wedding-Invitations-Moira-Design-Studio6

Blue-Watercolor-Calligraphy-Wedding-Invitations-Moira-Design-Studio10Blue-Watercolor-Calligraphy-Wedding-Invitations-Moira-Design-Studio4

Blue-Watercolor-Calligraphy-Wedding-Invitations-Moira-Design-Studio8

Thanks Victoria!

Check out the Designer Rolodex for more tal­ented wed­ding invi­ta­tion design­ers and the real invi­ta­tions gallery for more wedding invitation ideas!

Photo Credits: Moira Design Studio

DIY Tutorial: Floral Save the Date Tags

For couples getting married in the first half of 2015, it’s time to send out save the dates! For this tutorial we wanted to create a design that’s easy to make (for those of you in a time crunch) but also highly customizable. Using a simple tag form and patterned card stock we elevated this simple stamped design into something really special: floral save the date tags. The best part is, you can simply change the pattern and completely transform the look of it! – Bailey and Emma of Antiquaria

DIY Floral Wedding Save the Date Tags by Antiquaria for Oh So Beautiful Paper

DIY Floral Wedding Save the Date Tags by Antiquaria for Oh So Beautiful Paper

Materials

Floral Calligraphy Save the Date Stamp
Antique Monogram Stamp
Annabelle Floral Patterned Paper
Watercolor Stripe Patterned Paper
A2 Kraft Envelopes
Self healing mat, craft knife and metal ruler
Stamp Pad in Eggplant
Washi Tape
Ribbon
Envelope Liner Templates
Scissors
Hole Punch

DIY Floral Wedding Save the Date Tags by Antiquaria for Oh So Beautiful Paper

Step One: First, we’ll need to cut the cards that we’ll be using to make our tags. You could make these any size you’d like but for this tutorial we’ll be cutting them to fit inside an A2 envelope. Select 8.5″ x 11″ patterned card stock (we used our Annabelle Floral patterned paper) and cut it into cards measuring 4″ x 5.25.” You should get four cards per 8.5″ x 11″ sheet.

DIY Floral Wedding Save the Date Tags by Antiquaria for Oh So Beautiful Paper

Step Two: To notch the corners of your tag, find the 45 degree mark on a self healing mat. Line your card corner into the square (as shown above) and your ruler along the angle line. With a craft knife, cut the paper cleanly across the corner.

DIY Floral Wedding Save the Date Tags by Antiquaria for Oh So Beautiful Paper

Step Three: Next, you’ll just want to flip the card over and repeat Step 2 on the other side of the card. Now your tag shape is complete!

DIY Floral Wedding Save the Date Tags by Antiquaria for Oh So Beautiful Paper

Step Four: We decided to use gold patterned washi tape to add an extra layer of interest. Tear a piece of washi tape to ~1.5 inches and center it in the top center of your tag (above left). Then, bend the tape over the top and adhere it to the back of your tag as well (above center). Lastly, you want to punch a hole through the card and the washi tape in the center about a quarter of an inch down (above right).

DIY Floral Wedding Save the Date Tags by Antiquaria for Oh So Beautiful Paper

Step Five: Now that the tags are completed, we’ll get to stamping! Stamp your save the date design (we used our Floral Calligraphy Save the Date stamp) on the back of the tag in eggplant ink. To add further customization, we added a monogram (our Antique Monogram stamp) also in eggplant on the front of the tag, over our pattern. If you decided to use a darker patterned paper for the tag, you might want to consider embossing your monogram in a light or metallic color so that it will be sure to show up! If you choose to, you’ll also want to stamp (or print) your return address on your A2 Kraft envelope as well before moving on to Step 6.

DIY Floral Wedding Save the Date Tags by Antiquaria for Oh So Beautiful Paper

Step Six: Next, we added a striped envelope liner (our Watercolor Stripe Coral patterned text weight paper) to coordinate with (but not match) our floral tag. Lining envelopes is really, really easy. Simply trace the liner template (A2 size for this design) and cut it out. To install the liner, you use stick glue or double sided tape along the pointed part to adhere to the envelope.

DIY Floral Wedding Save the Date Tags by Antiquaria for Oh So Beautiful Paper

Step Seven: The only thing left now are the finishing touches! Thread your ribbon through the hole on the tag and loop the ends through. Cut the edges so that the ribbons are even. Then just address the envelopes and add postage!

DIY Floral Wedding Save the Date Tags by Antiquaria for Oh So Beautiful Paper

Anti­quaria is a mem­ber of the Designer Rolodex – you can see more of their beau­ti­ful work right here!

Photography: Antiquaria for Oh So Beautiful Paper

DIY Tutorial: Modern Hand Painted Floral Wedding Invitations

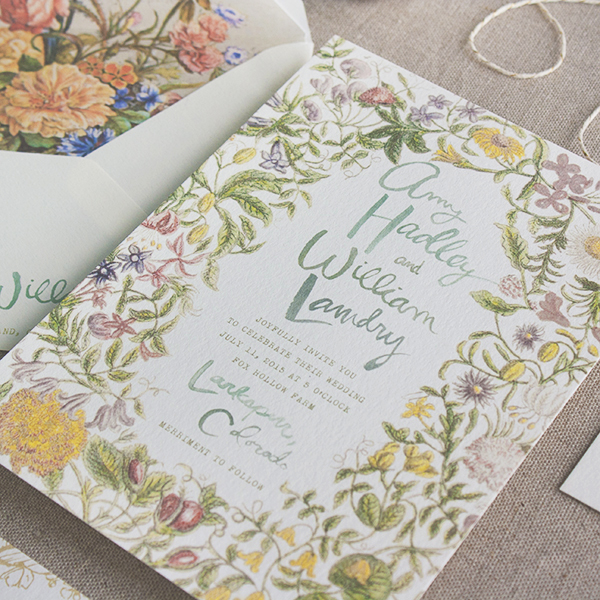
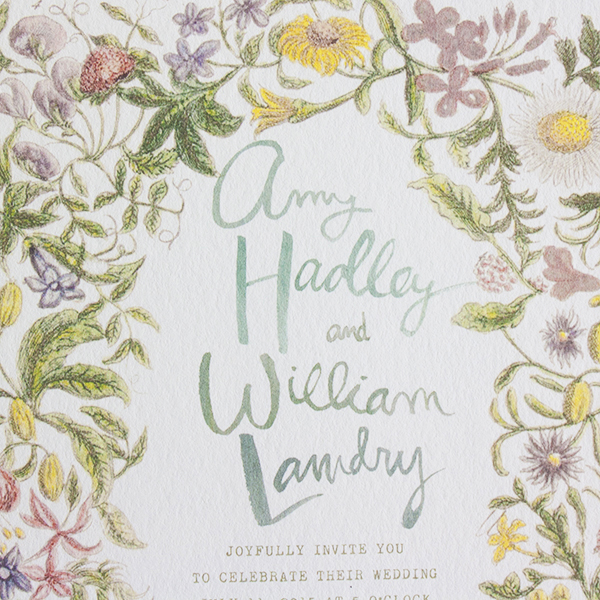
Black and white is always classic. It seems like no matter what design you choose you can’t go wrong with this simple, sophisticated palette. We typically gravitate towards bright pops of color, soft pastels, or neutrals – but for this tutorial we wanted to explore the modern, less traditional, side of good old black and white.  We added hand painted floral elements to bring in our signature style and make each invitation unique. With the days getting shorter and autumn knocking on the door, this wedding invitation suite feels just right to us. – Bailey and Emma of Antiquaria

DIY Tutorial: Modern Hand Painted Floral Wedding Invitations by Antiquaria for Oh So Beautiful Paper

Materials

Modern Type Invitation Stamp and Reply Card Stamp
Art Deco Return Address Stamp
Watercolor Paper – we used 22″ x 30″ Smooth Hot Press Arches Watercolor Paper
Pencil and ruler
Sumi Ink
Paint Brushes
Stamp Pads in Black and Frost White
Craft knife and cutting mat
6×9 String Tie Envelopes
4bar Envelopes

DIY Tutorial: Modern Hand Painted Floral Wedding Invitations by Antiquaria for Oh So Beautiful Paper

Step One: Since we will be hand painting with a bleed (a design that continues off the side or page) for this invitation tutorial, we will start by drawing our frames on hot press watercolor paper. For this design, we marked up two 5 ½” x 8 ½” rectangles spaced about an inch apart from one another. We used artist paper, which instead of coming in a pad, comes in large sheets, usually around 22″ x 30.” To make them workable, we tear that size down into four sections, resulting in sheets that are 11″ x 15.” You can also purchase watercolor paper in pads or blocks. Use what you like best!

DIY Tutorial: Modern Hand Painted Floral Wedding Invitations by Antiquaria for Oh So Beautiful Paper

Step Two: Next, stamp your invitation (we used our Modern Type Invitation) in the center of each penciled rectangle. Press firmly but moderately when printing on a flat surface, using your hands to make sure that the entire stamp has been printed. Let dry.

DIY Tutorial: Modern Hand Painted Floral Wedding Invitations by Antiquaria for Oh So Beautiful Paper

This sheet is stamped and awaiting floral painted details. Before you start painting, make sure that the stamped ink is totally dry.

DIY Tutorial: Modern Hand Painted Floral Wedding Invitations by Antiquaria for Oh So Beautiful Paper

Step Three: It’s always a good idea to warm up and practice before painting, especially on something as important as your wedding invitations! Get a scrap piece of watercolor paper (preferably the exact same paper as your invitations) and get creative! Grab some flowers and foliage from your yard and start working out a design that you like. We used Sumi Ink instead of paint for this design, but any type of gouache (opaque watercolor) or watercolors will work too! Experimentation is the key to getting a result that you’re happy with.

DIY Tutorial: Modern Hand Painted Floral Wedding Invitations by Antiquaria for Oh So Beautiful Paper

Step Four: Get to work painting your invitations once you feel warmed up and know what you want to paint. We started by painting clusters of flowers and foliage along the top of each invitation, as shown above. You could also do something as simple as a single flower at the top or as ornate as a wreath around the entire invitation. The nice part is that it’s totally up to you! It can also help to pencil in a rough design prior to painting on your invitation if you’re not 100% confident going freeform on the design.

DIY Tutorial: Modern Hand Painted Floral Wedding Invitations by Antiquaria for Oh So Beautiful Paper

Step Five: We decided to add a very small floral accent right below the location on our design, so after the top was dry, we added one to each invitation. Let your finished design dry completely.

DIY Tutorial: Modern Hand Painted Floral Wedding Invitations by Antiquaria for Oh So Beautiful Paper

Once all of your paintings are complete, all that’s left to do on the invitation is cut it out! Use a craft knife and metal ruler (or very precise paper cutter) to cut along your pencil lines…et voila! An invitation with a full bleed!

DIY Tutorial: Modern Hand Painted Floral Wedding Invitations by Antiquaria for Oh So Beautiful Paper

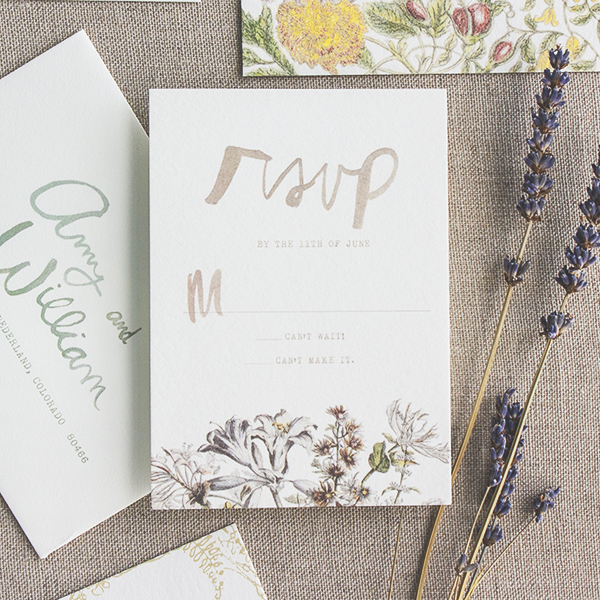
Step Six: Stamp your reply card (we used our Modern Type Reply) on a 4bar size card made of the same watercolor paper used on the invitation or a card of a similar color (soft white). We used the same black stamp pad as on the invitation design.

DIY Tutorial: Modern Hand Painted Floral Wedding Invitations by Antiquaria for Oh So Beautiful Paper

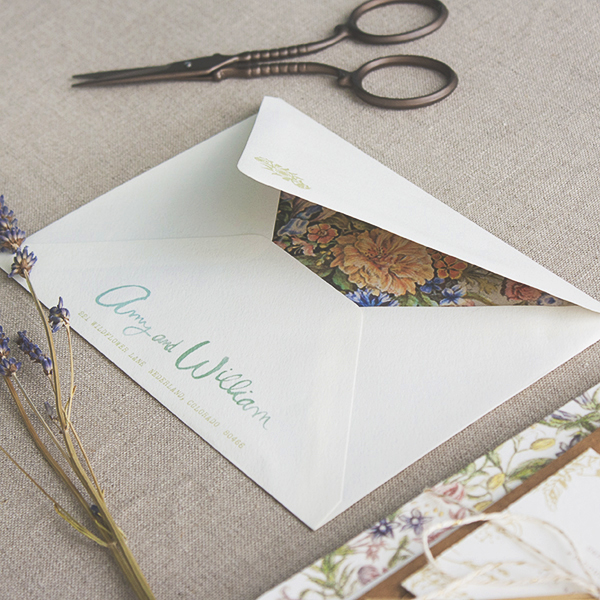
Step Seven: Stamp your return address in black (we used our Art Deco Return Address) on the back of a 6″ x 9″ envelope and reply address in white on the front of a black 4bar envelope. We’re in love with these gorgeous string tie envelopes and love how the milkweed color softens the look of what is otherwise a 100% black and white design.

Now all that’s left is to address them to your loved ones, add postage, and send them on their way! We guarantee that your guests will be floored by the beauty of your hand crafted work of art!

Photo Credits: Antiquaria for Oh So Beautiful Paper

Designs and artwork copyright Antiquaria, with DIY tutorials created exclusively for Oh So Beautiful Paper. All artwork and DIY tutorials are for personal use only. Anti­quaria is a mem­ber of the Designer Rolodex – you can see more of their beau­ti­ful work right here!