The Blueprint Model 2018

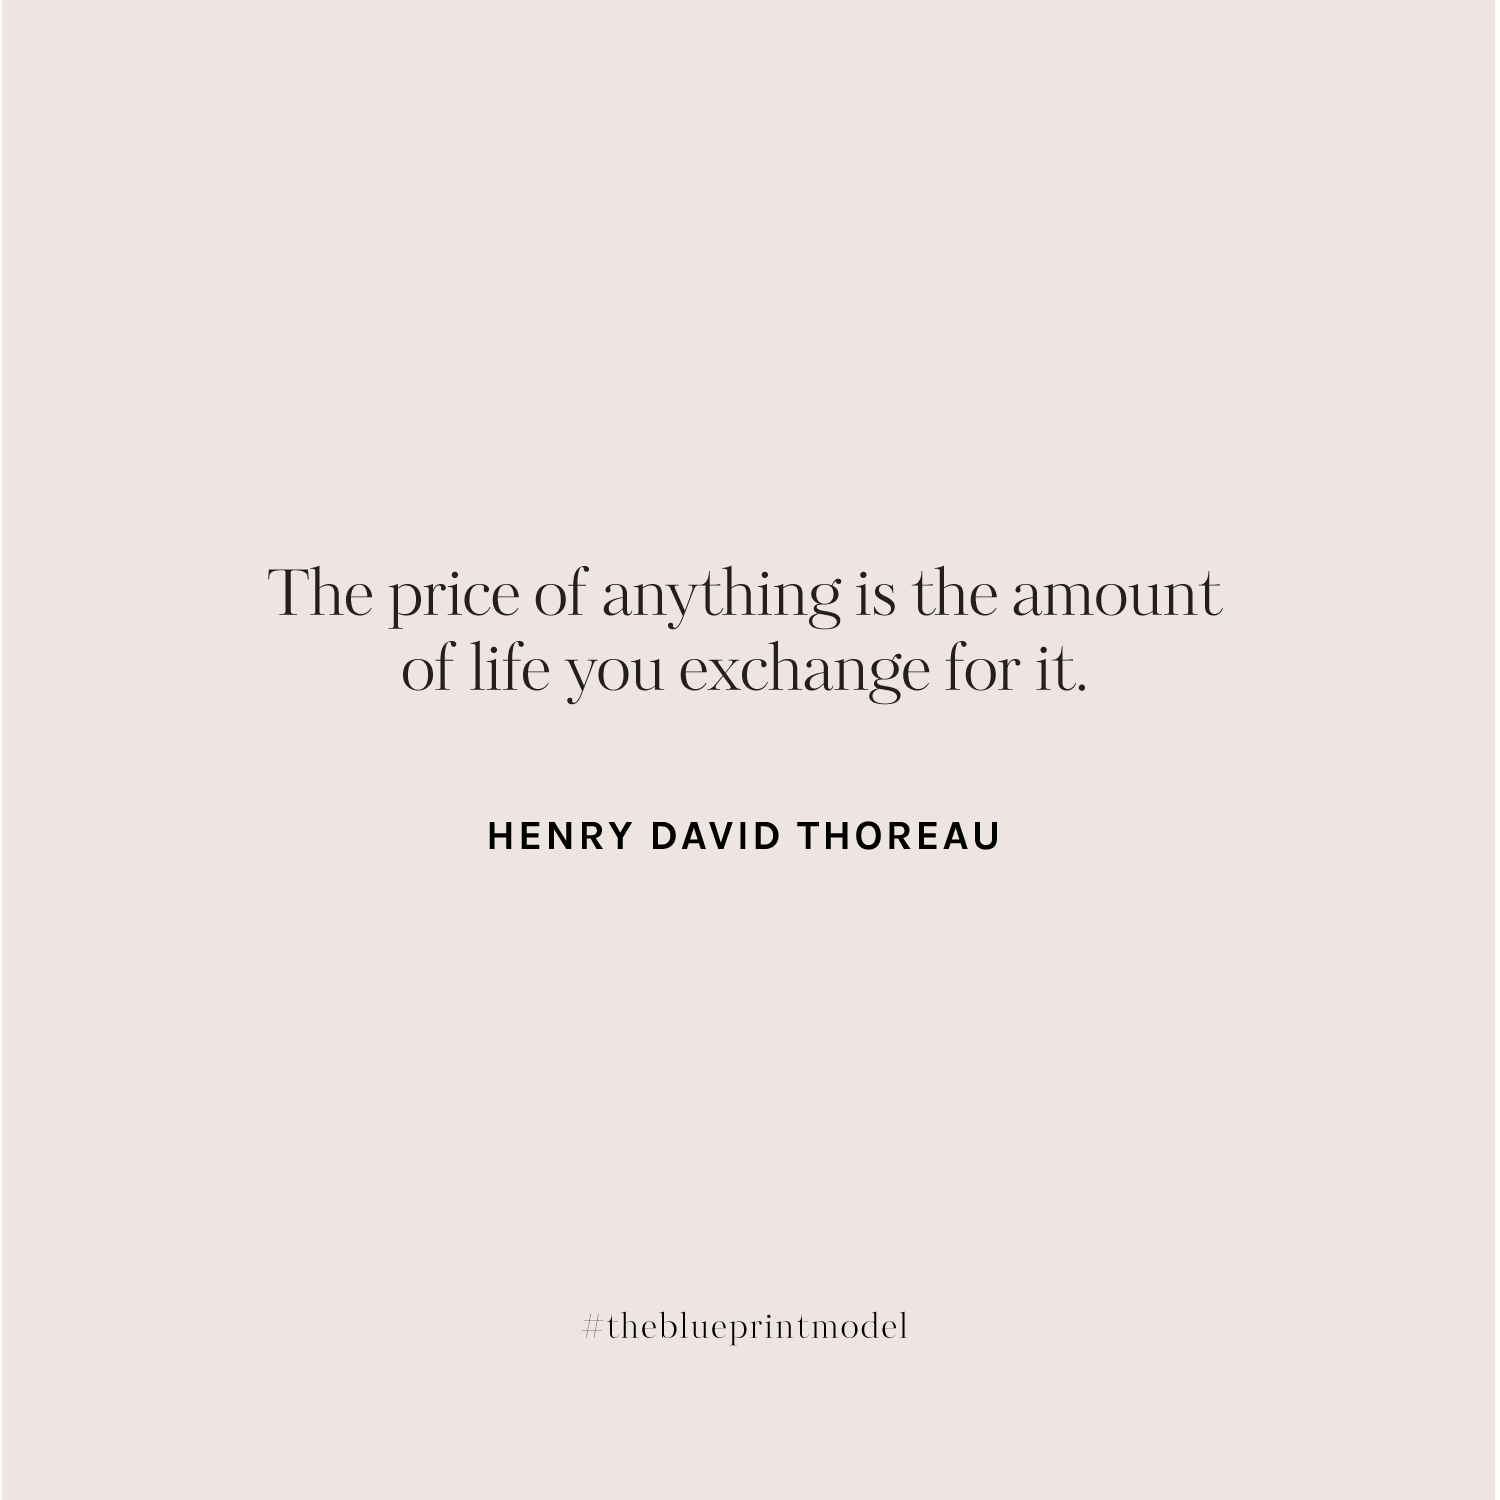
Creative entrepreneur friends, this one is for you! Every business needs help along the way, whether you’re just starting out or you’re ready to scale up and expand. A couple summers ago, I was feeling really overworked and overwhelmed. I felt like I was at a breaking point in my business where I either needed to expand and diversify my business or basically close up shop, but I didn’t know how to take my next steps. I heard about Shanna Skidmore’s Blueprint Model program from a friend, so I signed up for the program! Shanna JUST reopened registration for this year’s class, so I thought I’d share a little about my experience with the program!

The Blueprint Model

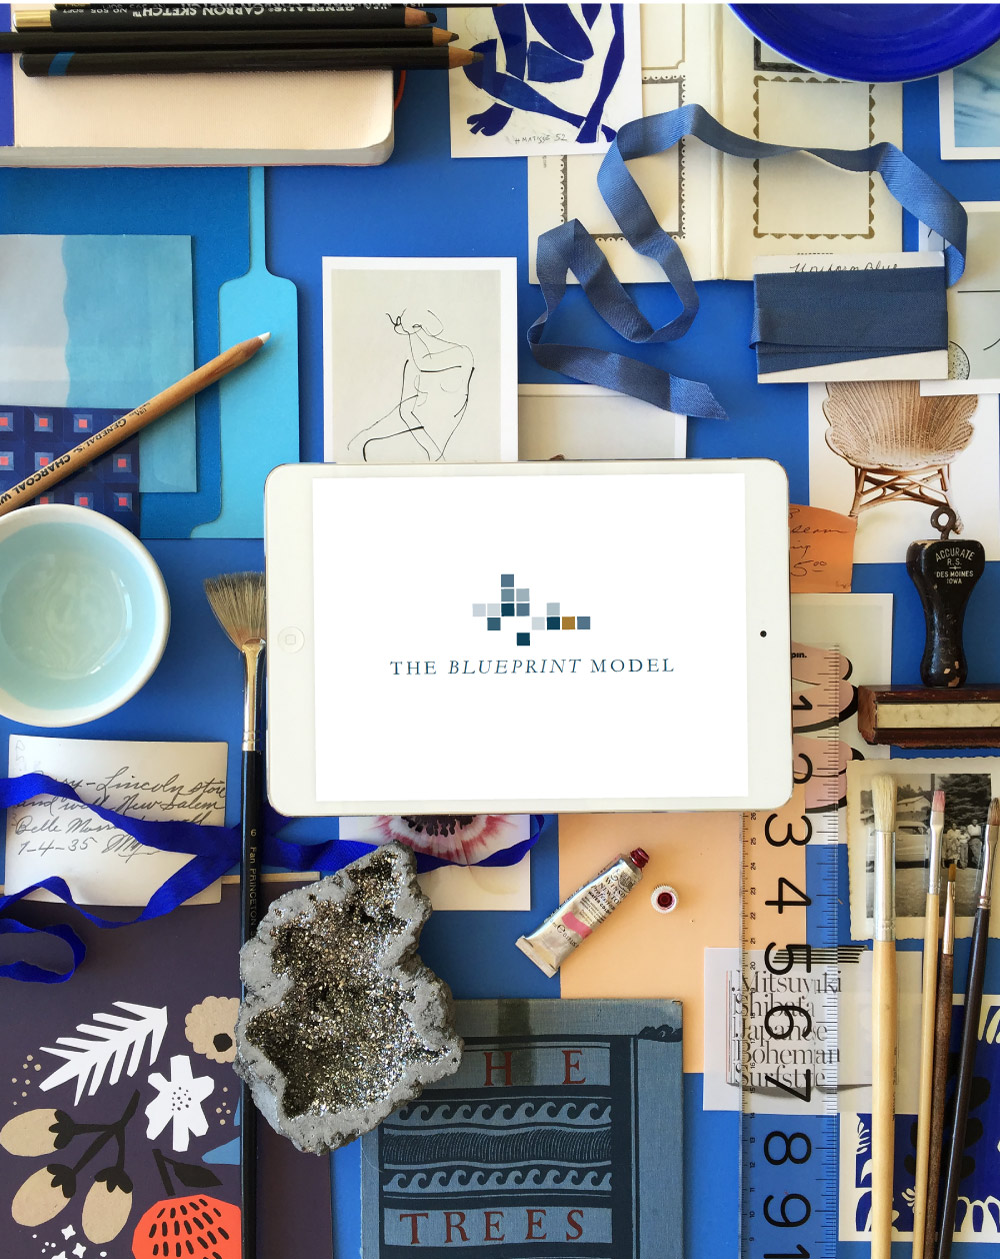
The Blueprint Model is like an MBA for creatives: a 12-week business program designed specifically for creative entrepreneurs, with 10+ hours of coaching and advice from other creative entrepreneurs, more than 25 ready to use templates, a 60-page workbook, and tons of other extras. Over those twelve weeks, Shanna covers everything you need to start, grow, and eventually scale a thriving creative business – from figuring out how YOU personally define success (which was totally eye opening) to pricing and spending plans, including how to pay yourself a salary and set up a cash flow that will help cover slow months. I won’t pretend to have everything figured out, but Shanna and the Blueprint Model taught me SO much, both about what I want for my future AND how to run a sustainable business for the long haul. The Blueprint Model was absolutely invaluable in helping me figure out the direction I want to pursue and in identifying some of the key ingredients that were missing from my business model. I really can’t say enough good things about this program! Fellow alums include fine artist Britt Bass, flower farmer Erin Benzakein Floret Flower, creative director Megan Gonzalez of Mae Mae Co., and lots more.

Henry David Thoreau / The Blueprint Model

Registration for the Blueprint Model is only open ONCE per year, and that’s right now! So if you’re feeling stressed and overworked or if you’re just starting out and want to get your business off the ground in a sustainable way, I’d really encourage you to look into the program. Plus, you get lifetime access to the course materials, so you can continue to revisit the program as your business grows and develops. As a Blueprint Model Alum, I’m planning to go through the course materials again this quarter (while things are a bit quiet!) to help refocus my energy and business priorities. Registration closes at 11:59 pm on Thursday, January 11, so don’t wait!

The Blueprint Model 

Stationers and other creative friends, you can sign up for the program here. There are also programs geared specifically to fine artists, floral designers, or event planners. Go claim your seat now!

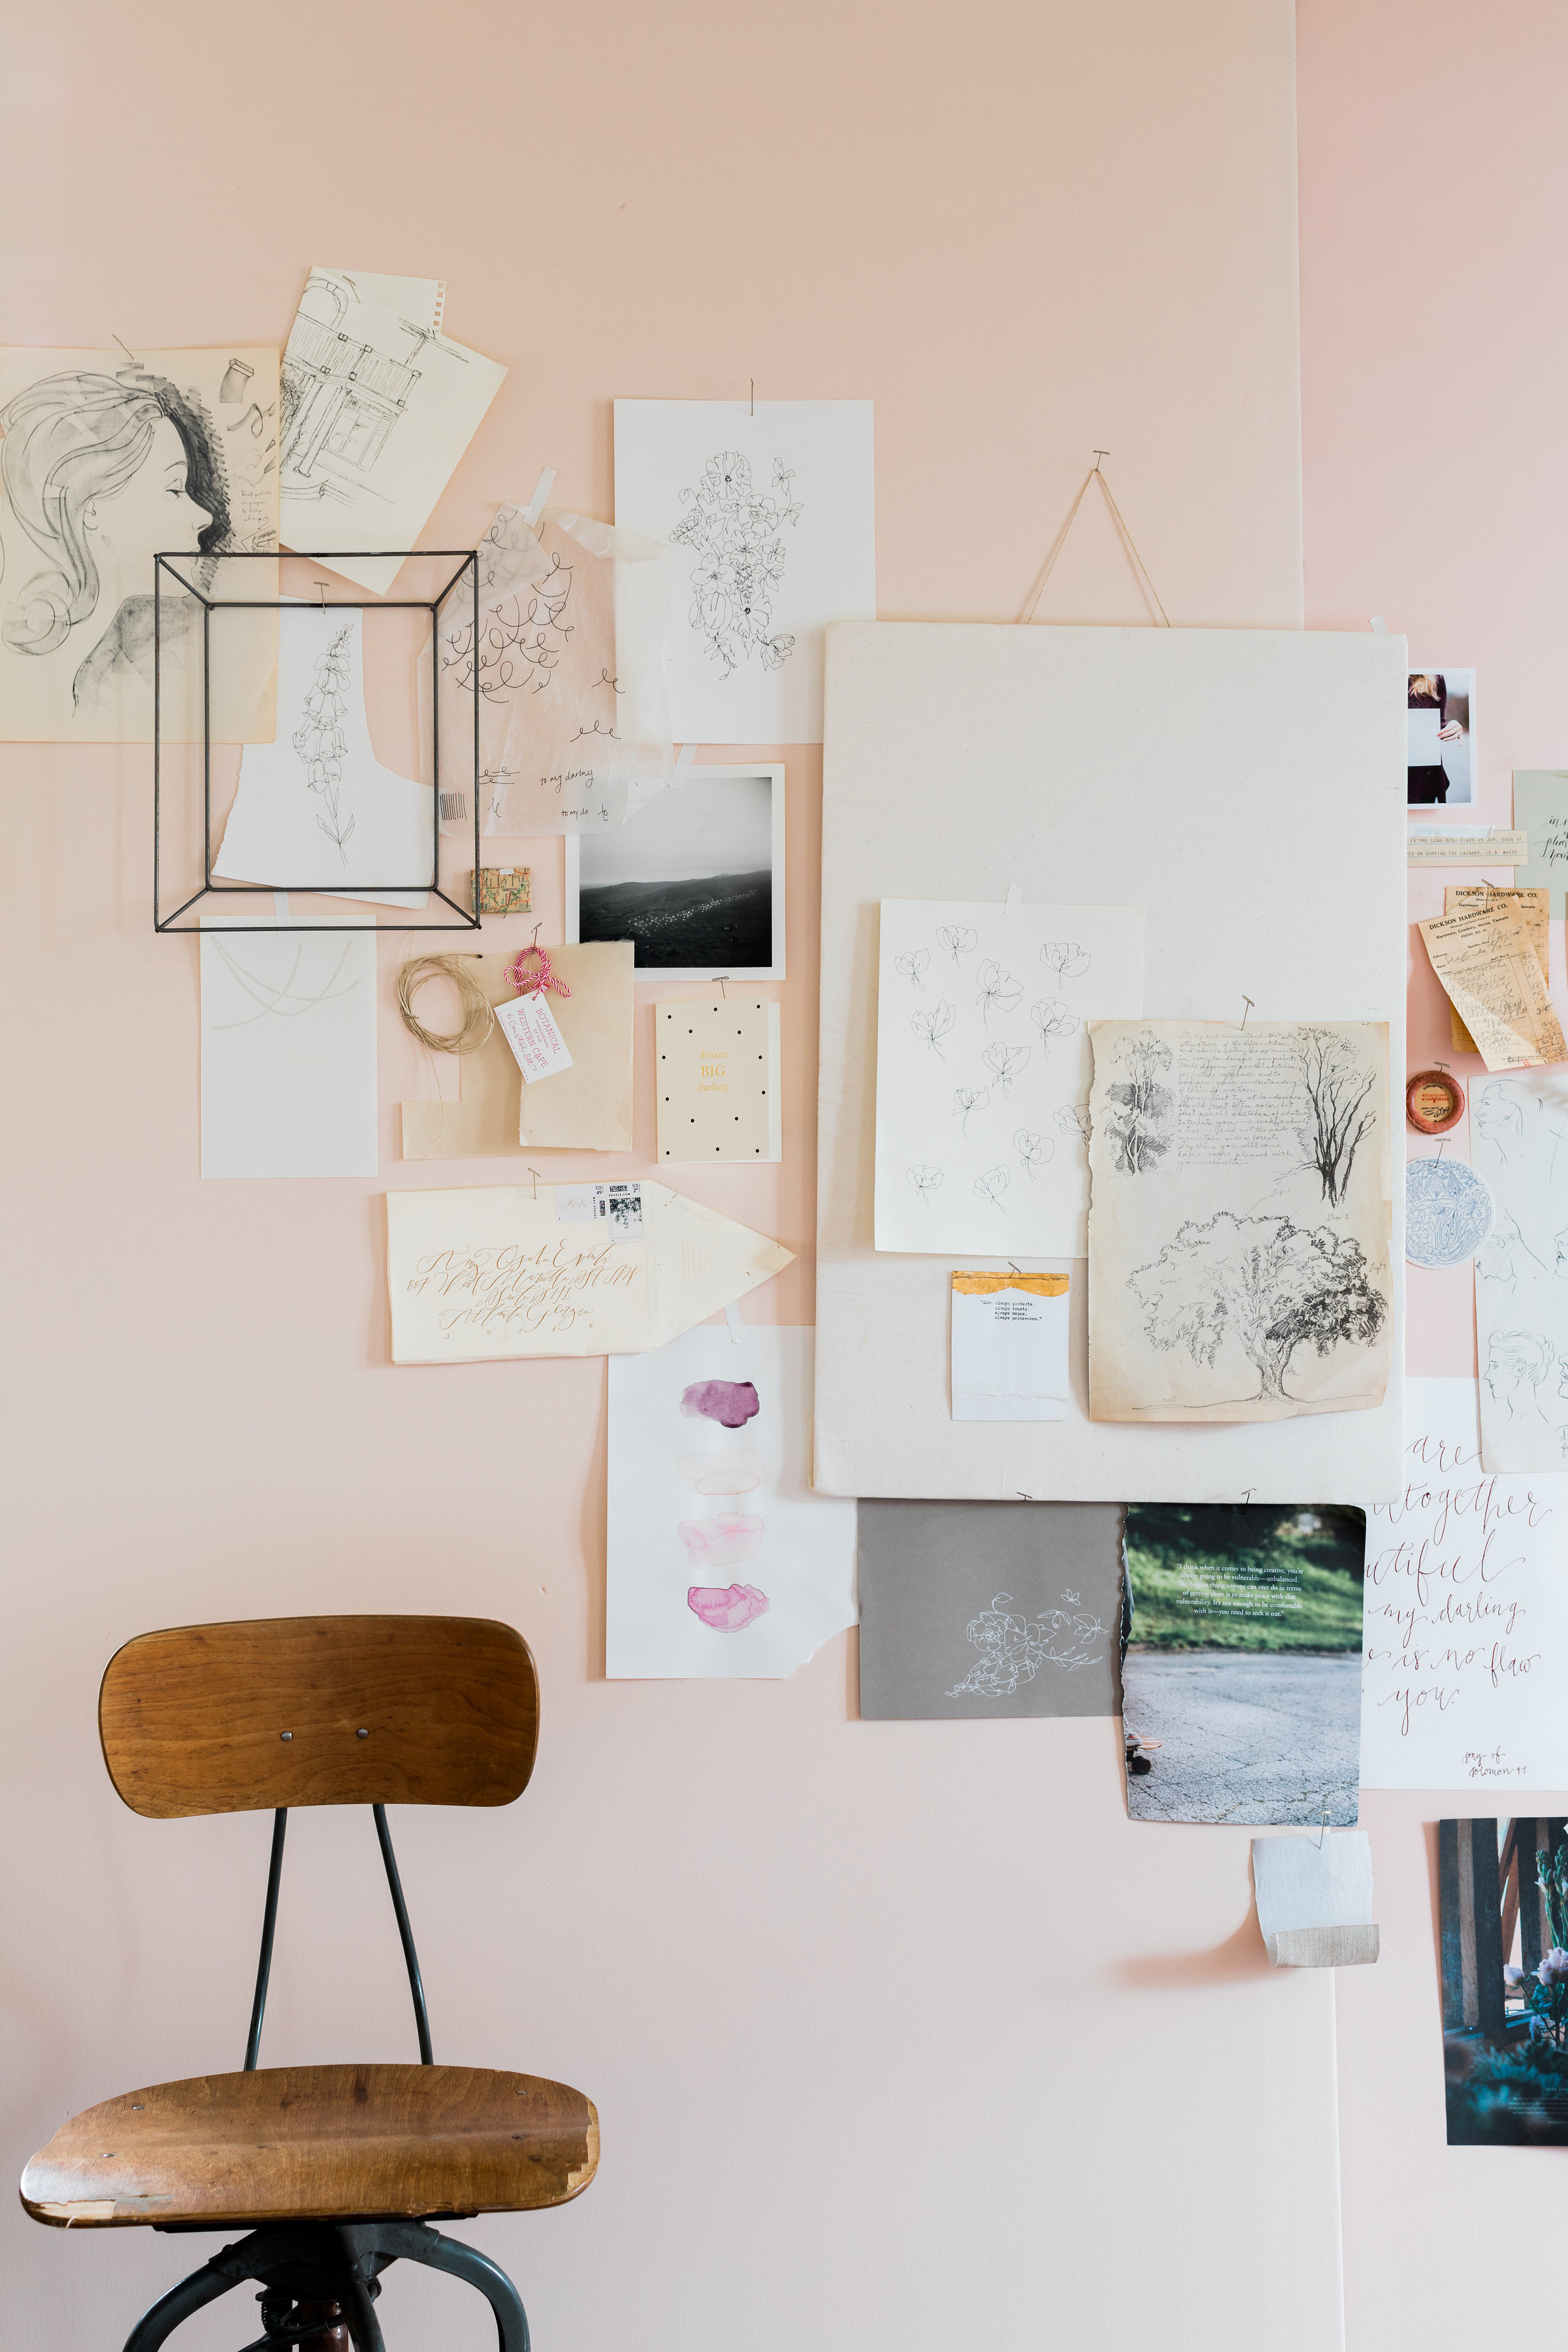
Photos via The Blueprint Model

Best of 2017: Adorable Baby Announcements and Shower Invitations

Aaaah, babies! Even before I became a mom, I loved seeing festive and exuberant baby shower invitations, sweet birth announcements, and even fun birthday party invitations! Let’s take a look back at some of our favorite adorable baby announcements and shower invitations (and one first birthday party invitation!) from the year, from copper foil baby shower invitations to vellum first birthday party invitations!

Copper Foil Star Inspired Baby Shower Invitations by Bourne Paper Co.

Alana of Bourne Paper Co. sent two adorable baby stationery projects in 2017 – first, the invitations for her baby shower! The copper foil stars are the perfect complement to the crisp and clean modern design!

Copper Foil Star Inspired Baby Shower Invitations by Bourne Paper Co.

Copper Foil Star Baby Shower Invitations

And a bit later in the year, Alana shared the sweet birth announcements for her daughter, Peyton – with beautiful calligraphy by Anne Robin and a fun batik-inspired envelope liner!

Sweet and Simple Calligraphy Baby Announcements by Bourne Paper Co. and Anne Robin Calligraphy

Sweet and Simple Calligraphy Baby Announcements by Bourne Paper Co. and Anne Robin Calligraphy

Sweet and Simple Calligraphy Baby Announcements

Can you imagine anything more fun than sprinkle-inspired baby shower invitations?? I love these festive baby shower invitations with a white foil sprinkle pattern from Samantha and Whitney of Gus & Ruby Letterpress!

Festive Confetti-Inspired Baby Shower Invitations by Gus & Ruby Letterpress

Festive Baby Shower Invitations with Foil Sprinkles!

Vellum was one of the biggest trends of 2017 – and I’m expecting we’ll continue to see more of this translucent material in 2018! How lovely is this eucalyptus overlay on these first birthday party invitations from Mint for Hue??

Eucalyptus and Vellum Birthday Party Invitations by Mint for Hue

Eucalyptus and Vellum First Birthday Party Invitations

Looking for more adorable baby stationery? Check out our past baby shower invitation and baby announcement posts right here!

DIY Hologram Foil Ornaments

So apparently my brain works best on a really tight deadline. Here’s my brain: a week to go until Christmas? Great! Here are five DIY christmas ornament ideas! So for those of you looking for some fun non-traditional DIY ornament ideas, I’ve got a couple of ideas to share with you this week! First up, DIY hologram foil ornaments! You might remember these DIY hologram Easter eggs that I made last Spring, and I couldn’t resist making a set of Christmas ornaments from these amazing iridescent and hologram nail foils!

DIY Hologram Foil Ornaments

I know pastels are on the non-traditional side for Christmas, but I just couldn’t resist! I used clear glass ornaments and filled them in with a few colors of craft paint that I had on hand, but you could definitely pick more traditional colors. Or use existing solid color ornaments – either glass or plastic. The hologram nail foils stick to pretty much anything!

DIY Hologram Foil Ornaments

DIY Hologram Foil Ornaments

The silver hologram foil really stands out, while the clear iridescent foil makes for a more subtle shimmer – but both are just totally gorgeous in person. That lavender and iridescent opal swirl is such a dreamy combination!

DIY Hologram Foil Ornaments

DIY Hologram Foil Ornaments

DIY Hologram Foil Ornaments

Supplies

Plastic or glass ornaments

Nail foil in your choice of color – I used Silver Spectrum, Silver Dots, Opal Glitter, and Opal Swirl. I bought all my nail foils here, but you can also find some fun colors and patterns on Amazon.

Nail foil transfer adhesive

Thin ribbon

Craft paint in assorted colors (optional)

DIY Hologram Foil Ornaments

To make the DIY hologram foil ornaments:

Step 1. Start by cutting several lengths of nail foil in your chosen colors. I usually needed one 5-inch piece to wrap around the middle of the ornament, then a few 3-inch pieces to fill in the rest of the ornament. The foiling process moves pretty quickly, so it’s helpful to have a bunch of pre-cut pieces ready to apply ahead of time. 

Step 2. Apply the nail foil transfer adhesive to the bottom half of your ornament. Allow the adhesive to dry until it becomes clear and tacky (usually 2-3 minutes).

Step 3. Once the adhesive is clear, apply the hologram foil to the ornament, pressing the foil down over the adhesive and smoothing it down with your fingers. Smooth the foil down for 10-20 seconds, then remove the foil. Continue applying the nail foils over all parts of the ornament where you applied the adhesive until you’re satisfied with the amount of coverage.

Step 4. If using clear glass ornaments, remove the top of each ornament, then fill the ornaments with craft paint in your chosen colors. With your finger (and maybe a paper towel) over the open end, shake the ornament until the paint covers the entire inside of the ornament. Allow the paint to dry completely (ideally overnight), then replace the ornament top. If using solid color ornaments, you can skip this step entirely!

Step 5. Cut a length of thin ribbon and string it through the ornament – and it’s ready to hang!

DIY Hologram Foil Ornaments

DIY Hologram Foil Ornaments

DIY Hologram Foil Ornaments

DIY Hologram Foil Ornaments

DIY Hologram Foil Ornaments

DIY Hologram Foil Ornaments

DIY Hologram Foil Ornaments


DIY Hologram Foil Ornaments

So much hologram and iridescent sparkle! Gah, I just love these ornaments SO much – and my girls are absolutely crazy about them! I think it also helped that I used their favorite colors to fill the inside of the glass ornaments. I’m loving all the pastel prettiness of these ornaments, but I also want to give this a try on some darker tones like navy blue and green!

DIY Hologram Foil Ornaments

DIY Hologram Foil Ornaments

DIY Hologram Foil Ornaments

DIY Hologram Foil Ornaments

What do YOU think?? Will you be making DIY hologram foil ornaments this year? If you do, I hope you’ll share a photo on Instagram with the hashtag #madewithosbp â€“ I want to see your craftiness in action!

p.s. DIY hologram foil Easter eggs and my favorite holiday gift wrap pairings

Photo Credits: Meghan Marie Photography and Nole Garey for Oh So Beautiful Paper

DIY Vellum Gift Tags

Yesterday I shared how I’m mixing and matching my holiday gift wrap pairings this year. You may have noticed the subtle vellum gift tags peeking through the ribbon and trim, and today I’m sharing the DIY tutorial with you! It’s no secret that I’ve been loving the vellum trend over the last couple of years, so I wanted to turn this gorgeous translucent material into quick and easy DIY vellum gift tags for the holidays. Seriously, these gift tags take approximately 30 seconds to make and look SO dreamy on any gift. Are you ready??

DIY Vellum Gift Tags with Gold and Silver Leaf

I always prefer smaller gift tags in simple shapes (squares, circles, even hexagons!) over larger gift tags in the traditional shape that you often see in stores. These gift tags are just simple vellum squares with a hole punched in one corner, then a quick swipe of gold or silver (or even copper!) liquid leaf on the bottom. Traditional gold or silver leaf (the kind that comes in sheets) would also work on vellum, but it tends to be a lot more time intensive, so I decided to stick with the liquid version to keep things simple.

DIY Vellum Gift Tags with Gold and Silver Leaf

DIY Vellum Gift Tags with Gold and Silver Leaf

Let’s start with the supplies that you’ll need to make these DIY vellum gift tags!

DIY Vellum Gift Tags with Gold and Silver Leaf

Supplies

Vellum (I like this iridescent vellum, and this variety pack has lots of fun colors)

Liquid Gold Leaf

Liquid Silver Leaf

Small Paint Brush

Gift Tag Maker with Built-in Eyelet Setter or 3/16″ Circle Punch

Paper Trimmer

Gold or Silver Thread

DIY Vellum Gift Tags with Gold and Silver Leaf

DIY Vellum Gift Tags with Gold and Silver Leaf

To make the DIY vellum gift tags:

Step 1. Using your paper trimmer, cut a sheet of letter-sized vellum into 2″ strips, then cut the strips into 2″ squares. Pro tip: because vellum is fairly thin, you can stack 3-4 vellum strips and cut them into squares all at once! Makes things so much faster.

Step 2. Punch a 3/16″ hole in one corner of the gift tag. This is where you’ll eventually string your thread or ribbon. You can either use the eyelet hole punch on a gift tag maker, or just a stand alone 3/16″ hole punch. And yep, you can also stack several vellum squares and punch them all at the same time. 

Step 3. Paint a thin strip of gold or silver leaf on the bottom edge of each square. I recommend placing a paper towel, sheet of newspaper, or even wax paper under the gift tags to protect your work surface, since gold and silver leaf can be difficult to clean up. If you’re using both gold and silver, you’ll need to use a different brush for each color – or thoroughly wash and dry the brush before moving from one to the other.

Step 4. After the metallic leaf has fully dried, write the name of the recipient on each gift tag. You could use gold or silver extra-fine paint markers to match the liquid leaf, or these archival black pens. Use gold or silver thread to attach the gift tags to the gift, and you’re all done!

DIY Vellum Gift Tags with Gold and Silver Leaf

DIY Vellum Gift Tags with Gold and Silver Leaf

DIY Vellum Gift Tags with Gold and Silver Leaf

DIY Vellum Gift Tags with Gold and Silver Leaf

DIY Vellum Gift Tags with Gold and Silver Leaf

I love the way these gift tags are both elegant and modern at the same time, don’t you? The quick stripe of gold or silver adds just the perfect amount of shimmer, while the vellum makes everything feel fresh and modern. I used iridescent and pink vellum since that’s what I had on hand, but you can use whatever colors work for your holiday style. I’d love to try this with a dark green or navy blue vellum next!

DIY Vellum Gift Tags with Gold and Silver Leaf

DIY Vellum Gift Tags with Gold and Silver Leaf

DIY Vellum Gift Tags with Gold and Silver Leaf


DIY Vellum Gift Tags with Gold and Silver Leaf

Gift Tag Calligraphy: Meant to Be Calligraphy

p.s. How I’m wrapping my holiday gifts this year!

Photo Credits: Meghan Marie Photography and Nole Garey for Oh So Beautiful Paper

Happy Monday!

Happy Monday everyone! Normally I do these link round ups on Fridays, but we had an assembly at my girls’ school and the day got away from me. So I thought I’d save it for Monday instead! Did you have a good weekend? We got our first little snowfall on Saturday afternoon, and my girls were in HEAVEN. There’s a chance we might get a bit more later this week – fingers crossed! But in the meantime…

Yellow and Pink Poinsettia / Oh So Beautiful Paper

…a few links for your Monday!

This California ranch is home to over 500 animals, and they just lost their entire ranch to the fires in the area. All the animals and people made it out safely, but you can support their recovery and rebuilding effort here

Baby2Baby has also organized an Amazon registry so you can help by purchasing items for families that lost everything in the fires.

This DIY “gingerbread” house idea is absolutely genius

My dream winter coat! It’s pink! There are ruffles on the sleeves! Be still my heart.

Pantone’s Color of the Year for 2018. What are your thoughts?

Can’t stop watching this hilarious video

This dress would be so pretty for New Year’s Eve

Did you catch my little DIY advent calendar on Instagram? All you need is some watercolor paper, paint, and a star craft punch or a pair of scissors!

YOU GUYS. Have you seen this rainbow Christmas tree??? It’s incredible!

MAKE: Creamy sweet potato agnolotti


Last week on Oh So Beautiful Paper:

New illustrated wallpapers for December!

Vintage-inspired dusty blue wedding invitations

Sweet and simple calligraphy baby announcements by Bourne Paper Co. and Anne Robin!

Winter wedding stationery ideas

Beautiful envelope inspiration