Elizabeth + John’s Classic Calligraphy Wedding Invitations

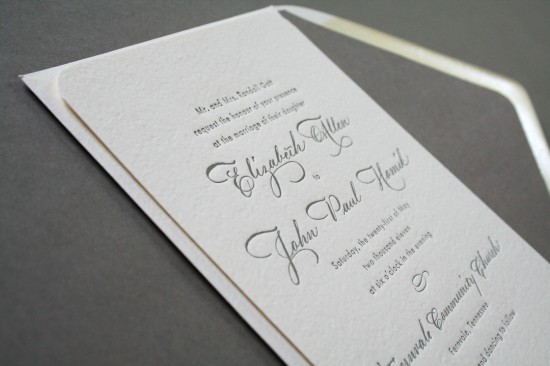
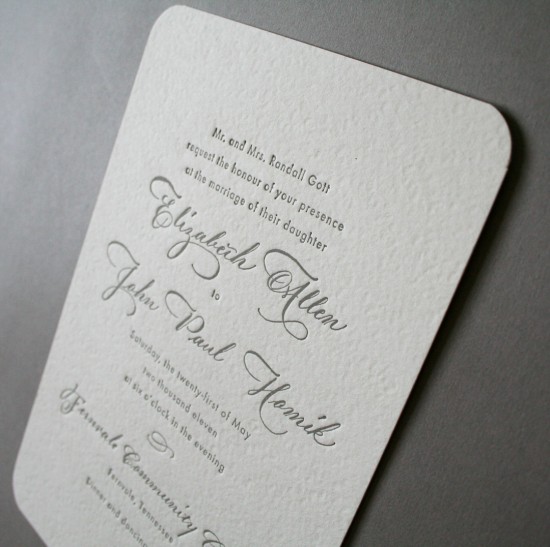
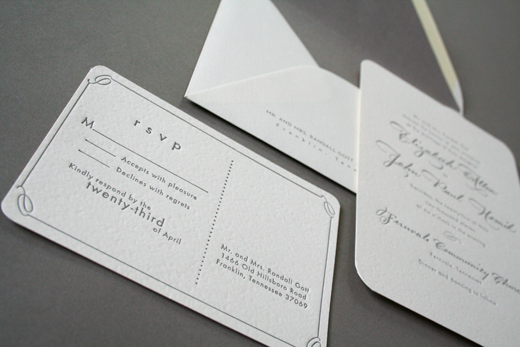
I’m having one of those days where I just keep repeating the phrase “Serenity Now” over and over and over, so I’m in dire need of something classic and undeniably pretty to help me get through the day.  Erin from Arboreal sent over these beautiful and classic wedding invitations that she created for the Tennessee wedding of recent clients Elizabeth (aka Biz) and JP.  Erin incorporated calligraphy by Barbara Thomas and simple design elements to create these elegant invitations.

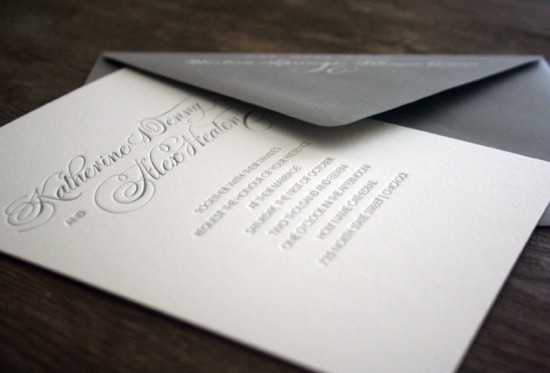
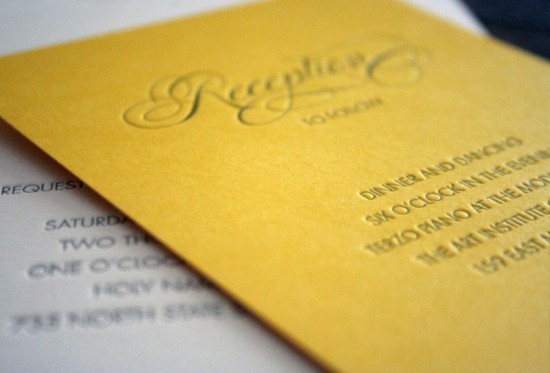
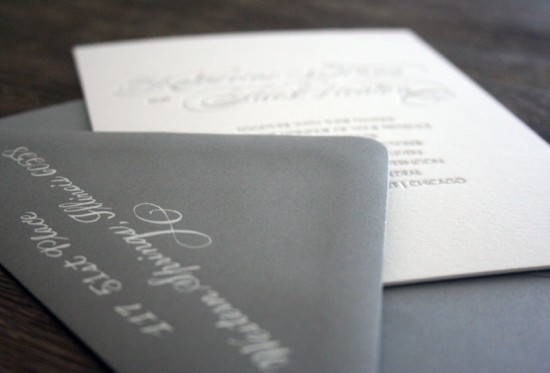
From Erin: To set the tone of the wedding, Biz and JP asked me to create a simple and classic invitation with hand written calligraphy.  The wedding suite was letterpress printed in charcoal ink on textured ivory paper with rounded edges and finished with a matching lined envelope.

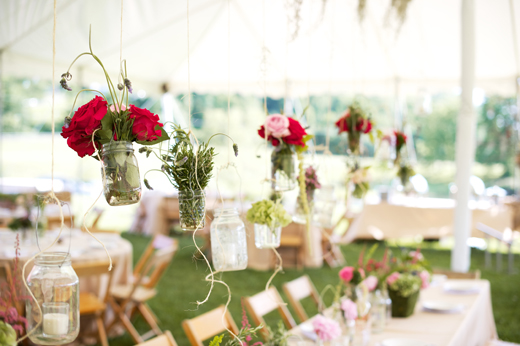
Erin also sent over a couple of images from Biz and JP’s wedding, courtesy of Justin Wright Photography – so gorgeous!  You can see a few more images over on Erin’s blog right here.

Congratulations Biz and JP!

Design: Arboreal

Calligraphy: Calligraphy by Barbara

Check out the Designer Rolodex for more tal­ented wed­ding invi­ta­tion design­ers and the real invi­ta­tions gallery for more beau­ti­ful cus­tom invitations!

Photo Credits: Invitation images by Arboreal, wedding images by Justin Wright Photography

Jenna + Asa’s Floral Wedding Invitations from Rifle Paper Co.

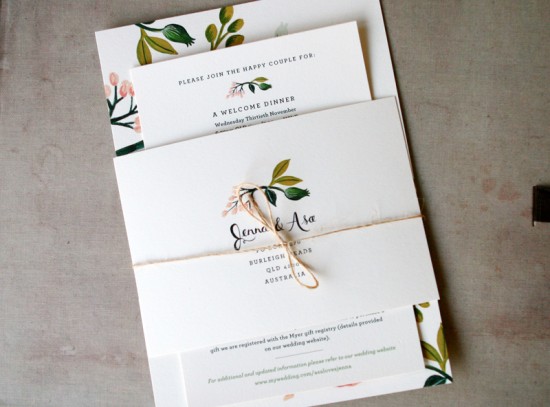
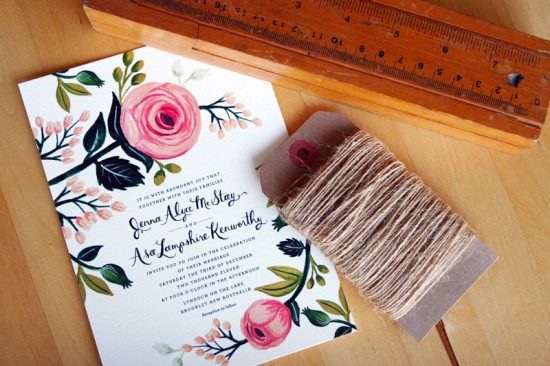
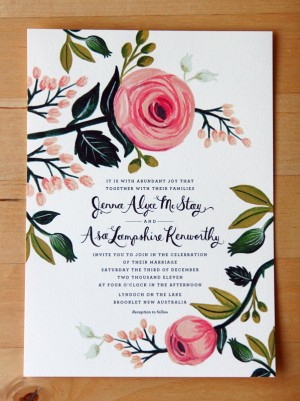
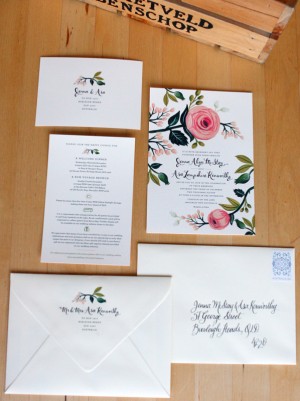
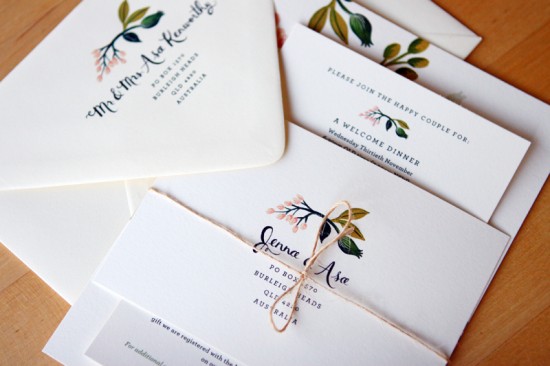
Back in March, a longtime reader in Australia sent over her beautiful save the dates for her summer garden wedding.  Well, today Jenna and Asa are back with their wedding invitations!  Like the save the dates, the wedding invitations were designed by Rifle Paper Co. and feature Anna’s signature floral illustrations and beautiful hand lettering.  Just perfect for a garden wedding!

The full suite includes the main invitation, an invitation to the welcome dinner and farewell brunch, and RSVP postcard, all tied together with an understated piece of twine.  Jenna commissioned Danielle from Freestyle Calligraphy to address the outer envelopes.

Thanks Jenna!

Photo Credits: Daniel McStay

DIY Rubber Stamp Calling Cards

The ladies of Anti­quaria took a quick break to relocate to California (congrats ladies!), but today they’re back with another fab­u­lous and cre­ative DIY project!  This week they’re here with three options for DIY rubber stamp calling cards!

After a studio relocation and move…we are back with more DIY stamp tutorials!!  This week, we are exploring the world of calling cards, a fun and unique way to make a lasting impression on someone you’ve just met.  By using a calling card rubber stamp, you can customize and really make them reflect you!  Also, because you can make them in small batches, you can change their design on a whim and reflect your current mood & style.

To create these three calling cards, we adapted techniques from our previous DIY posts (and one sneak peek).
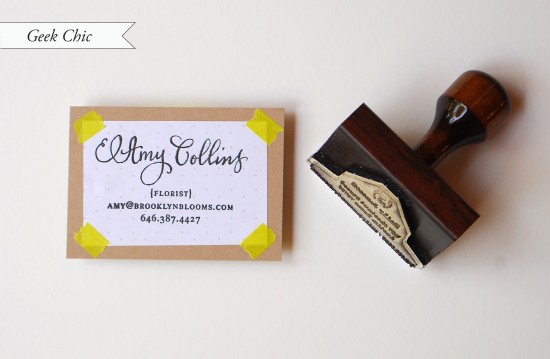
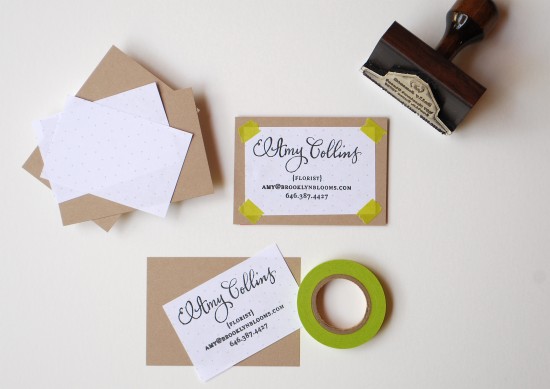
Our Geek Chic tutorial, is super easy and uses very inexpensive and resourceful materials!!

1. Find vintage, or download & print (we used Hex Dot for this calling card) graph paper. Cut into 2×3″ rectangles.

2. Cut kraft colored card stock into 3.5 x 2.5″ rectangles.

3. Ink stamp (we used our Calligraphy Accent Calling Card stamp) with desired color and make print using even pressure on a hard surface.

4. Using fun colored or patterned washi tape, affix the stamped graph paper to the kraft paper backing. (If more security is desired, use double stick tape to affix the two together and use the washi tape as decoration)
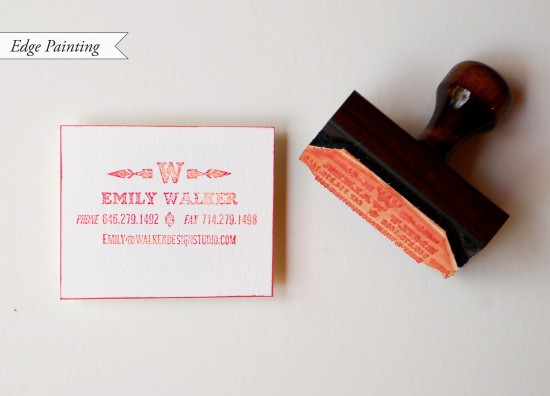
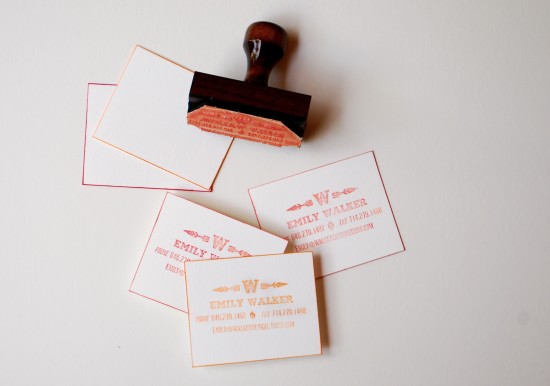
As a teaser for our next Save the Date tutorial, this calling card uses stamp pad edge painting to make the cards really pop.  This technique is so simple, you won’t believe it!

1. Using a heavy cotton paper, cut into 2.5×3″ rectangles.

2. To make the mixed ombre stamp image, use 2 different but similarly shaded colors (we used a mix of orange & red, one dark, one light).  Ink the stamp (we used our Navajo Calling Card stamp) lightly in the darker of the two, then ink over it in the lighter shade.  Stamp image with even pressure on a hard work surface.  Let the images dry overnight.

3. To paint the edges, grasp each card in the middle.  Drag the edges through your stamp pad, applying even pressure to ensure an even border…it’s that simple!!!
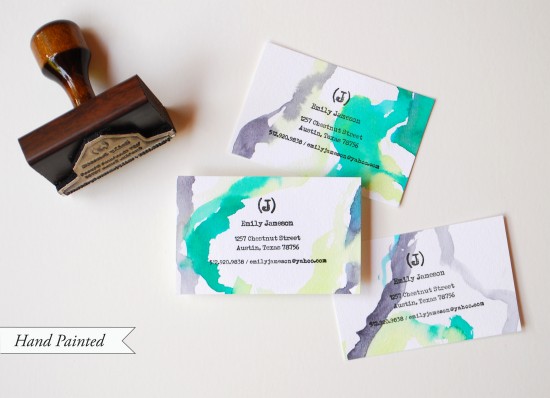
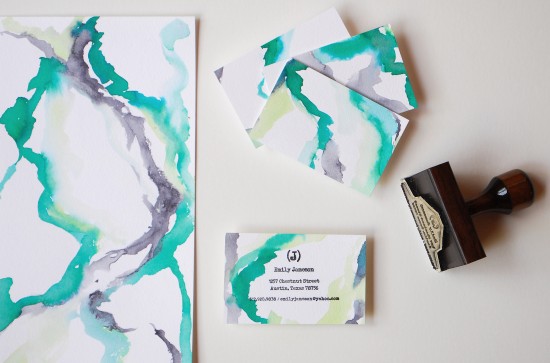
By far one of the most popular DIY posts we’ve done, this calling card uses the techniques from the Hand Watercolor Save the Dates & Thank You Card tutorial.  It astounds us how many different looks you can achieve with this technique!

1. Choose the colors you desire to paint with (a few similar shades and one contrasting always looks nice).

2. Paint random and uneven lines on sheets of watercolor paper. When dry, cut each sheet into 2 x 3.5″ rectangles. Admire how lovely and unique each one is!

3. Ink stamp (we used our Typewriter Calling Cardstamp) and print, pressing evenly on a hard work surface.

So, get stamping and be creative with the most important brand you represent….you!!

Photo Credits: Antiquaria for Oh So Beautiful Paper

Katie + Alex’s Elegant Chicago Map Wedding Invitations

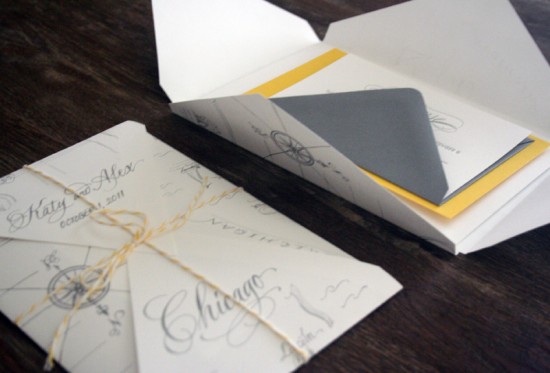
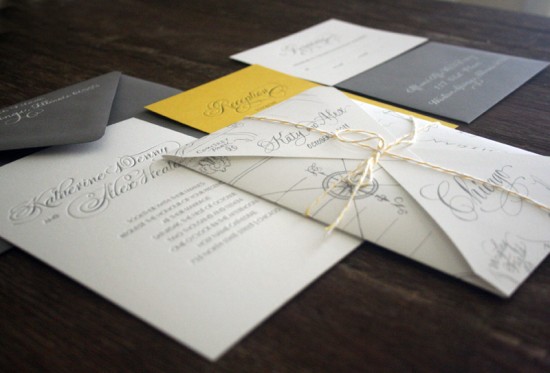
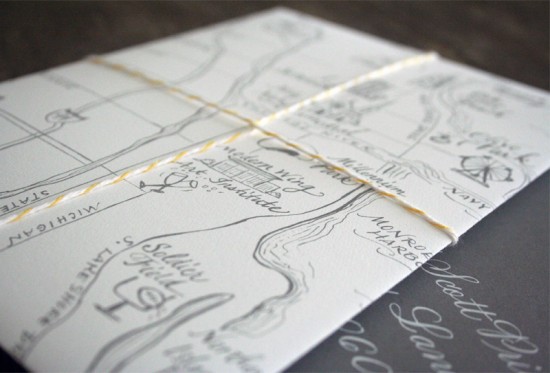
I love starting the week off with something pretty – and it really doesn’t get prettier than these Chicago map wedding invitations from Melissa and Amy of Atheneum Creative.  Katie and Alex wanted their home city of Chicago to serve as the focal point for their wedding invitations, so Melissa and Amy worked with an illustrator to create a custom map showcasing key landmarks for the couple and serving as an inner envelope.  Such a great idea!

From Melissa and Amy: Katy and Alex were looking for a unique way to introduce and share their story—starting right with the invitation.  Chicago is home to both the bride and groom; it’s where their relationship began and it is where they will share their fist kiss as husband and wife.  The city means so much and holds so many memories for them, what better way to tell their story than with a custom illustrated map of their personal Chicago landmarks (such as their high rise apartment, the bench they got engaged on, the church and reception location, and many others).

Keeping with their yellow and gray color theme, we kept the cards simple and understated to let the map become the star.  We wanted the map to be the first thing you see when you open the envelope, so we shaped it to serve as the inner envelope—wrapping the whole package in yellow twine. It was really great to hear about all the details in the city that meant so much to the couple and we were really excited to bring that story to life for them.

Stunning!  You can see more from Atheneum Creative right here!

Concept and Design: Atheneum Creative
Map Illustration and Calligraphy: Elizabeth Porcher Jones
Letterpress Printing: Side Show Press

Photo Credits: Atheneum Creative

Charles + Jazmin’s Silhouette Letterpress Wedding Invitations

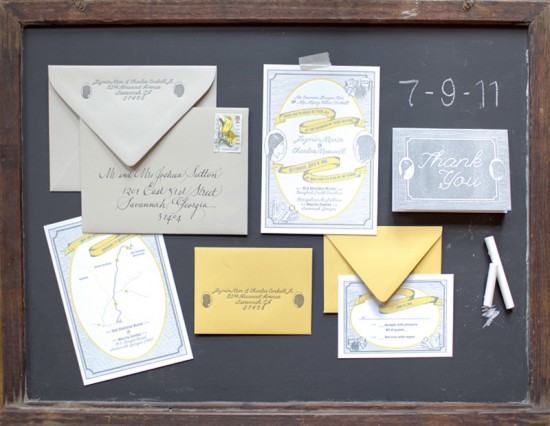
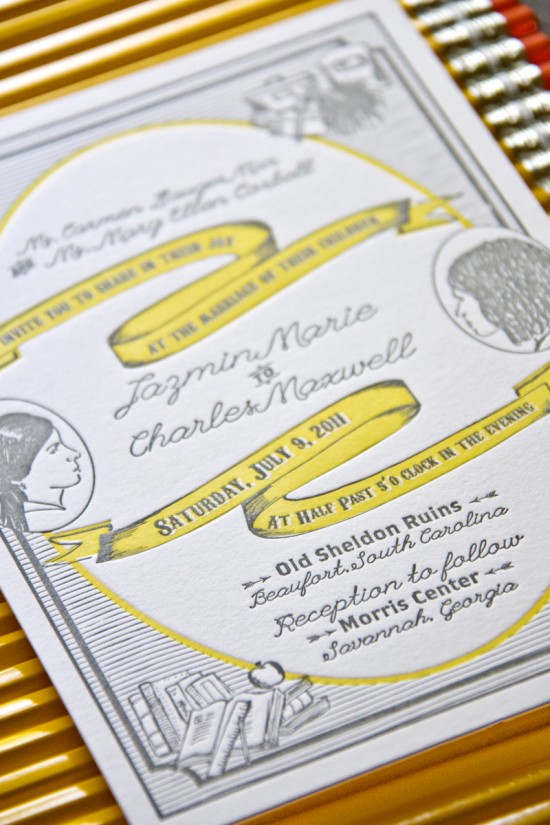
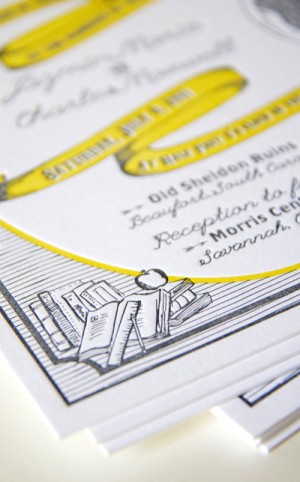
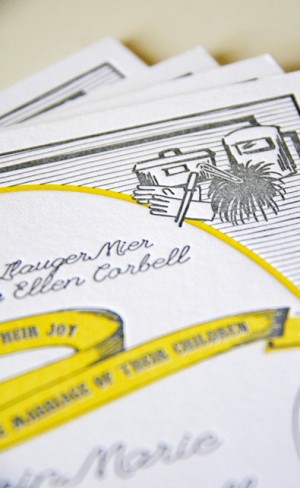
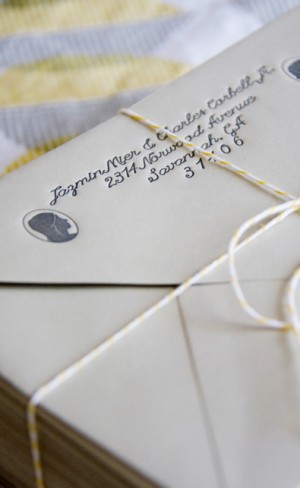
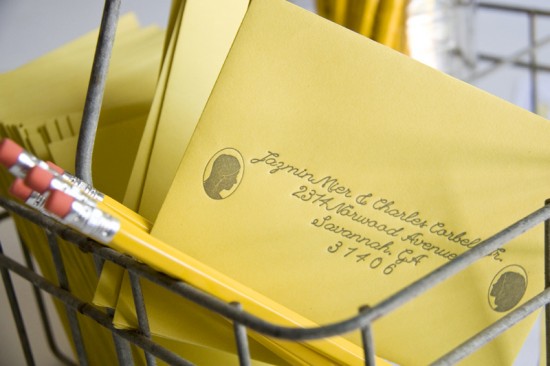
A few weeks ago, I came across these gorgeous silhouette wedding invitations created by Meg at Low Country Press – and immediately fell in love with the entire suite.  The design was inspired by the professions of the bride and groom (teacher and welder, respectively), with hand rendered illustrations of icons from their careers and silhouettes of the couple.  Meg was kind enough to share some additional images of this beautiful invitation suite courtesy of Elk Photo and Jade + Matthew Take Pictures, so let’s take a look!

Yellow-Gray-Silhouette-Letterpress-Wedding-Invitations-Suite

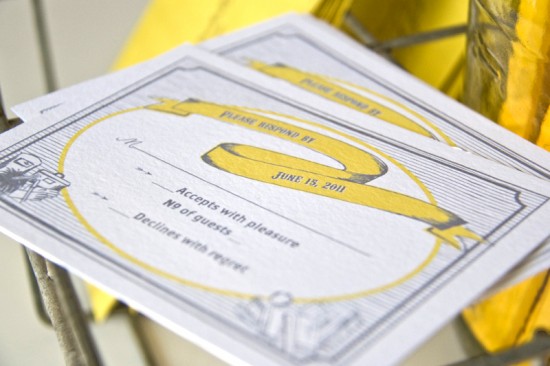
From Meg: Jazmin and Charles both have a passion for what they do – she’s a teacher and he’s a welder – as well as for life, and ultimately each other.  They wanted to bring that to life through their stationery suite by including custom silhouettes as well as icons to represent what they do: a ruler, apple, and books for her teaching, and a welding mask, tool box, and spark for his welding.  The invitations were a true first impression for the wedding, which included a photobooth complete with chalkboard backdrop and welding equipment as props.

Yellow-Gray-Silhouette-Letterpress-Wedding-Invitations

The gray and yellow color palette represented both the bride and groom – inspired by bright yellow school buses and industrial metal.  We incorporated the color palette not only through the ink colors, but the corresponding envelopes as well.  The envelopes also carried over the silhouettes from the invitation.

Yellow-Gray-Silhouette-Letterpress-Wedding-Invitations-Detail Yellow-Gray-Silhouette-Letterpress-Wedding-Invitations-Outer-Envelope

The invitation itself was printed on 220 lb Crane Lettra Bright White paper, giving the two color design beautiful letterpress impressions.  They saved money by printing the corresponding pieces, including the RSVP card and a map, digitally.  Overall, the suite reflected the happiness and love of the couple through what they do, and each other, shown through my love of paper goods.

Yellow-Gray-Silhouette-Letterpress-Wedding-Invitations-RSVP

Yellow-Gray-Silhouette-Letterpress-Wedding-Invitations-Detail Yellow-Gray-Silhouette-Letterpress-Wedding-Invitations-Outer-Envelope

Yellow-Gray-Silhouette-Letterpress-Wedding-Invitations-Envelope

So pretty!  You can check out more from Low Country Press right here!

Design and Printing: Low Country Press
Outer Envelope Calligraphy: Savannah Calligraphy

Photo Credits: Top image by Jade + Matthew Take Pictures (chalkboard suite), all other images by Elk Photo

Check out the Designer Rolodex for more talented wedding invitation designers and the real invitations gallery for more beautiful custom invitations!