Calligraphy + Letterpress Birth Announcements for Baby Lincoln

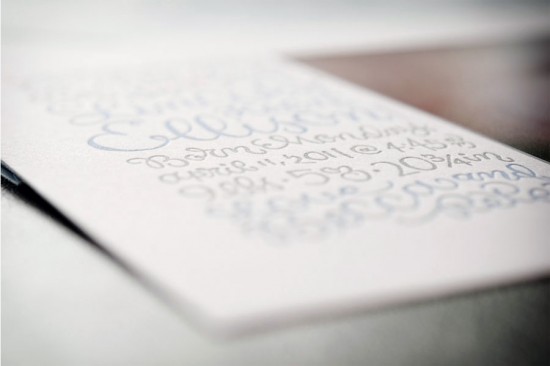
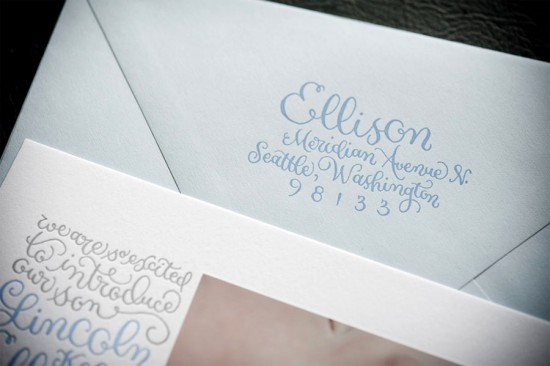
I always think it’s so fun when two creative people collaborate on a special project!  Designer and letterpress printer Tara from Ephemera Press met photographer Rebecca Ellison a couple of years ago, and they recently collaborated on announcements for Becca’s son Lincoln.  The design features Tara’s whimsical calligraphy, letterpress printed and snugly nestled next to Becca’s photography.  So cute!

From Tara: Becca wanted something more special and permanent to announce her own little guy’s arrival.  A new baby is such a huge change – marking and preserving the occasion with professional photography and a frame-worthy announcement just makes sense.  The Snug design features hand-lettered text snugly nestled together and letterpress printed alongside a lab-printed photo.  The text design is super cute and complements the photograph without overwhelming.


Tara and Becca loved working together so much, they’re offering their services to other families, either as a baby announcement or as a family holiday card!  For families in the Seattle area, you can work with both Becca and Tara and receive a nice little discount.  If you’re located elsewhere, feel free to get in touch with Tara and Becca to submit your own photographs for the design.  You can check out the details right here.  Thanks Tara and Becca!

Photo Credits: Rebecca Ellison Photography

{happy weekend!}

After spending the early part of this week in New York for Bridal Market, this week practically flew by for me!  It’s been a chilly and windy couple of days back here in DC and I’m hoping that the beautiful fall weather will hold out for a few more weeks before winter starts to roll in.  I’m looking forward to spending a quiet weekend bundling up and staying warm.  I hope you all have fun plans for the weekend!  But in the meantime…

Photo Credit: Let’s Taste Autumn by Crushed Silence

…a few links for your weekend!

This week on Oh So Beautiful Paper:

Welcome to the newest members of the Designer Rolodex!

I’ve got a cocktail recipe coming up for you a bit later this afternoon, and this week it’s one of my favorites!  I hope you all have a wonderful weekend, and I’ll see you back here on Monday! xoxo

Calligraphy Inspiration: Emilie Friday

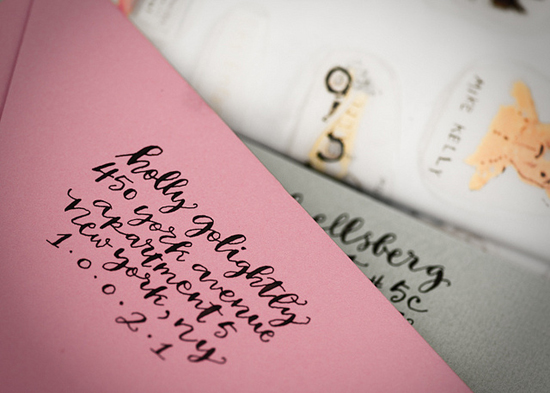
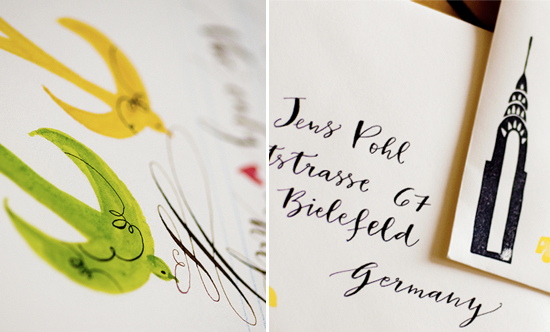
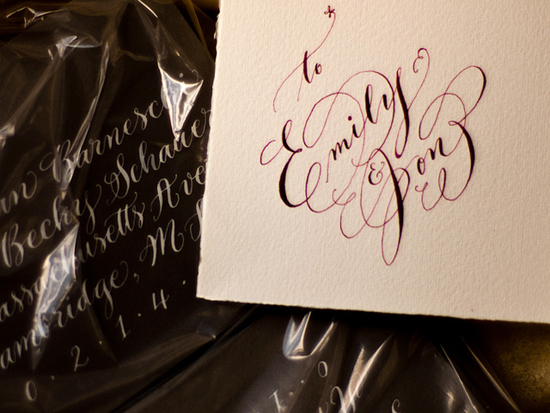
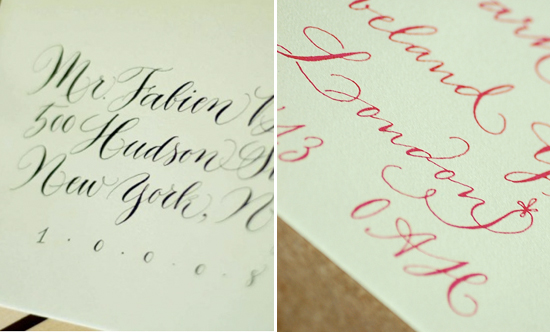
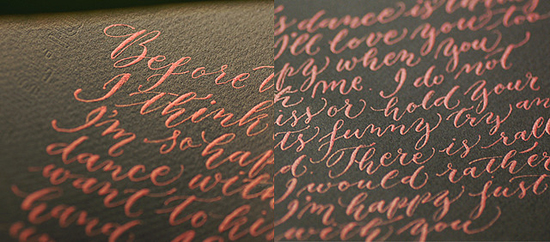
When first I began looking into the art of calligraphy, you can imagine all the sorts of goodies I found.  Calligrapher Emilie Friday definitely comes to mind when I think of not only the art, but also the practice of calligraphy.  Emilie offers gorgeous envelope addressing, invitation design, address stamps and even calligraphy starter kits for those of you looking to try your own hand.  Perusing her website, shop and Flickr photostream, you’ll find elegant examples of her work, glimpses at her practice pieces, and the details that make her calligraphy so special.  – Julie

Emilie Friday Holly Golightly address

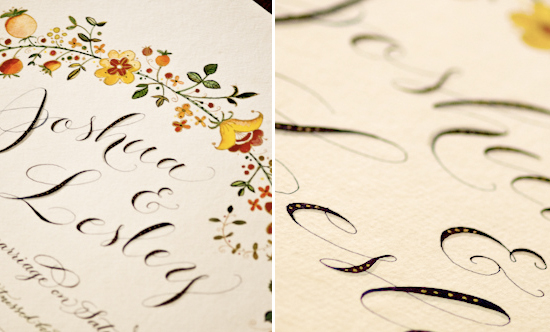
Emilie Friday calligraphy gold detail

Details of a wedding scroll to be signed by guests.  Note the delicate lines, fine touches and her beautiful watercolor illustrations.  Imagine how lovely a wedding certificate would look with these kinds of romantic flourishes!

Emilie Friday ornamentation and style

Emilie Friday card and addressed package

Emilie’s work can be very whimsical for a perfect touch to brighten up everyday correspondence.  She also does amazing intricate work, with use of some of the loveliest calligraphy swashes I’ve seen.

Emilie Friday calligraphy detail swashes

Emilie Friday full text metallic ink detail

Details like these really let you appreciate the work that goes into calligraphy.  Thanks Emilie!

Photo credits: Emilie Friday

Metallic Greeting Cards from Fig. 2 Design Studio + Jess LC

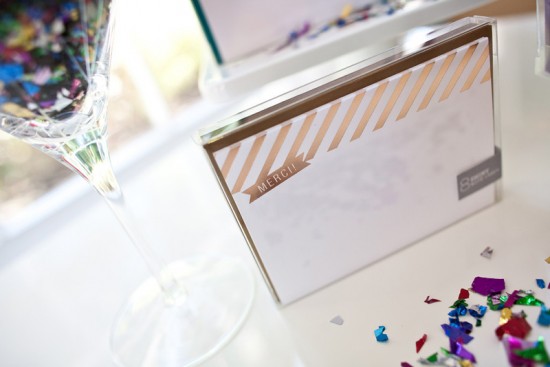
Right now I’m loving metallics and pretty much all things shiny, so I was thrilled to see these gorgeous new metallic foil stamp greeting cards from Jessica Constable of Jess LC and Claudia from Fig. 2 Design Studio show up in my inbox!

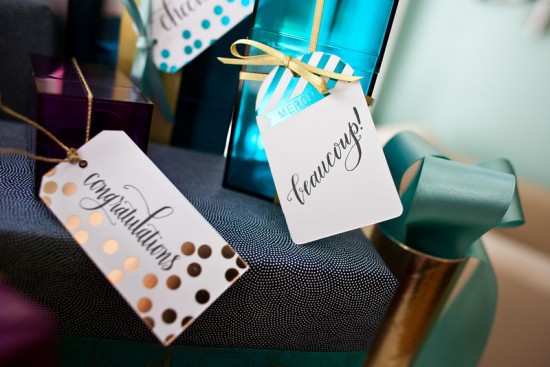
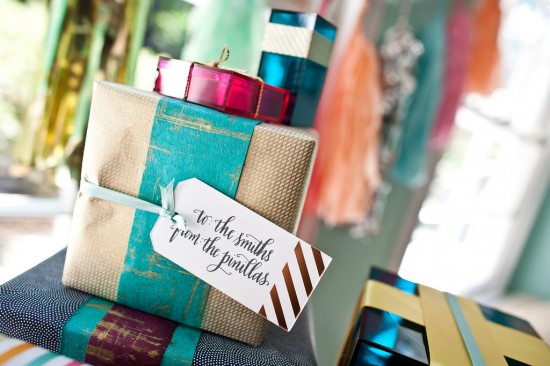
Jessica and Claudia recently teamed up to develop a collection of foil stamp note cards.  The collection features adorable striped and confetti greeting cards in a range of fun metallic colors – from gold to turquoise to plum to bronze – as well as some festive and colorful gift tags!

The confetti cards come with a Cheers! salutation while the striped sets come with Merci!

The gold foil stamped note sets are sold exclusively through Jess LC and come with coral envelopes.  Gift tags and boxed notes in additional colors are available through the Fig. 2 Design Studio online shop and come with matching colored envelopes.  Thanks Claudia!

Photo Credits: Mary Kate McKenna, Calligraphy by Meant to Be Calligraphy

DIY Rubber Stamp Fabric Pocket Wedding Invitations

It’s the ladies of Anti­quaria, back with another fab­u­lous and cre­ative DIY project for you!  To celebrate the launch of their new custom wedding invitation design studio, this week they’re here with a tutorial for a full wedding invitation suite!

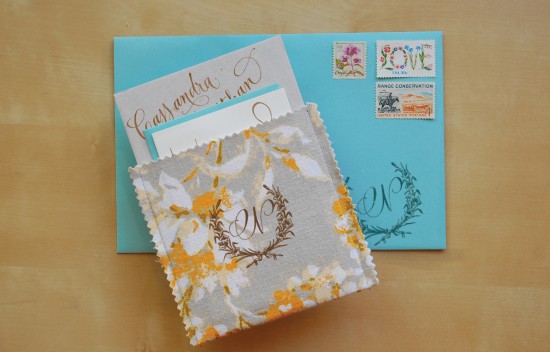
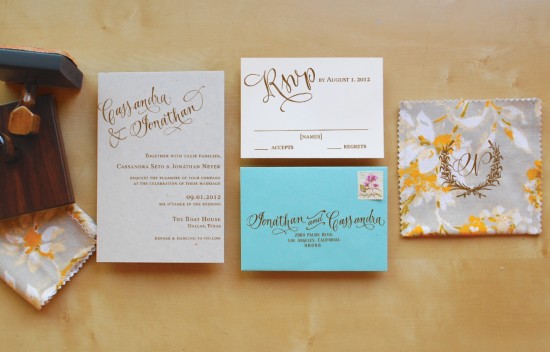
We are so excited for this DIY tutorial because this week, we’ve taken on an entire invitation suite!!!  When we are out and about shopping for vintage house-wares to stock our shop, we like to also pick up remnants of old curtains, sheets, and scarves when we can find them in patterns that we love.  We dug into our stash, using an old fitted sheet to create a lovely fabric pocket that holds all of our invitation suite components.  We love the idea of  using different patterns for each pocket!

Hand Stamped Wedding Invitation Suite

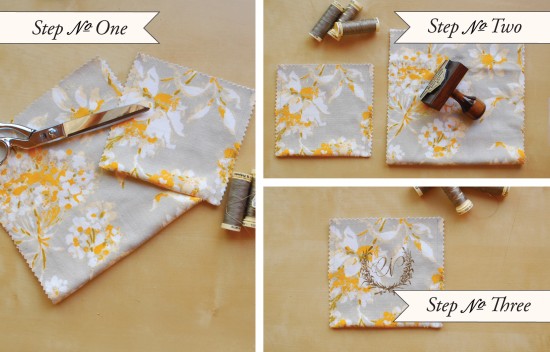
Steps1-3

Step One: Using pinking shears, cut pieces of fabric into 5″ x 9 3/4″ rectangles (for a finished pocket that fits into an A7 envelope).

Step Two: Fold each cut piece of fabric in half and stamp with a monogram stamp (we used our wreath monogram, size large).

Step Three: With the fabric folded, stitch up each side 1/8″ from the edge, creating a pocket that the invitation pieces will slide into.  We suggest that you make one to test the size before you cut all of the pockets.

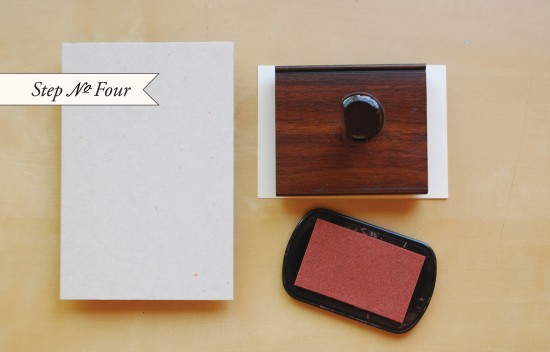
Step 4

Step Four: For the invitations, cut chipboard to 4.5″ x 6.75″ to fit in the pouch.  Cut the RSVP card to a standard 4 bar size, 3.5″ x 5″.  Ink and print the invitation (we used our Calligraphy Accent Invitation Stamp) and RSVP (we used our Calligraphy Accent Reply Stamp) stamps using even pressure on a hard surface.

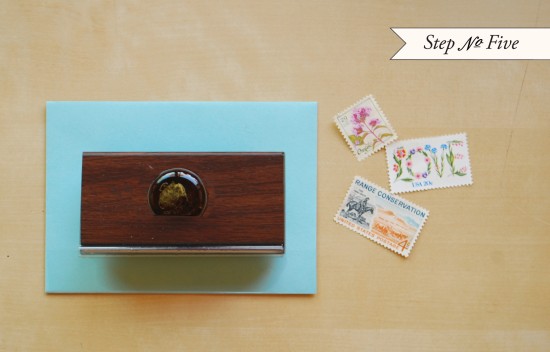
Step 5

Reply Envelopes

Step Five: Ink and print return address stamp (we used our Calligraphy Accent Return Address Stamp) on 4 bar envelopes to house your reply cards. Again, using even pressure on a hard surface.  Vintage stamps throughout help complete the overall look!


Materials:

Stamps – Calligraphy Accent Collection (invitation, reply card and return address), wreath monogram, large

Fabric – Either use “found” fabric like we did, or , if you would prefer to buy yardage, we love the prints from Purl Soho.

Pinking shears, sewing machine & thread

Chipboard or Kraft paper – If needed, enlist a framing shop to help you cut chipboard.  Their cutting tools should be able to do the job if you can’t at home.

Envelopes, A7 & 4 bar

Stamp Pad – we used a chestnut brown color

Vintage Postage Stamps

Anti­quaria is a mem­ber of the Designer Rolodex – you can see more of their beau­ti­ful work right here!

Photo Credits: Antiquaria

 p.s. Have you entered the custom journal giveaway from Paper + Cup?  The contest closes tomorrow!