Eclectic Vellum Baby Shower Invitations

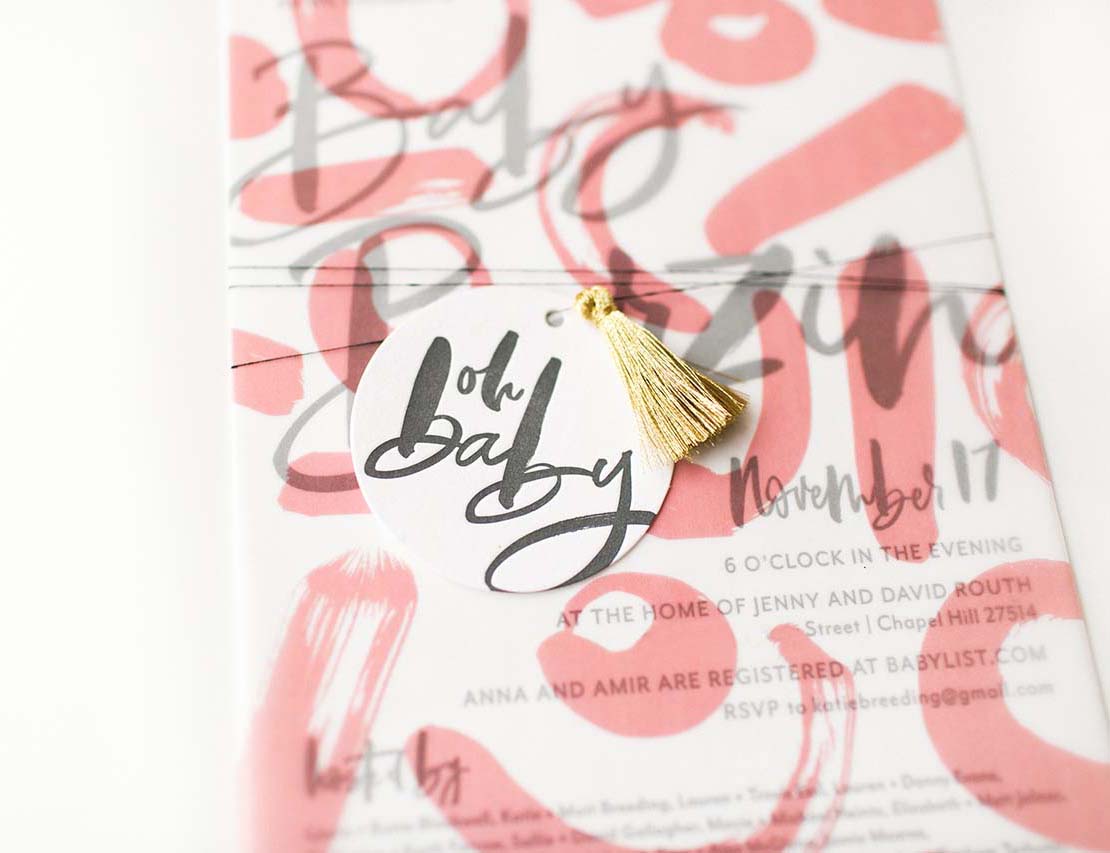
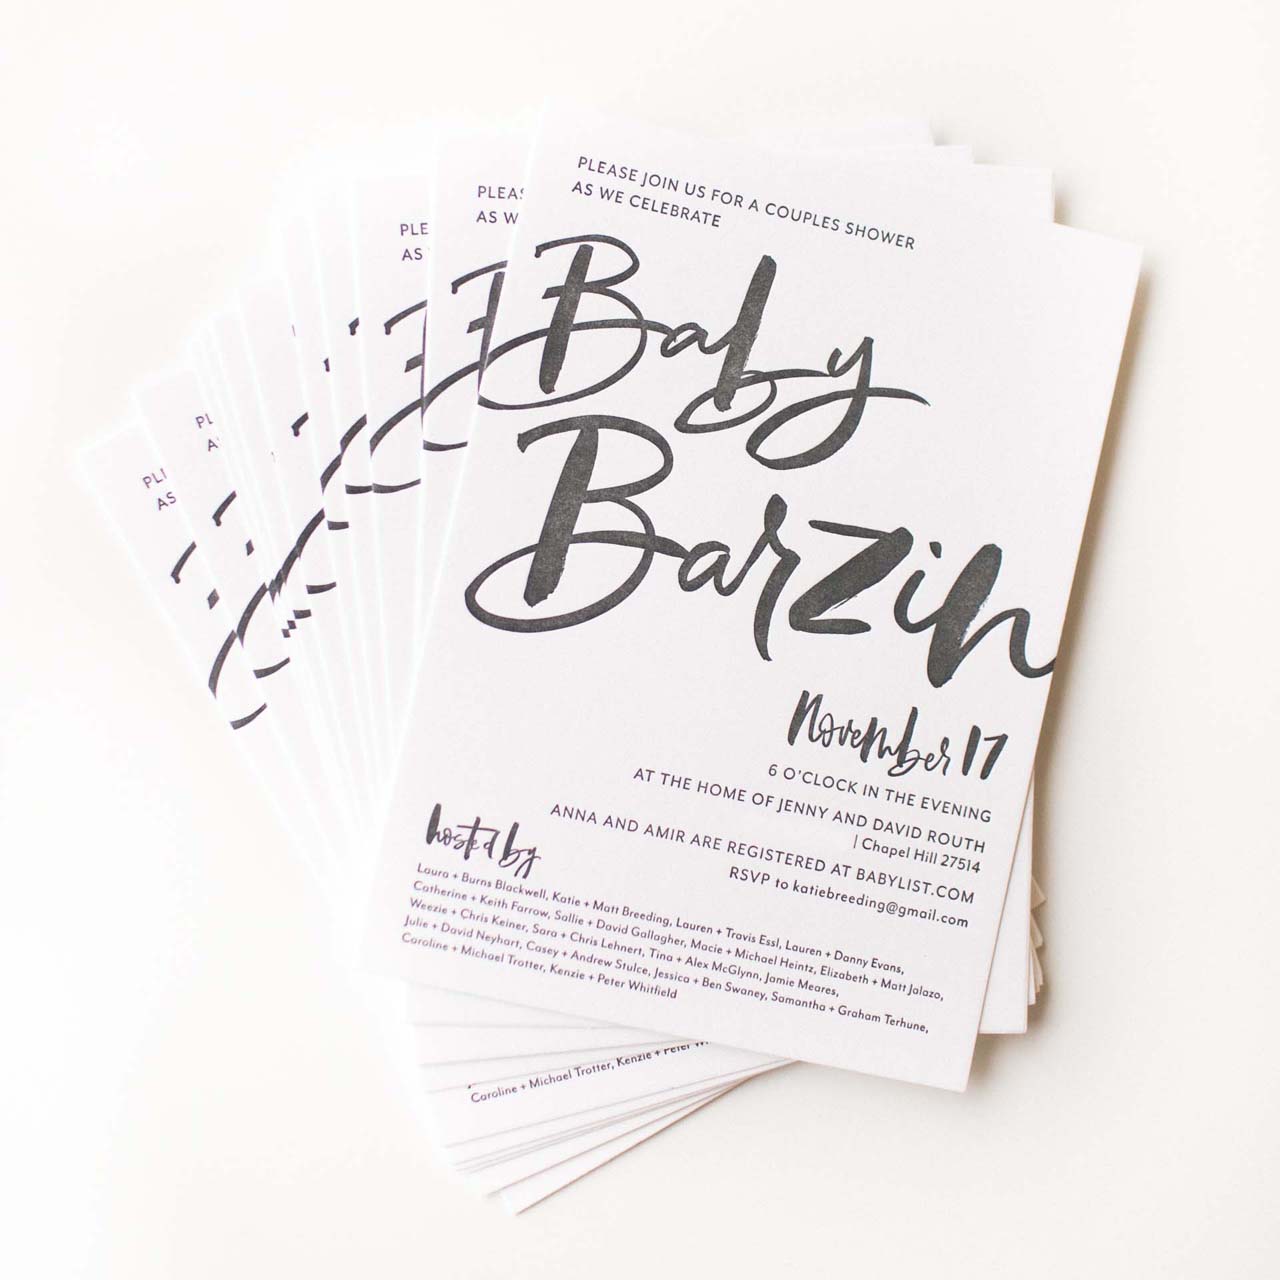
Anyone planning a baby shower? You’re going to love these eclectic vellum baby shower invitations from Lauren of Blue Eye Brown Eye! Lauren made these invitations for her best friend’s baby shower, incorporating the mama-to-be’s creative style into the invitation design with a fun vellum overlay, modern calligraphy, and a gold tassel to tie everything together (literally!). So sweet! 

Eclectic Vellum Baby Shower Invitations by Lauren Essl of Blue Eye Brown Eye

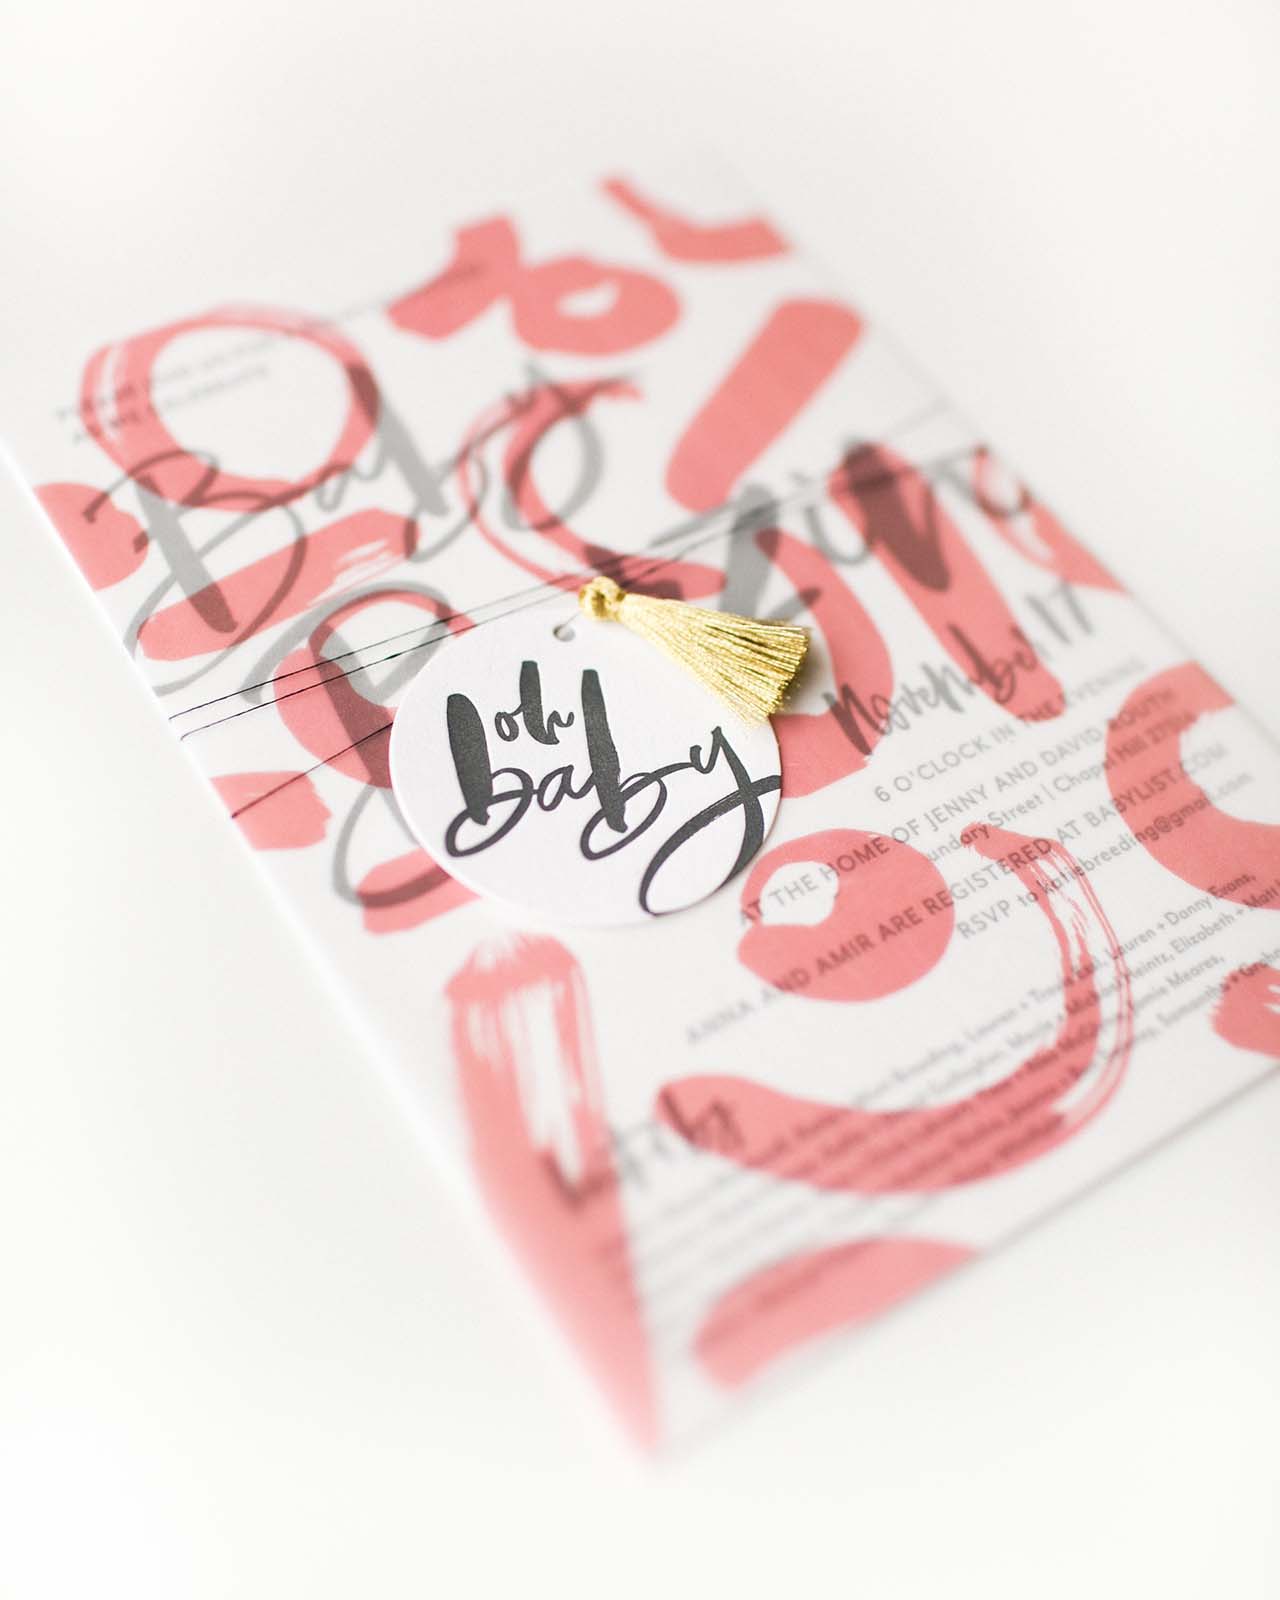
From Lauren: When given the opportunity to design my best friend’s baby shower invitations, I took the opportunity to fulfill my design fantasies for her and make them as special (and extra) as possible. Anna loves eclectic design and is a true creative herself, so I wanted the invitation to feel like it was an extension of her spirit. Anna’s personal and home style is layered, so I brought that idea into this suite. I’d been toying with the idea of layering printed vellum over an invitation, so this was the perfect opportunity to try it out. I love how the text peeps through the vellum and the brushstrokes, creating dimension and visual interest.

Eclectic Vellum Baby Shower Invitations by Lauren Essl of Blue Eye Brown Eye

Without making them too “baby,” I snuck in a little pink in the abstract vellum overlay and kept everything else gender neutral with gray letterpress printing and a pop of gold. The gold tassel is a nod to all of Anna’s amazing travels – she often brings me back a decorative pom pom or tassel from places like Peru or Mexico, so the tassel was my homage to her.

Eclectic Vellum Baby Shower Invitations by Lauren Essl of Blue Eye Brown Eye

A little die cut “oh baby” letterpress tag was a sweet little detail I wanted to incorporate into the invitation. Saint Signora makes this amazing, barely there thin twine that I am obsessed with. It was the perfect finishing touch to wrap around the layered invitation and tie together with the tassel and “oh baby” tag.

Eclectic Vellum Baby Shower Invitations by Lauren Essl of Blue Eye Brown Eye

Once dropped in the mail, I couldn’t wait for Anna and her husband Amir to see them. They’re two of my most favorite people in the world and making these for them was such a joy. If only y’all could have been at the baby shower itself…it was one for the ages!

Thanks Lauren!

Invitation Design: Blue Eye Brown Eye

Letterpress Printing: Elefant Press

Vellum Printing: Simply Mox

Gold Tassels: Absolut Supplies

Black Twine: Saint Signora


Photo Credit: Michele Equitz

DIY Modern Color-Blocked Easter Eggs

This post is sponsored by The Incredible Egg. All content and opinions are my own. Visit The Incredible Egg for Easter recipes and inspiration!

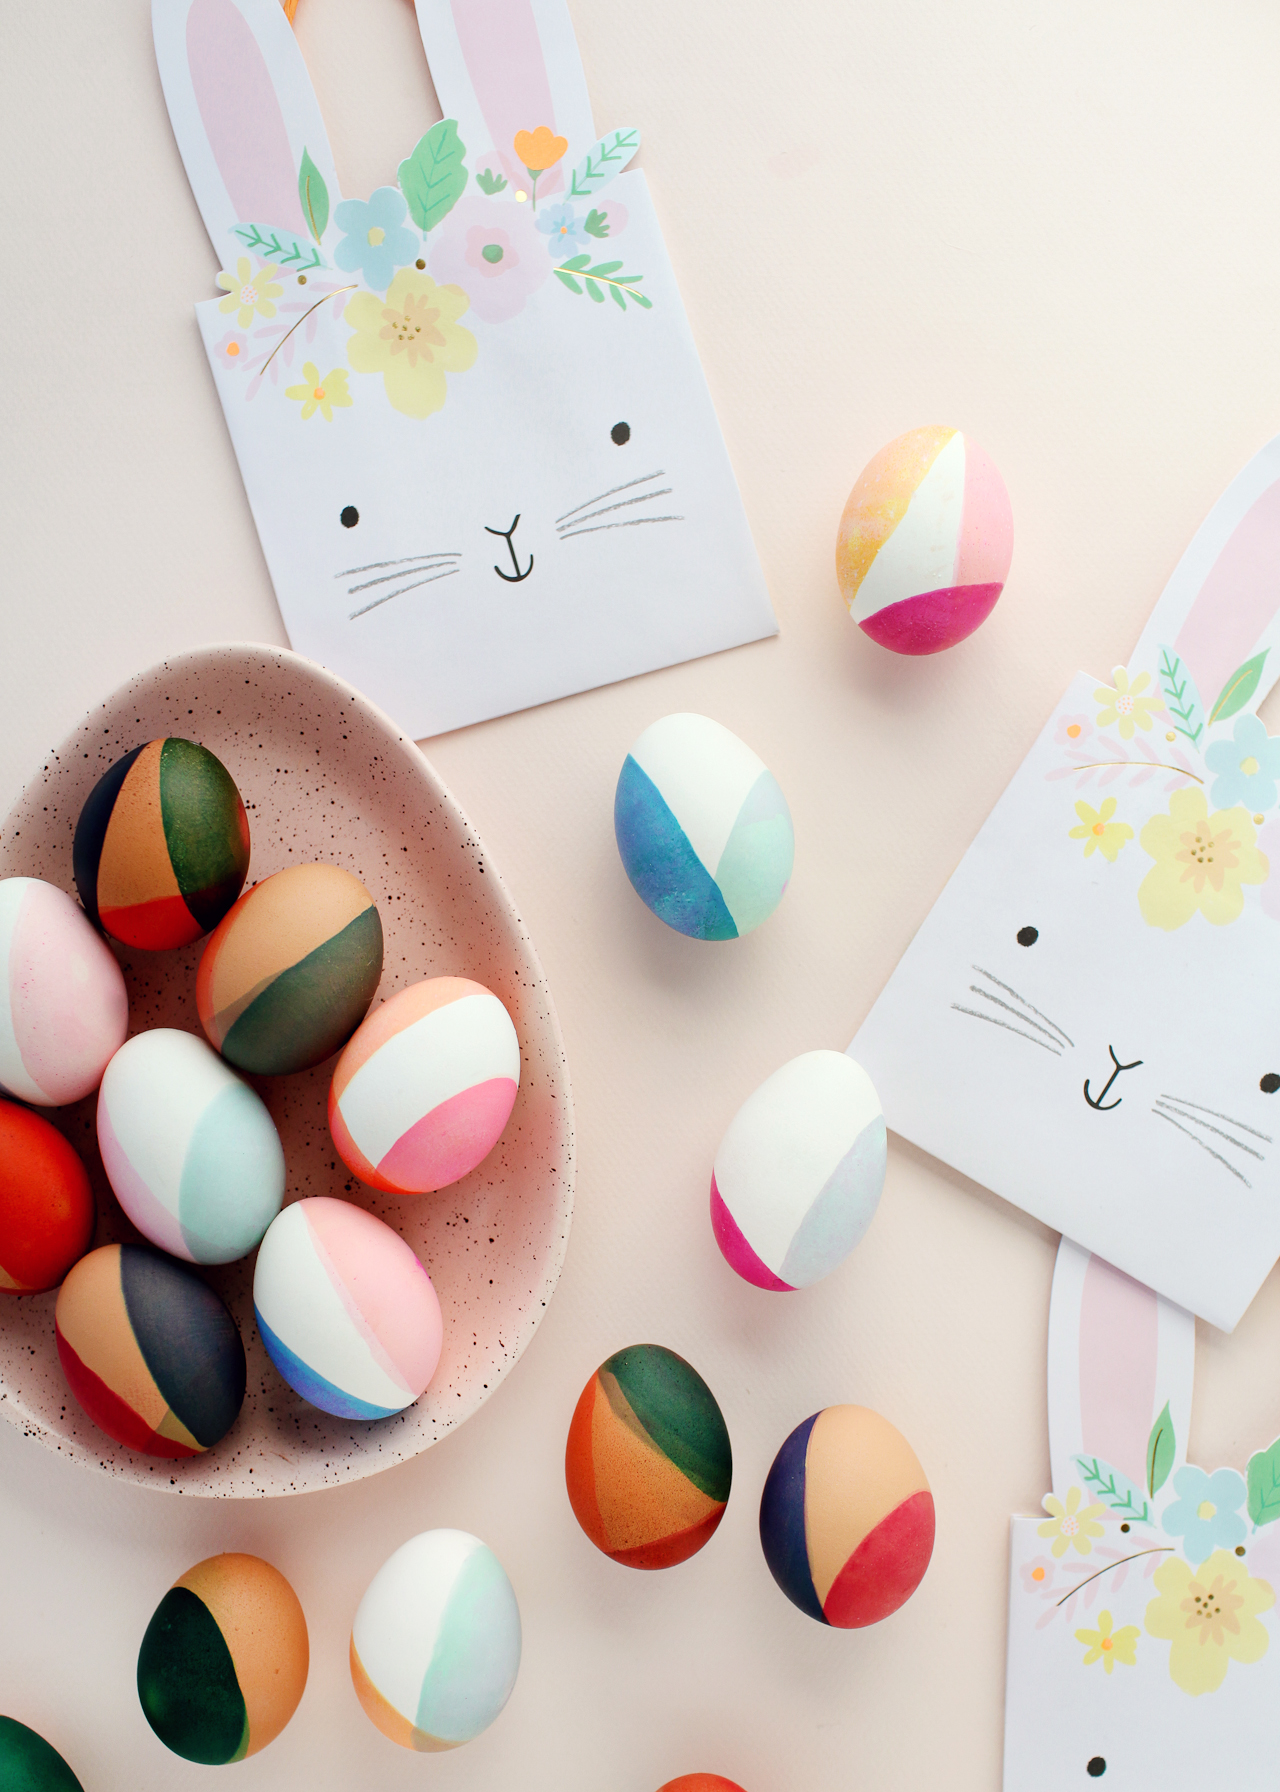
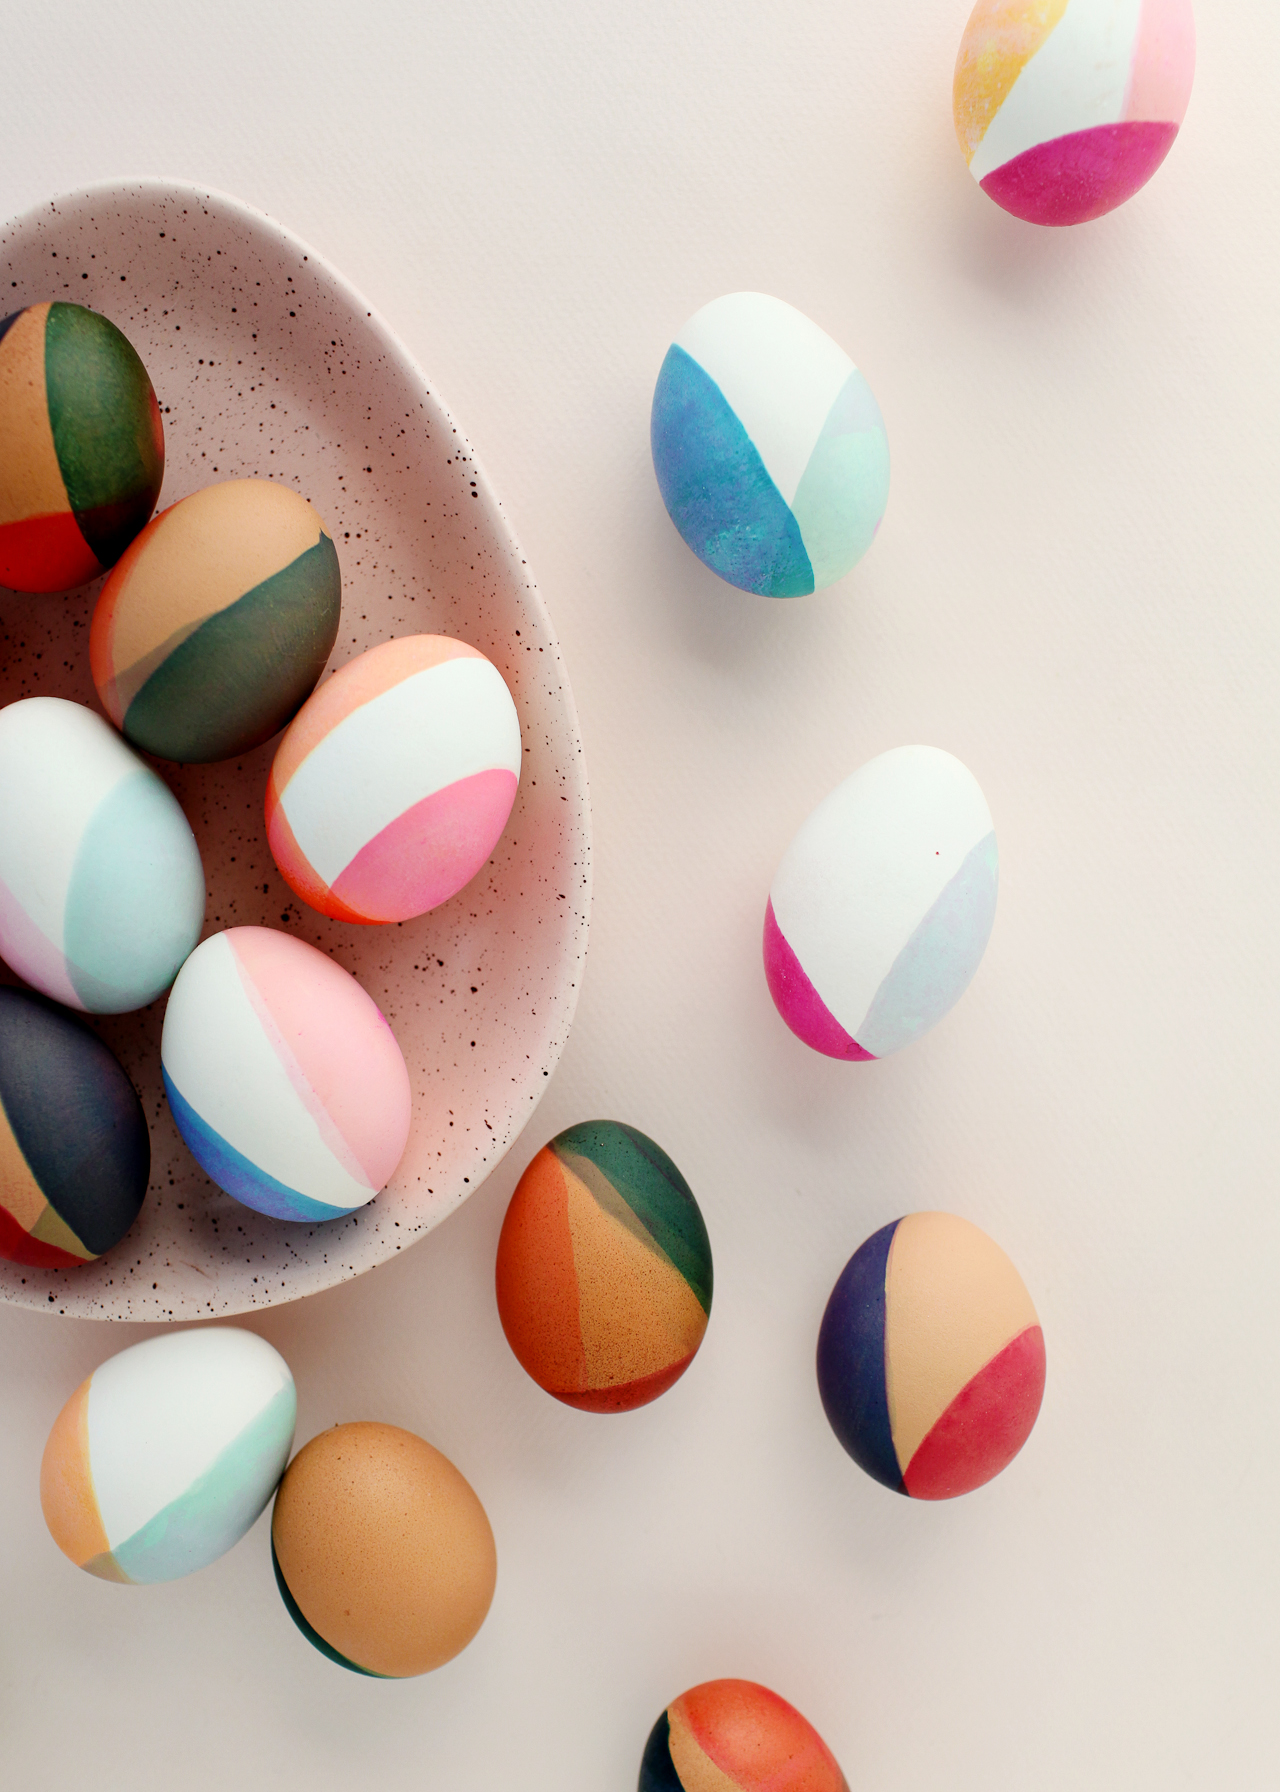
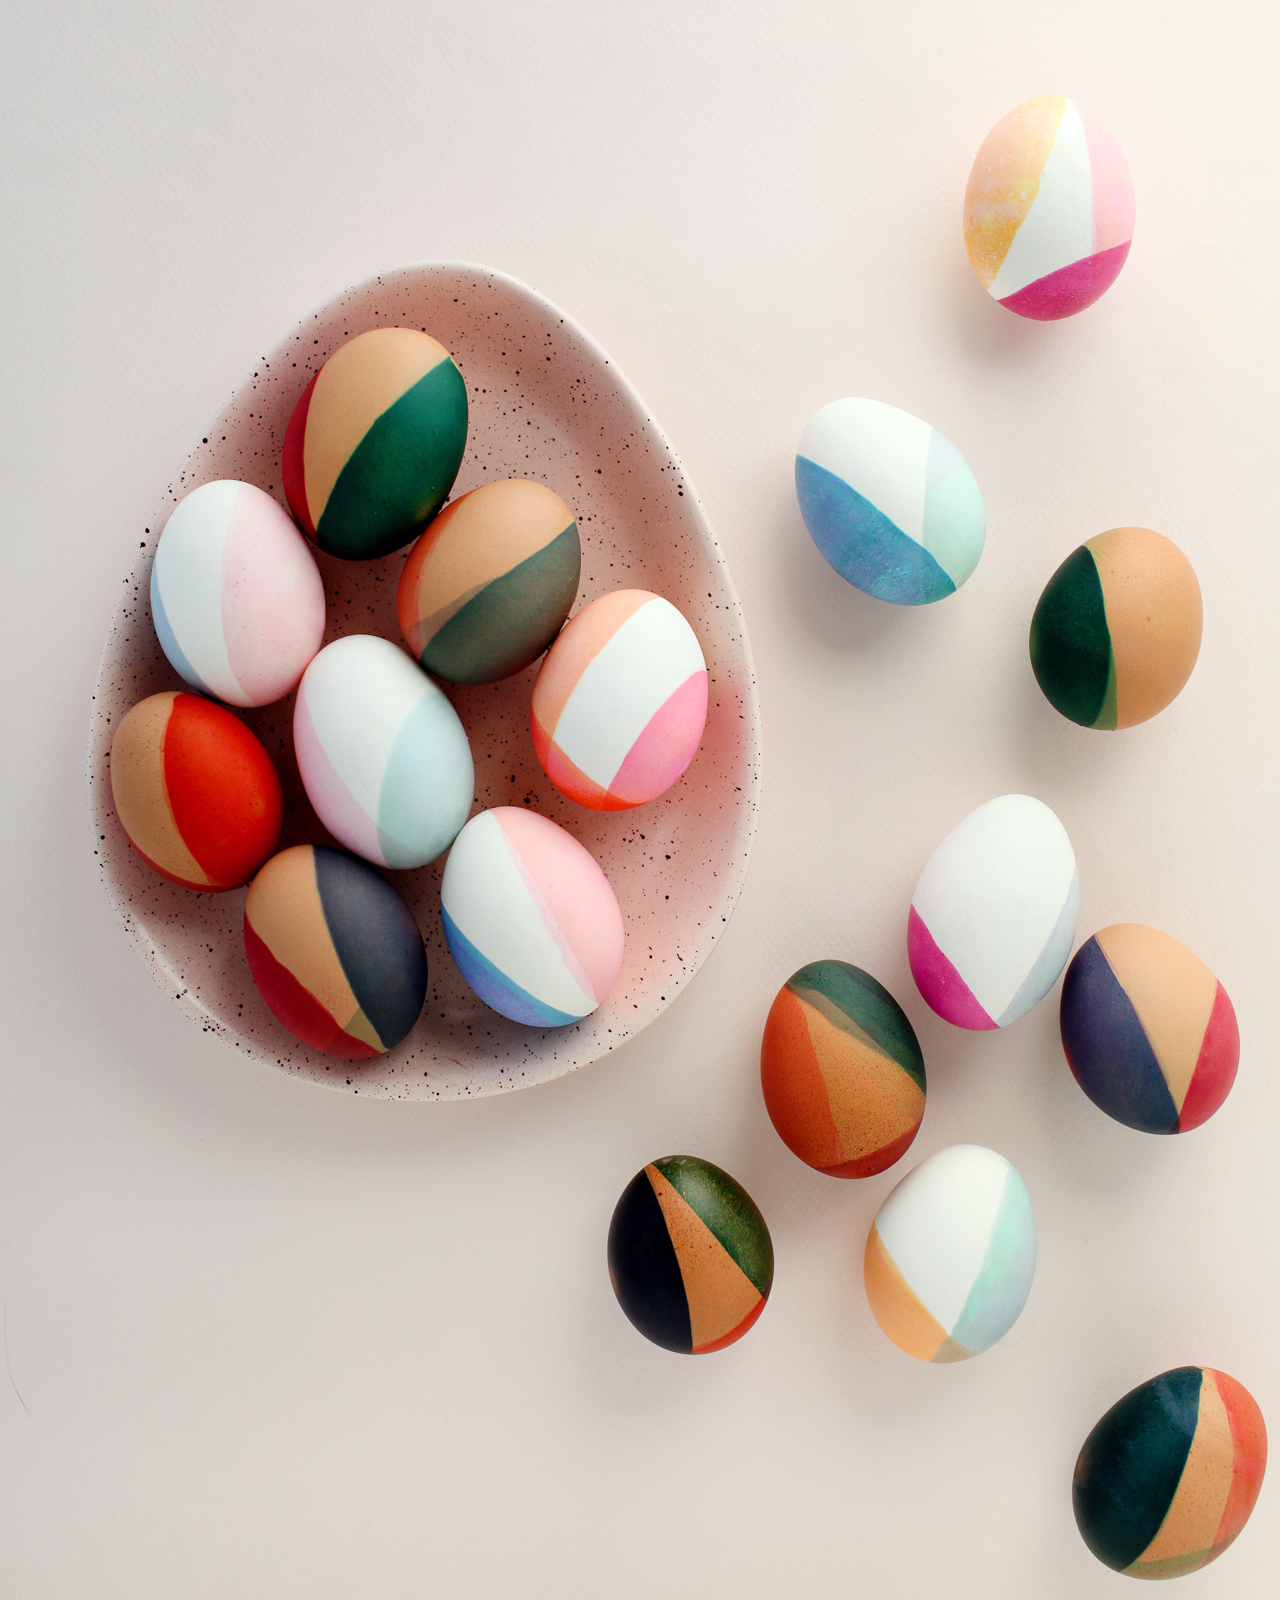
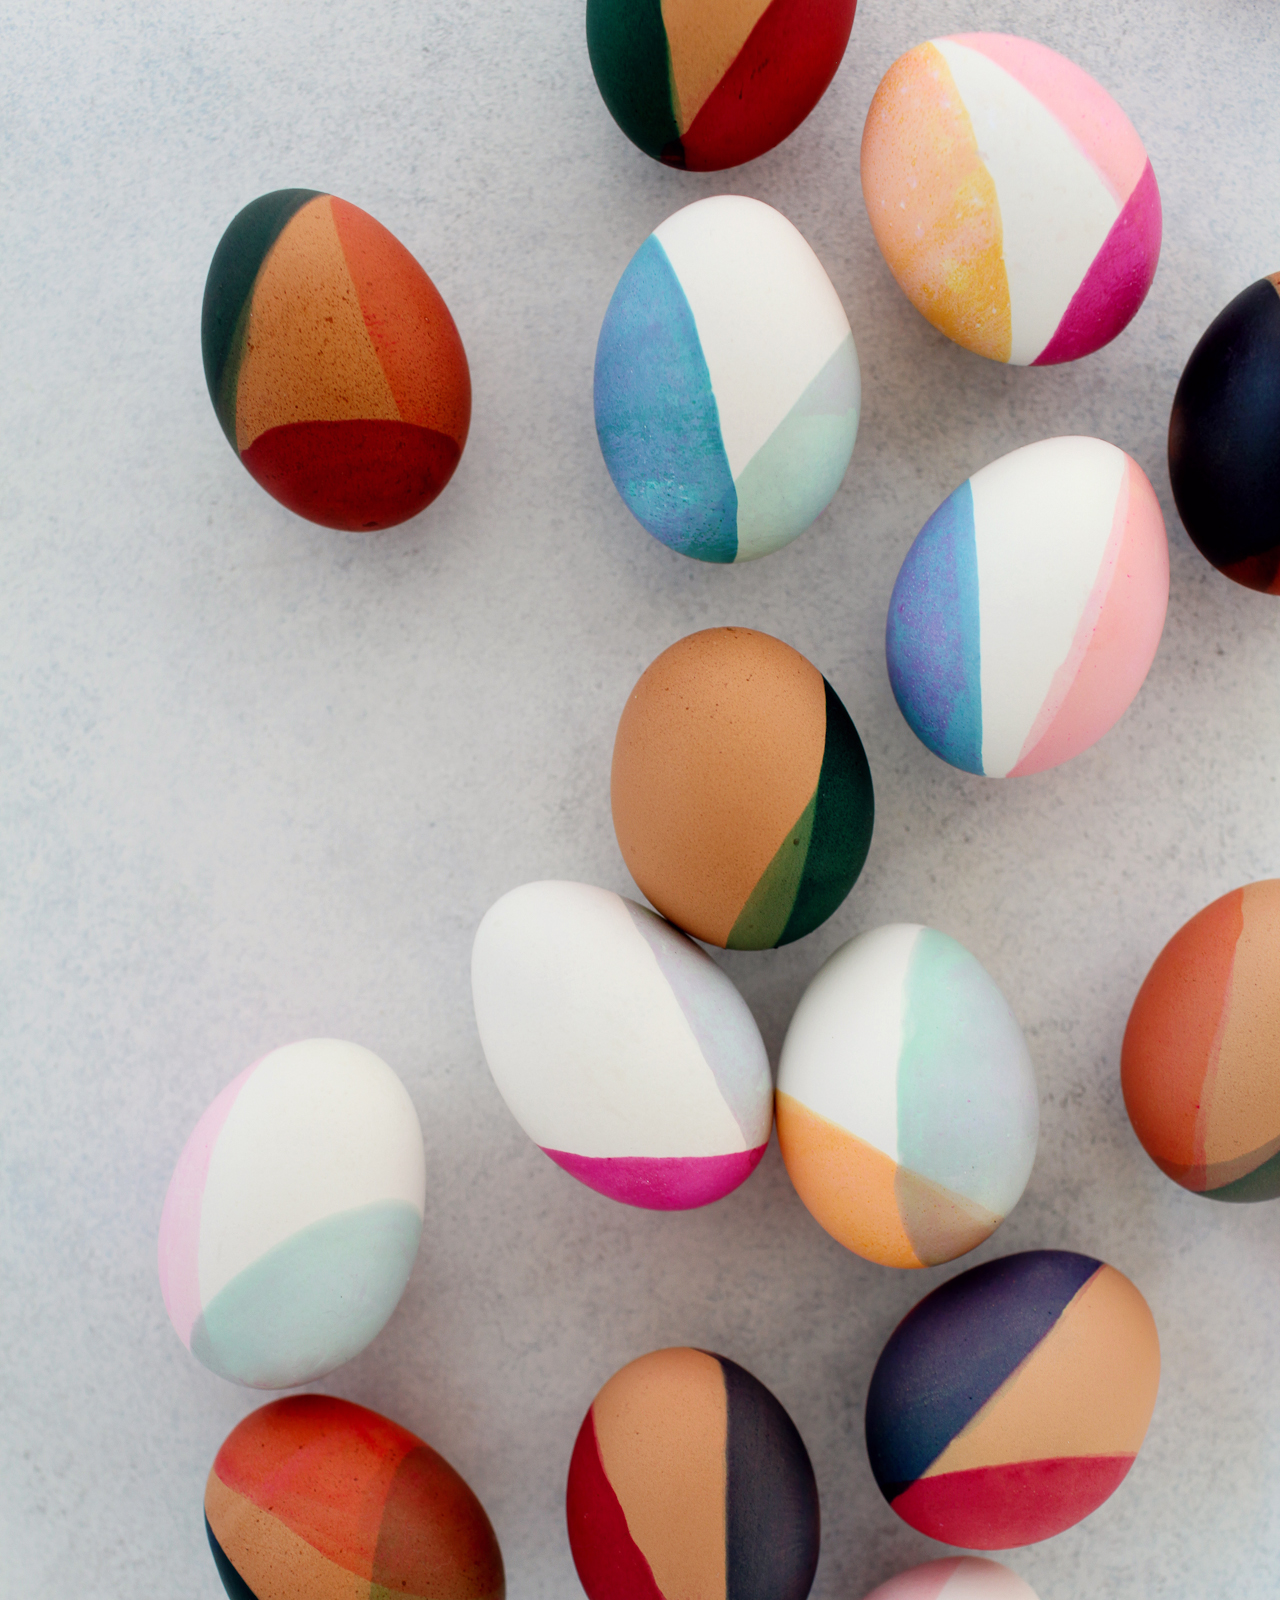
Easter is such a fun holiday, don’t you think?? I’m partial to any holiday that involves decorating – and eggs are the cutest little canvases that can be decorated in so many fun and colorful ways. And now that my kids are old enough to join in on the Easter egg decorating fun, it’s even better! I love coming up with new Easter egg decorating ideas each year, and this year I’m really feeling inspired to experiment with new color palettes and color combinations. So today I’m partnering with The Incredible Egg to share these fun DIY modern, color-blocked Easter eggs!

DIY Modern Color-Blocked Easter Eggs

DIY Modern Color-Blocked Easter Eggs

My family looks forward to decorating Easter eggs all year long. We typically spend the holiday with my husband’s family, so we gather everyone around the kitchen table on Easter morning to dye eggs together. I love seeing the colors (and color combinations!) everyone chooses for their eggs and all the ways they express themselves creatively. Plus my kids absolutely love both getting to decorate eggs and then hunt for them with their cousins several times in the afternoon!

DIY Modern Color-Blocked Easter Eggs

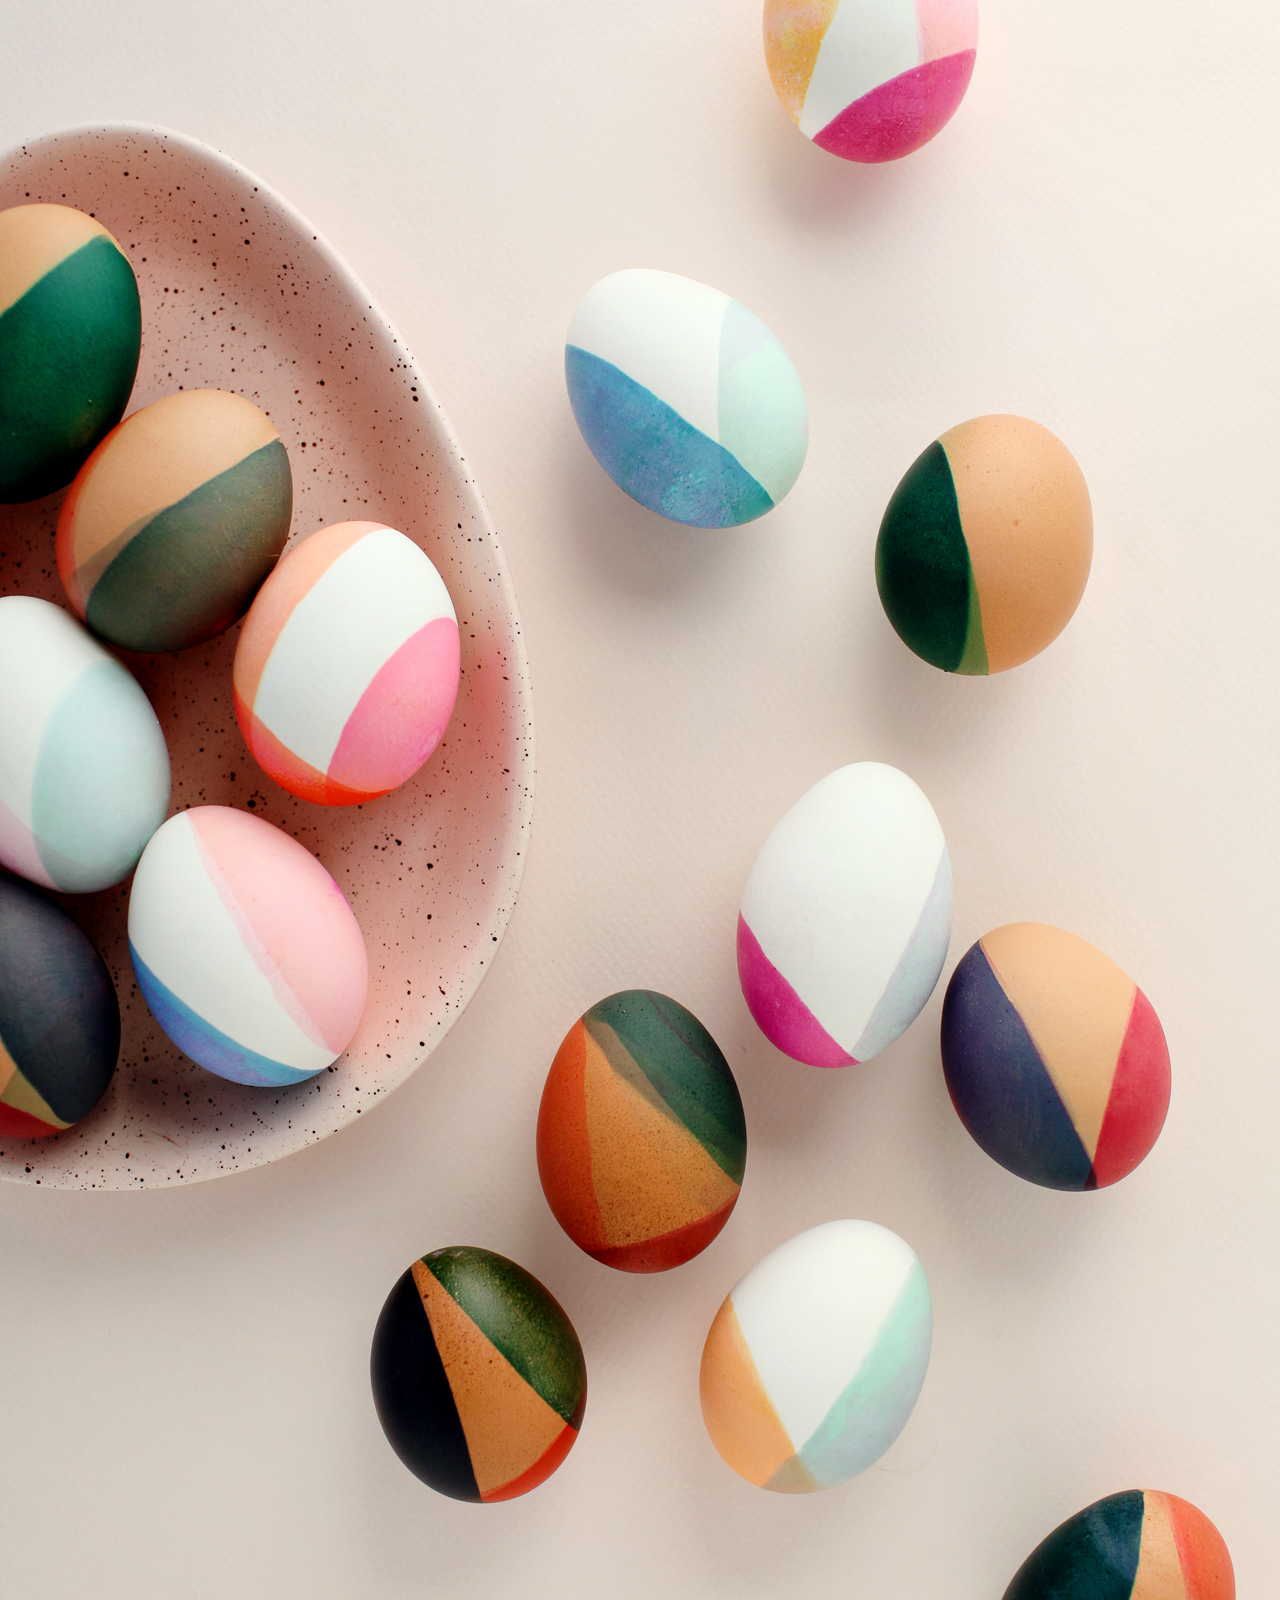
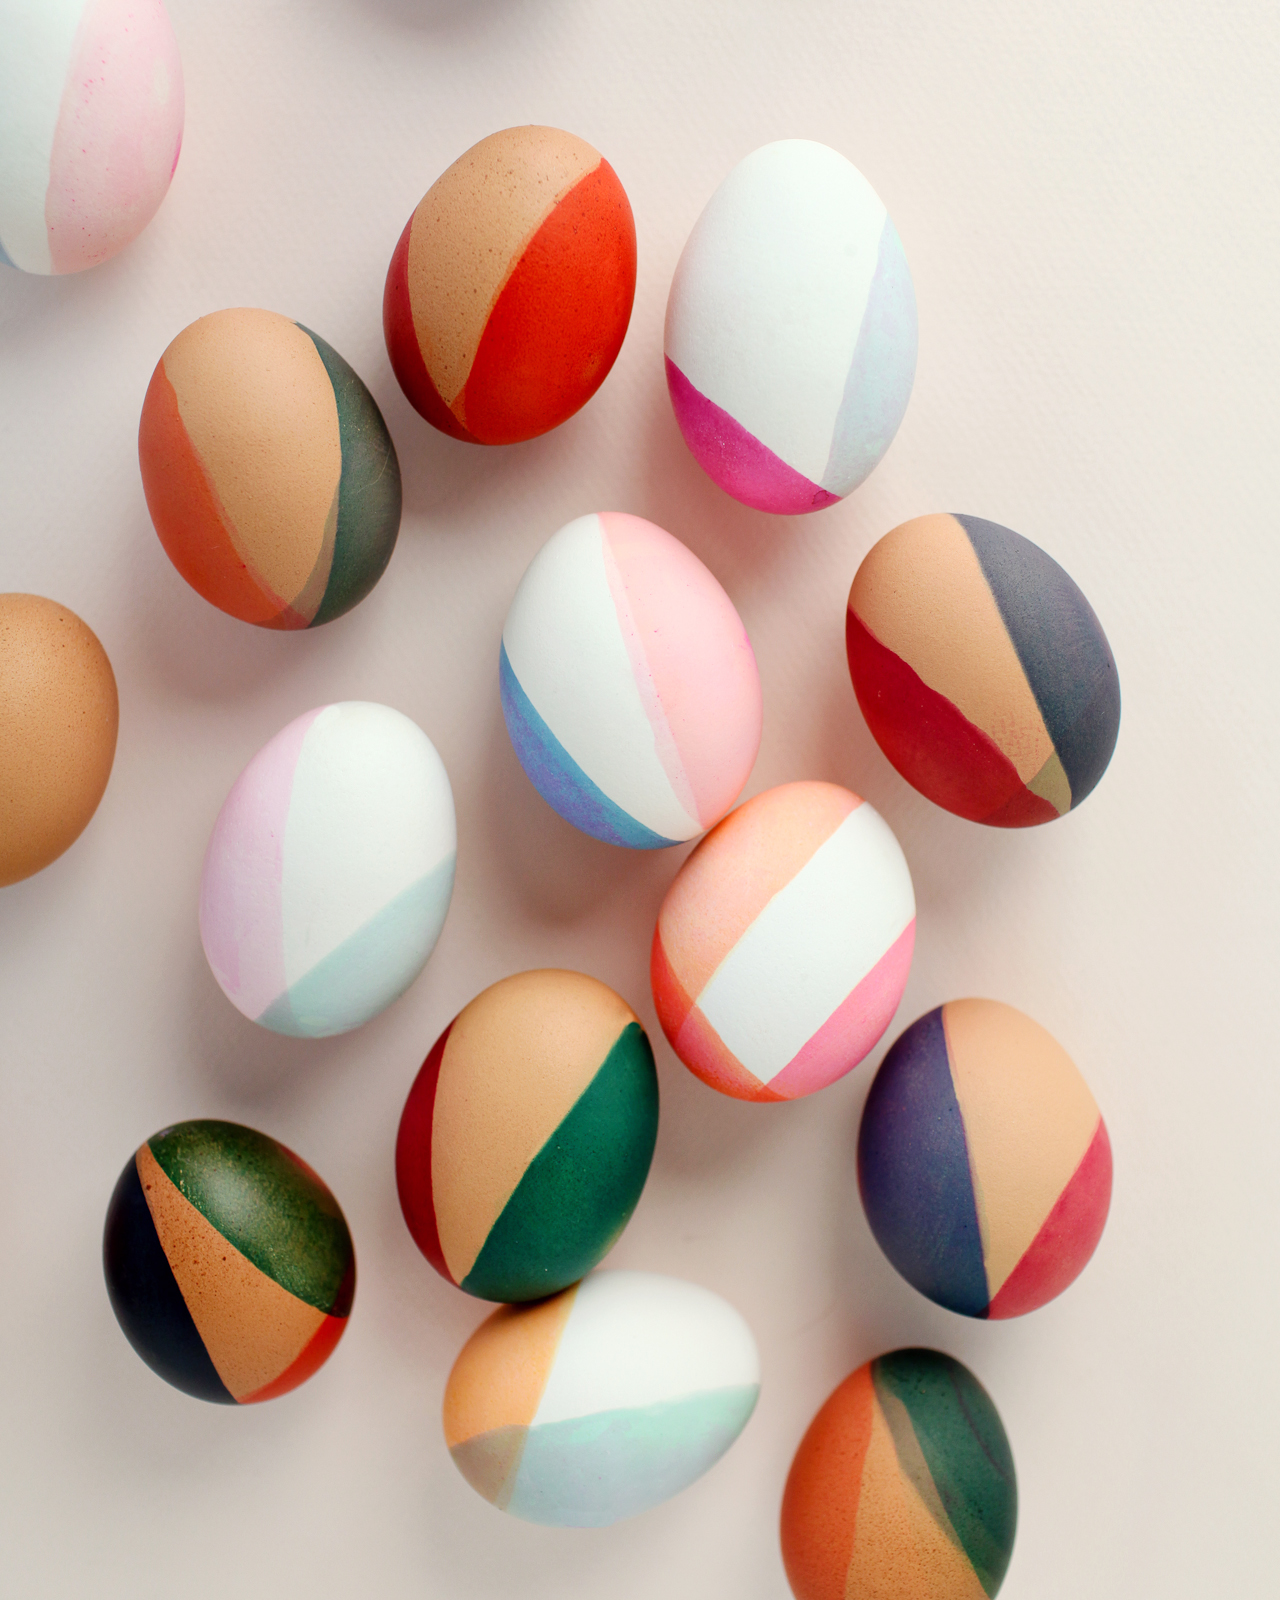
I’ve been feeling really inspired by earthy tones and neutral pastels this year – from bold burgundy and yellow tones to soft pinks and sage green hues. I am especially loving terra cotta paired with navy blue and soft pink paired with mustard yellow. I knew these color pairings would be a beautiful and unexpected application on Easter eggs, especially with a modern, color-blocked dip-dye treatment.

DIY Modern Color-Blocked Easter Eggs

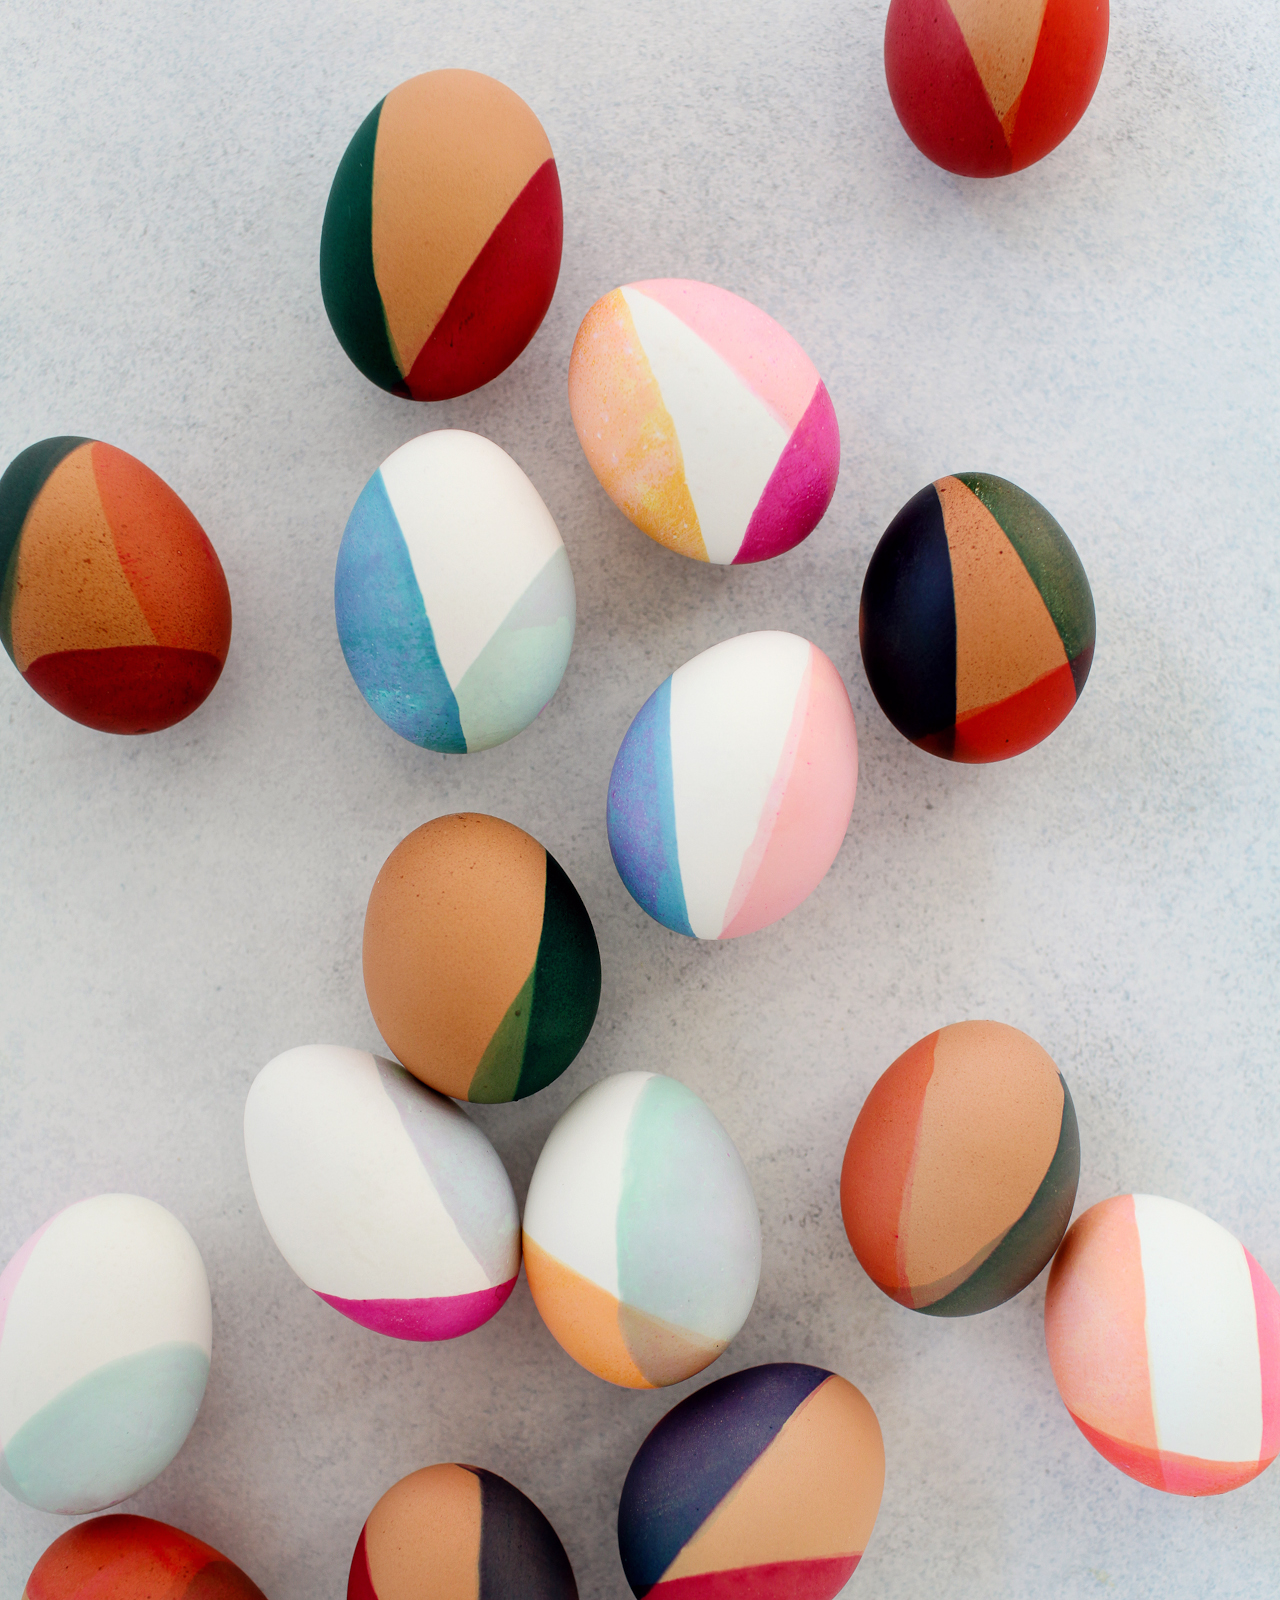
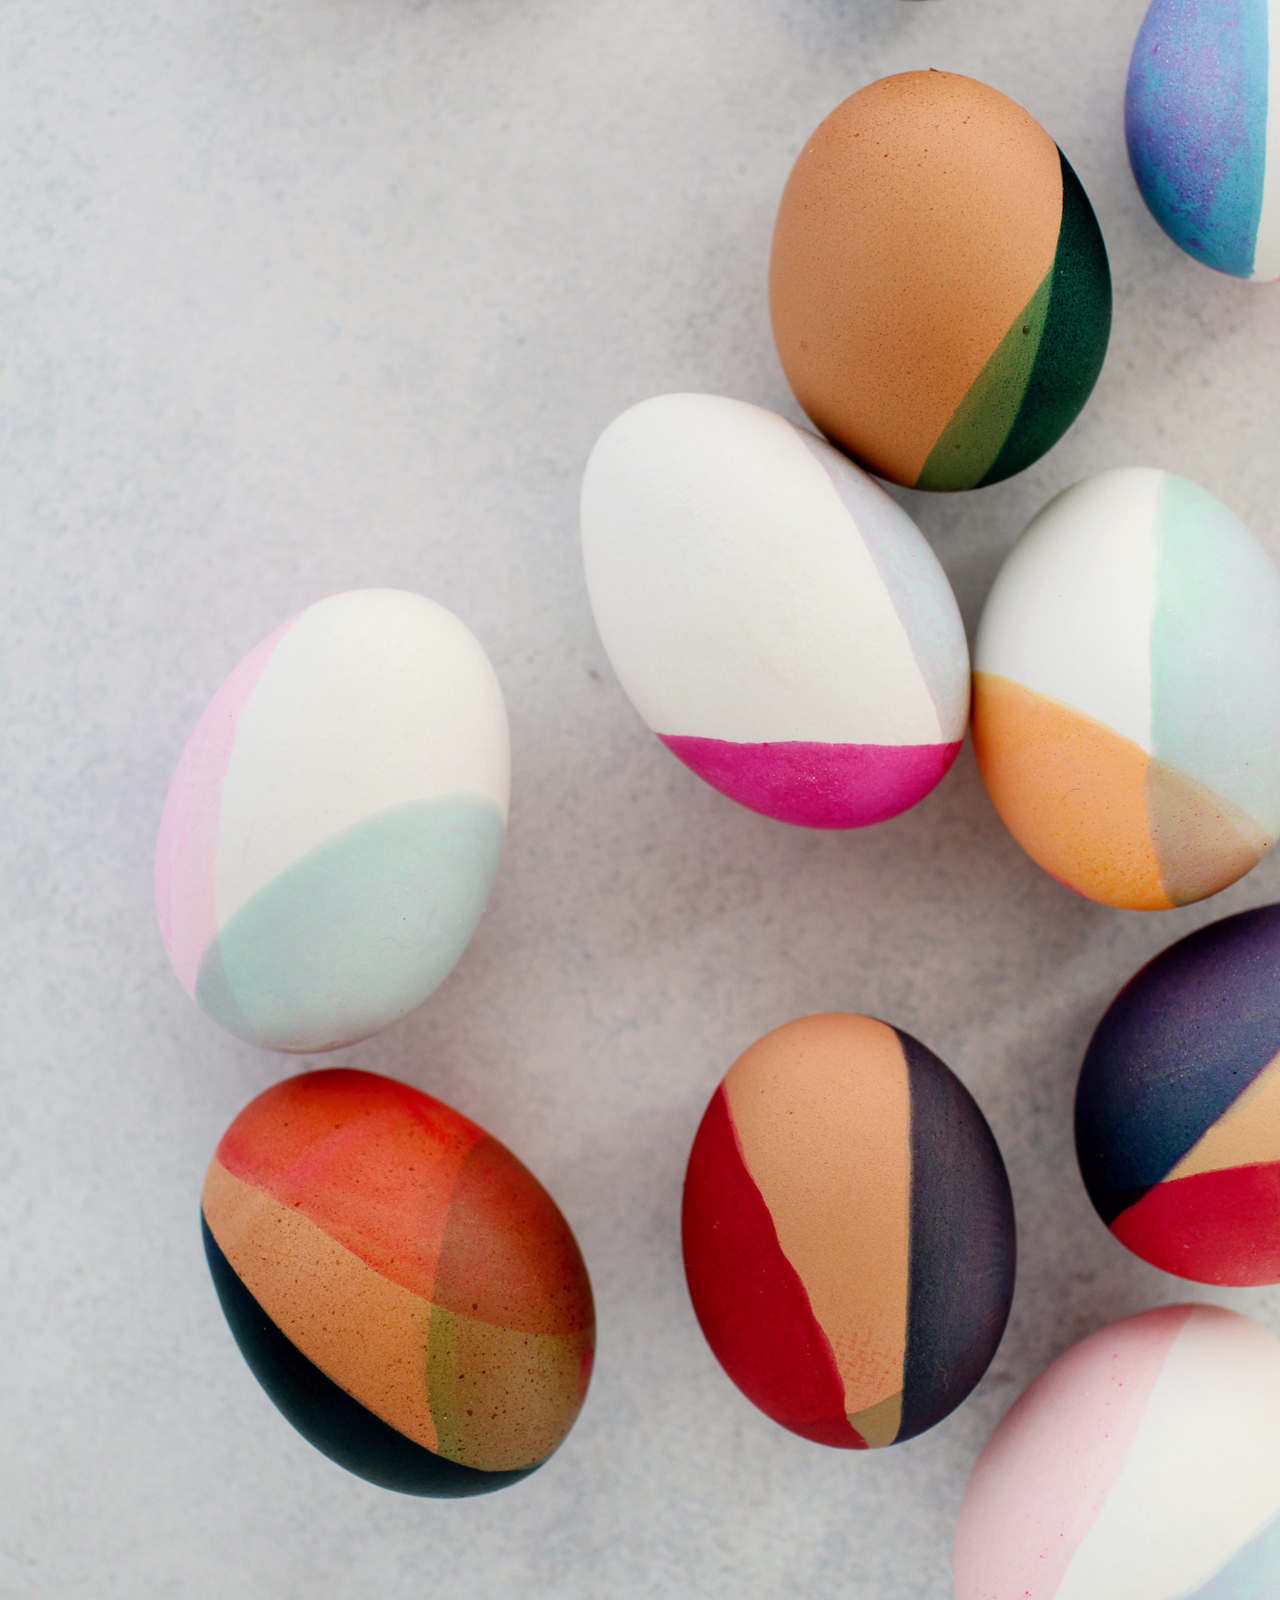
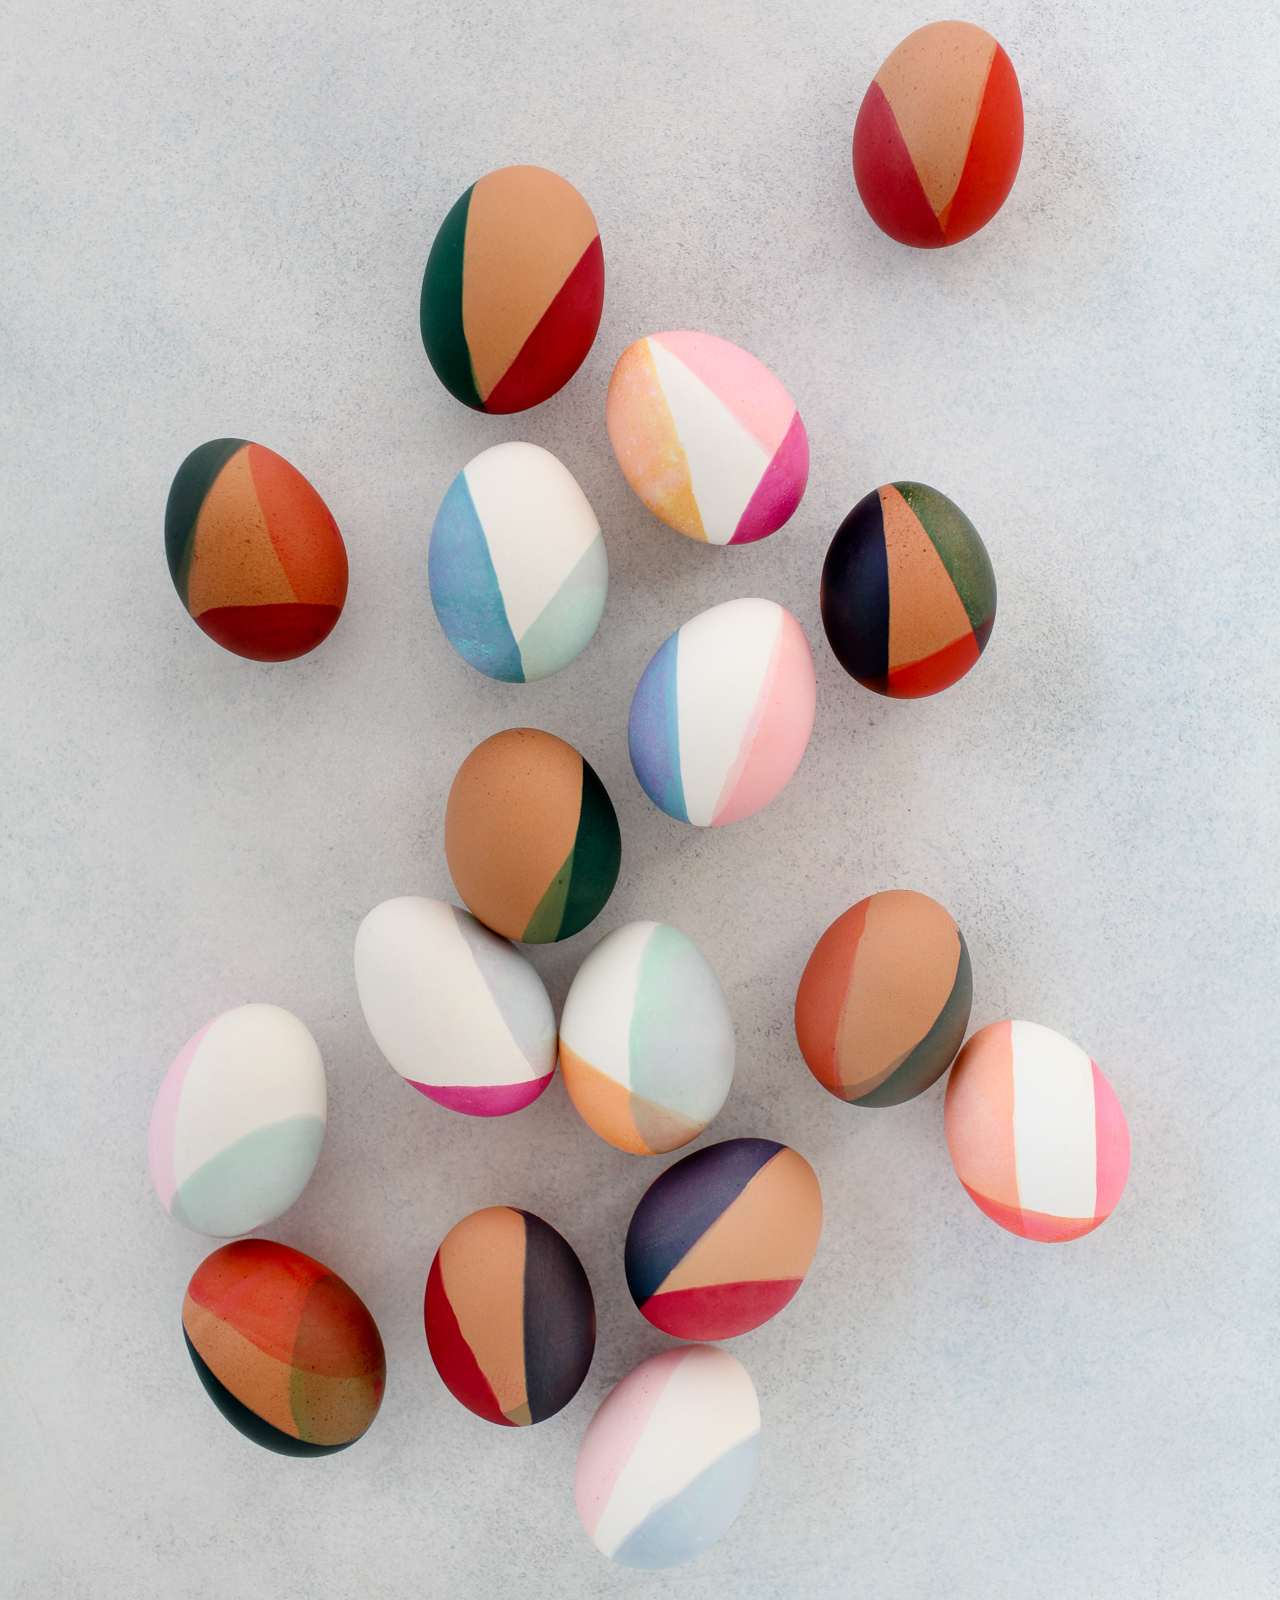
Another exciting development? As you may have noticed, I’m using both white and brown eggs this year! I’ve always dyed white eggs in the past, but brown eggs work so beautifully with the deeper earth tones that I just couldn’t resist. Aren’t they just absolutely DREAMY with the color blocked dip dye?? I also loved the idea of creating different colors and tones using the same color dyes on both brown and white eggs. The lighter pastel tones produced a beautiful color wash effect on the brown eggs, while the deeper hues produced rich jewel tones by leaving the eggs in the dye bath for a longer period of time.

DIY Modern Color-Blocked Easter Eggs

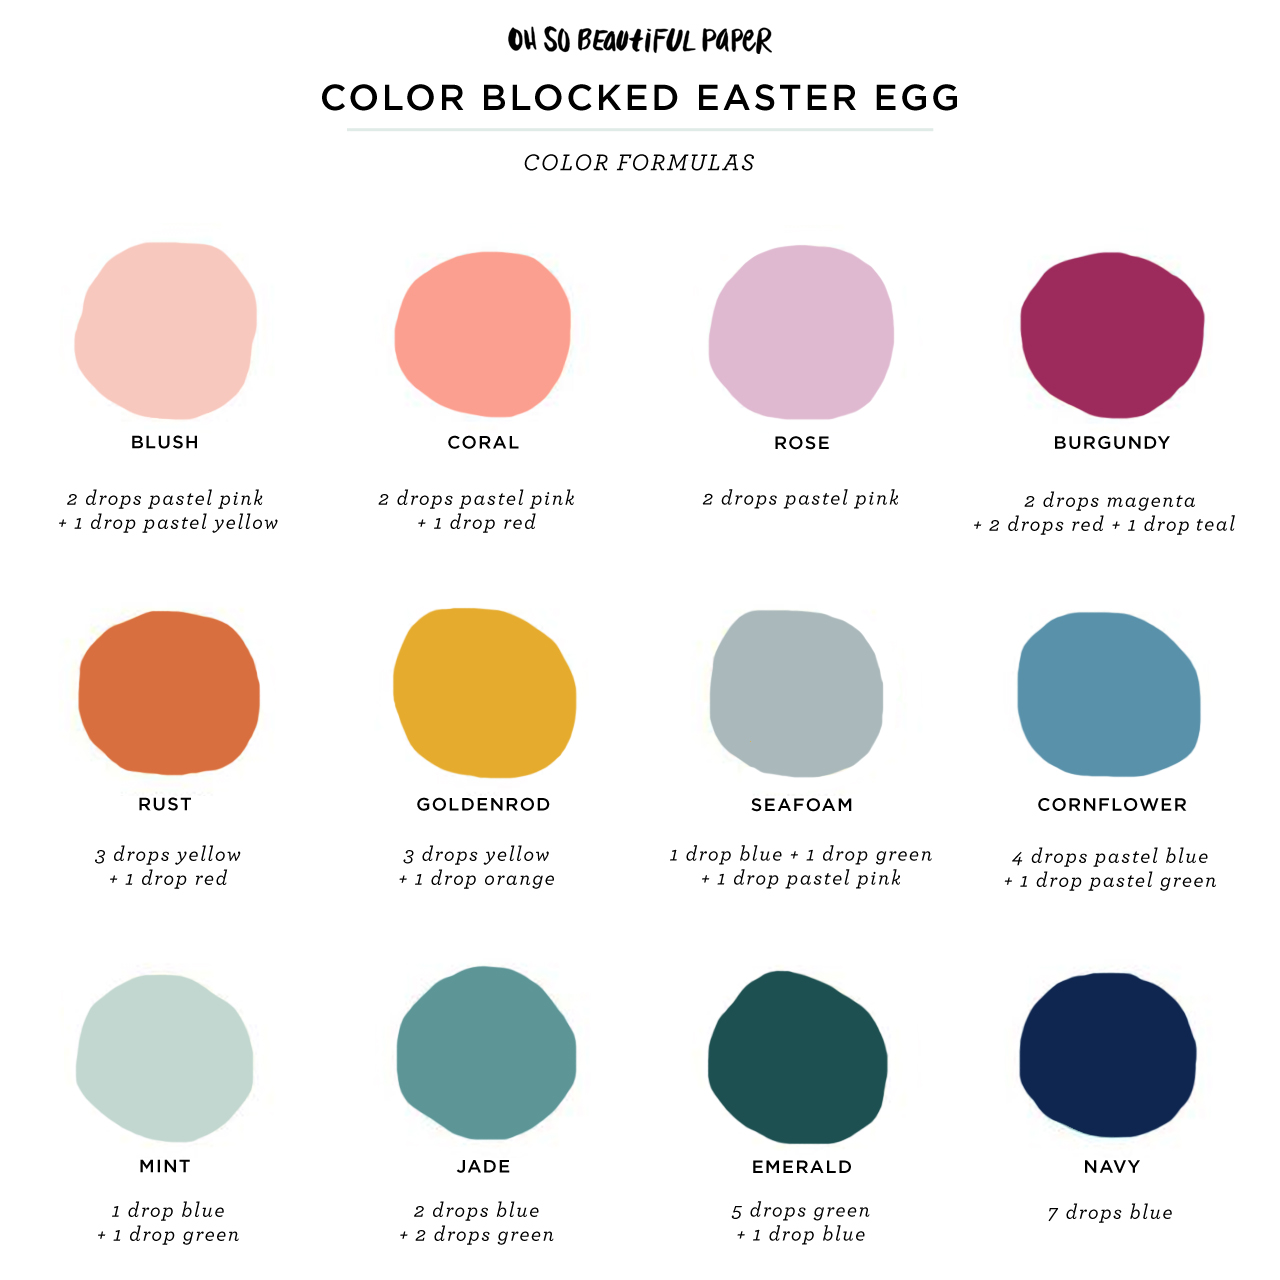
Here’s the color palette that I used as my starting point, along with the food coloring dye formulas that I used to dye the eggs:

DIY Modern Color-Blocked Easter Eggs Color Formulas

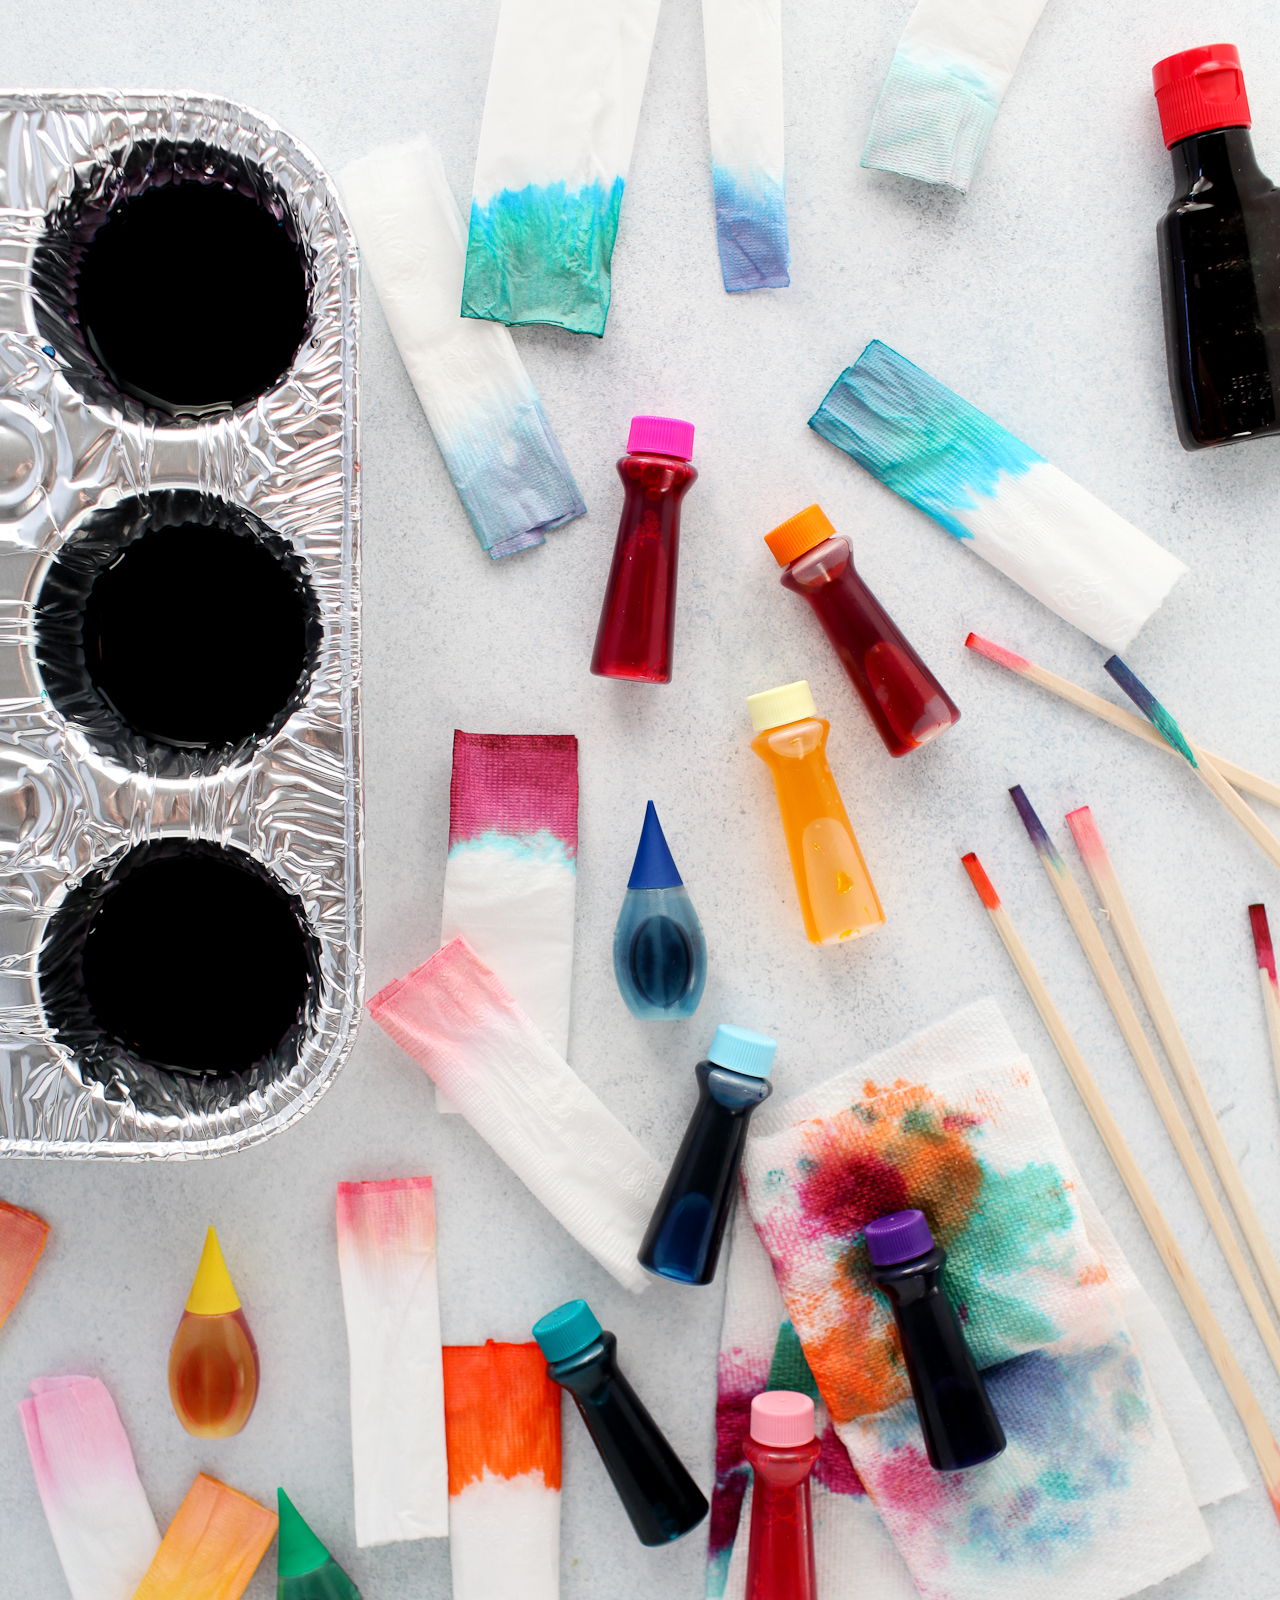
A quick note: The color formulas above achieved *slightly* different results in person – but it’s pretty close to my original color palette objectives! When you make these color formulas at home, always test the colors with a napkin or paper towel before dyeing your eggs!

DIY Modern Color Blocked Easter Eggs

There are a million ways to decorate Easter eggs – from soft painterly pink and gold eggs to tissue paper eggs – and I love putting a modern twist on traditional decorating techniques. All you need is traditional food coloring dye to achieve the gorgeous colors in these DIY modern, color-blocked Easter eggs! Are you ready? Let’s get started!

DIY Modern Color Blocked Easter Eggs

Supplies

White and Brown Hardboiled Eggs

Liquid Food Coloring

Muffin pan or small bowls for dyeing the eggs (note: the food coloring can leave permanent stains, so don’t use anything too precious!)

Vinegar

Tooth picks or wood chopsticks for stirring

Paper Towels

Disposable Gloves (optional)

DIY Modern Color Blocked Easter Eggs

To make the DIY modern color-blocked Easter eggs:

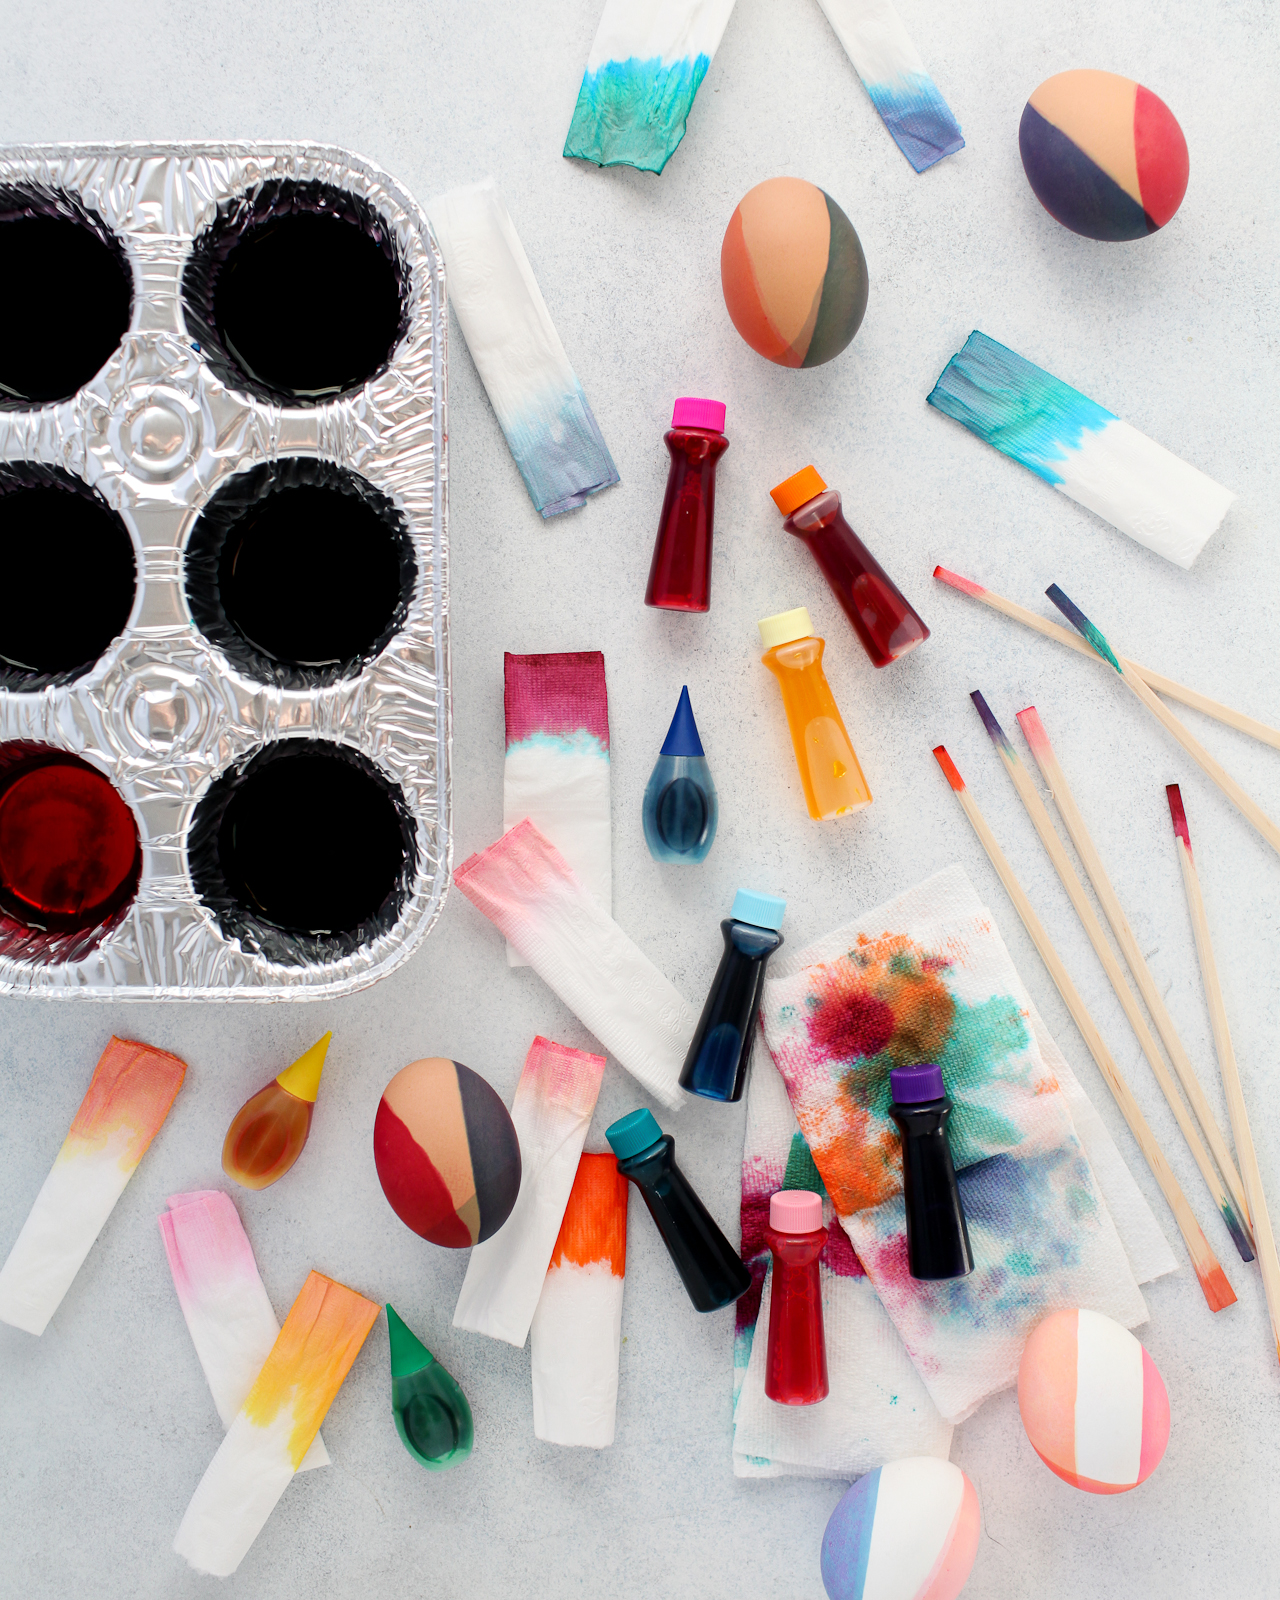
Step 1. Boil two cups of water, then add two tablespoons of vinegar to the hot water. Fill the cups of a muffin pan or a small bowl with about half an inch of the hot water. Add liquid food coloring based on the color formulas above or to achieve your own desired color palette. I used a variety of store-bought food coloring to create my dye colors, including standard red, yellow, green, and blue liquid food coloring, pastel gel food coloring, and bright magenta, teal, and orange gel food coloring. Use a toothpick or spoon to stir the food coloring together until completely blended, then give it another quick stir before dipping your egg into the dye bath.

Tip: Test the dye color with a paper towel before submerging your eggs, but keep in mind that a paper towel will absorb the dye much faster than an egg, so you’ll need to leave the egg in the dye bath for a minute or two if you’re hoping to achieve brighter/more saturated colors.

Step 2. Wearing disposable gloves, pick up your egg and gently dip one side of the egg into the dye bath. The dye should not cover the entire egg and you should continue to hold the egg in place while it’s in the dye bath so it doesn’t roll over. Hold the egg in place for several seconds for lighter colors or around a minute for deeper/more saturated colors.

Step 3. Remove from the dye bath and pat dry with a paper towel.

Step 4. Repeat steps 2 and 3 with a second and third dye color (if desired), covering a different portion of the egg with each new dye color.

DIY Modern Color Blocked Easter Eggs

DIY Modern Color Blocked Easter Eggs

I just can’t stop staring at these colors! I love all the subtle color variations between the white and brown eggs and the different overlapping tones. The non-traditional color combinations are so special and unique!

DIY Modern Color Blocked Easter Eggs

Neutral pastels! Earth tones! Jewel tones! Gah, I just love these eggs SO much! Do you love this color palette as much as I do? Will you be making color-blocked eggs this year?? Let us know if you do! And don’t forget to head over to The Incredible Egg for more Easter inspiration and recipe ideas!

This post was created in partnership with The Incredible Egg. All content and opinions are my own. Thank you for supporting the sponsors that make Oh So Beautiful Paper possible!

Behind the Stationery: PleaseNotes

For our next Behind the Stationery feature, I’m excited to have Cheryl Sutherland’s share her empowering story behind PleaseNotes. Cheryl’s journey is rooted in realness and self-discovery, which is an important part of the business that isn’t always talked about. She talks about everything from exploring her manufacturing options to exploring herself to discover what she wanted to her line to become. Take it away, Cheryl! —Megan Soh

Behind the Stationery: Please Notes

From Cheryl: I would’ve never thought that I would be interviewing anyone, especially not an internationally acclaimed speaker like Les Brown, but as I was adjusting the lighting rig in his hotel room in Toronto it hit me. My life had unfolded in a way that I could of never expected based on one decision to follow my inspiration.

Growing up my family unit was pretty ordinary. My parents were from St. Vincent, a small island in the Caribbean, and had divorced shortly after I was born. The youngest of three, I noticed how much emphasis my parents put on working to support themselves and additional family back home without regard for their own personal enjoyment in their work. When it was time for me to go to university, I wanted to be different from my parents and to choose something that interested me, that aligned with my personality and gave me the ability to grow. That decision making process is what got me through school, into some great positions, and drove my decision to move to Los Angeles from Canada.

Behind the Stationery: PleaseNotes

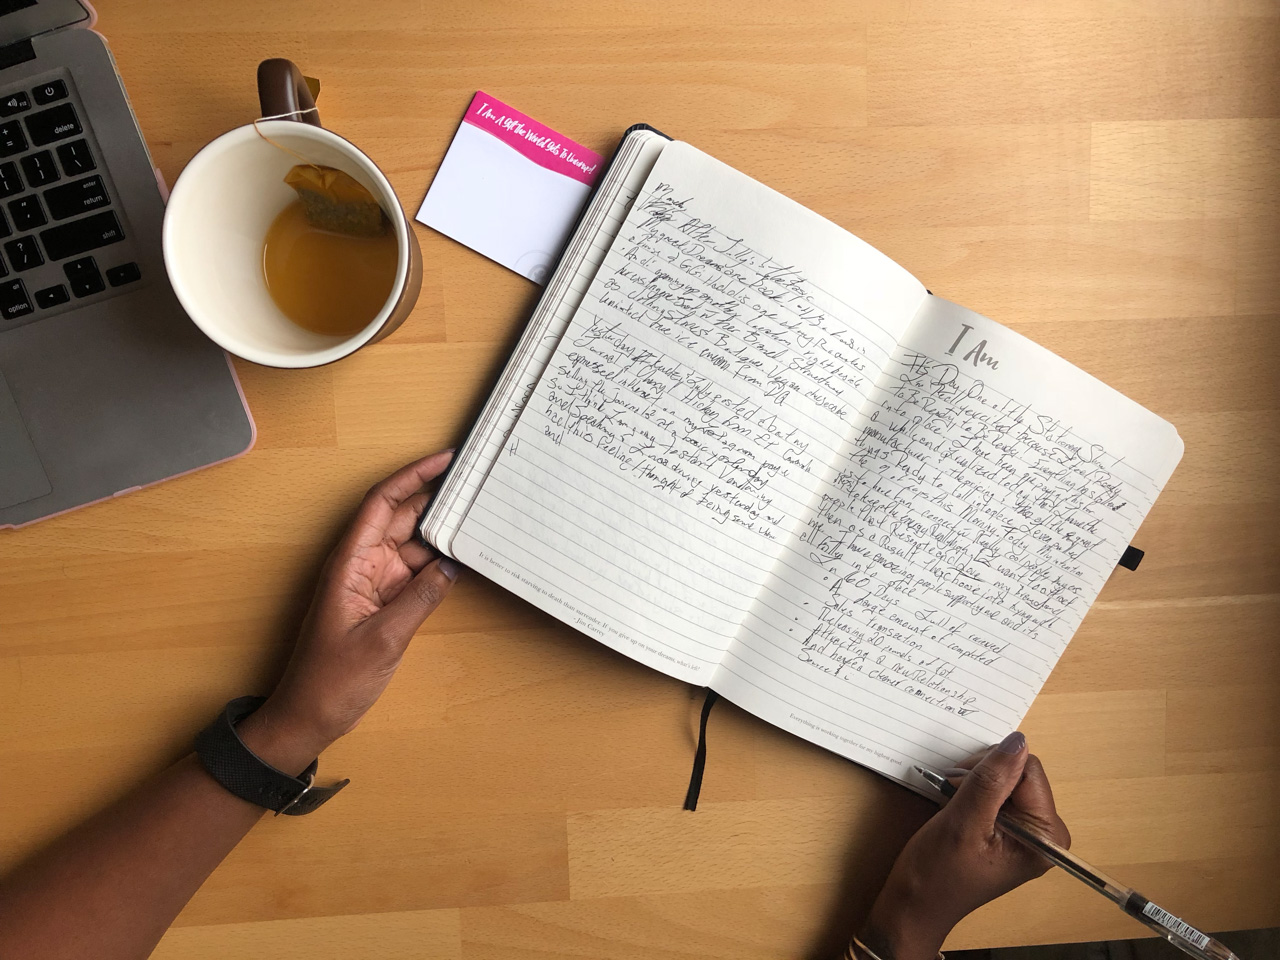
I got the idea for PleaseNotes after reaching the end of the road with my last employer. At that point I wanted to work on something I was really passionate about, learn new things, and feel excited and confident when I spoke about work. I had always seen myself as a great second in command, but not good enough to actually run a business or even have a good idea for one. I knew in order to level up I needed to make a huge shift. I took a leap of faith, quit my job and focused on changing myself. I knew I had something important to contribute, so I worked with affirmations, read amazing books, and started journaling. I had taken and supported tons of personal growth courses in Canada and the USA, and journaling allowed me to realize what thought processes I had that were detrimental, and replaced them with ones that encouraged me to believe in myself and see myself in a bigger, bolder way.

Behind the Stationery: PleaseNotes

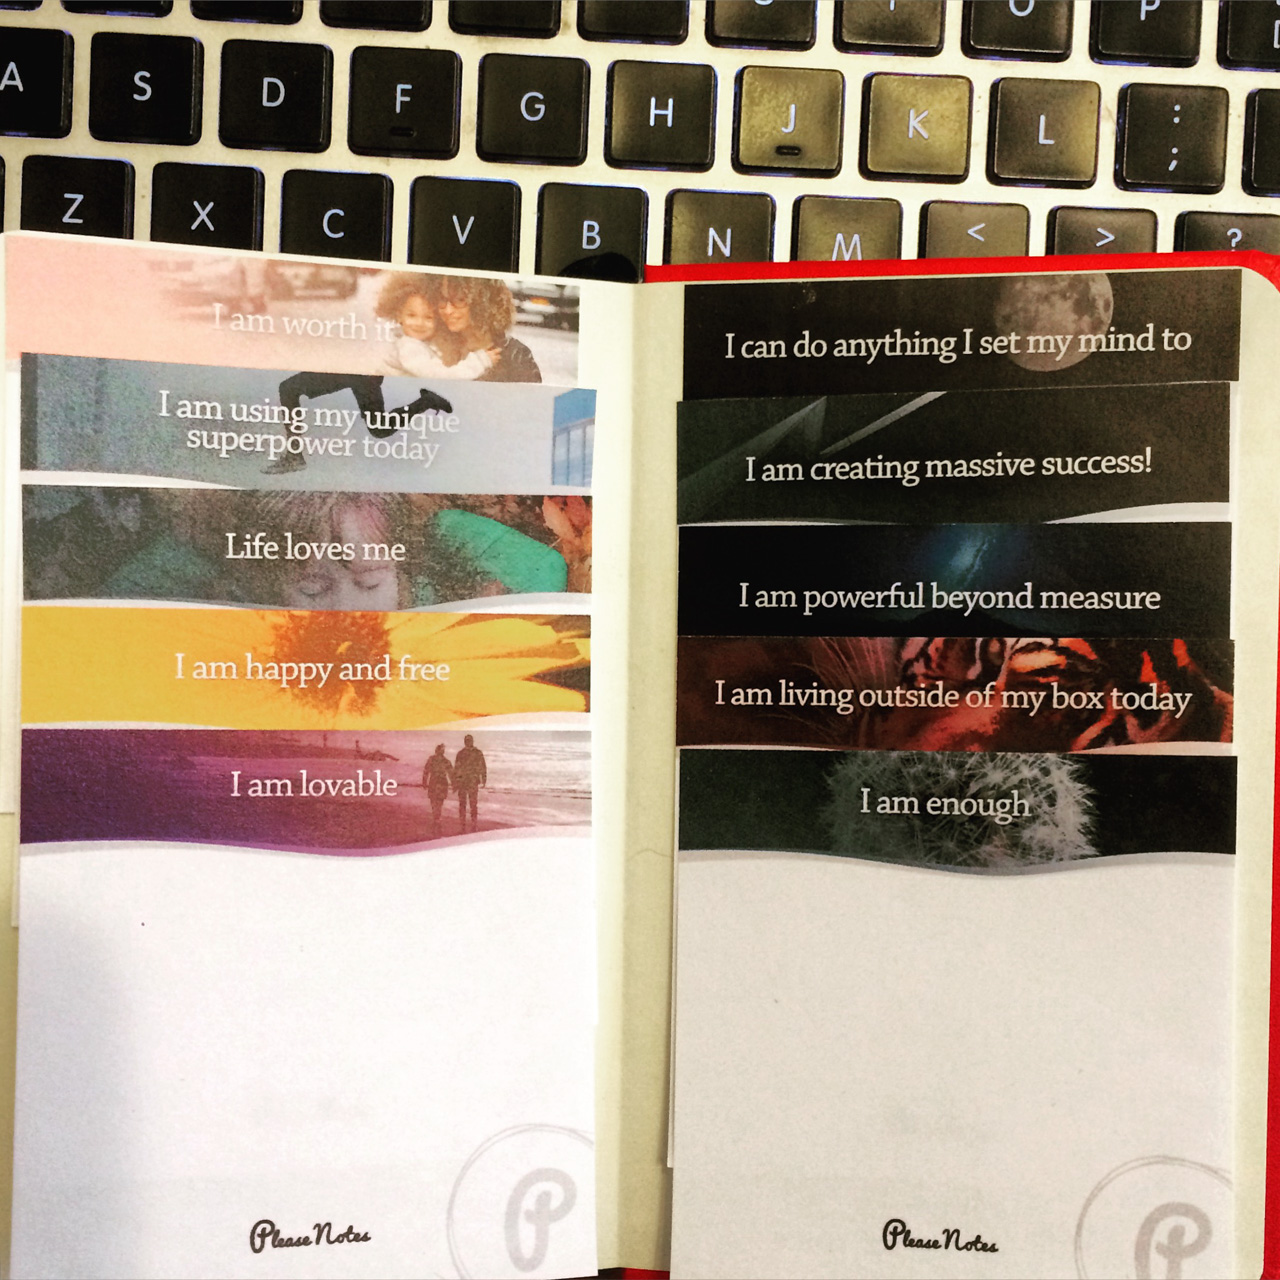
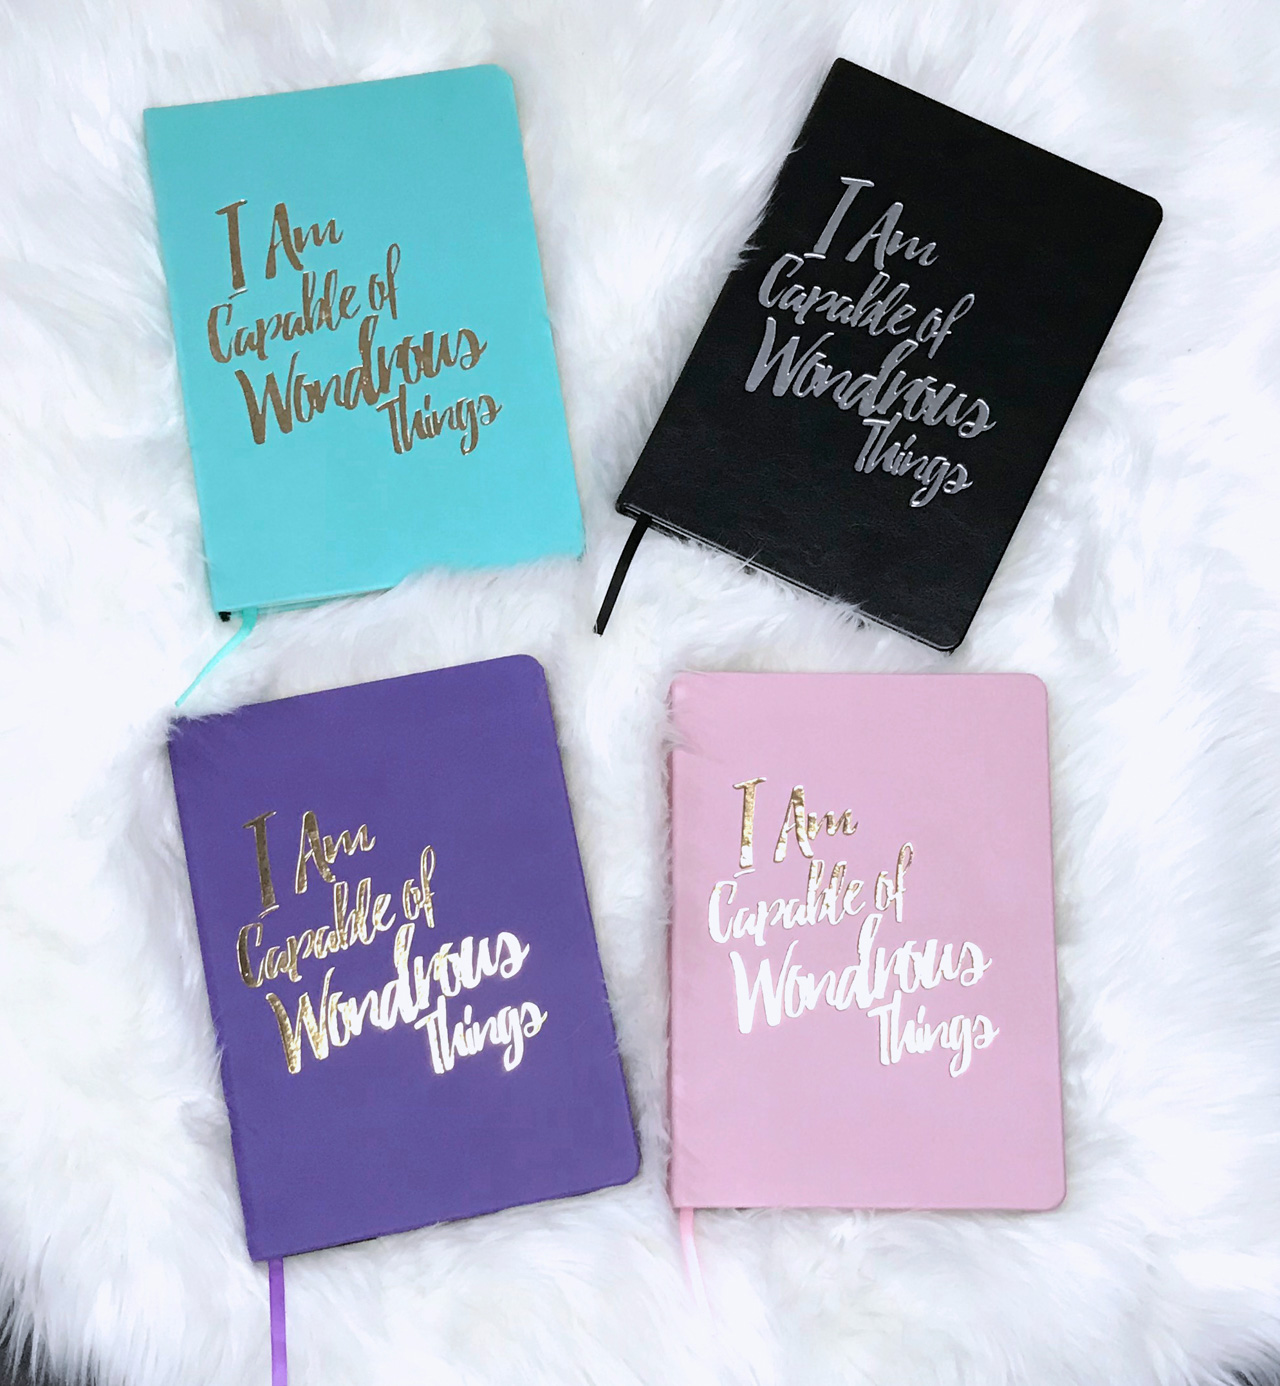
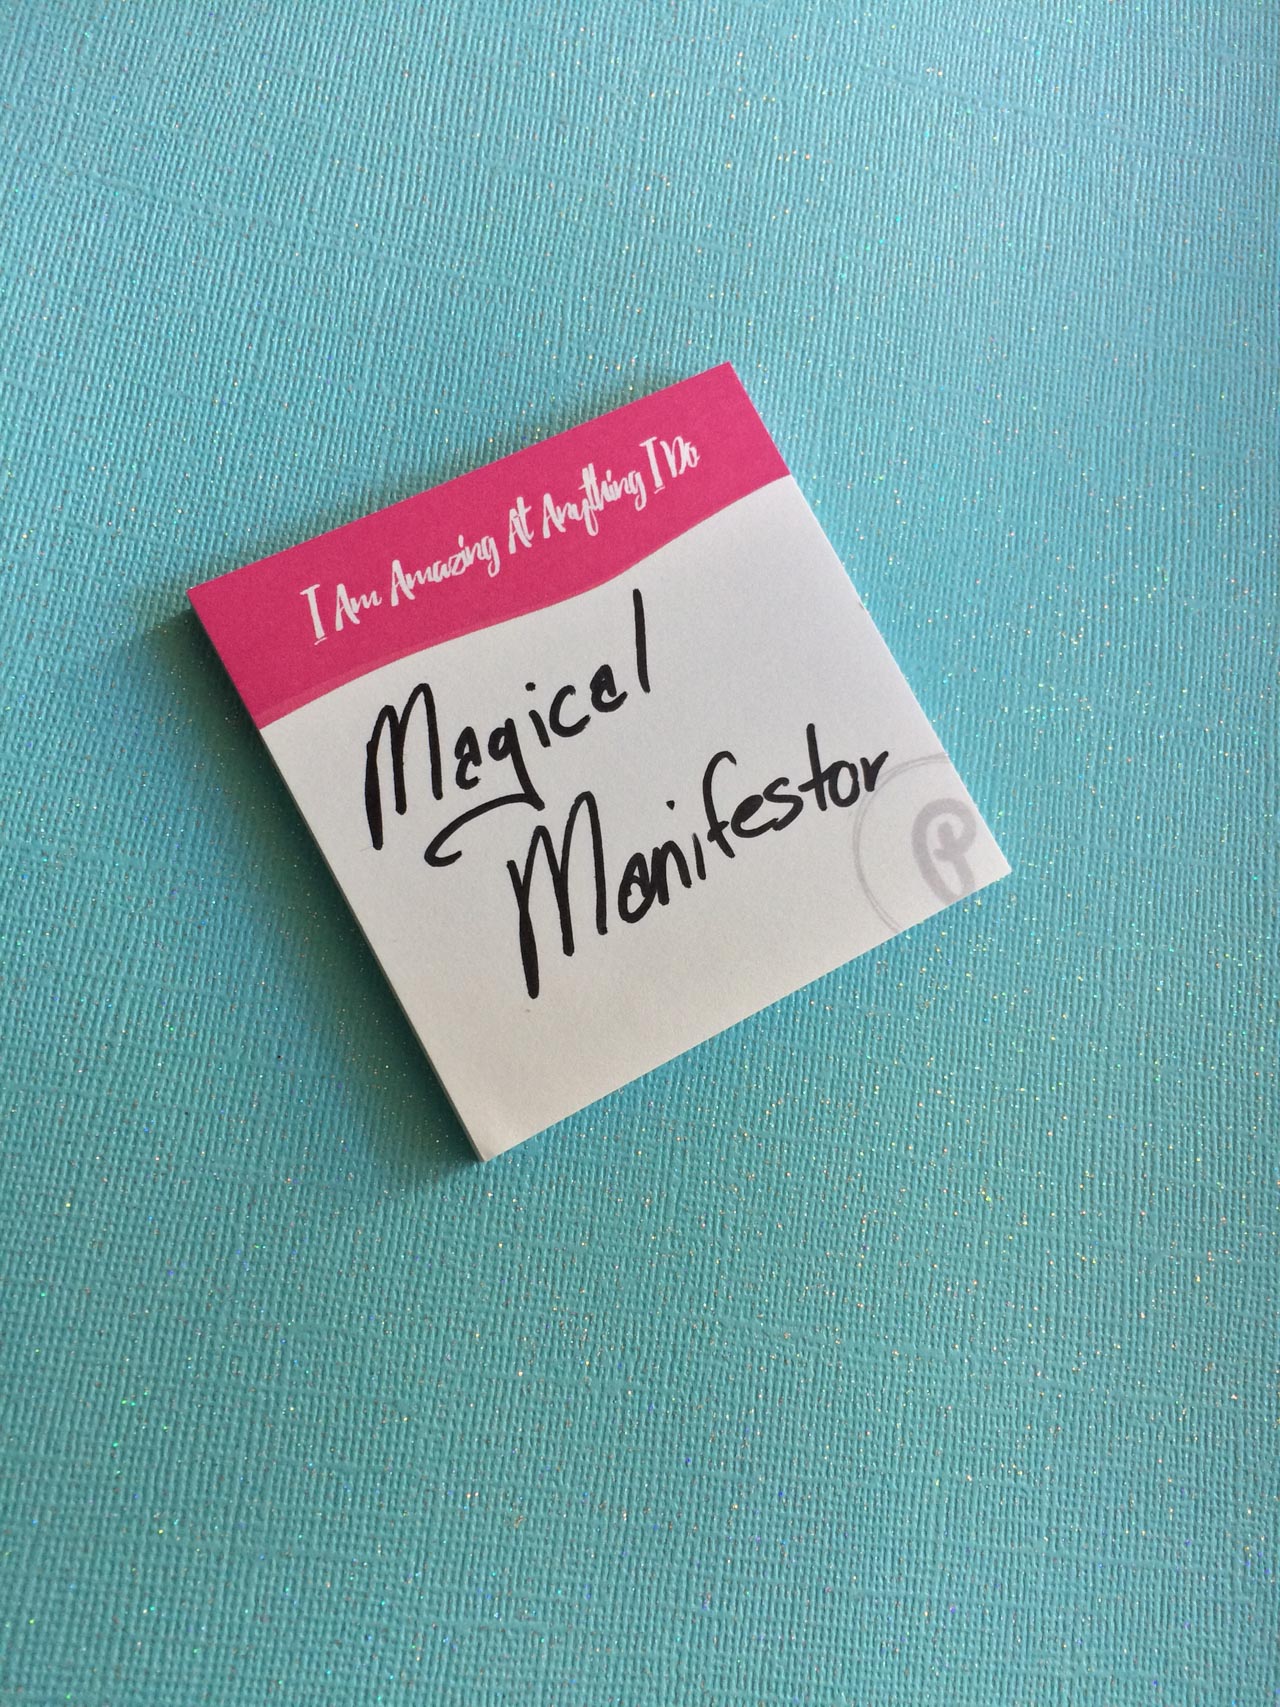
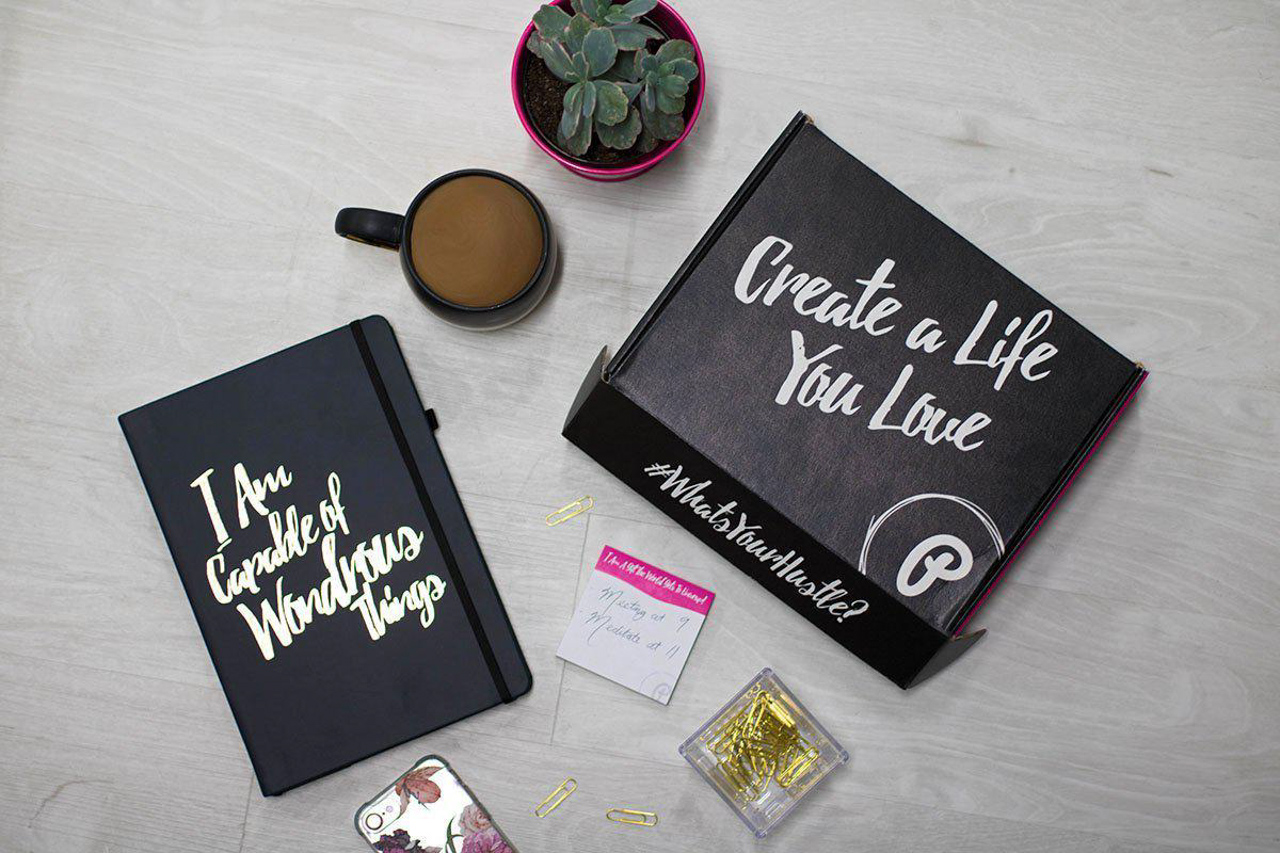
I wished there were a way to surround myself with reminders of who I really was and stay positive, and that’s when I got the idea for the PleaseNotes Sticky Notes which had a different affirmation or sweet message on each page. After a couple months, I realized that I had another really great idea to take the work a little bit deeper through a guided journal. I poured processes and exercises that I loved and used when I was “finding” myself into it and added tons of secret messages, affirmations, and extra love and care into it. I decided to launch it as a Kickstarter and it was an amazing success—shipping to the US, Canada, UK, Spain and Asia! A couple more ideas flowed in to round out the whole product line. I wanted to make my line tailored yet inclusive, so the products outside of the Journals are color coded and fall in one of three themes.

Behind the Stationery: PleaseNotes

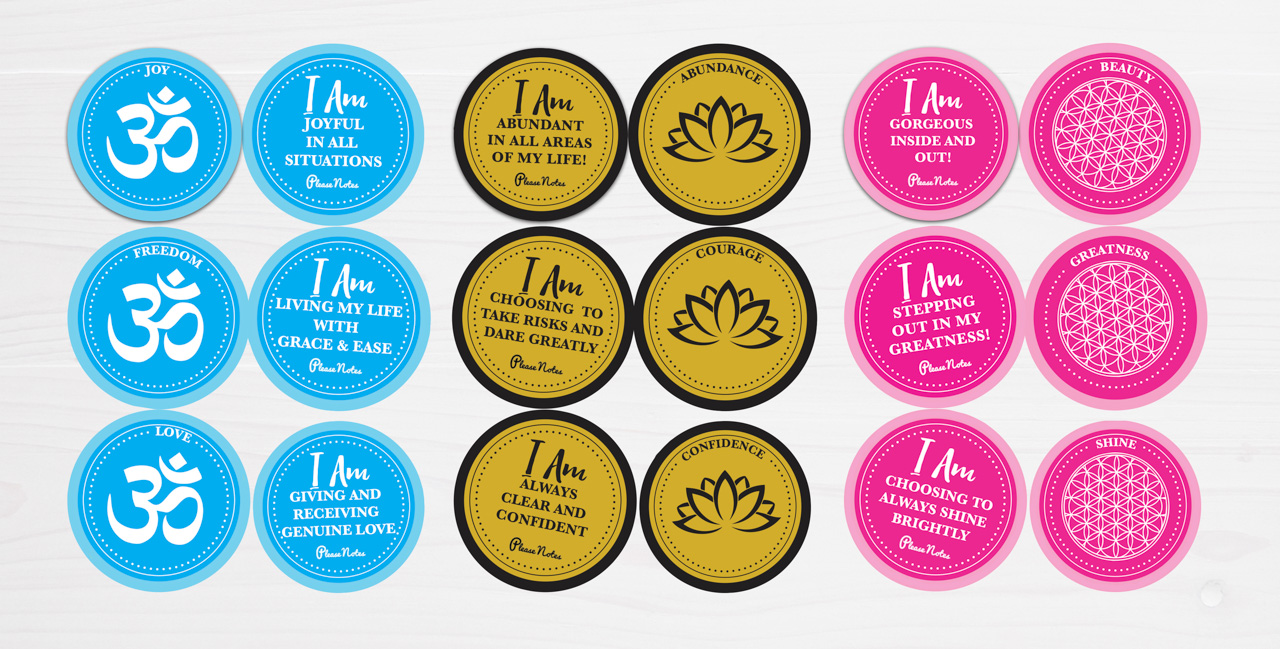
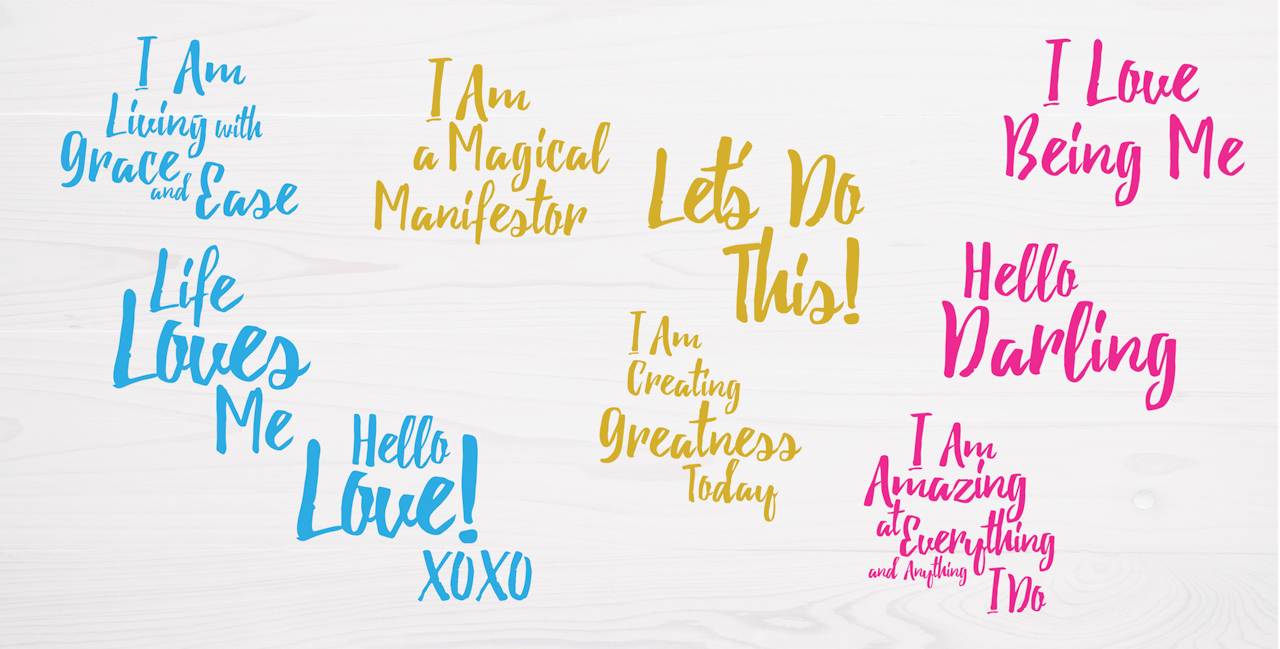
Since people have different things they want to work on I called the bright blue Carefree, and filled with messages of “I Am Living With Grace and Ease” and “ Life Loves Me” that are great for those struggling with anxiety or that want to have more fun every day. The bright pink is Cheeky, filled with messages that are more sarcastic like, “I Am A Gift The World Gets To Unwrap” and “ I Am Amazing At Everything And Anything I Do.” Lastly, the Confident collection is black and gold and is filled with grounding messages of “I Am Powerful Beyond Measure” and “I Am A Magical Manifestor.” These are reflected in the sticky notes, the mirror decals, and these really cool dual-sided water bottle labels. The thing I love about my company is it’s not just aesthetically beautiful, it has the ability to catalyze someone into changing the way they feel about themselves and their world. Being able to go into a situation and say “I can do this” versus “ I can’t do this” is literally the ability to change the whole course of someone’s life, and I feel so grateful that I get to do this.

Behind the Stationery: PleaseNotes

My creative process is pretty holistic. I’m really grateful that I read Elizabeth Gilbert’s “Big Magic” because it helped me set new expectations and grow as an entrepreneur coming out of the corporate space. I get an idea and then ask myself if it is something I can do or not, which the answer has always been yes! If it’s a brand new item, I start sketching, decide on the medium and logistics, and send it to my amazing graphic designer friend for feedback and revision. After I get it back, I tweak it until I feel really good about it usually in InDesign or Illustrator. At the same time, I look for a manufacturer. Since the Journal and Sticky Notes are highly customized, it took a while to find manufacturers I liked who also had the ability to scale and maintain the same level of quality. My favorite part of working with manufacturers is getting samples and going back and forth in the creative process. That’s allowed me to see, experience, and notice nuances like paper color and texture, ribbon and elastic characteristics and different textured covers. I want people to have a authentic, safe, luxury-like self care experience, and it shows itself in the details. You may notice little things I’ve tucked in like sacred geometry and symbolism, and there’s a bunch that only myself and my manufacturers are aware of. It’s like a little blessing for the user and based on feedback, that feeling comes through.

Behind the Stationery: PleaseNotes

When I found out about the National Stationery Show, I thought it would be an amazing chance to really get my name out there. I walked it in 2017, exhibited in 2018, and I loved the experience of being there, seeing what other companies were doing, and getting great feedback about the line from “real” stationery people that my line was as great as I thought it was. I really wanted to connect with people who “got it” such as stationery reps, wholesale buyers, retailers and media. There were some really great contacts that I connected with and I’m excited to build great relationships.

Behind the Stationery: PleaseNotes

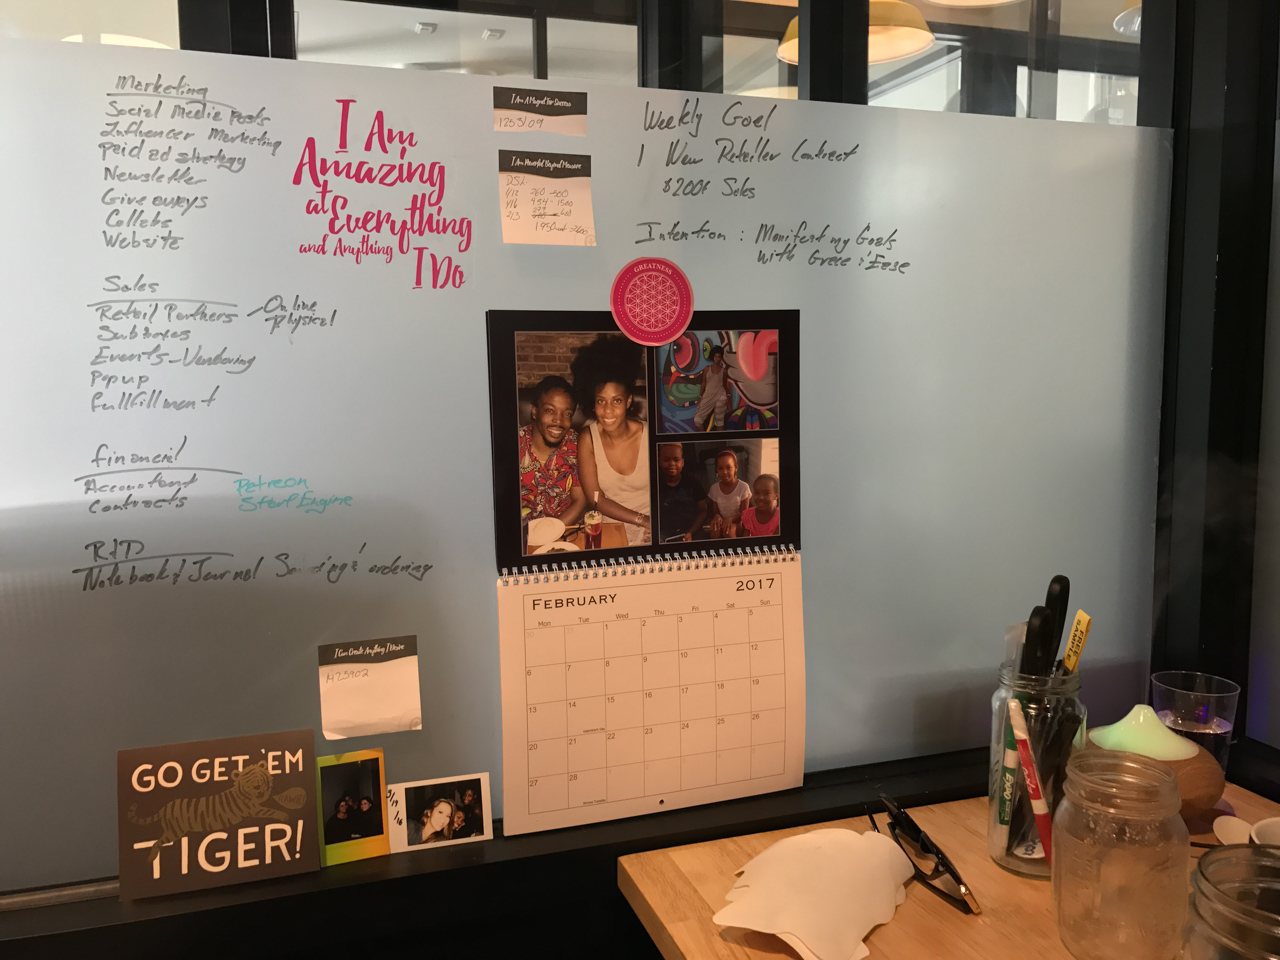
My day is pretty go with the flow. I primarily work from home or a co-working space like WeWork or Make Lemonade here in Toronto. This allows me to go to the gym, meditate and eat properly. I usually have a list of things I want to complete this week or month and knock them out or add to them. I tend to work best between 10am – 7pm. Right now my main focus has been marketing. I’m still figuring out how to best convey and connect people to the magic, so I’ve been playing a lot with influencer marketing, videos on IGTV and YouTube, and creating new exercises that people can download. I really enjoy working on custom journals and right now I just started a new project with one of my influencers that I know people will love that is super authentic for both her brand and mine! I use a fulfillment center in California to ship out the goods since they get a better rate then I would.

Behind the Stationery: PleaseNotes

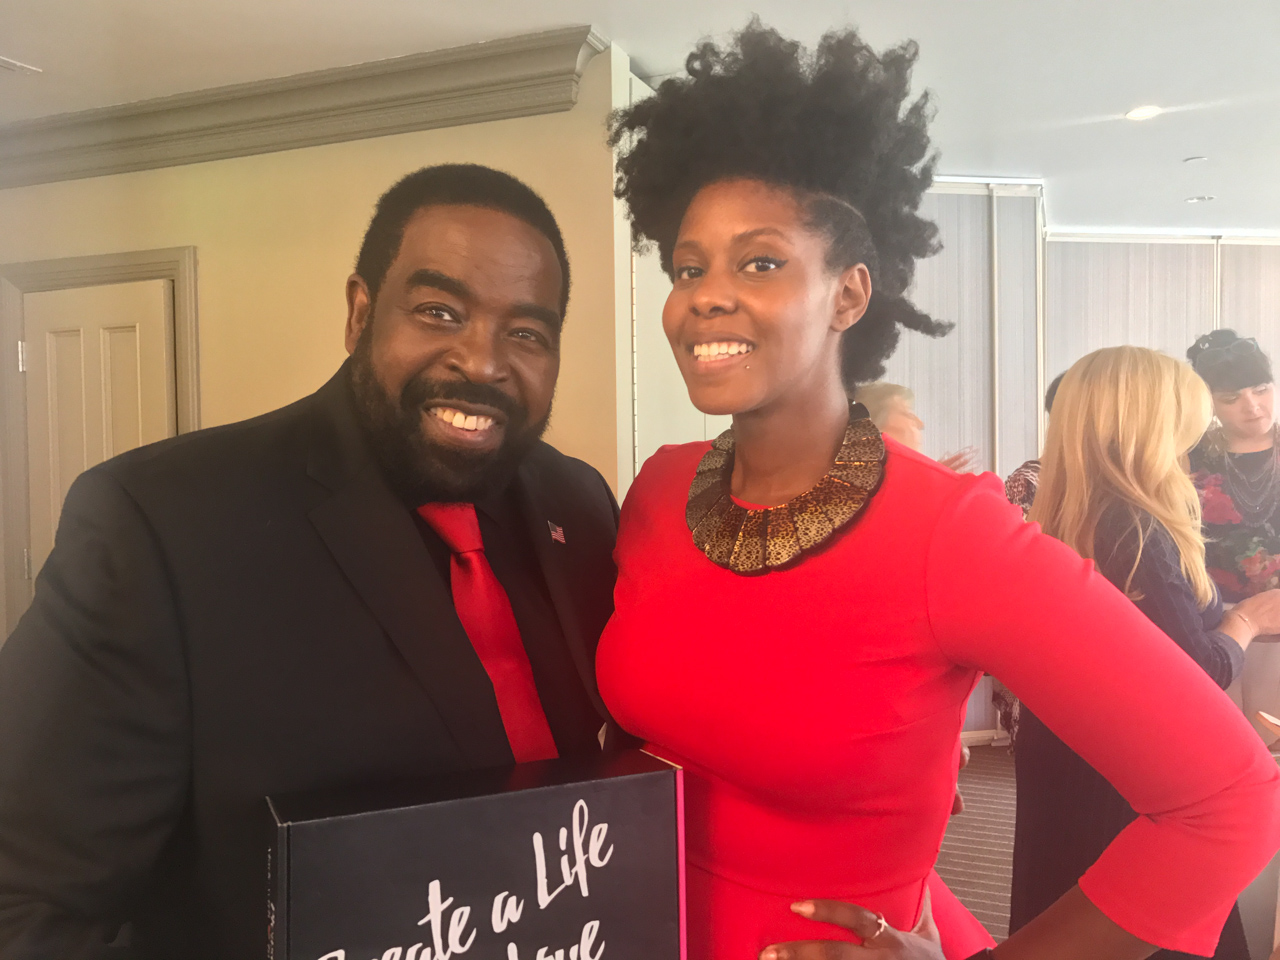
Flashing back to September 14, 2017, I was setting up my booth at an E-Women Network event in Orange County and I was feeling great being there. I always loved the women that attended and the vibe. That day shouldn’t have been any different, however they ended up having a surprise last minute attendee. I heard whispers about Les Brown and I thought it was hilarious because I actually have a couple of his quotes included in my Journal. When he came in, the room became his as he walked around, shook hands and took pictures. Eventually he ended up at my table and I was able to tell him about my line. That day was one of my proudest moments because someone who was such a noted icon in the industry that I respected not only loved my brand, gave me a endorsement, he also offered to do a Facebook Live with me to share PleaseNotes with his followers!

Behind the Stationery: PleaseNotes

This was just one of the amazing things that have happened to me because I chose into following this dream and I’m so grateful for all the things I’ve been able to see and do as a result of building PleaseNotes. If I had to give advice to anyone thinking about going down this path it would be to expect great things to happen to you, dwell on the positives and breathe in the great moments.

Behind the Stationery: PleaseNotes

All photos courtesy of Cheryl Sutherland.

Want to be featured in the Behind the Stationery column? Reach out to Megan at megan [at] ohsobeautifulpaper [dot] com for more details.

DIY Rainbow Watercolor Crepe Paper Backdrop

This post was sponsored, and paid for, by Rit Dye. All opinions are my own. Thank you for supporting the sponsors that make Oh So Beautiful Paper possible!

Spring is just around the corner – and I couldn’t be more excited! Every year I look forward to the explosion of spring flowers, from pale pink cherry blossoms and purple lilacs (my absolute favorite) to yellow daffodils and colorful tulips in nearly every shade of the rainbow. Oh, and fluffy peonies in every shade of pink? Yes, please! Today I’m paying homage to my favorite season with a DIY rainbow watercolor crepe paper backdrop that is perfect for spring weddings, birthday parties, and everything in between. This gorgeous pastel backdrop makes me so happy every time I look at it. Oh, and my secret ingredient for creating this gorgeous backdrop? Spray bottles filled with Rit All-Purpose Dye!
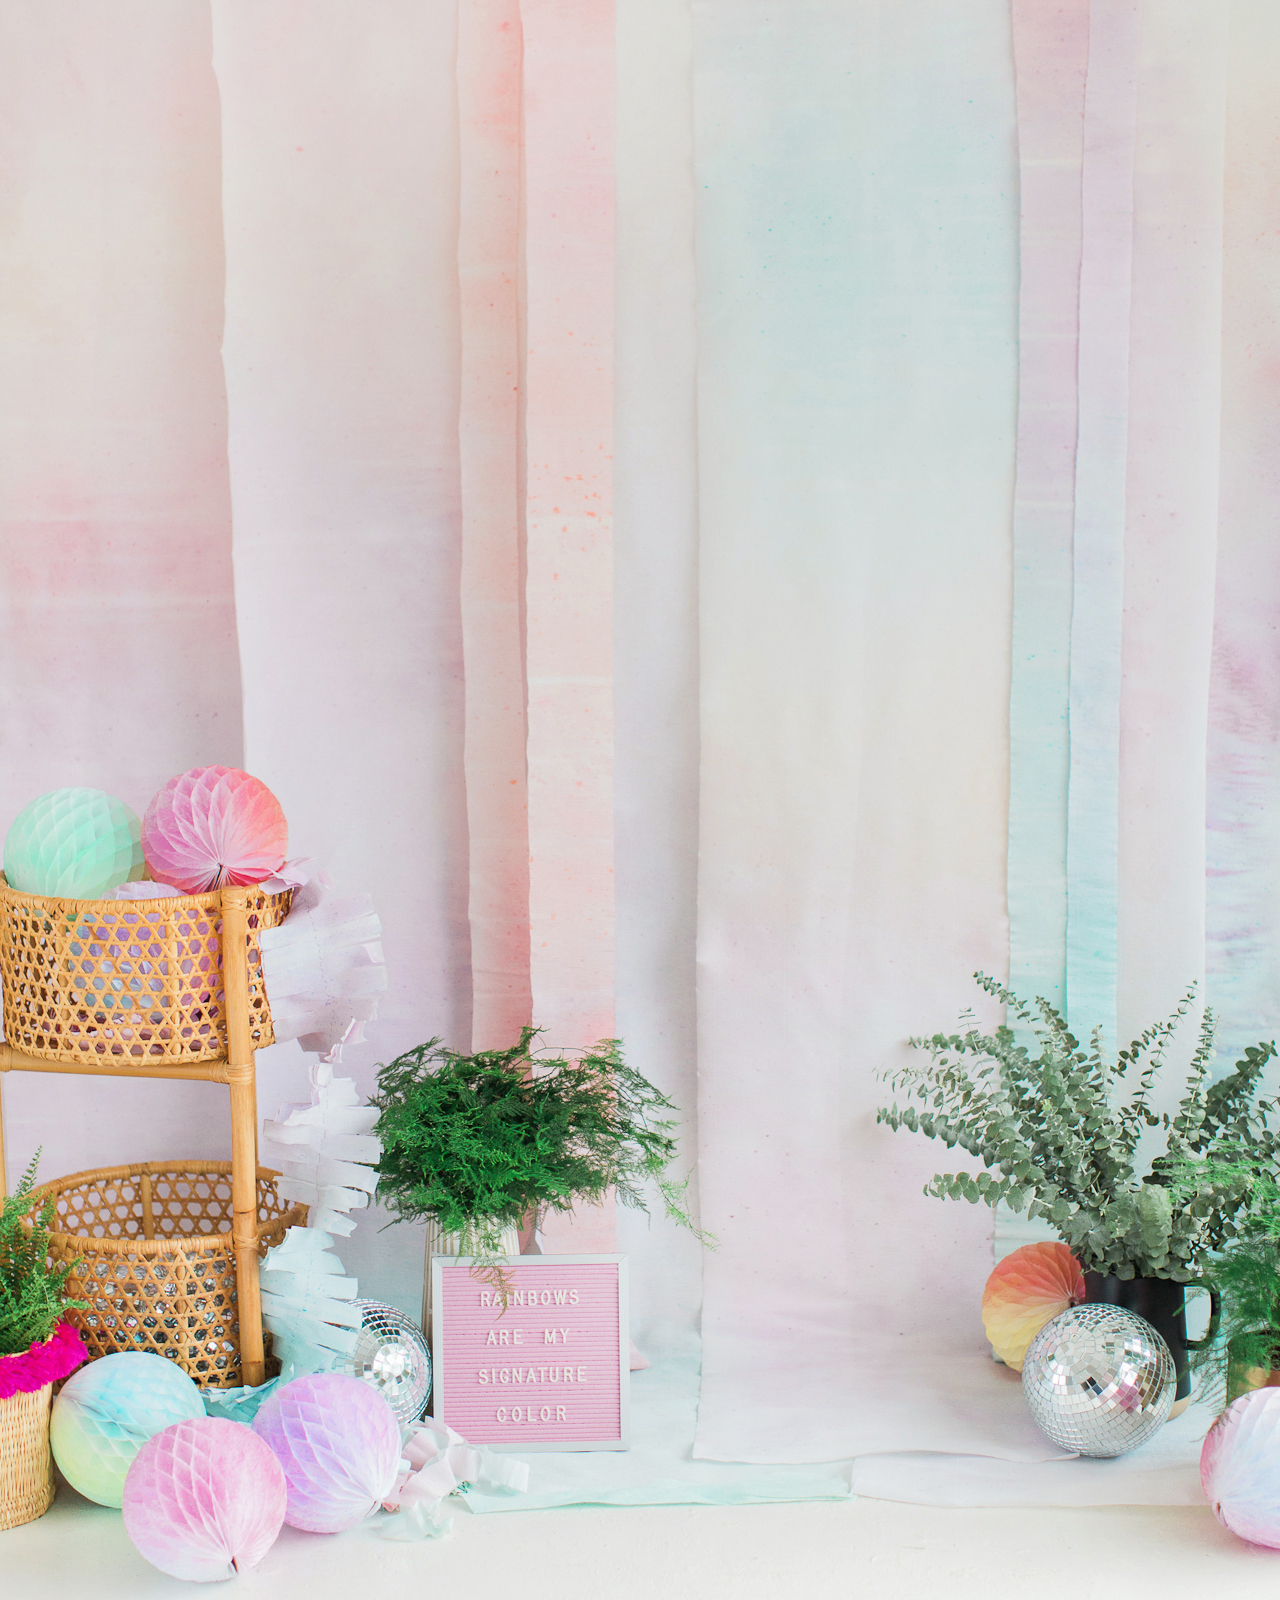
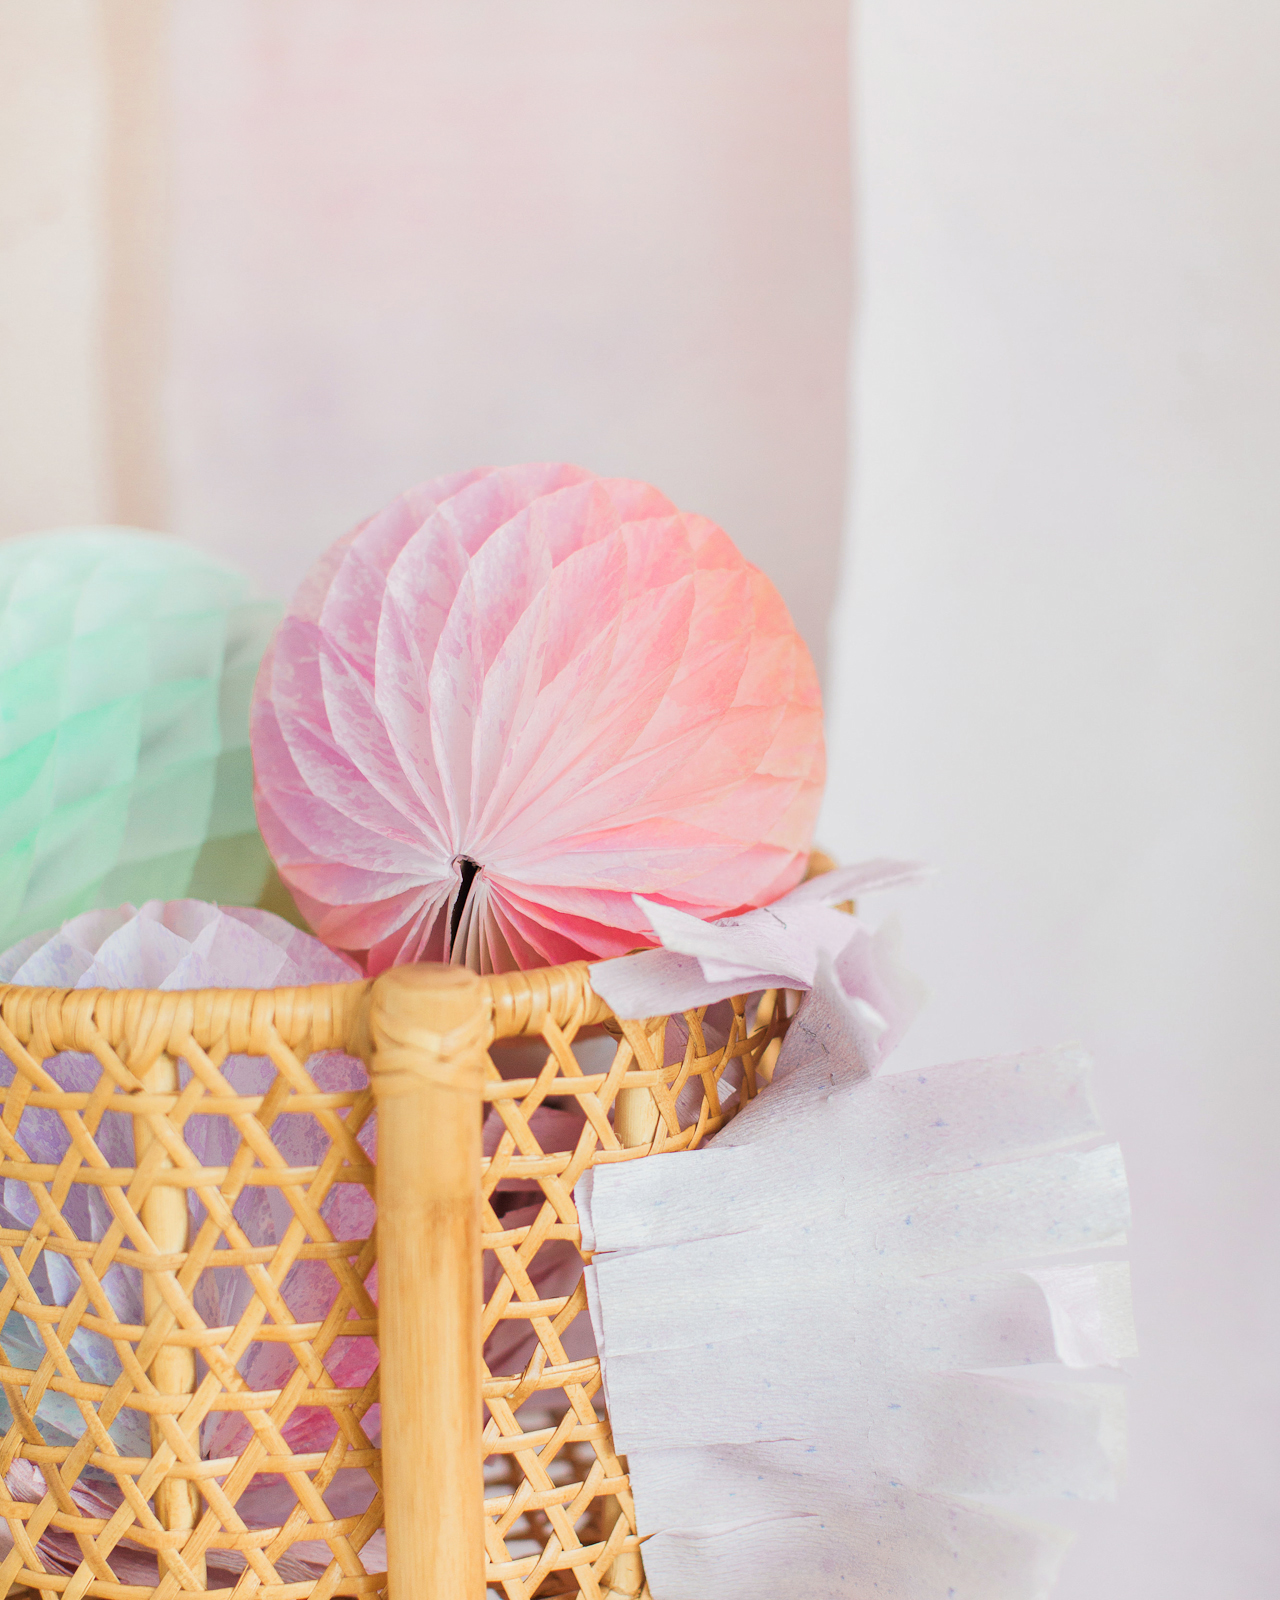
DIY Rainbow Watercolor Crepe Paper Backdrop with RIT Dye

DIY Rainbow Watercolor Crepe Paper Backdrop with RIT Dye

DIY Rainbow Watercolor Backdrop with Rit All-Purpose Dye

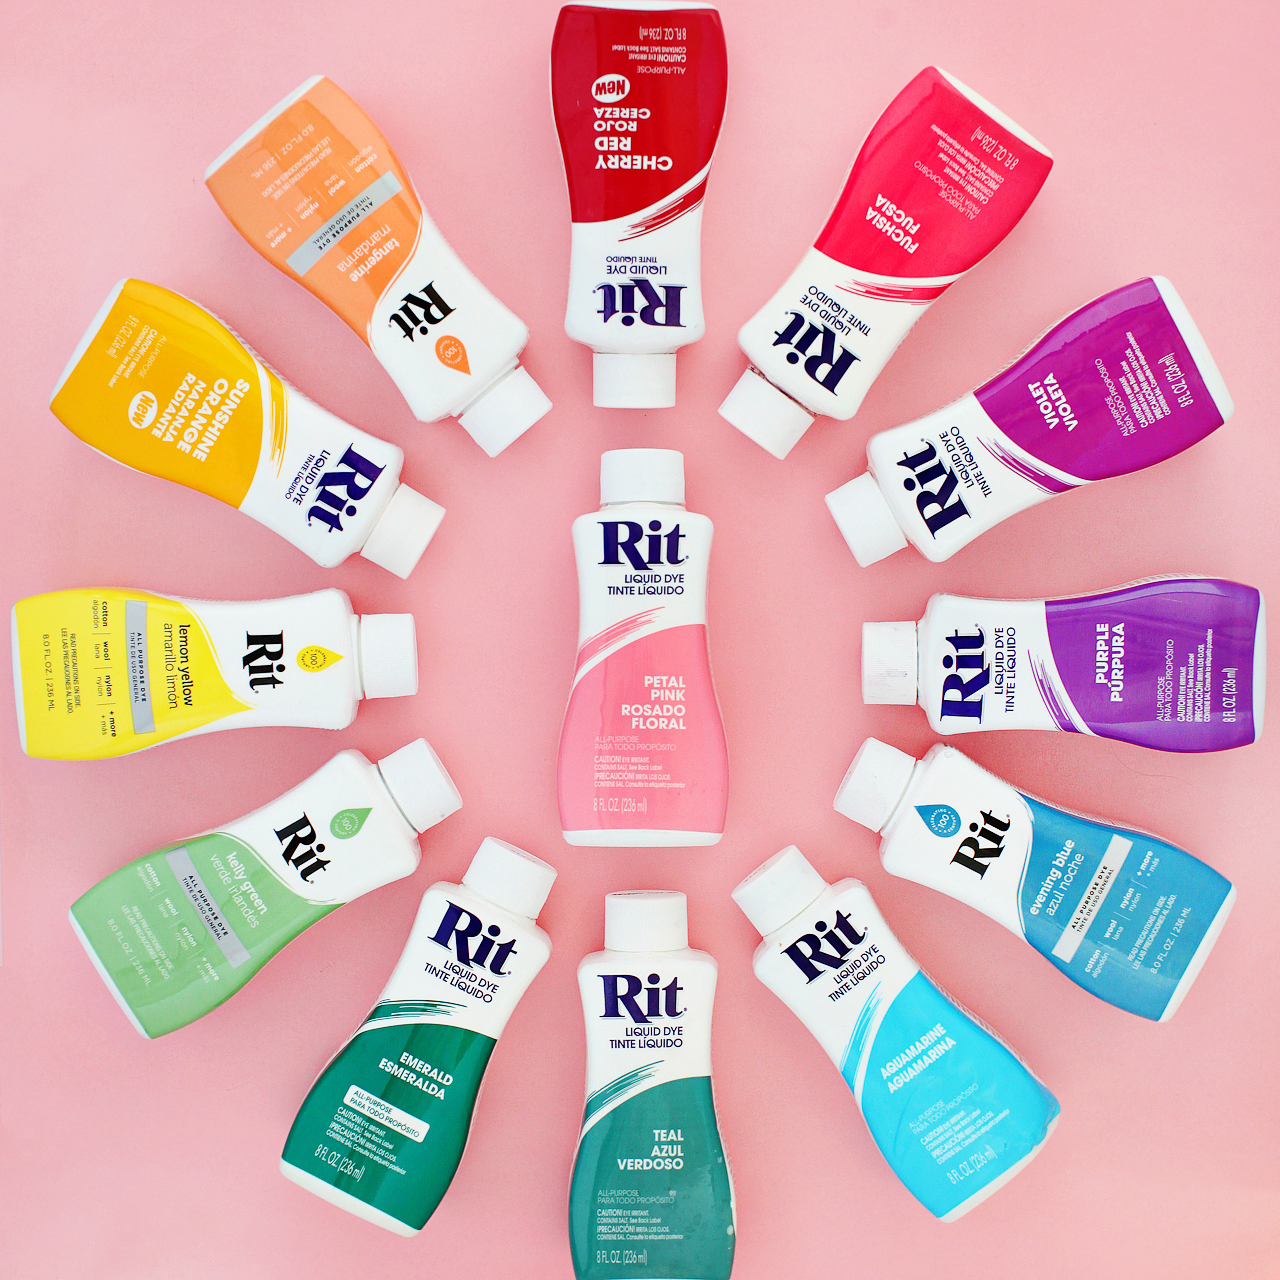
Rit Dye is one of my favorite tools for DIY projects! It’s really the perfect solution for adding pops of color throughout your wedding ceremony and reception, from ribbons for floral arrangements to napkins and table linens to dresses! Rit All-Purpose Dye is perfect for washable fabrics with natural fibers, like cotton, linen, wool, silk, and ramie – or even for materials like nylon, rayon, paper, and wood. I’ve used Rit All-Purpose Dye to dip dye envelopes, create dip-dyed muslin favor bags, and even to dye my own Shibori-style pink dinner napkins! And did you know that there’s also Rit DyeMore for synthetic fibers?? You can use Rit DyeMore for polyester, polyester cotton blends, nylon, acrylic, or acetate – or even faux fur! I’ll need to try that one next!

DIY Rainbow Watercolor Crepe Paper Backdrop with RIT Dye

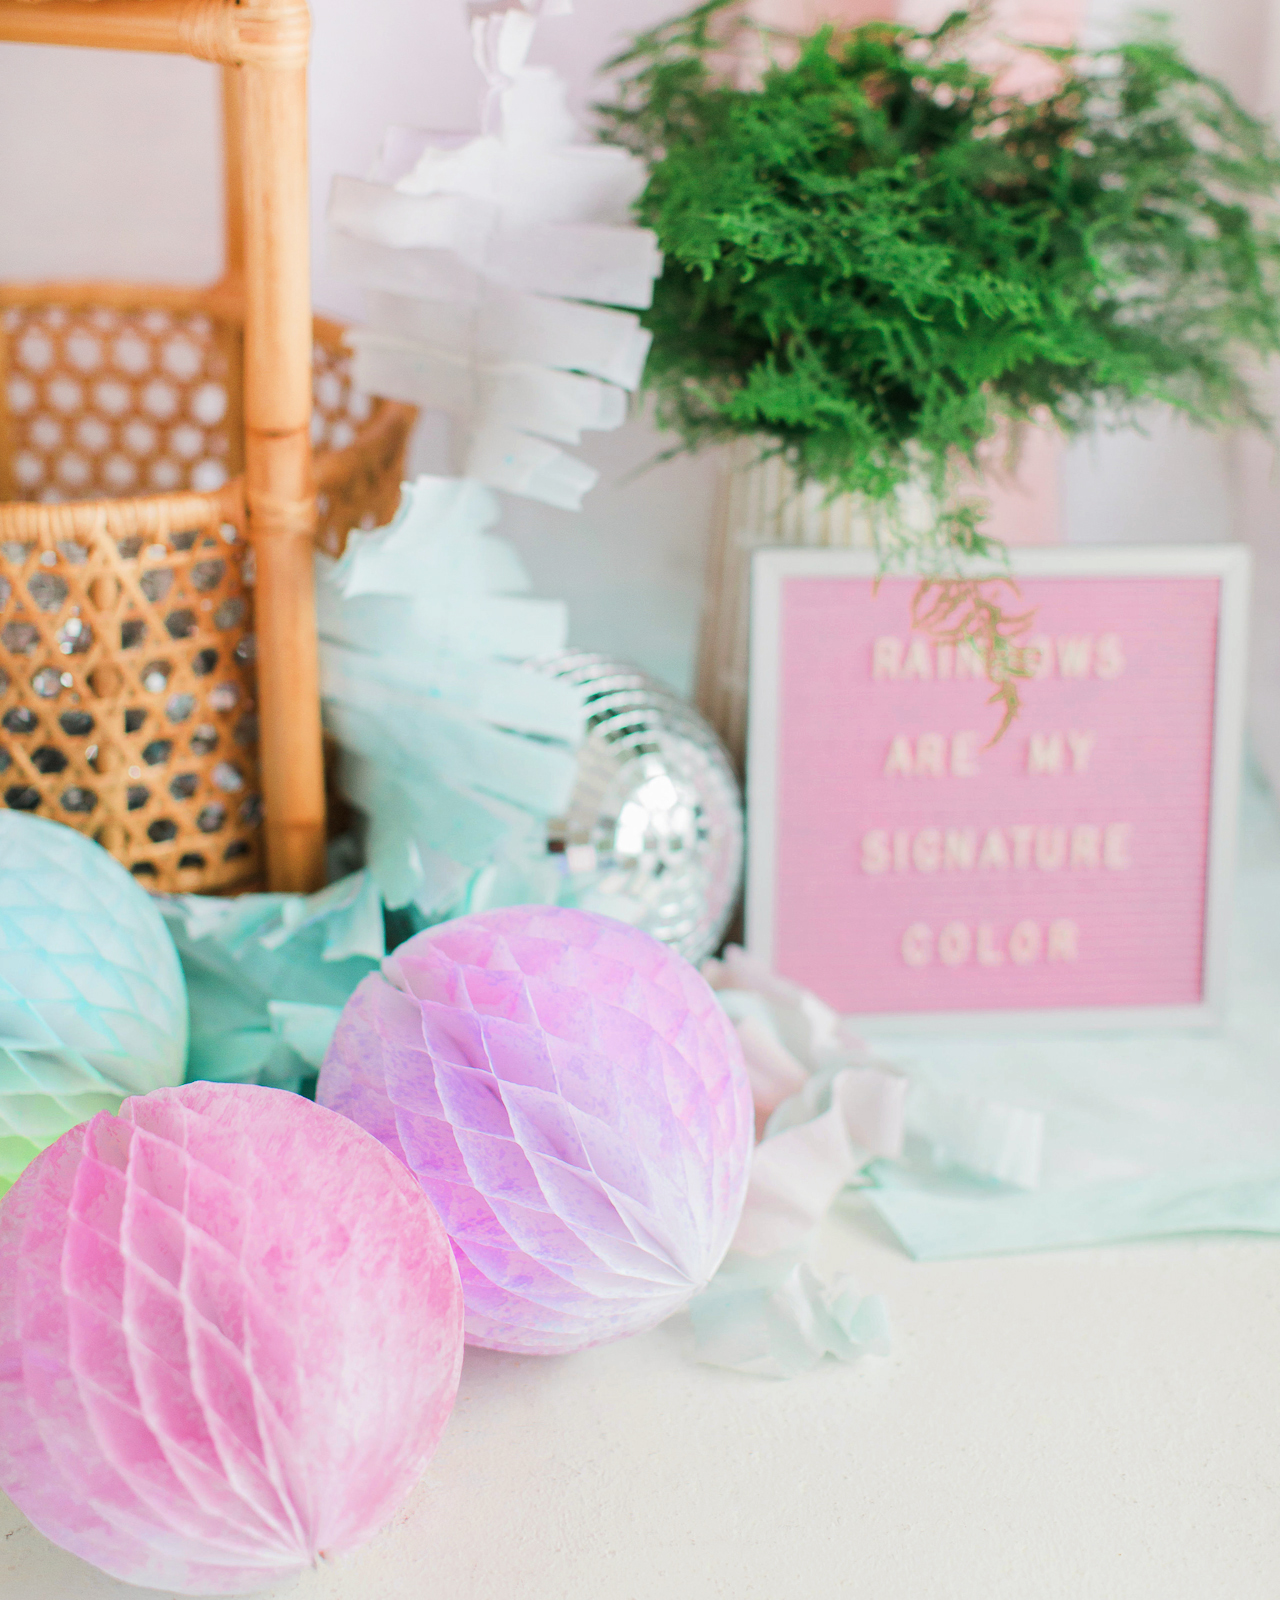
I was super excited to experiment with multiple Rit All-Purpose Dye colors to create this gorgeous watercolor-inspired backdrop. I mean, it’s a proven fact that rainbows make everything prettier. And a pastel rainbow? Even better! This pastel backdrop is made from a few rolls of white crepe paper spray dyed with fine mist spray bottles filled with Rit All-Purpose Dye. You can also use the same method to dye tissue paper decorations like honeycomb balls and tissue paper fans! Using spray bottles to create a super fine dye mist leaves the most gorgeous watercolor effect on crepe paper and tissue paper, and the result is completely unique wedding and party décor that you won’t find anywhere else!

DIY Rainbow Watercolor Crepe Paper Backdrop with RIT Dye

The best part about this DIY rainbow watercolor crepe paper backdrop is that you can completely customize the colors to suit your wedding color palette! Rit All-Purpose Dye is available in 50 shades, like Petal Pink, Coral, Violet, Aquamarine, and Kelly Green. Or you can create your own colors using the Rit Color Library, which includes color formulas to create over 500 additional colors – including Pantone on-trend colors by season! There’s seriously SO much color inspiration in the Rit Color Library! I love, love, love our pastel rainbow backdrop (you can find the specific color formulas I used a bit further below!), but I could also totally see a gorgeous ombré backdrop in several shades of a single color. How gorgeous would that be??
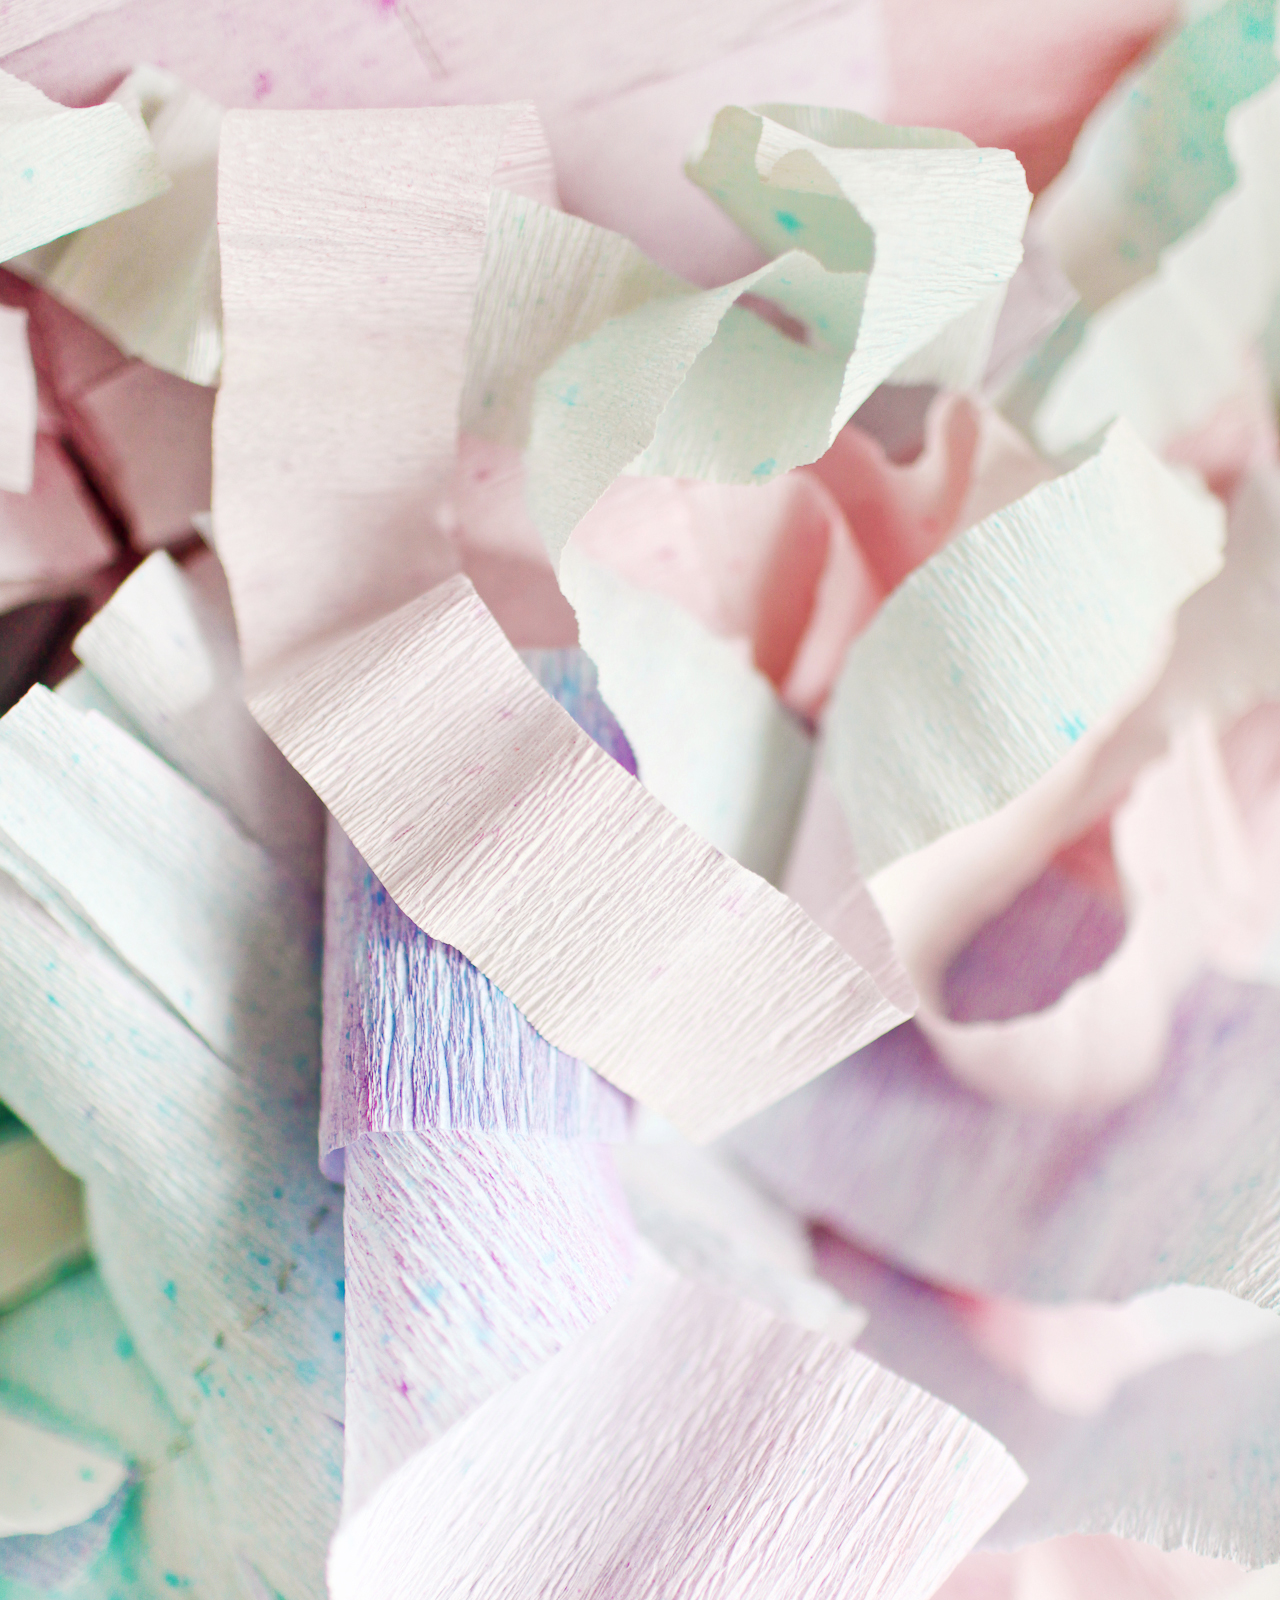
DIY Rainbow Watercolor Crepe Paper Backdrop with RIT Dye

Skill Level: Beginner

Approximate Crafting Time: 1 –2 Hours

Supplies

Rit All-Purpose Dye

2.5 oz Fine Mist Spray Bottles one bottle per dye color – I used a total of twelve spray bottles)

8-10 White Crepe Paper Rolls

Scissors

Protective rubber gloves

Rags or paper towels

Protective drop cloth

Measuring spoons

Gaffer’s Tape

Wood Dowels

Removable wall hooks
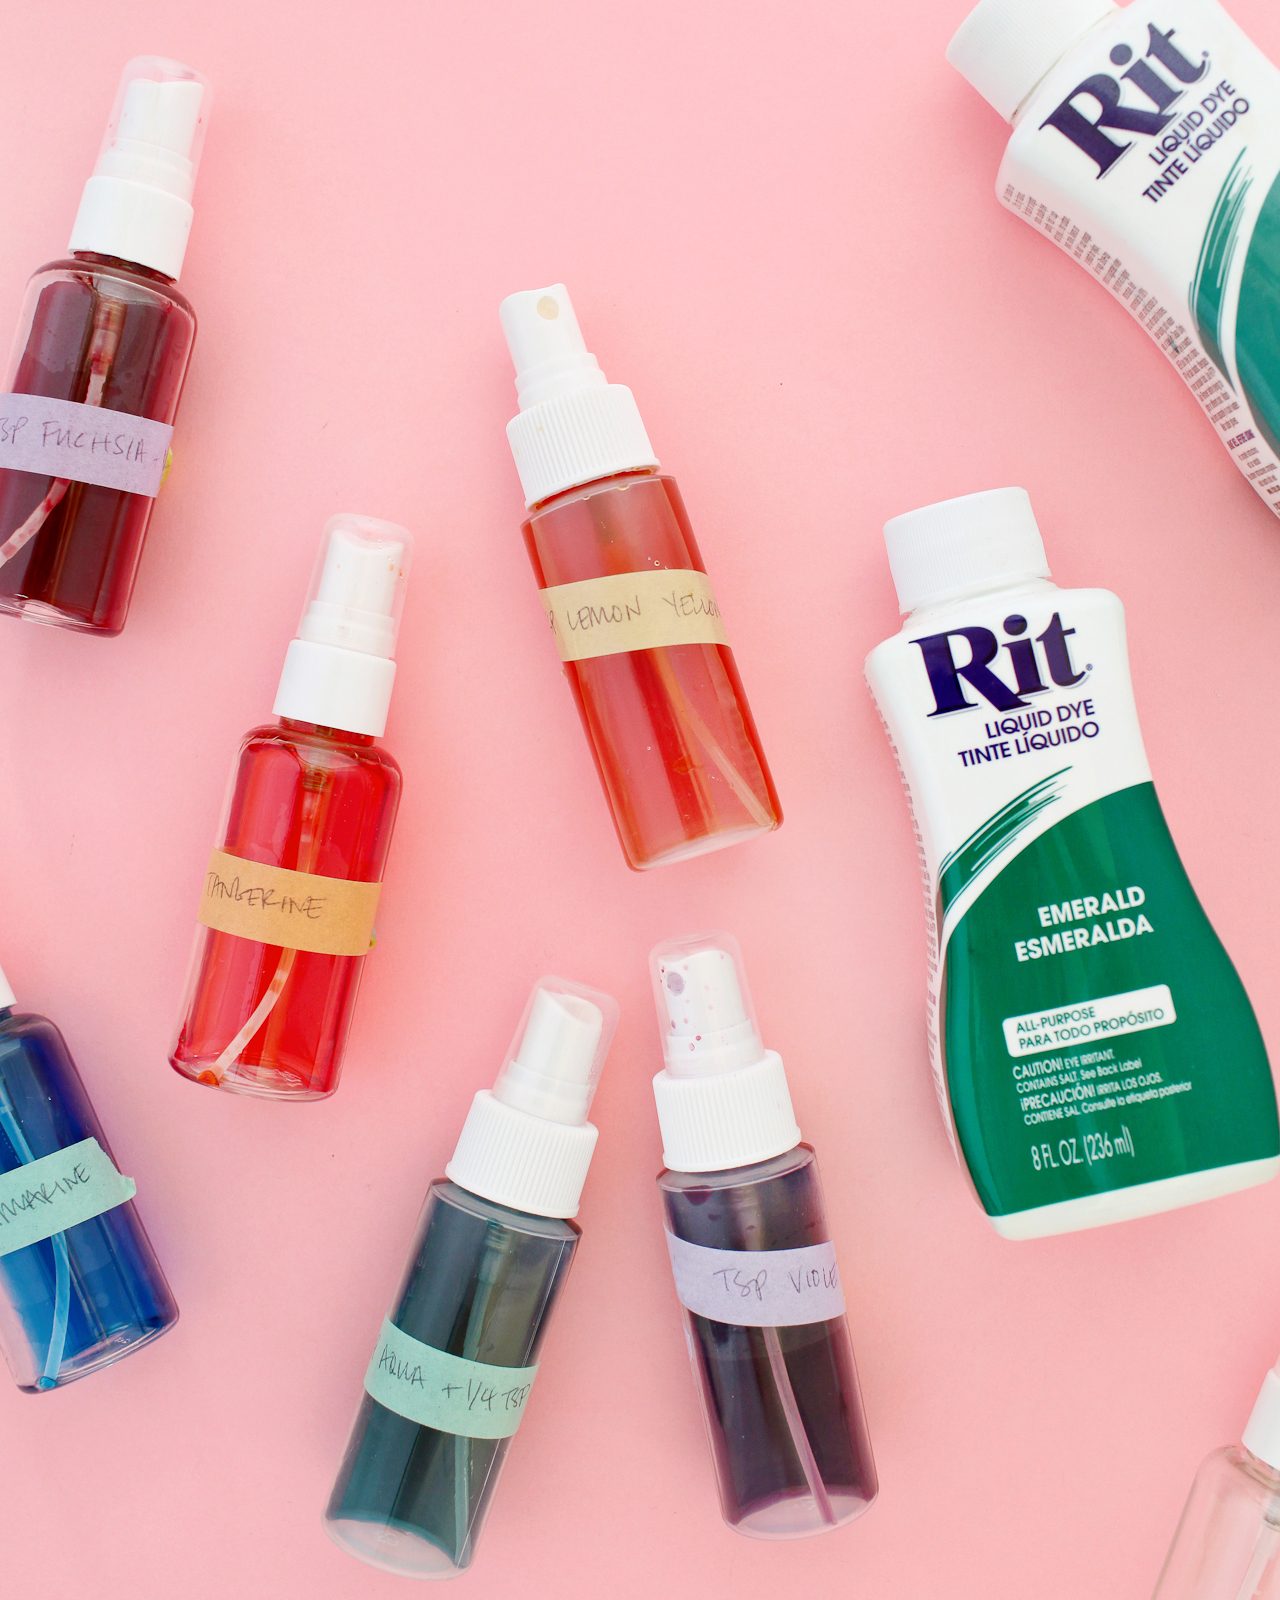
DIY Rainbow Watercolor Backdrop with Rit All-Purpose Dye

To make the DIY rainbow watercolor crepe paper backdrop:

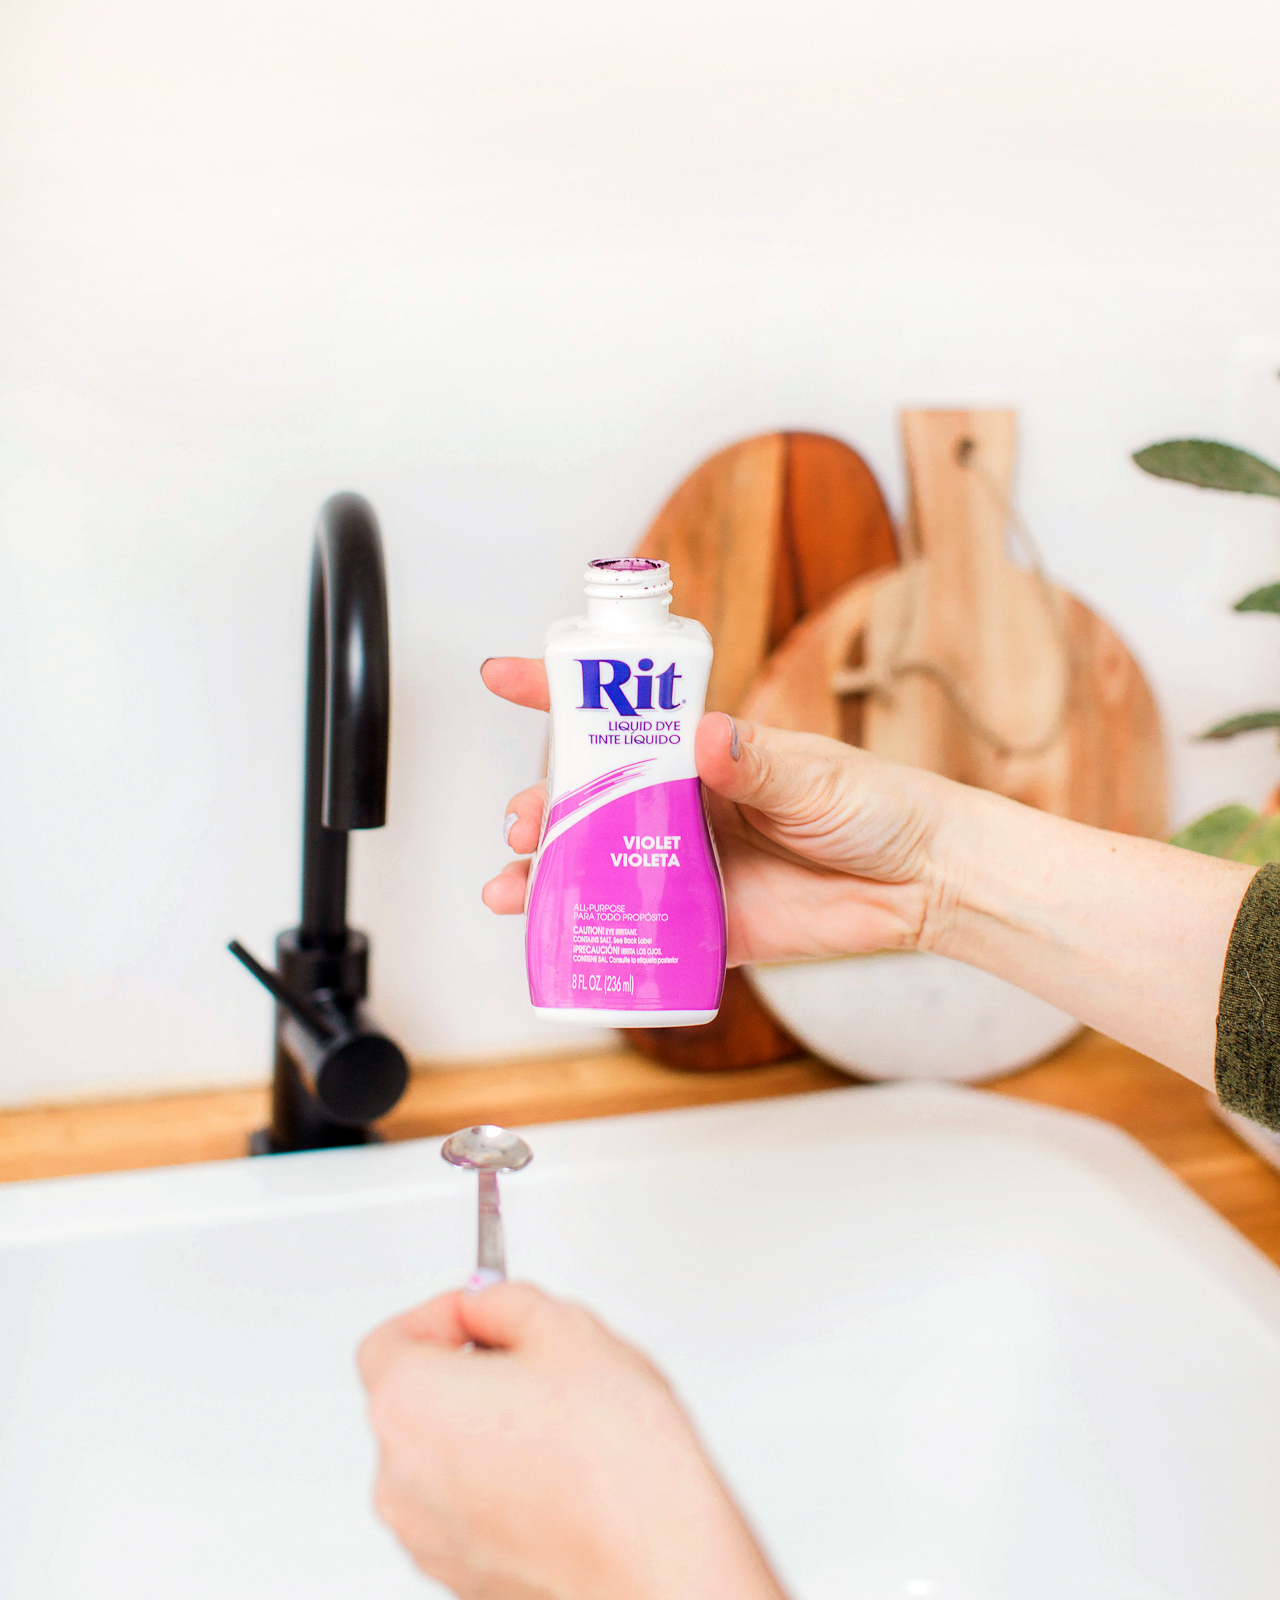
Step 1. First, you’ll need to pick your colors! The Rit Color Library breaks all of the color formulas down by parent color: red, orange, yellow, green, blue, purple, pink, brown, and gray. I knew I wanted spring-inspired colors, so I went with shades of pink, peach, light purple, blue, teal, mint green, and sunny yellow. But I can’t wait to try this again with different color combinations. Burgundy and blush? Lavender and deep dusty blue? Sage green and rose? Yes, yes, and yes!
DIY Rainbow Watercolor Crepe Paper Backdrop with RIT Dye

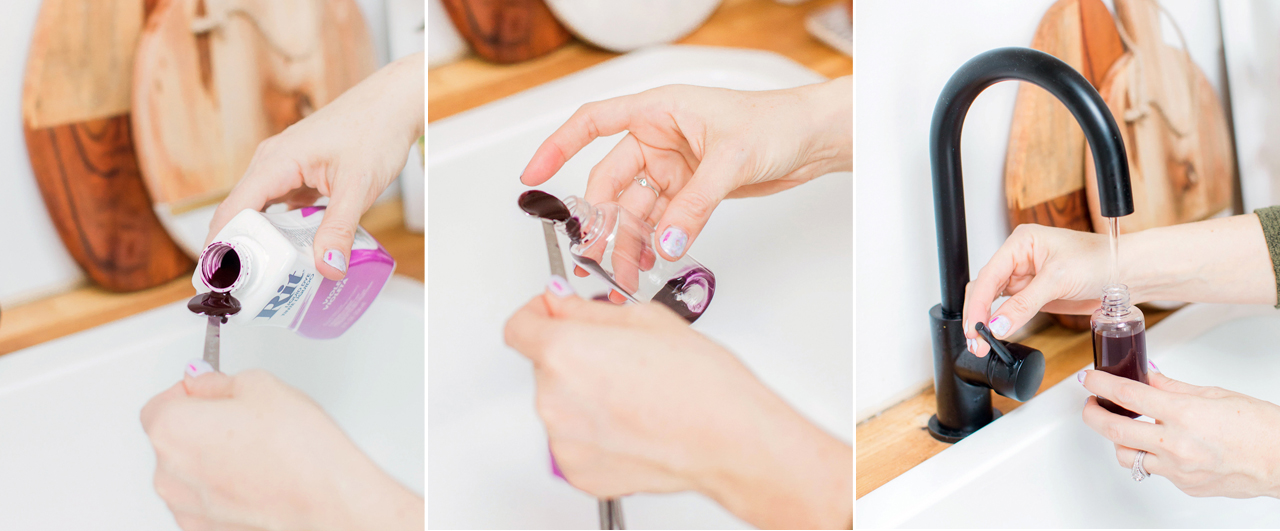
Step 2. Now that you’ve chosen your colors, mix your colors according to the recommended formula in the Rit Color Library, dividing the recommended dye amounts by 1/4. Don’t forget to wear your protective gloves! We’re using smaller amounts of dye than we’d need if we were planning to dye textiles, but because we’re turning the dye into a super fine mist, we still need the dye to be a bit more concentrated and intense. Dividing the color formula recipe by four seemed to do the trick for me! Shake dye bottles before pouring. Using a measuring spoon, measure the amount of Rit All-Purpose Dye and carefully pour the dye into the small spray bottles, then fill the spray bottle with hot water. Shake carefully to mix.
DIY Rainbow Watercolor Crepe Paper Backdrop with RIT Dye / Process

Pro tip: be sure to label your bottles as you go, otherwise you’re bound to lose track of what’s what (trust me on this). I used a bit of washi tape and wrote the color formula on a small piece of tape, then taped the written formula to each bottle.

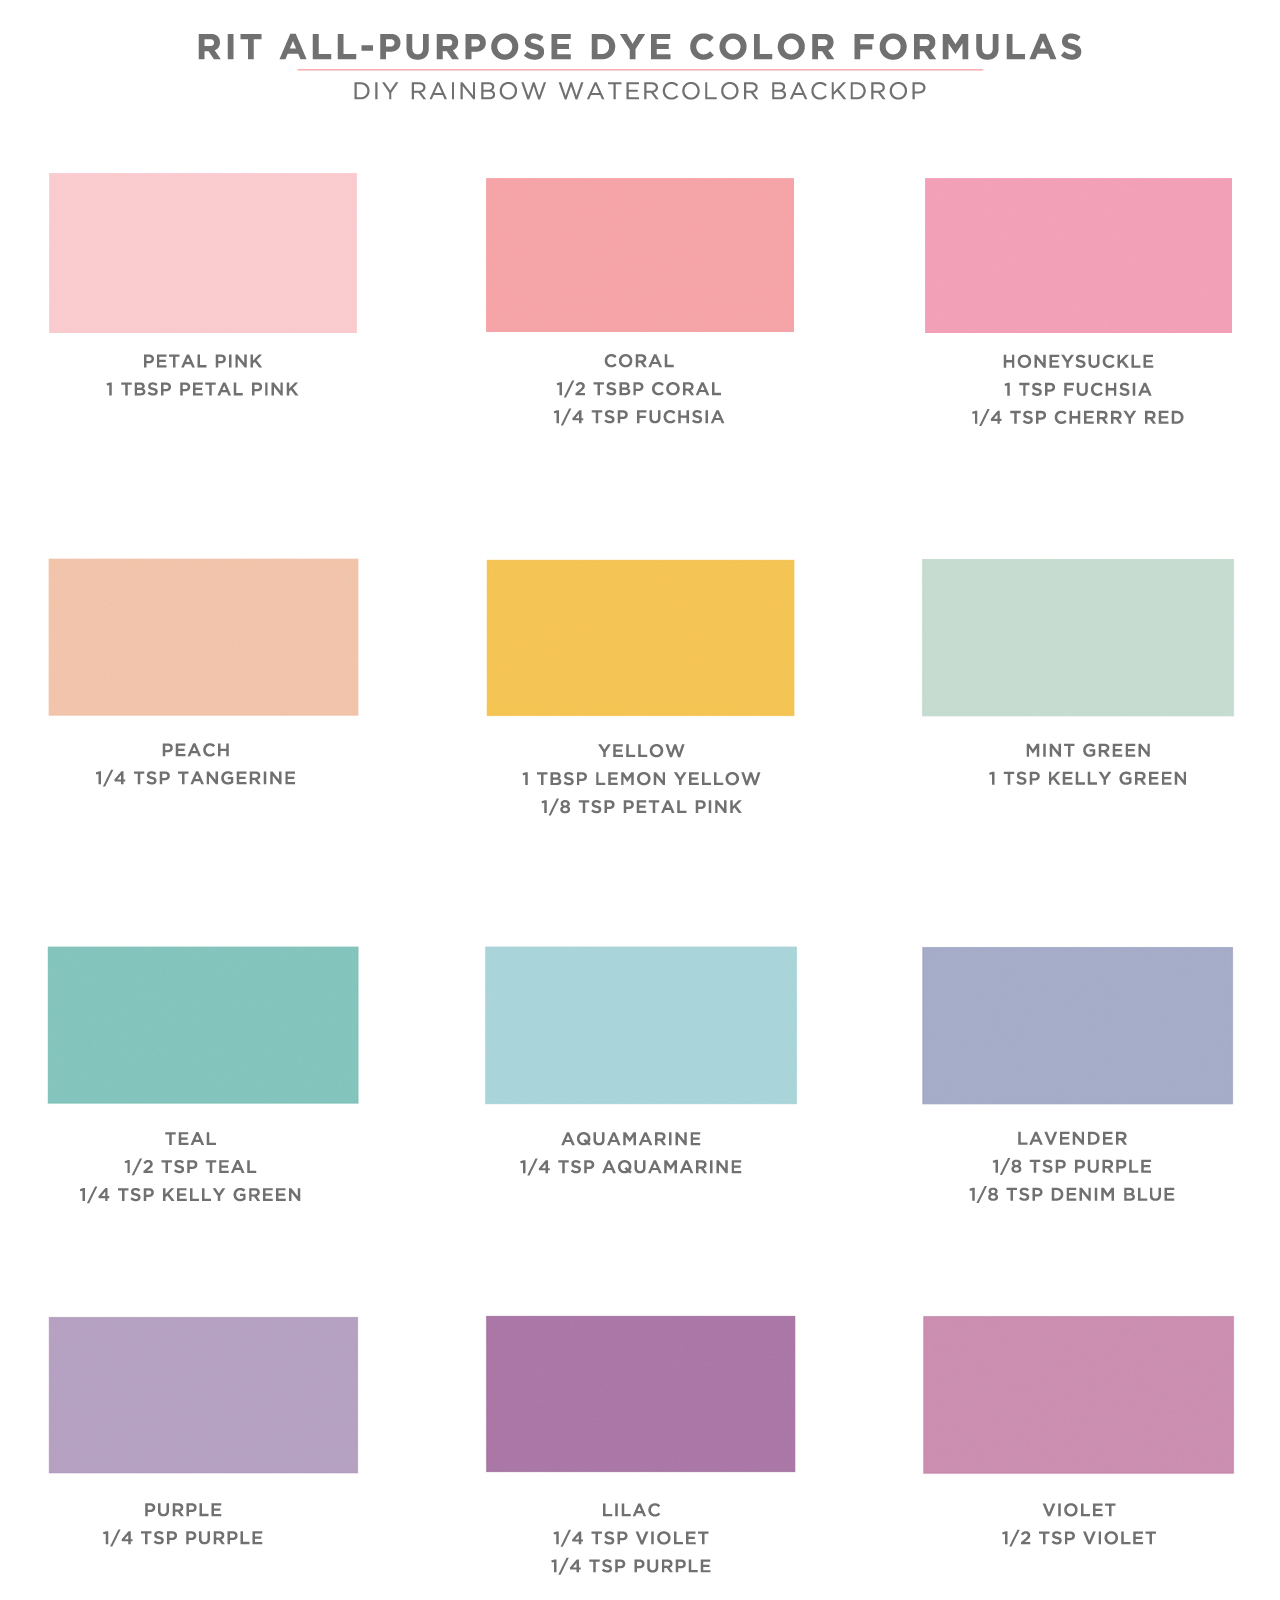
Here are the exact color formulas that I used to create the backdrop:
DIY Rainbow Watercolor Backdrop / Rit All-Purpose Dye Color Formulas

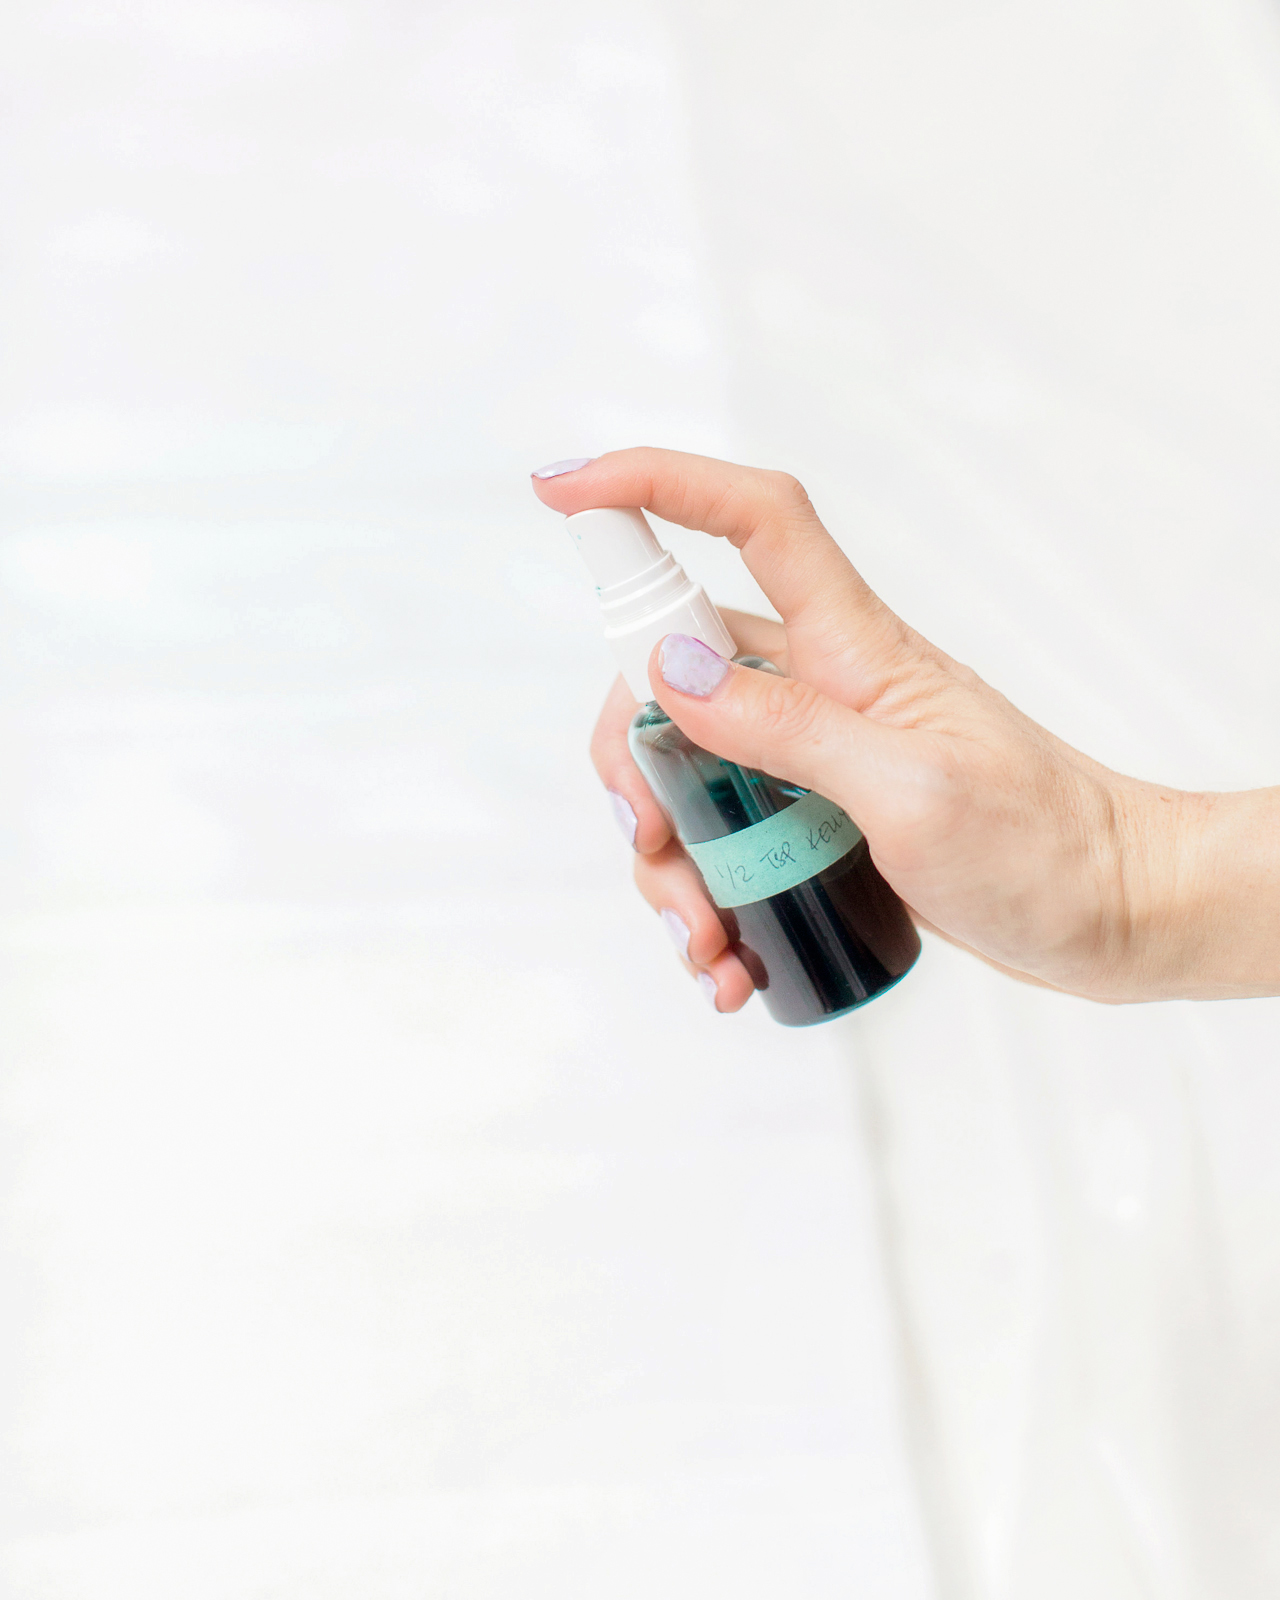
Step 3. Unravel each roll of white crepe paper until it’s one big long sheet, then place each sheet on top of a protective drop cloth on the floor of your workspace. Before you start spray dyeing, be sure to test your colors on a test sheet of crepe paper – or even just on a paper towel – and let it dry completely. The colors will become more intense as they dry! If a color is too dark, pour out a portion of the bottle and add more water to dilute the color. If you need a color to be darker, I found it easiest to pour out the entire 2.5 oz bottle and start over – usually doubling the original quantity of each color (i.e., going from 1/2 teaspoon of kelly green to 1 teaspoon of kelly green to get the perfect shade of mint green).
DIY Rainbow Watercolor Crepe Paper Backdrop with RIT Dye

Step 4. Using one spray bottle at a time, spray a very light coat of Rit All-Purpose Dye all over each sheet of white crepe paper, using each dye color in rainbow order. I switched things up a bit with the color order; sometimes I would start with pink or peach at the top and work my way down to lavender, other times I started with lavender and end with blue. Whatever order you choose, place analogous colors next to each other (oranges into pinks into purples) so the colors flow smoothly into each other and don’t end up looking muddy. For the best and most consistent results, make sure the crepe paper doesn’t get too wet and blot the nozzle with a paper towel or a rag after 5-8 pumps to maintain a fine spray mist.
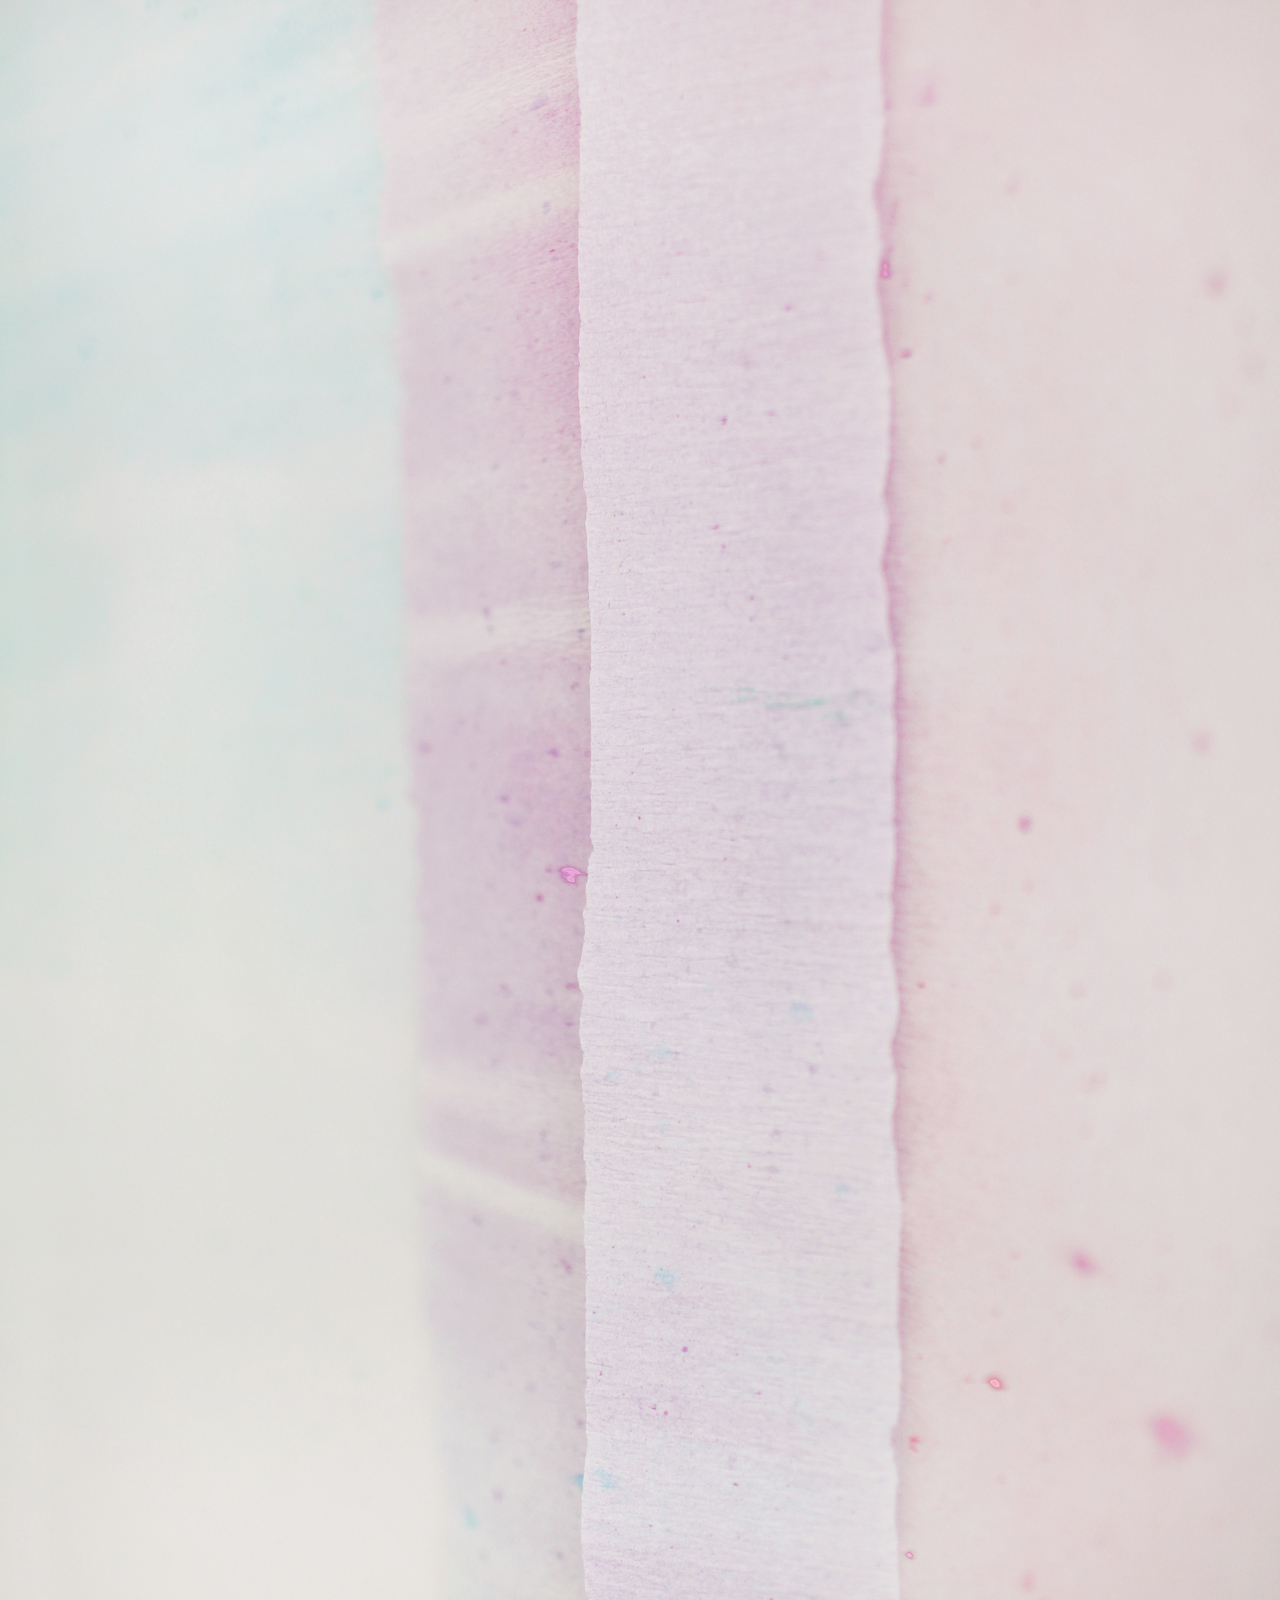
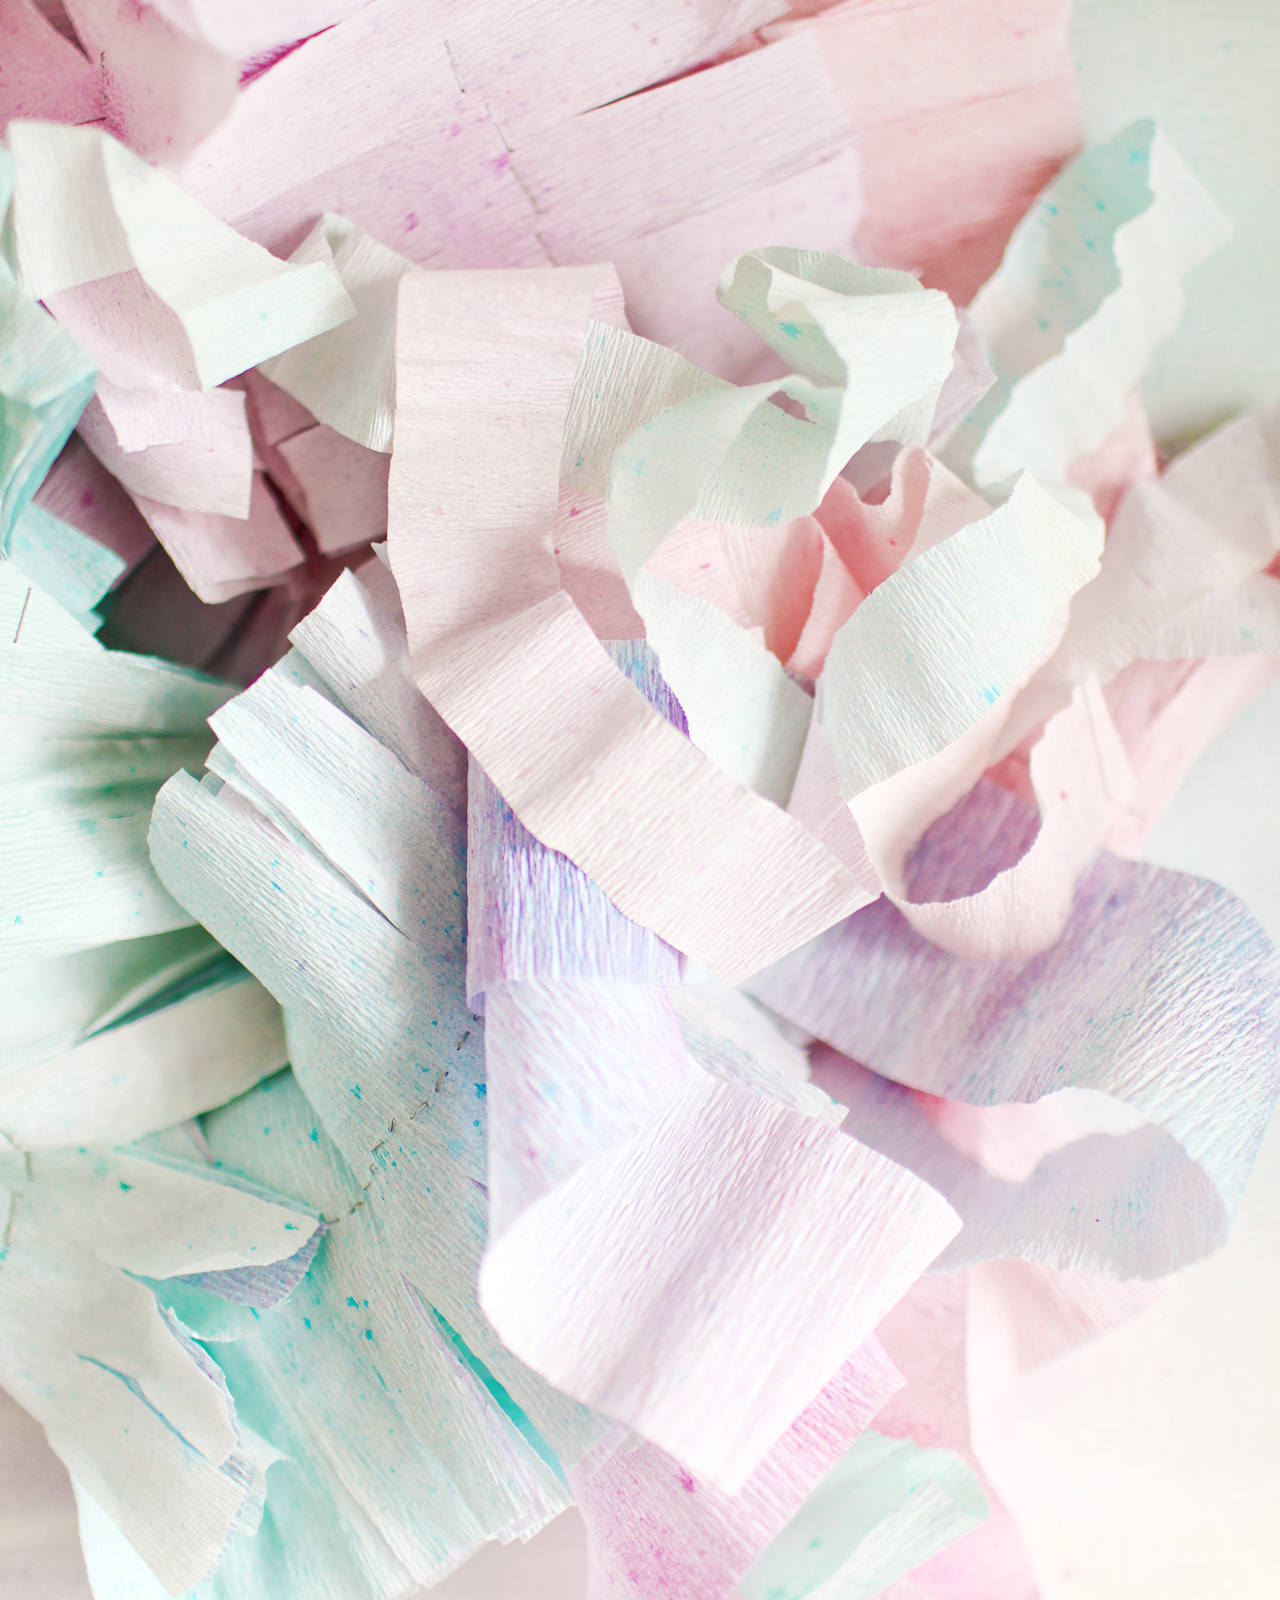
DIY Rainbow Watercolor Crepe Paper Backdrop with RIT Dye

DIY Rainbow Watercolor Crepe Paper Backdrop with RIT Dye

Step 5. Once you’ve dyed all of your crepe paper, apply a couple pieces of gaffer’s tape to one end of each sheet and tape the paper to the floor. Then, pull on the other side of the paper to remove the stretch in the crepe paper and tape the other end to the floor. Allow the crepe paper to dry completely, around 30 minutes, then remove the gaffer’s tape. It’s gentle enough that it shouldn’t tear the paper as long as you’re very careful while removing it!

Step 6. To hang the backdrop, use a few pieces of gaffer’s tape to adhere the crepe paper to long wooden dowels and use non-damaging, removable wall hooks to hang the backdrop. For added depth and visual interest, layer the crepe paper sheets over each other – or even cut some of the sheets into a variety of widths and mix them all together!
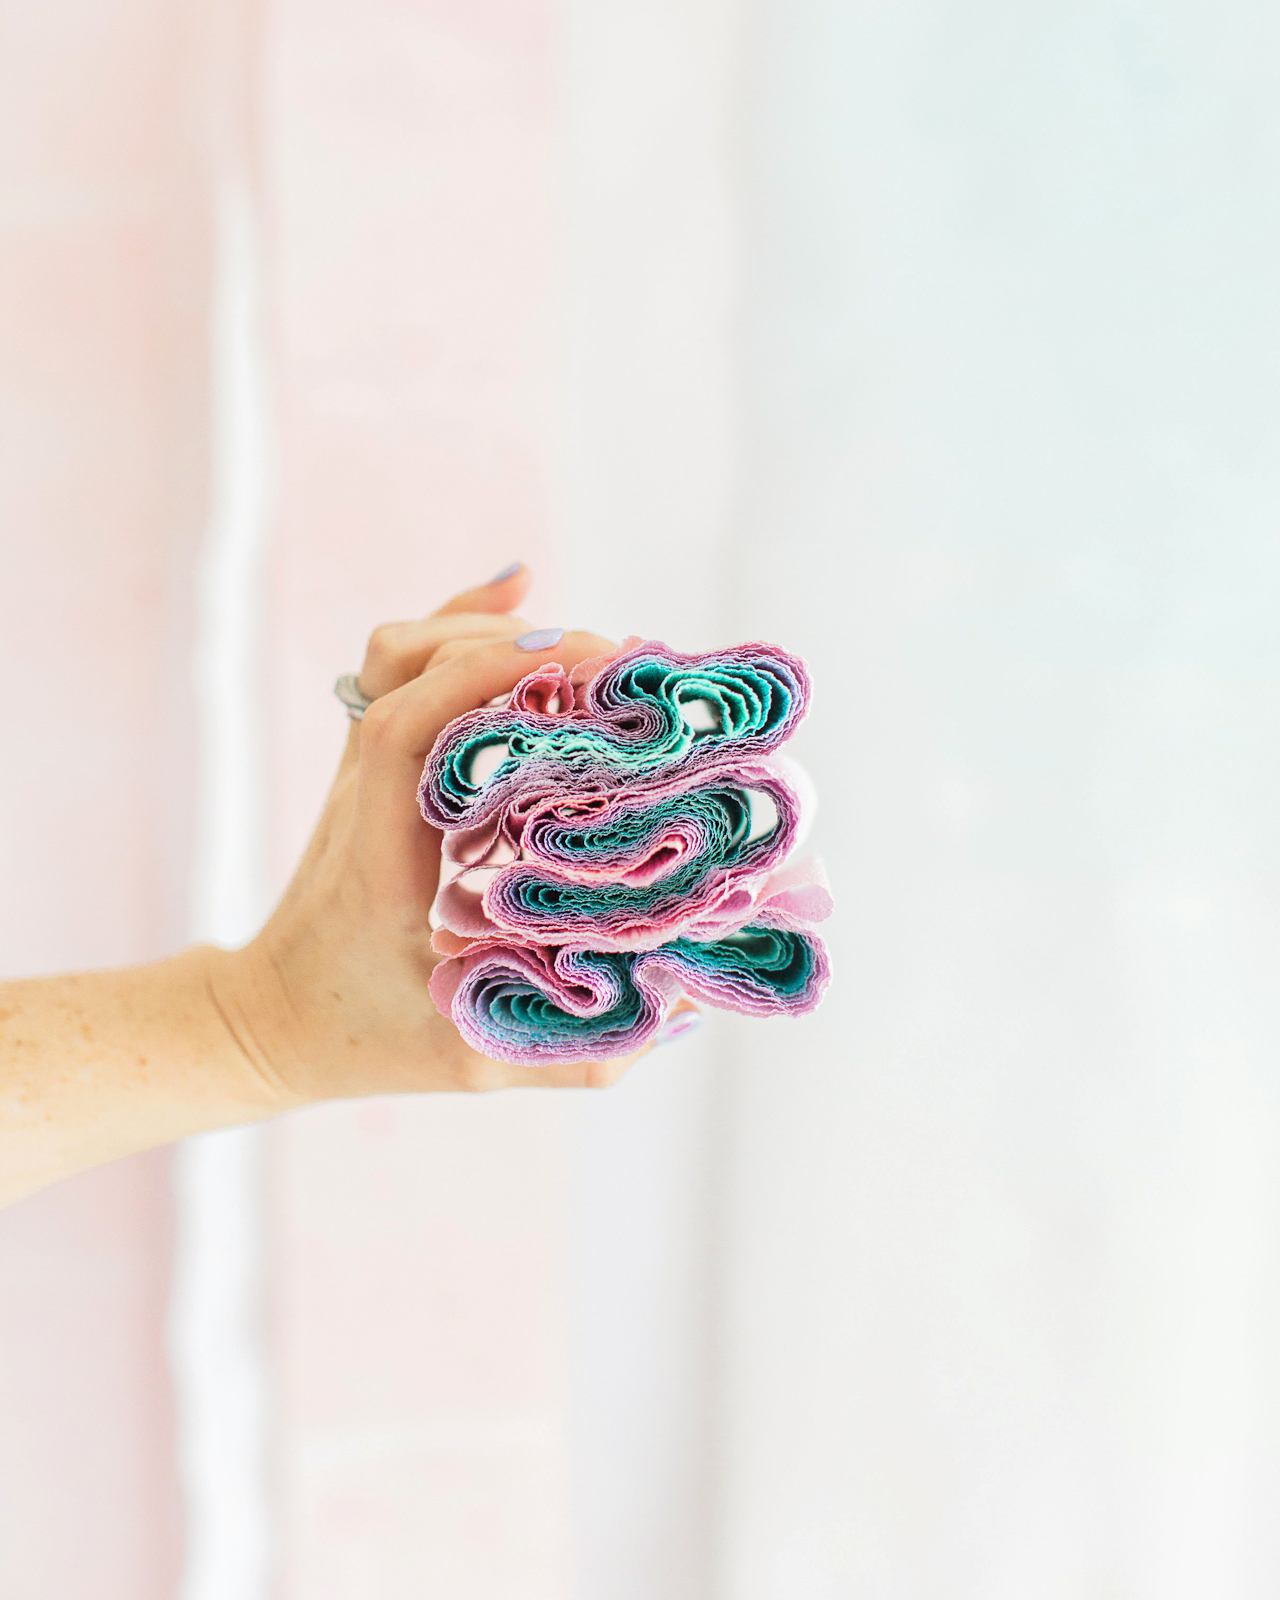
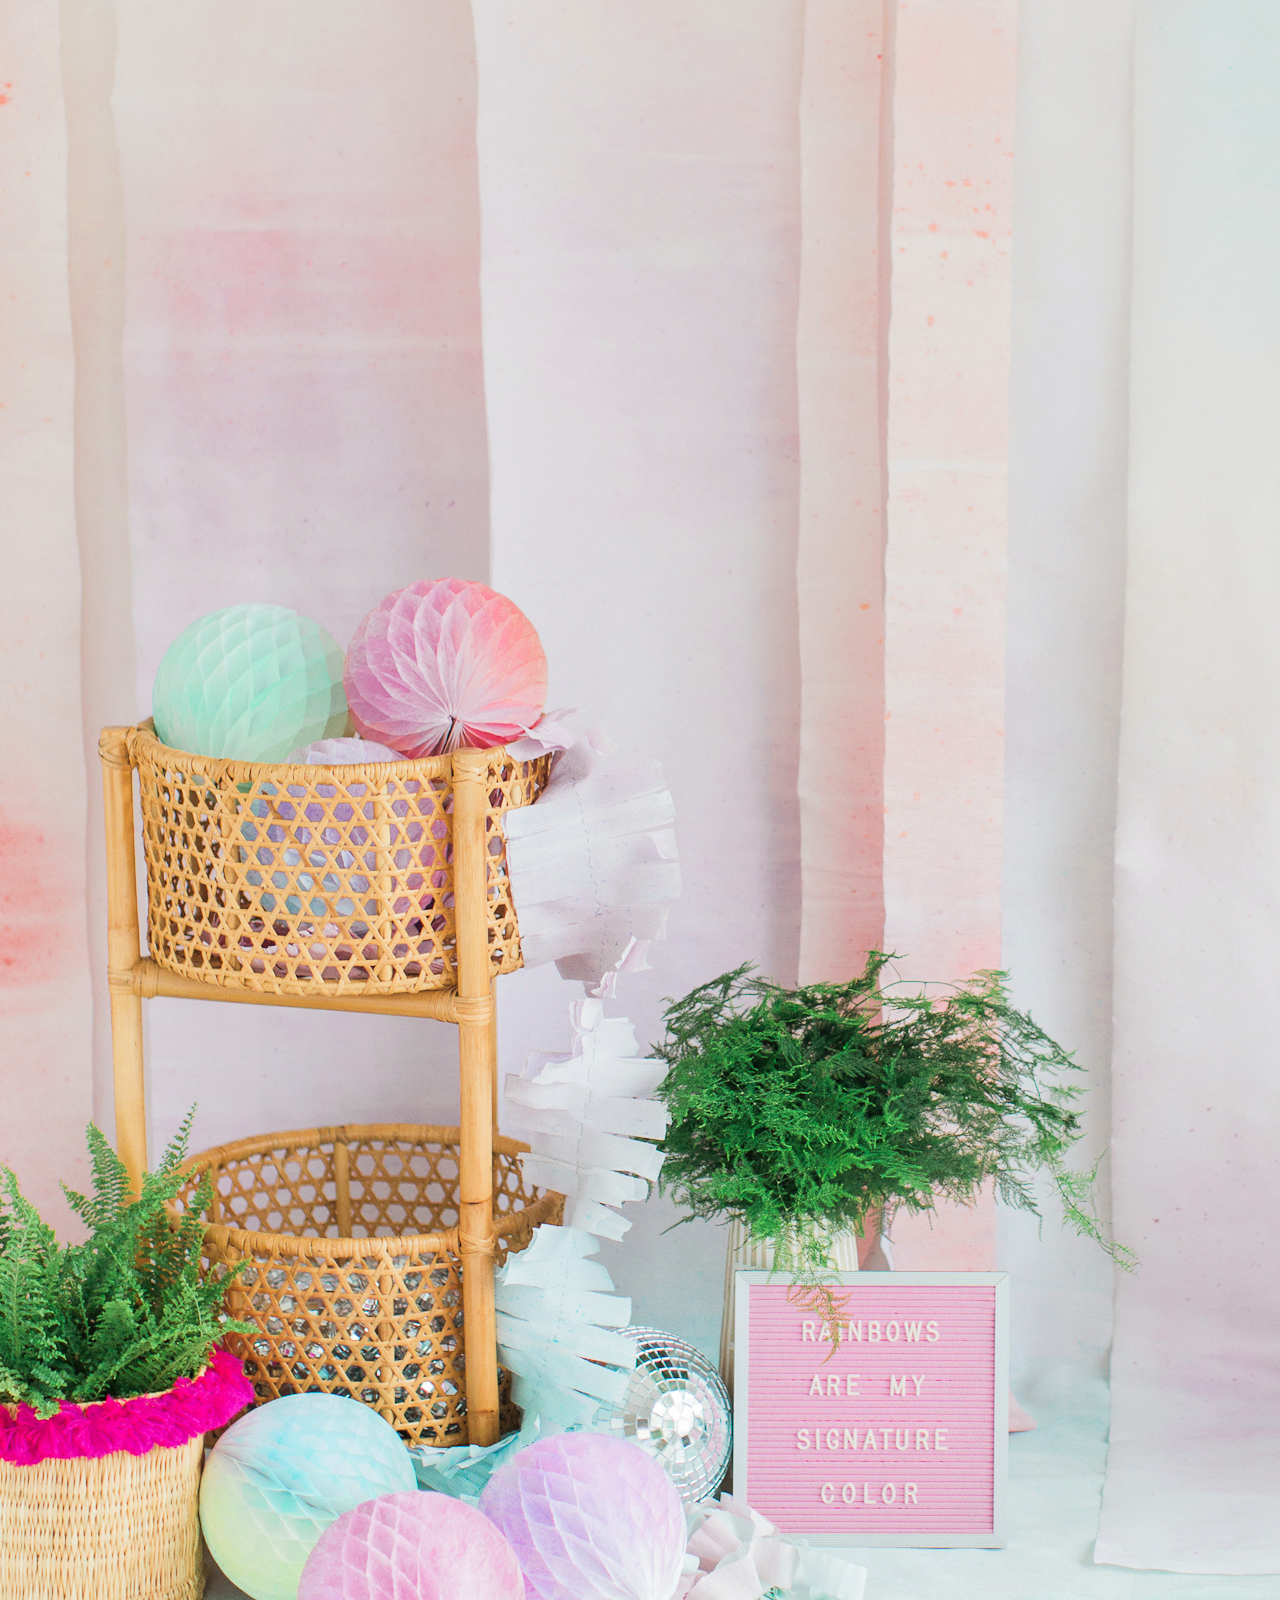
DIY Rainbow Watercolor Crepe Paper Backdrop with RIT Dye

DIY Rainbow Watercolor Crepe Paper Backdrop with RIT Dye

Ta da! It’s such a quick and easy way to add a dose of color to a wedding or party – and you can use the same technique to turn any white paper decorations into a rainbow, from round honeycombs to tissue paper fans and fringe crepe paper garlands! I absolutely LOVE this idea for a wedding ceremony backdrop – which you can reuse as a photo booth backdrop for the reception! Just be prepared for this backdrop to inspire a bit of twirling from your younger guests.
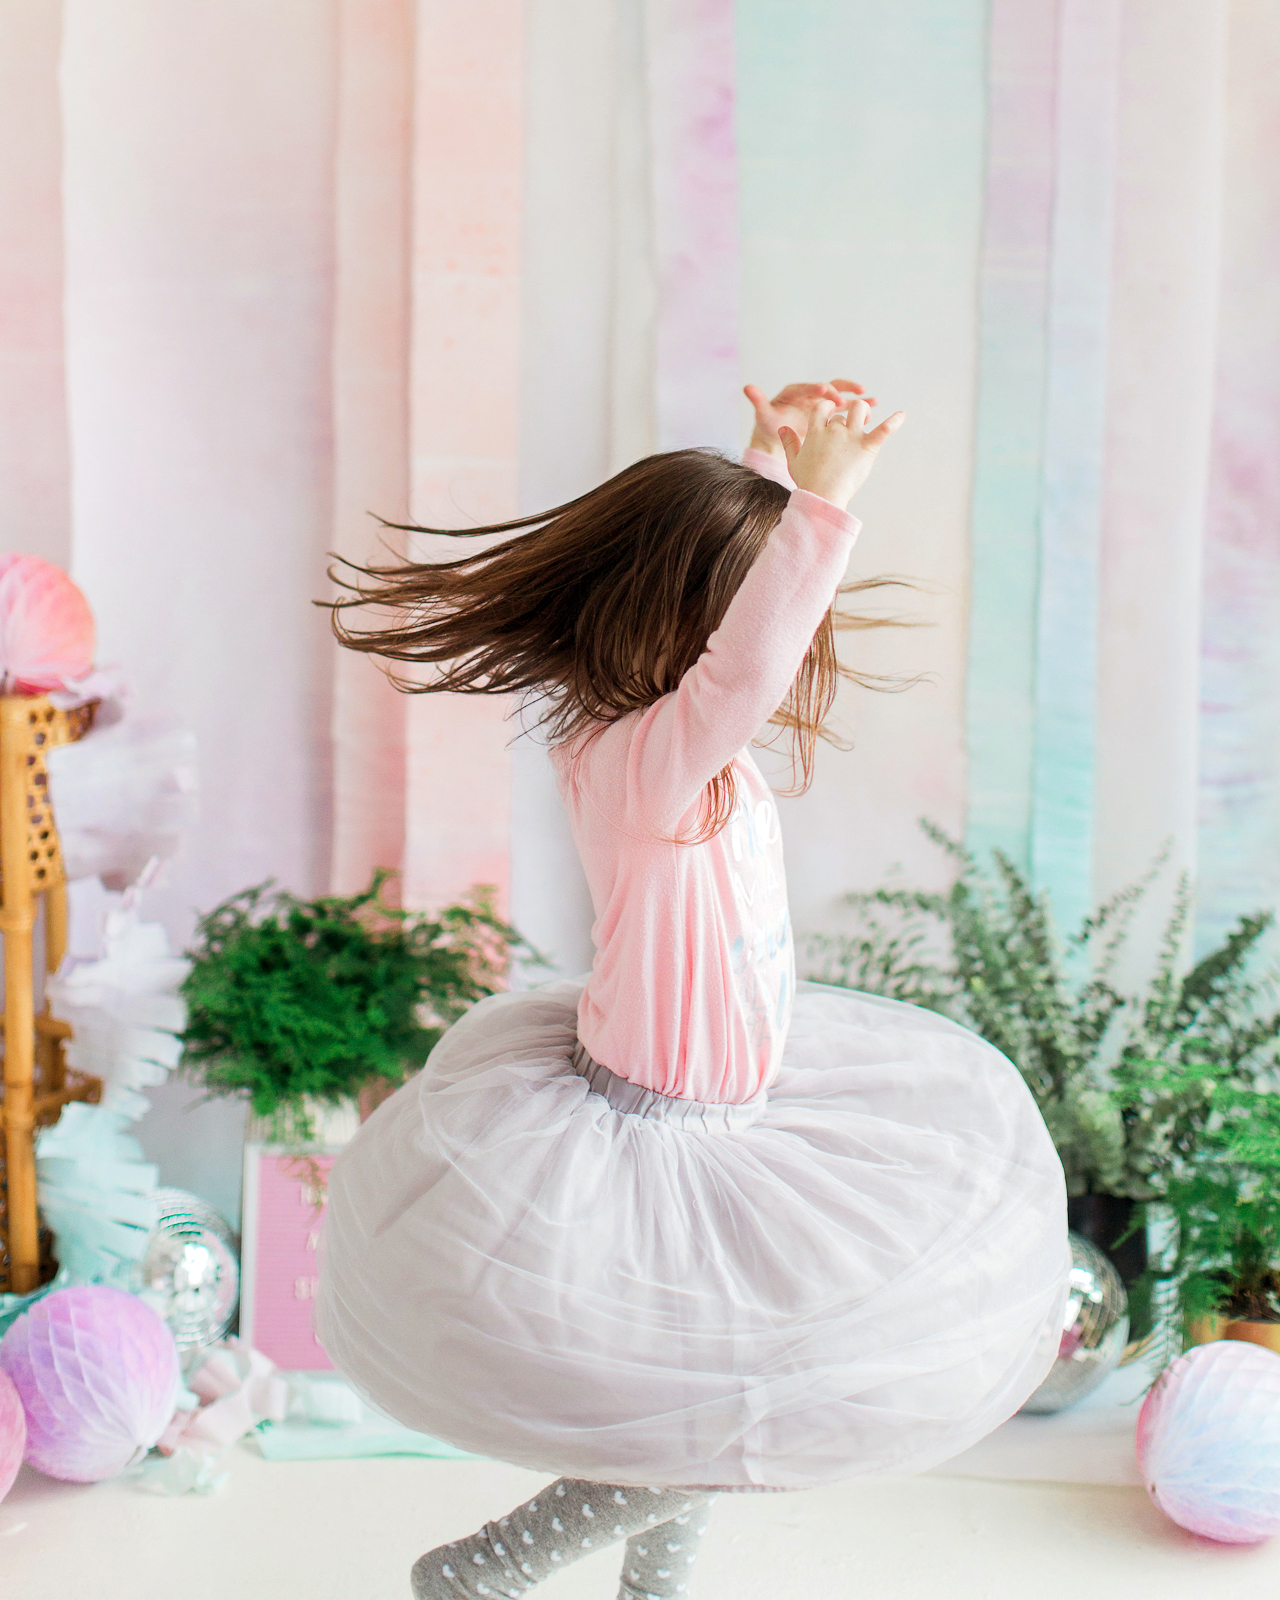
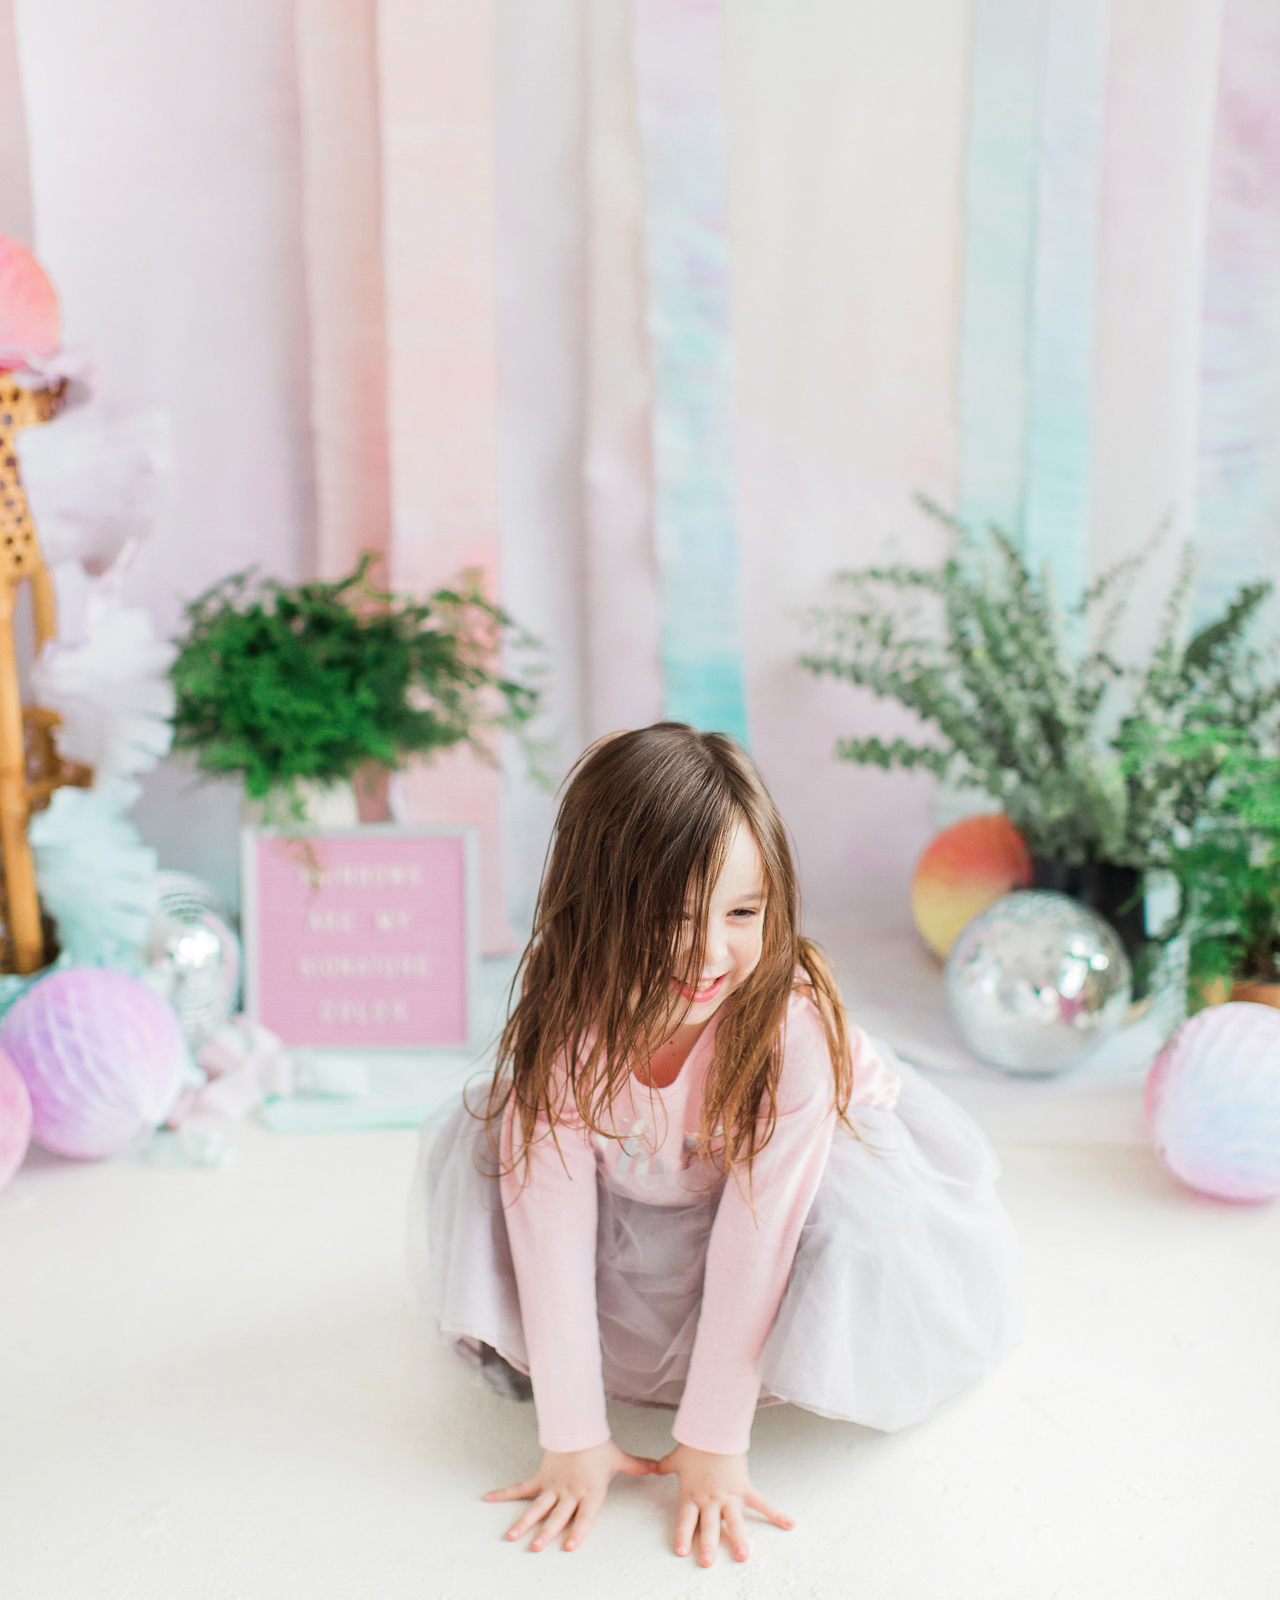
DIY Rainbow Watercolor Crepe Paper Backdrop with RIT Dye

DIY Rainbow Watercolor Crepe Paper Backdrop with RIT Dye

DIY Rainbow Watercolor Crepe Paper Backdrop with RIT Dye

DIY Rainbow Watercolor Crepe Paper Backdrop with RIT Dye

Pastels! Rainbows! Gah, I just love this DIY rainbow watercolor crepe paper backdrop SO much! But what do YOU think?? If you make this crepe paper backdrop for your wedding or party, be sure to share a photo on Instagram with the hashtag #madewithosbp so I can see it!

This is a sponsored conversation written by me on behalf of Rit Dye. The opinions and text are all mine. Check out the 50 shades of Rit All-Purpose Dye right here and browse over 500 color formulas in the Rit Dye Color Library here!


Photo Credits: Meghan Marie Photography and Nole Garey for Oh So Beautiful Paper
Happy Weekend!

Happy Friday everyone! We started with that amazing eclipse on Monday, and as of today we officially made it through our first week of school here in DC. Yay! Next week, Oh So Beautiful Paper will be on our annual summer hiatus – so we’ll be back with fresh new posts after Labor Day. Plus, I have some REALLY exciting news that I can’t wait to share with all of you! But you’ll just have to wait until September 5 to find out what it is! But in the meantime…

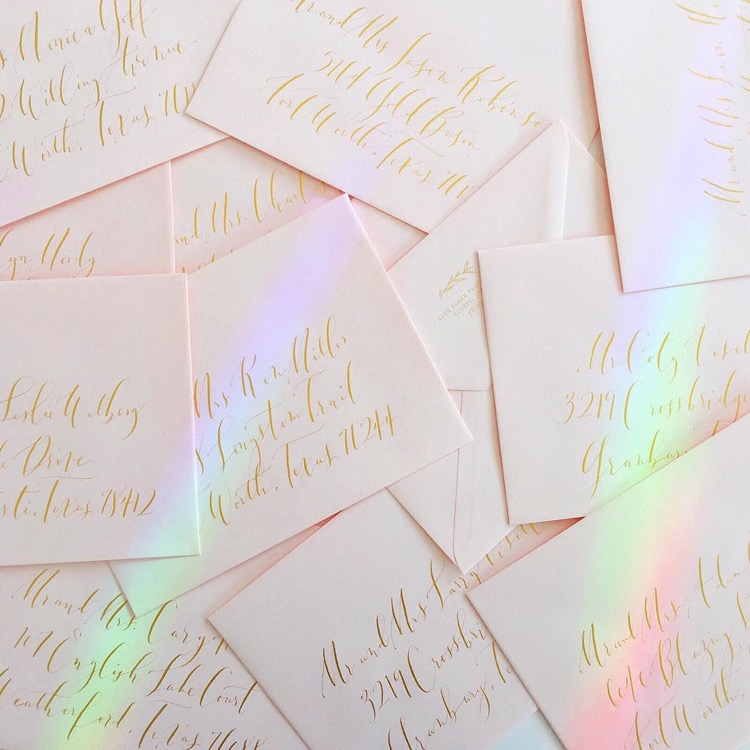
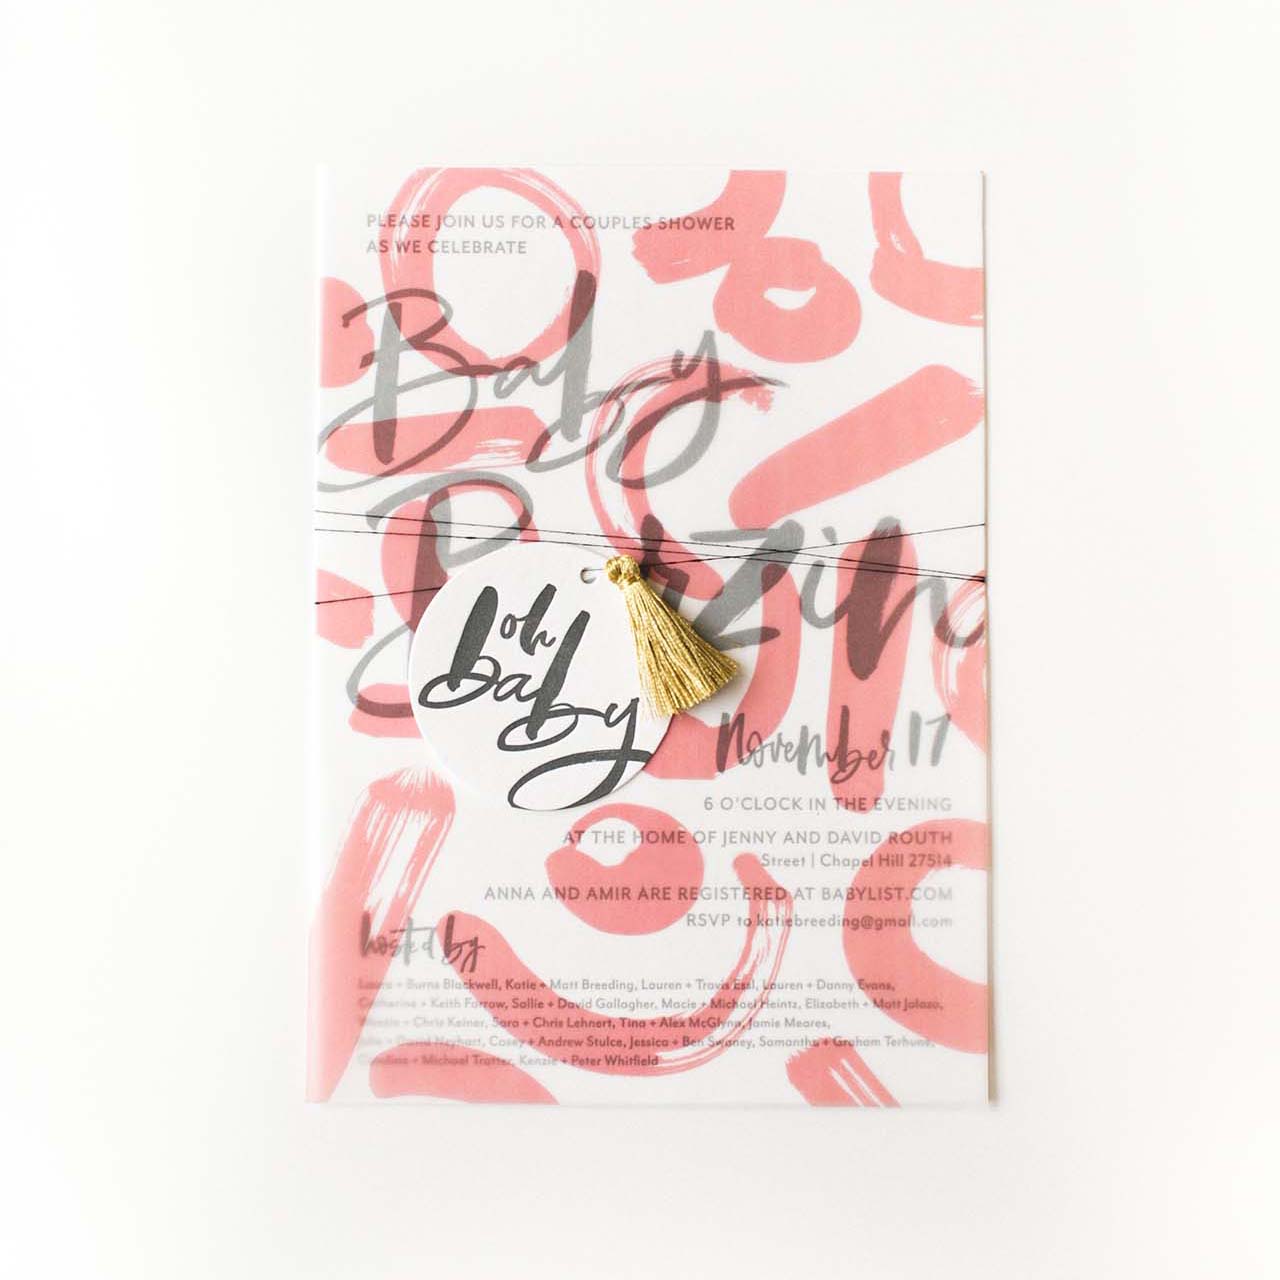
Envelopes by Blue Eye Brown Eye Calligraphy

Envelopes by Lauren Essl of Blue Eye Brown Eye Calligraphy via #dailydoseofpaper

…a few links for your weekend!

Grab this free printable editorial calendar to organize your blog and social schedule!

This is fascinating: the slave that taught Jack Daniel how to make whiskey

100% adding this sweater to my fall closet

Feeling inspired by these colors and shapes

After years of searching, I finally found my dream raincoat! And it’s pale pink! (It also comes in mint green here.)

How cute is this pom pom tank?

A new online calligraphy class with Bailey of Antiquaria Design!

Card of the week! (by the always hilarious Emily McDowell)


This week on Oh So Beautiful Paper:

Fifteen awesome 2017-2018 planners and agendas

We wrapped up our coverage from the 2017 National Stationery Show with two final posts: a party goods round up and a few final favorite products from the show!

Go Behind the Stationery with Egg Press

Make this fun DIY watercolor floral pencil pouch!