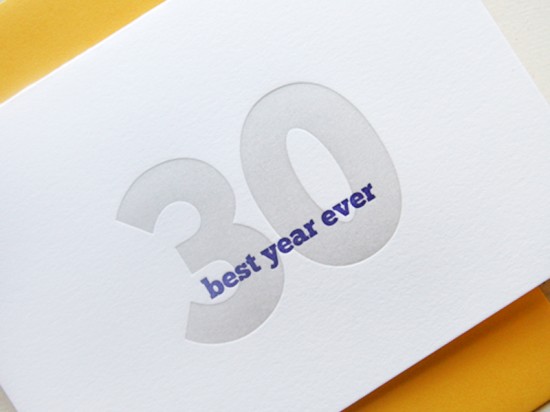
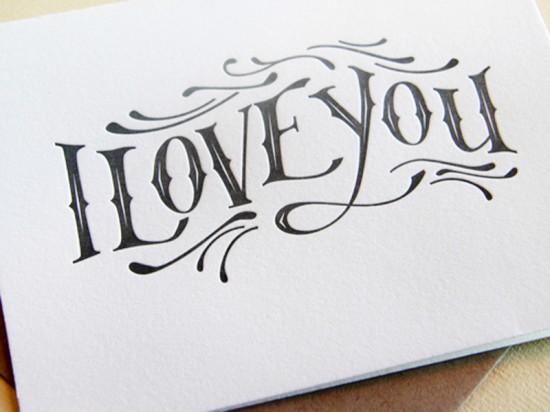
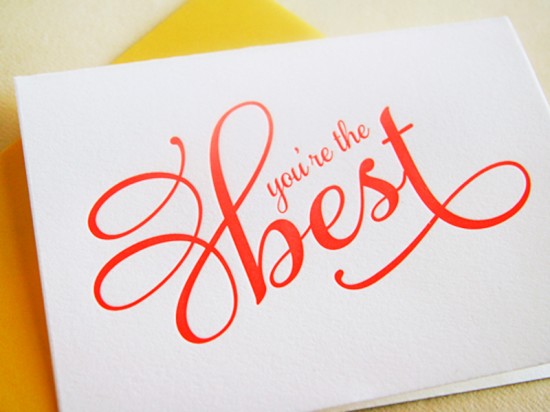
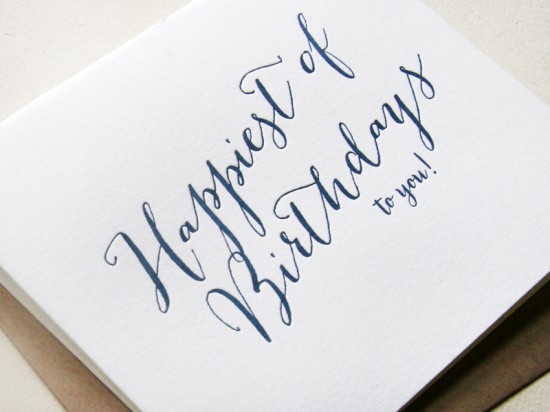
NSS Sneak Peek: Steel Petal Press

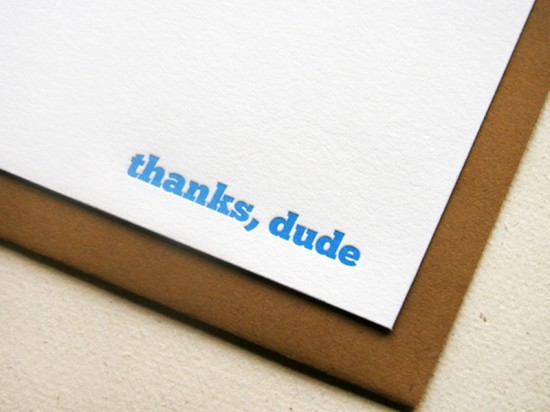
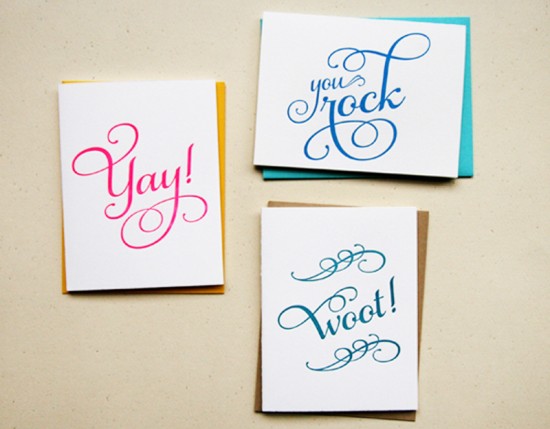
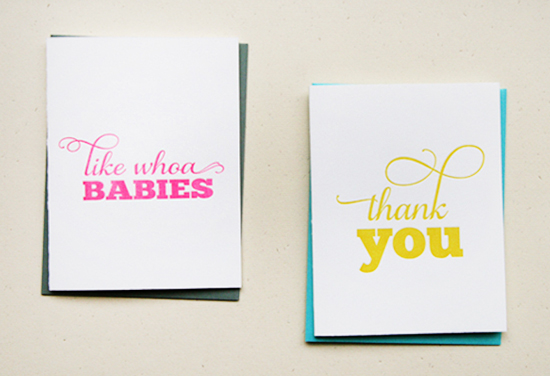
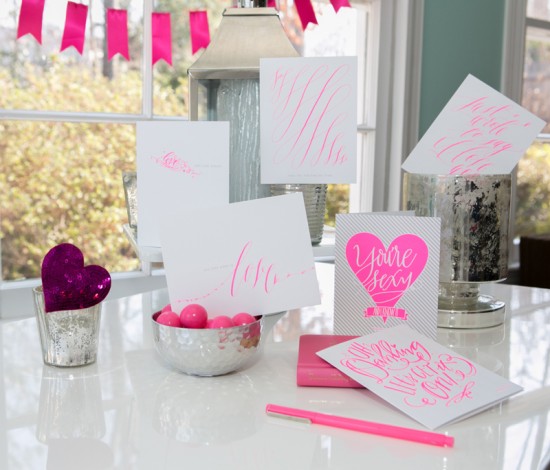
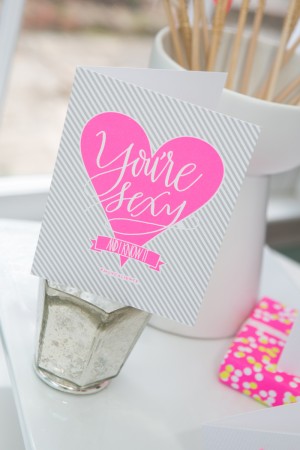
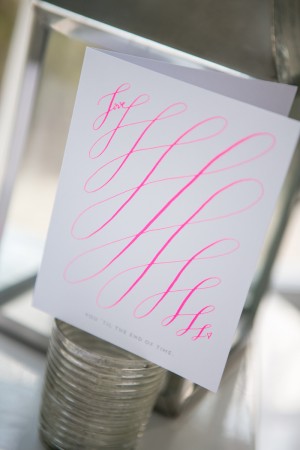
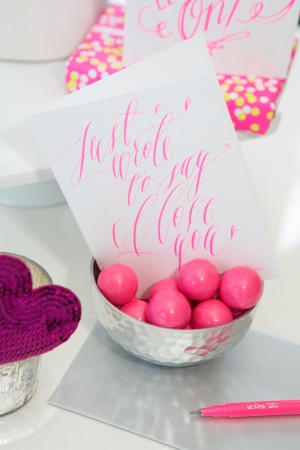
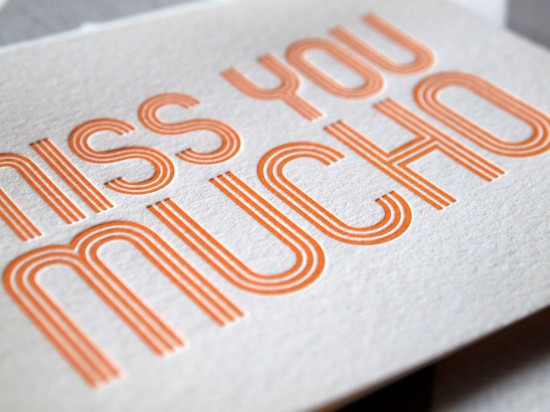
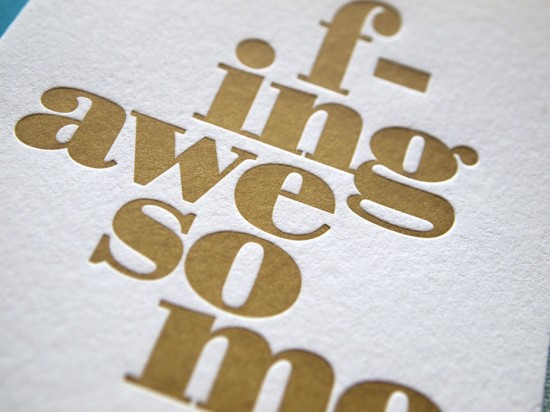
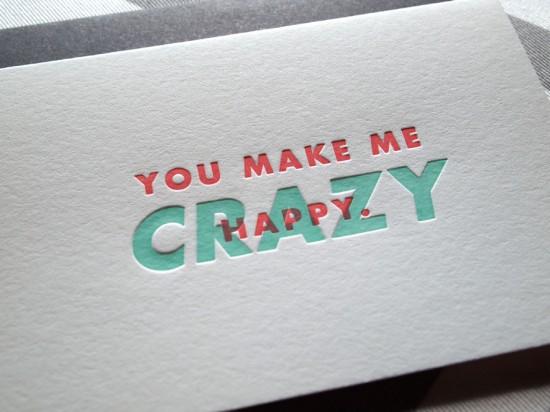
I always look forward to the lineup at the Ladies of Letterpress booth (#2374-80) at the National Stationery Show – so much wonderful letterpress talent! This year’s list includes Steel Petal Press, Grey Moggie Press, Pressbound, Bowerbox Press, and more! Shayna from Steel Petal Press sent over a sneak peek of some of the goodies she’ll have at the show. Take a look!

NSS 2013 Sneak Peek: Steel Petal Press (1)

NSS 2013 Sneak Peek: Steel Petal Press (2)

NSS 2013 Sneak Peek: Steel Petal Press (3)

NSS 2013 Sneak Peek: Steel Petal Press (4)

NSS 2013 Sneak Peek: Steel Petal Press (5)

NSS 2013 Sneak Peek: Steel Petal Press (6)

NSS 2013 Sneak Peek: Steel Petal Press (7)

Thanks Shayna!

Photo Credits: Steel Petal Press

DIY Tutorial: Vintage Floral Border Save the Date

Spring has arrived and we couldn’t be happier! It’s always a refreshing and inspiring sight to see all of the little buds form on branches, knowing that soon they will burst into a gorgeous show of flowers. With this save the date design, we wanted to capture this brief moment in time and create something fresh and beautiful. – Bailey and Emma of Antiquaria
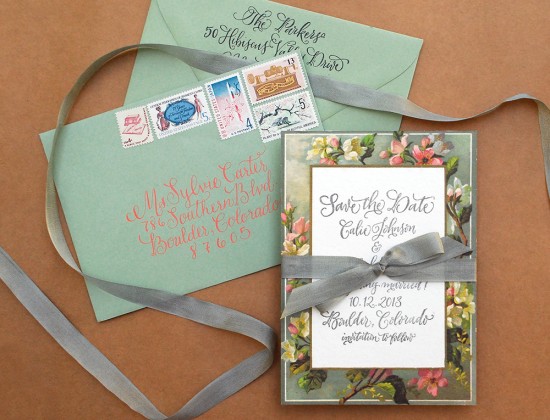
DIY Tutorial: Floral Calligraphy Wedding Save the Date by Antiquaria via Oh So Beautiful Paper

DIY Tutorial: Floral Calligraphy Wedding Save the Date by Antiquaria via Oh So Beautiful Paper

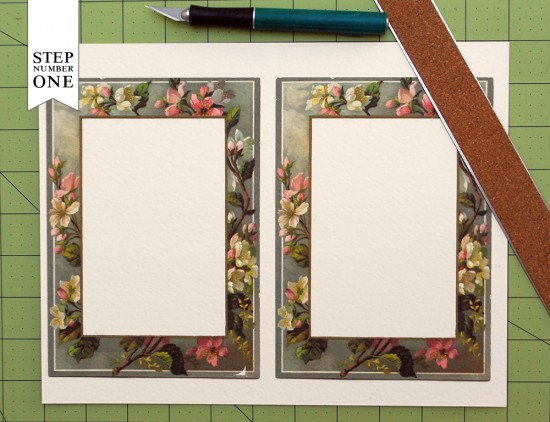
Step One: One of the key elements to this save the date is the border card on which you will print your stamp. To start, print out the border card file onto heavy card stock (as heavy as your printer will allow) and trim to size. If you would like to use this spring blossom border design, email us for the free printable download! Other borders can be found on Graphics Fairy.
DIY Tutorial: Floral Calligraphy Wedding Save the Date by Antiquaria via Oh So Beautiful Paper

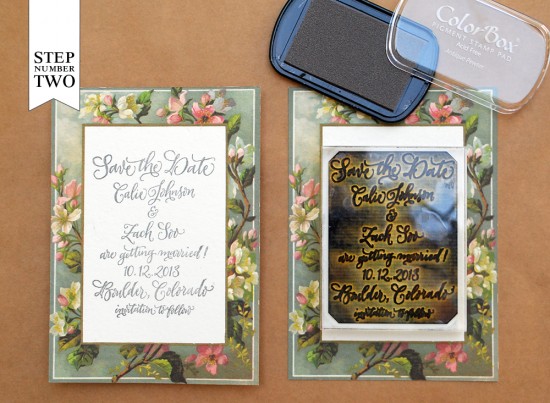
Step Two: Now that you have your cards printed and cut, you will want to print your stamp (we used our Calligraphy Save the Date Stamp, No.2). Set your card on a firm, hard surface. Ink your stamp well and center it over the card. Press down firmly, making certain that you apply even pressure to all areas of the stamp. Lift the stamp off and set the card aside to dry. For more information about this process, please watch this video.
DIY Tutorial: Floral Calligraphy Wedding Save the Date by Antiquaria via Oh So Beautiful Paper

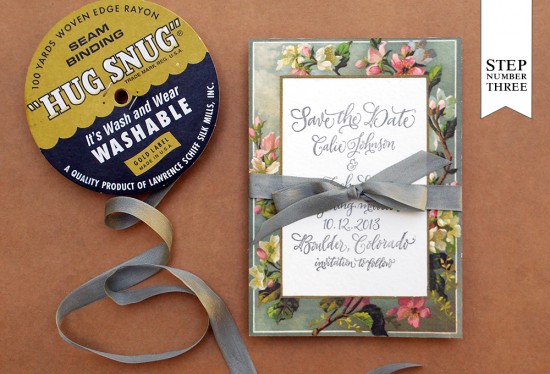
Step Three: We’ve dressed up the save the date card with a gorgeous sage gray ribbon. Simply cut a length of ribbon and tie it into a bow. Trim the ends with sharp scissors so that they are even and do not hang off of the edges.
DIY Tutorial: Floral Calligraphy Wedding Save the Date by Antiquaria via Oh So Beautiful Paper

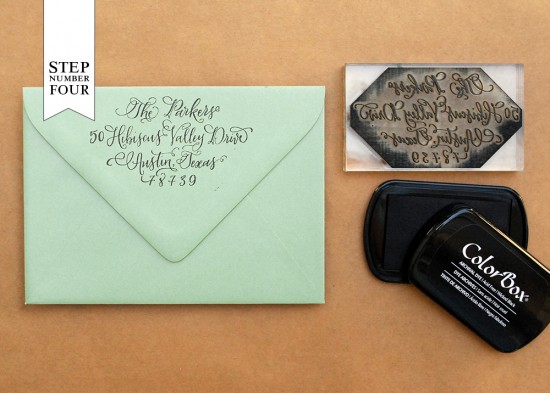
Step Four: Next, you will want to stamp your return address (we used our Calligraphy Return Address Stamp) on the back flap of your envelope. Follow the same printing instructions from step two.
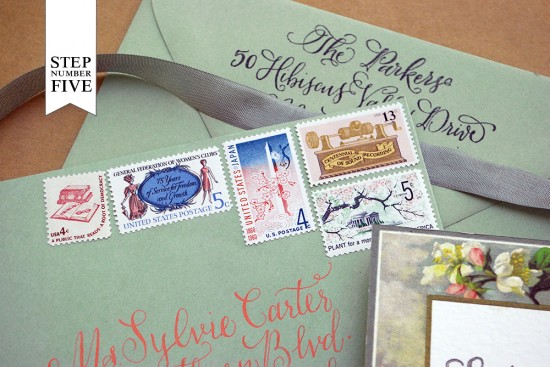
DIY Tutorial: Floral Calligraphy Wedding Save the Date by Antiquaria via Oh So Beautiful Paper

Step Five: Now all that’s left to do is to address the envelopes, add postage (we used vintage postage from Verde Studio) and send them on their way! This design is sure to bring a fresh dose of spring to every single guests mail box.

Materials:

Calligraphy Save the Date Stamp, No.2

Calligraphy Return Address Stamp

Stamp Pads (in Wicked Black & Seattle Grey)

8.5×11 Cover Stock (needs to be able to run through your home printer) in Eco White

Free Border Card Download (Please email us for the file)

Scissors (or an X-acto Knife & Self Sealing Mat)

A7 Envelopes-in Sage

Hug Snug Rayon Seam Binding in Khaki #503  (it’s actually a sage-grey color)

Verde Studio Vintage Postage

Anti­quaria is a mem­ber of the Designer Rolodex – you can see more of their beau­ti­ful work right here or visit the real wedding invitations gallery for more wedding invitation ideas!

Photo Credits: Antiquaria

Pretty Paper in the Office: Desk Lamps

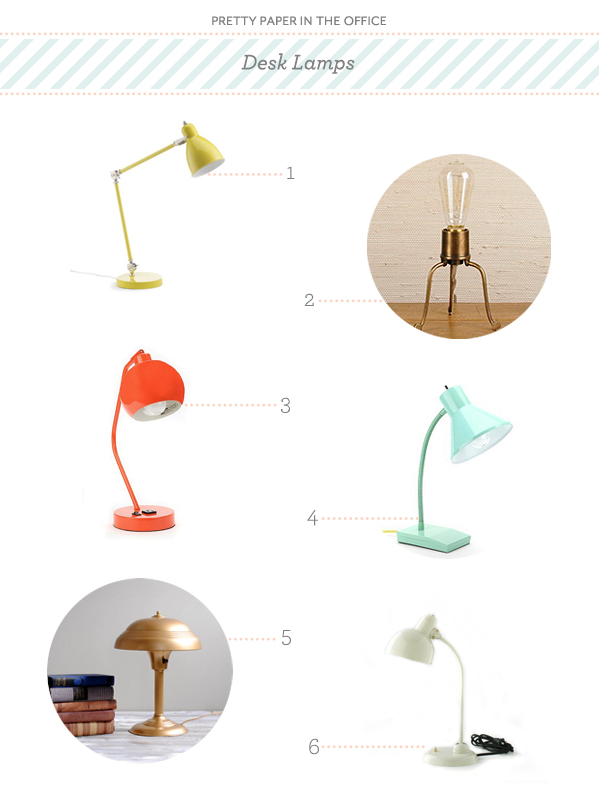
Something I’ve noticed recently, due to the late spring and sunshiny days in my city, is how important it is to have a well lit workspace. My eyes have unwillingly strained and squinted when they could have been spared! All I needed was a perfectly appointed desk lamp. Lamps are a great way to add some color and charm to your office as they come in every shape, size and hue. So, get ready to shed some light on your space with this desk lamp round up!  – Julie

Pretty Paper in the Office Desk Lamp Round Up

No. 1 Industrial task table lamp from West Elm; No. 2 Spider desk lamp at Maze Home; No. 3 Gumball desk lamp from Urban Outfitters; No. 4 Scout table lamp from Urban Outfitters; No. 5 Vintage table lamp at Little Dog Vintage; No. 6 Lore lamp from Schoolhouse Electric & Supply Co.

{images via their respective sources}

NSS Sneak Peek: Fig. 2 Design

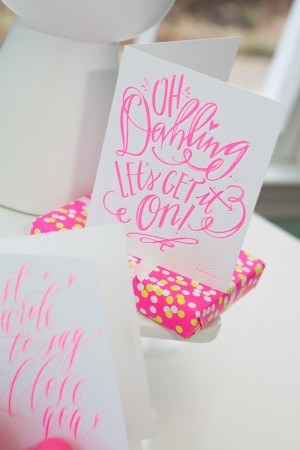
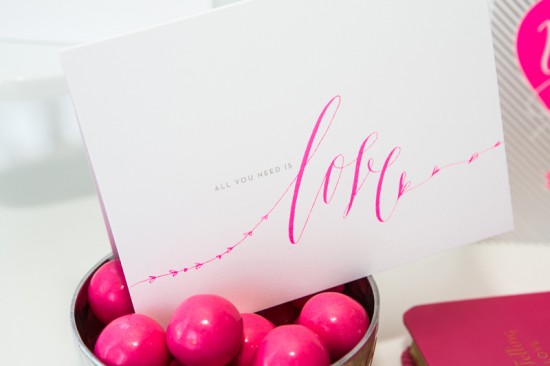
I’m thrilled to share a special NSS sneak peek from Claudia of Fig. 2 Design (Booth #1771)! Claudia has partnered with some super-talented calligraphers to create a collection called Letters for Love, of which a generous portion of the proceeds will be donated to charity. The collection will make its debut at the show and grow over time. Such a wonderful idea!

NSS 2013 Sneak Peek: Fig. 2 Design Studio Letters for Love Collection via Oh So Beautiful Paper (10)

From Claudia: This is a very special project called Letters for Love where Fig. 2 Design + calligraphers unite to give back. I’m so honored and excited to launch this collection with help from Feast Fine Art and Calligraphy, Lindsay Letters, and Meant To Be Calligraphy. Calligraphers donated their talents, and in turn Fig. 2 will donate a generous portion of the proceeds to charity.

NSS 2013 Sneak Peek: Fig. 2 Design Studio Letters for Love Collection via Oh So Beautiful Paper (1) NSS 2013 Sneak Peek: Fig. 2 Design Studio Letters for Love Collection via Oh So Beautiful Paper (2)

I asked each calligrapher to write out a fun catchy phrase which I then paired with a pattern and a hashtag. I also asked each one to write the word Love any way they wished. It was so wonderful to work with all three calligraphers. The real treat was getting to work with Alissa from Feast since she and I had not worked together before. I was so thrilled when she agreed to be part of the project!

NSS 2013 Sneak Peek: Fig. 2 Design Studio Letters for Love Collection via Oh So Beautiful Paper (9) NSS 2013 Sneak Peek: Fig. 2 Design Studio Letters for Love Collection via Oh So Beautiful Paper (4)

NSS 2013 Sneak Peek: Fig. 2 Design Studio Letters for Love Collection via Oh So Beautiful Paper (7)

The line will continue to grow, so if you’re a calligrapher interested in working on the next series you can contact Claudia right here!

Design: Fig. 2 Design

Calligraphy: Meant to Be Calligraphy, Feast Fine Art and Calligraphy, Lindsay Letters

Arrow Props: Britt Bass

Photo Credits: Mary Kate McKenna for Fig. 2 Design

NSS Sneak Peek: Farewell Paperie

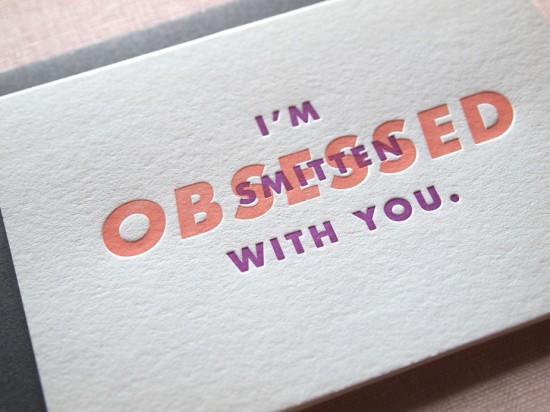
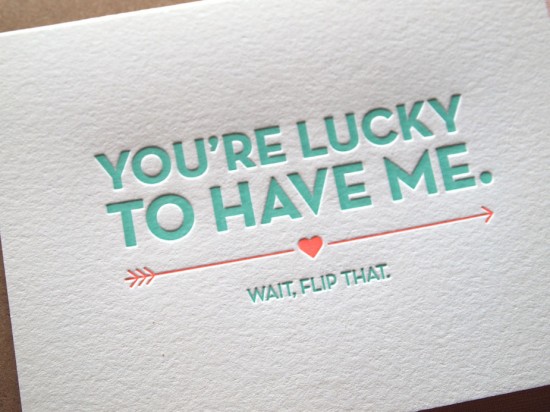
Farewell Paperie (Booth #2158) was one of my favorite new discoveries at last year’s National Stationery Show – I love their collection of bright and funny greeting cards! And I was even more delighted to discover that Jen and Lisa, the powerhouse duo behind Farewell Paperie, are two of the nicest ladies around (love it when that happens!). Here’s a little peek at what they have planned for this year!

NSS 2013 Sneak Peek: Farewell Paperie via Oh So Beautiful Paper (1)

NSS 2013 Sneak Peek: Farewell Paperie via Oh So Beautiful Paper (2)

NSS 2013 Sneak Peek: Farewell Paperie via Oh So Beautiful Paper (3)

NSS 2013 Sneak Peek: Farewell Paperie via Oh So Beautiful Paper (4)

NSS 2013 Sneak Peek: Farewell Paperie via Oh So Beautiful Paper (5)

Thanks Jen and Lisa!

Photo Credits: Farewell Paperie