Yuletide Punch

There are a lot of classic winter cocktails for the holidays: Eggnog and mulled wine and Glögg, Tom & Jerry and Hot Buttered Rum and Hot Toddies. These are all classics and they’re all wonderful, and hopefully we’ll get a chance to talk about some of these over the next few weeks. But we wanted to play around with something a little more modern, a combination we hope will become a new holiday classic. We’re calling this one the Yuletide Punch, and it’s festively delicious. – Andrew

Yuletide Punch Cocktail Recipe

Yuletide Punch Cocktail Recipe Illustration

Illustration by Lana’s Shop for Oh So Beautiful Paper

Yuletide Punch

Recipe by Liquorary

2 oz Fig-infused Blanco Tequila
1 oz Pineapple Juice
1/2 oz Ginger Liqueur
1/2 oz Cinnamon Syrup
1/4 oz PX Sherry
2 dashes Boker’s Bitters

To make the cinnamon syrup: break up two cinnamon sticks in a sauce pan and toast them over low heat until fragrant. Add a cup of sugar and cup of water, stirring frequently until the sugar has melted. Remove the pan from the heat and cover; let it sit to infuse for at least 20 minutes. Then strain through a cheese cloth and bottle the syrup.

To make the fig-infused tequila: combine a bottle of blanco tequila and 6-8 dried figs, coarsely chopped, in a non-reactive jar. Let it sit for at least a week, shaking periodically, before straining and re-bottling. (Hope you held on to that original bottle!)

Yuletide Punch Cocktail Recipe

To make the Yuletide Punch: combine all the ingredients in a shaker filled two-thirds with ice. Shake and strain into a chilled coupe glass. Garnish with fresh pineapple and candied cherries. Enjoy!

Yuletide Punch Cocktail Recipe

This drink is a spin on the María Inés, a drink designed to evoke the earthy, fruity flavors of fruitcake. (Before anyone complains: I love fruitcake!) The combination of Tequila, ginger, and pineapple is a little magical, turning into something that evokes candied fruit and earthy cake. We took that genius template and tried to up the ante, adding dark, chewy notes of fig and warm baking spice notes from the Boker’s Bitters, which showcase cardamom. We also threw in some sweet raisin notes from the Pedro Ximinez (PX) sherry, which is made from dried grapes and has an almost syrupy quality to it.

Yuletide Punch Cocktail Recipe

The result is something dark, fruity, and sweet; earthy and mildly tart; in short, the liquid spirit of a holiday fruitcake. We obviously threw quite a bit of special ingredients into this one, so please don’t feel intimidated: as long as you can combine tequila, pineapple, and ginger – along with a dash or two of Angostura bitters, that workhorse of any bar, to balance the sweetness – then you can put together a pretty great drink that’s totally unusual but totally perfect for the holidays.

Photo Credits: Nole Garey for Oh So Beautiful Paper

This post contains affiliate links. By clicking on these links, you’ll help support Oh So Beautiful Paper while also purchasing some fantastic products. We only recommend products that we truly love and trust that you’ll love, too. Our full disclosure policy can be found here.

Fourteen Beautiful 2018 Calendars

As we get ready to wrap up the year, I wanted to share at least one round up of beautiful 2018 calendars! While I might not be one for making New Year’s Resolutions, I’m big on goal-setting and I always look forward to the promise of a fresh start in a new calendar year. It just feels so optimistic to be able to start over with a brand new calendar on the wall and a fresh new date in the top corner of a page. 2017 was definitely a rollercoaster of a year, and while the last couple of years have felt like a bit of a slog, I’m feeling optimistic about 2018. So let’s get some fresh new calendars on those walls! Are you with me?? Here are fourteen beautiful 2018 calendars to help start the new year off on the right foot!

Fourteen Beautiful 2018 Calendars

1. We could all use a bit more positive energy in the world, right? Love this wall calendar from Laura Brown

2. This gorgeous calendar from Happy Cactus features a print of beautiful hand embroidery with rainbow flowers!

3. A botanical calendar from Robert & Stella with prints of the most amazing floral compositions

4. This abstract art calendar from Fine Day Press is available in both wall calendar and desktop calendar formats!

5. Gorgeous florals and hand lettered quotes from Our Heiday (I also really love their colorbloc desktop calendar)

6. This modern hand painted calendar from Jenn Gietzen will help inspire you all year long!

7. I seriously want to be friends with this bunny from Dear Hancock just so I can go on these adventures!

8. If you enjoy looking at beautiful painted landscapes, you’ll definitely want to grab yourself one of these One Canoe Two appointment calendars.

9. How cute is this illustrated fox calendar from Izzy Whimsy Art??

10. Poketo calls this a “wall planner” but I’m counting it as a calendar! Either way, I love the ombré candy color tones – and since the pages are undated, you can start using it any time of year and just keep going into the next year if needed!

11. Love this illustrated botanical calendar from Carleigh Courey Design (this one fromEsther Clark Co. is also really pretty)

12. This modern moon phase calendar from Worthwhile Paper also doubles as an art print!

13. Speaking of the moon, Nicole from Mink Letterpress has completely outdone herself this year with this monthly desktop calendar featuring twelve moons from our solar system. The calendar is letterpress printed, although I’ve spent the last five minutes staring at the pictures of this calendar and I’m still not sure how she achieved these amazing color combinations and textures! Simply stunning.

14. This gemstone monthly calendar from Wild Ink Press is just completely unreal – each month features a gemstone printed with a corresponding metallic foil. Obsessed!

p.s. Fifteen awesome 2017-2018 planners and agendas!

Last Call for the Modern Calligraphy Summit!

Friends, if you’ve ever wanted to learn the amazing art of calligraphy – now is your chance! The Modern Calligraphy Summit is the most comprehensive package of online calligraphy classes that I’ve ever seen. Between the two installments released so far, Modern Calligraphy Summit 1.0 and Modern Calligraphy Summit 2.0, the Modern Calligraphy Summit offers more than 18 hours of online calligraphy instruction from some of the most talented calligraphers on the planet. Enrollment for both installments ends at 11:59 pm Wednesday, December 20 and won’t be back until further notice, so this could be your last chance to enroll for the foreseeable future! You can even sign up for BOTH summits and get $100 off! You can enroll right here. Go, go, go!

Modern Calligraphy Summit Enrollment

Ashley Buzzy Lettering & Press

I’ve sung the praises of the Modern Calligraphy Summit so many times, and I’ve heard from so many people that have benefited from the courses – including brush lettering, invitation design, envelope layouts, basic copperplate, writing on non-traditional surfaces, digitizing watercolor illustrations, and so much more! And all from the comfort of your own home! The Modern Calligraphy Summit also includes handy templates and handouts, a private Facebook community to support you as you learn, and two bonus LIVE Q&A sessions with the instructors in January. Oh yeah, and LIFETIME ACCESS to all the amazing content, so even if you can’t start the course material right now you can pick it up at your convenience – or go back and watch the videos as many times as you need to practice and get the hang of things!

Modern Calligraphy Summit Enrollment

A Fabulous Fete

The Modern Calligraphy Summit offers the opportunity to learn from sixteen of the most talented calligraphers in the world, including Anne Robin Calligraphy, Annie Mertlich of Wildfield Paper Co., Ashley Buzzy Lettering & Press, Alissa Mazzenga of Feast Fine Art & Calligraphy, Design House of Moira, Laura Hooper Calligraphy, Fozzy Castro-Dayrit, Calligrafikas, and Nicole Miyuki, Katherine Ross of Script Merchant, Lauren Saylor of A Fabulous Fete, Jenna Rainey of Mon Voir, Karla Lim of Written Word Calligraphy, Sharisse DeLeon of Pieces Calligraphy, Younghae Chung of Logos Calligraphy, and Molly Knabel of Poppy and Mint Design. I can’t think of a more talented group of instructors, and these amazingly talented ladies all have some serious hard-earned knowledge and tips to share with you.

Modern Calligraphy Summit Enrollment

Wildfield Paper Co.

Enroll in the Modern Calligraphy Summit right here!

This post contains affiliate links. By clicking on these links, you’ll help support Oh So Beautiful Paper while also learning the beautiful art of calligraphy! I only recommend products that I truly love and trust that you’ll love, too. My full disclosure policy can be found here.

DIY Matisse-Inspired Ornaments

Remember the Matisse-inspired pumpkins that I made back in October? Well, I’m back at it with DIY Matisse-inspired ornaments! I had some solid white ornaments from Target that needed a bit of dressing up and I happened to have a few leftover Matisse-inspired shapes from when I made the pumpkins back in October, so I decided to stick a few shapes onto the white ornaments – and ta da! I’m loving the pops of color against the matte white ornaments, but you could definitely make these with any color ornaments. These DIY Matisse-inspired ornaments are super easy to make, are a really fun way to add some color to your Christmas tree, and they’re also a fun project for little helpers. I’m sharing my template below so you can make your own!

DIY Matisse-Inspired Ornaments

DIY Matisse-Inspired Ornaments

DIY Matisse-Inspired Ornaments

When I did the pumpkins back in October, I used a mix of large and small Matisse-inspired shapes. Since ornaments are even smaller than the tiny pumpkins, we’ll just use the small shapes for this project. I also experimented with a couple ornaments that were all just one shape, like stars, but I really prefer the ornaments that combine all the shapes in a random pattern. These Matisse-inspired shapes are just so lovely when all mixed together!

DIY Matisse-Inspired Ornaments

DIY Matisse-Inspired Ornaments

Supplies

Solid color ornaments, either plastic or glass

Matte craft vinyl in a variety of colors – I used pink, orange, yellow, green, teal, purple

Opalescent vinyl (optional – but I love the way it looks!)

Silhouette Cameo or Cricut Explore cutting machine

Note: If you don’t have one of those machines, you can still use our template to trace the shapes onto the vinyl and cut the shapes out by hand – but it will go a LOT faster with a cutting machine. You can download our templates at the bottom of the post!

DIY Matisse-Inspired Ornaments

DIY Matisse-Inspired Ornaments

To make the DIY Matisse-inspired ornaments:

Step 1. Download our templates at the bottom of the post and use your Silhouette Cameo or Cricut to cut the shapes from each color of vinyl. You can do a colorful rainbow like I did – or keep things simple with just one or two colors!

Step 2. Carefully peel individual shapes from the adhesive backing and apply to the ornaments like a sticker. I found it easiest to start with two of the larger shapes on either side of the ornament, then fill in with the smaller shapes in between. If you place a shape and then change your mind, you should be able to move it by very carefully peeling the vinyl from the ornament and moving it to a new spot (I did this a few times!).

Step 3. Continue placing vinyl shapes until you’ve covered all of your ornaments, and enjoy!

DIY Matisse-Inspired Ornaments

DIY Matisse-Inspired Ornaments

DIY Matisse-Inspired Ornaments


So easy, right? And such a great way to add some color to your Christmas tree!

Download the templates below!

MATISSE-INSPIRED ORNAMENT TEMPLATE (Silhouette Studio file)

MATISSE-INSPIRED ORNAMENT TEMPLATE (SVG file)

p.s. DIY hologram foil ornaments and DIY Matisse-inspired pumpkins

Photo Credits: Meghan Marie Photography and Nole Garey for Oh So Beautiful Paper

Behind the Stationery: redcruiser

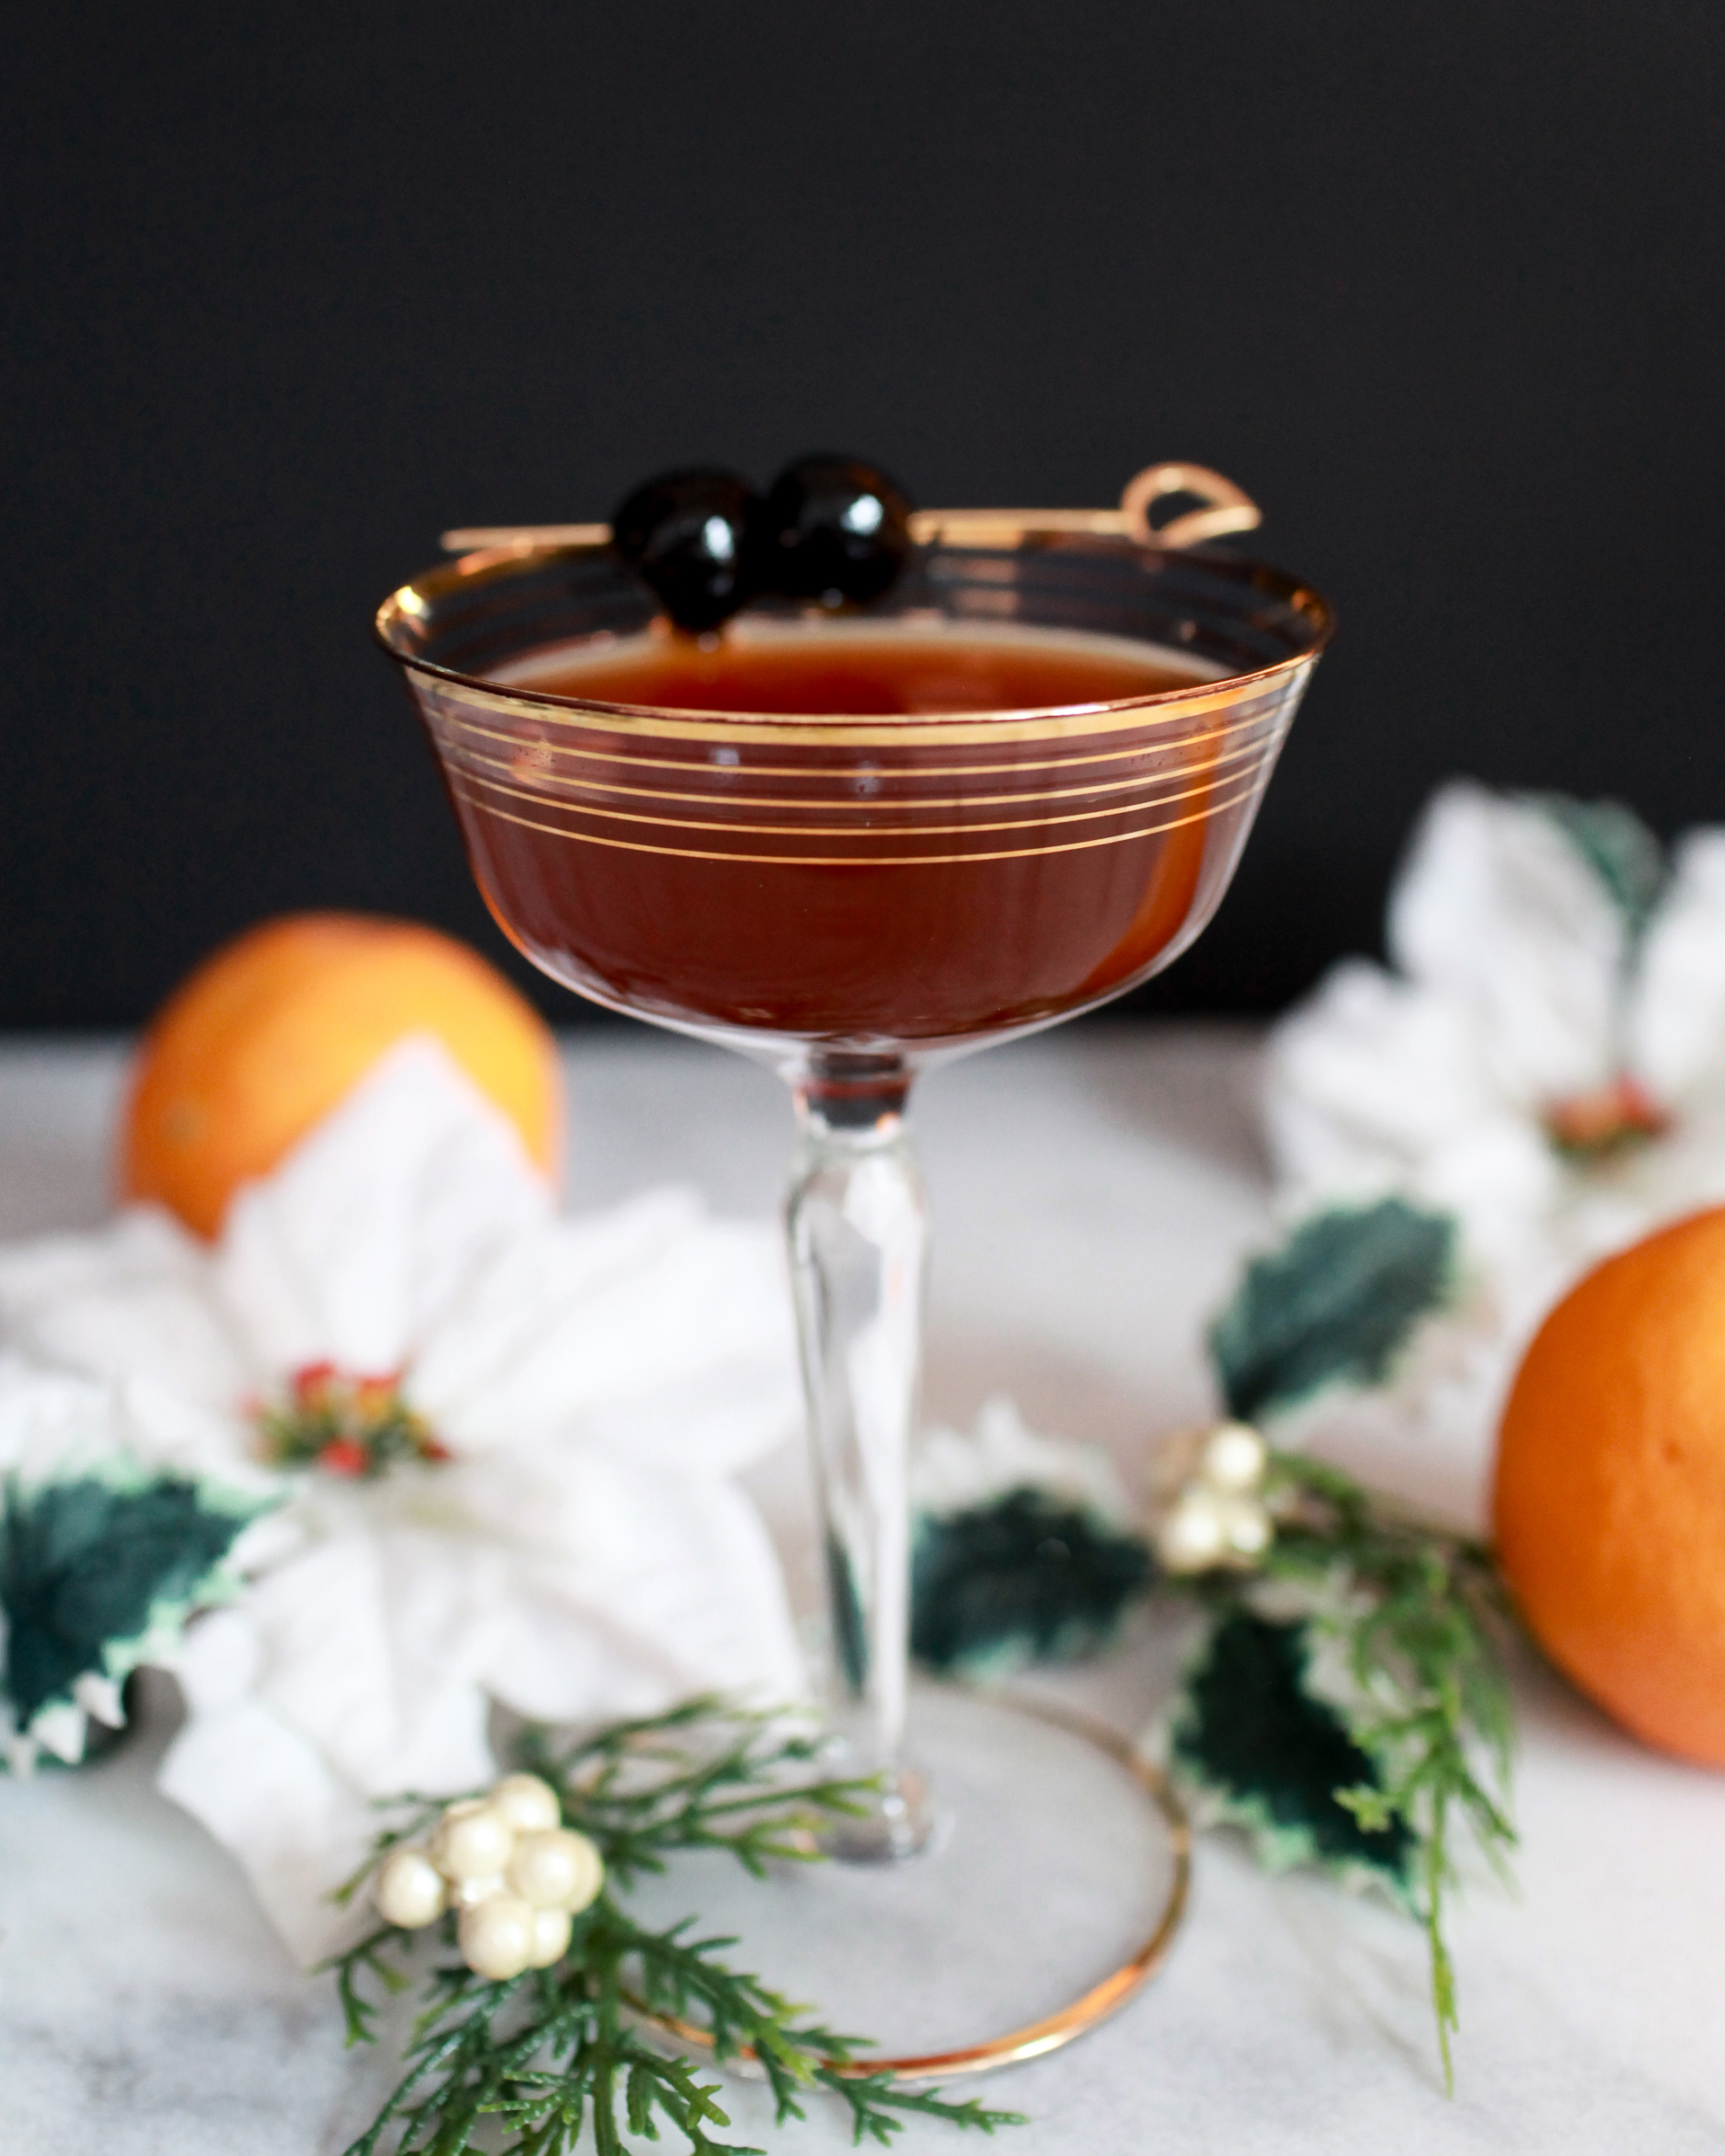
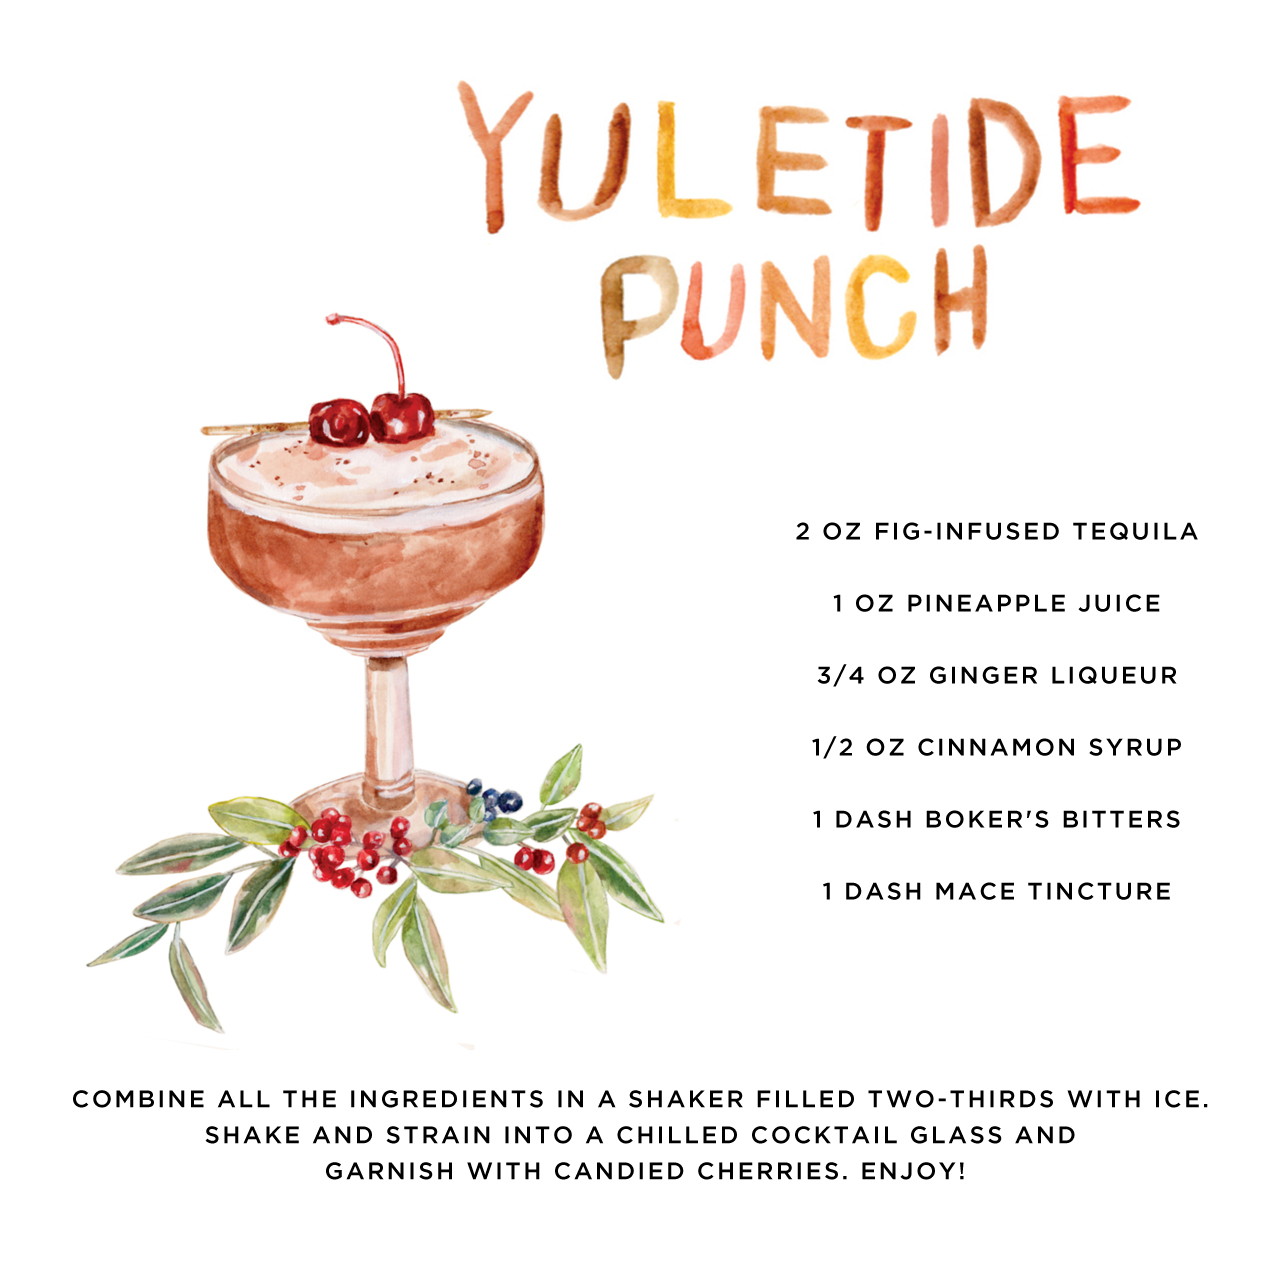
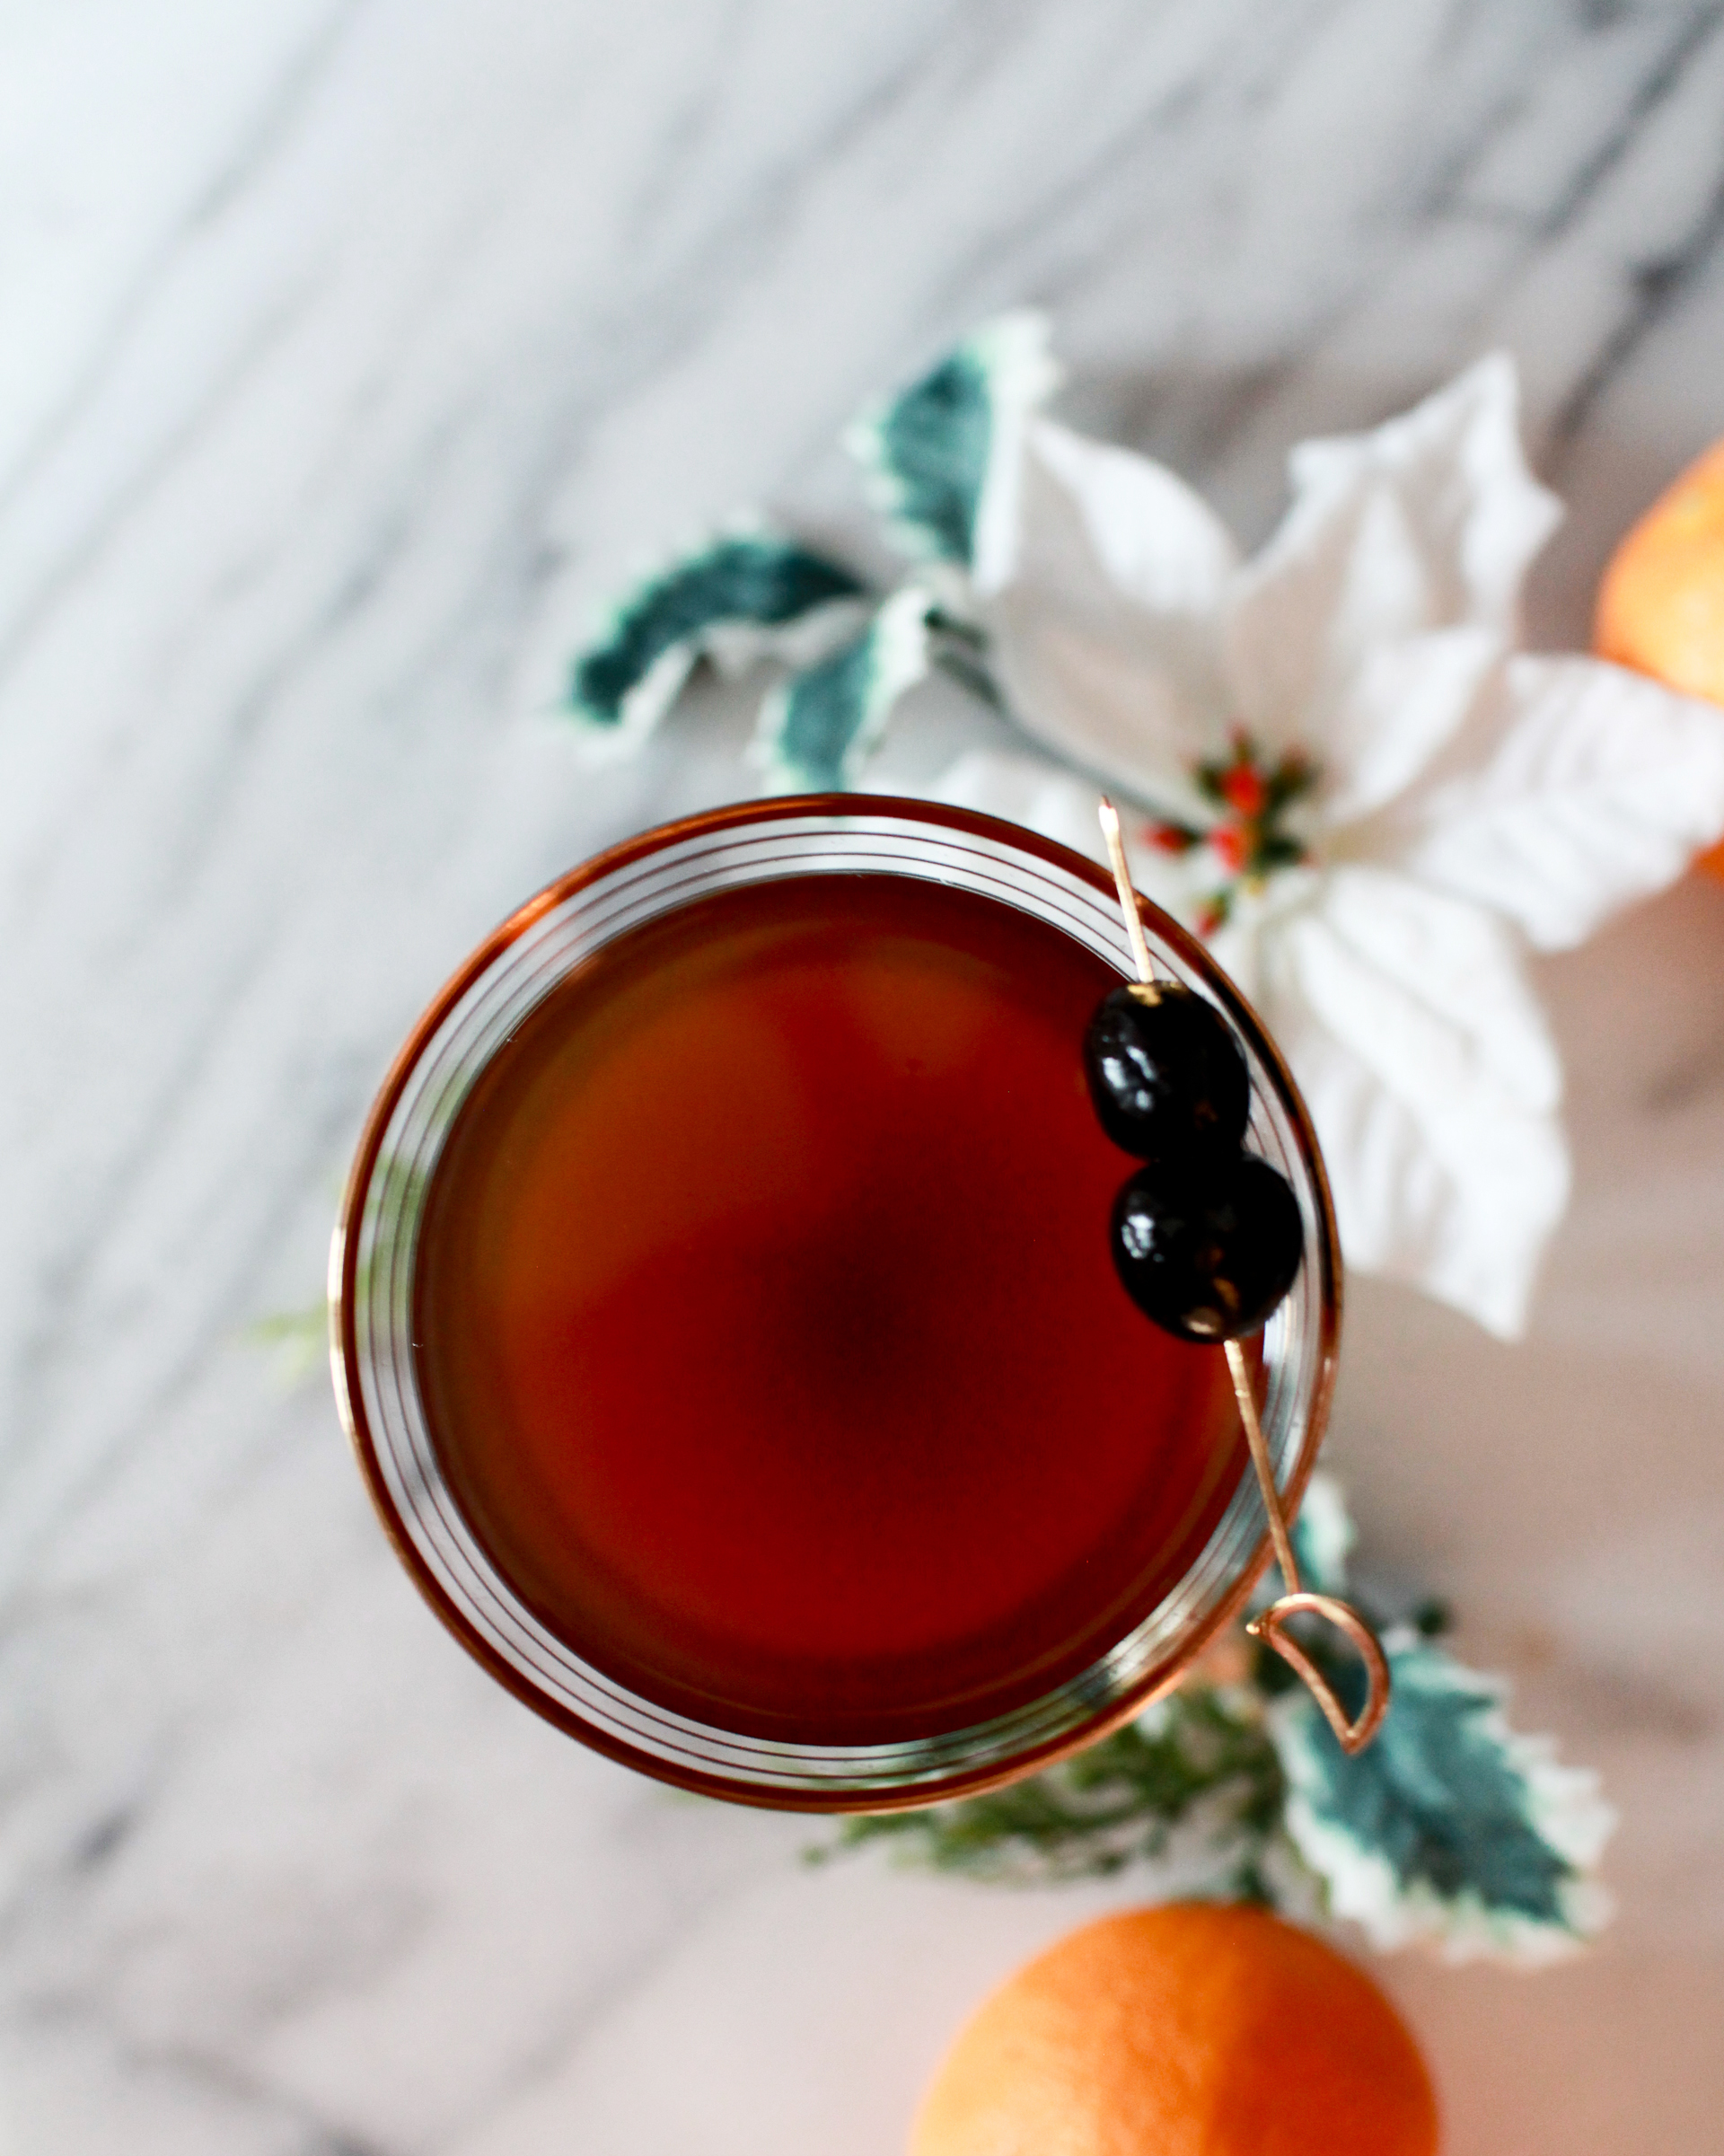
I fell in love with Heidi’s yoga calendar and cocktail greeting cards at the National Stationery Show this year, so I’m really excited to feature redcruiser‘s behind the stationery story today on the blog! Heidi shares how a blog feature jumpstarted her stationery shop, what measures she’s taken to maintain a balanced life, and what inspires her most in Minneapolis.  —Megan Soh

Behind the Stationery: Redcruiser

Before I started redcruiser I was a full-time graphic designer. For over 10 years I worked at a variety of different design firms and companies, including Starbucks Design Group in Seattle and Little (design firm) in Minneapolis. Both Starbucks and Little were great places for me to explore my illustration and introduce them into many design concepts. While I loved working in a team based environment and as I was nearing the due date of my second child, I was beginning to realize I couldn’t do it all…and do a good job of it all – something had to give, so I decided to leave full-time work to be home with my little girls.

Behind the Stationery: Redcruiser

While at home I had a lot more time to do the things I love – cooking, gardening, and drawing in my sketchbook. Before long I had filled a sketchbook with drawings from my garden with no real intention – but I really liked the feel of that sketchbook so I turned a lot of those sketches into illustrations and made a few calendars, art prints and greeting cards and started a little Etsy shop.

I sent an email to a design blog I read daily called design*sponge with photos of my garden calendar (of which I had 10 made). My calendar was posted on design*sponge the next day and my Etsy store had hundreds of orders, and that really began my transition into stationery. I’ve continued to approach stationery in this same organic way – I draw things I am interested in which keeps it authentic and fun for me.

Behind the Stationery: Redcruiser

I still do a lot of freelance design and illustration so I’m able to be flexible on what I am working on and it keeps things fresh and new. My work days are so different each day, which is what I love the most about this career I have created — every day is different. It can be a little chaotic sometimes but usually I try to start the week off by planning out my schedule looking at different due dates for the week and planning around those using my weekly planner.
Behind the Stationery: Redcruiser

Once I have a loose plan in place for the week, I really try to stick to my list and work through the various tasks or projects. From November until end of December, I am busy packing and unpacking for different maker or farmers markets as well as filling online and wholesale orders. From January to March, I try to devote the majority of my time to concepting and illustrating next years’ collection. Last May, I exhibited at the National Stationery Show with the help of my husband so there was a lot of preparation for that.

Behind the Stationery: Redcruiser

The past two years we have exhibited at the NY NOW show in August so the amount of work in the spring and summer months usually depends on what trade show we are doing. I try to exhibit at a few farmers markets in the summer as well — Mill City Farmers Market is a great little market downtown that I love to do.

Behind the Stationery: Redcruiser

I love being able to be home with my kids in the summer. This past summer I moved my studio back into our newly renovated basement of our Golden Valley home. I had a studio a few miles away for the past few years but found that I was slowly slipping back into that feeling of having too many things going on and not being able to do a good job at all of it. Making sure I reevaluate and make good choices in how, where, and when I work has been one of the most important things I do running this business.

Behind the Stationery: Redcruiser

At this point in my life I like keeping it small (mainly it’s just me), but sometimes I collaborate with other designers and design firms or hire my brother, husband or friends to help me out with packaging. I use a great local book keeper to help with the business end of things — delegating the parts of the business that are not my strong suit is a great way to keep things running efficiently!

Behind the Stationery: Redcruiser
Since I spend a lot of time by myself, I love to get out to farmers and maker markets in the city. It is so great to talk with my customers and make personal connections with them. Minneapolis has a really great maker community — there are so many talented, friendly and supportive people making some really great things here! It is so fun to connect with them at all these different shows and markets and talk about this unique kind of business we do.
Behind the Stationery: Redcruiser
I try to be really thoughtful about the products I create. I don’t want to just be making stuff to make stuff. I try to create products that aren’t out there and, most importantly, products that I would use in my life. All of our paper products are printed locally on 100% PCW recycled paper and are assembled by hand in my MN studio. Whenever possible, organic materials are sourced and we use a minimal amount of packaging for shipping.

Behind the Stationery: Redcruiser

My design process always starts out with a sketchbook and pen. I love spending time in my sketchbook and drawing things that are a part of my life. I love to travel throughout the year and be out in nature to get some fresh perspective. A trip to California always brings so much inspiration! My family and I usually try to spend a few weekends camping or renting cabins in the summer in northern Minnesota as well. The North Shore and Burntside Lake in Ely, MN are my top picks. I also find inspiration doing things I enjoy, like cooking, gardening and entertaining. After I’ve given myself some freedom to explore I usually look for connections in my sketchbook and begin narrowing down my ideas into a few collections.

Behind the Stationery: Redcruiser

I use a lot of different materials when creating my illustrations – paint, ink, pencils, charcoal and lots of different textures. Then, I scan everything in and finish up my illustrations digitally. Once I have some ideas solidified I like to show them to my husband (he’s also a graphic designer) and friends to get an idea of what they think — a kind of very loose focus group. After I have decided on designs, I start working with some great local printers I have developed relationships with. It has been really helpful to have these relationships; it’s great to work with a printer who can print samples, do small runs or large runs without having any difference in the quality.
Behind the Stationery: Redcruiser

I create a new catalog only once a year — it just has to do with my personal goals and what is the right amount of work for me right now. It’s really easy to get caught up with thinking there is a right way to run a stationery company with all the information we have with social media, but really there are so many ways to work in this creative field it’s all about finding the balance that is right for you!
Behind the Stationery: Redcruiser
All photos courtesy of redcruiser.

Want to be featured in the Behind the Stationery column? Reach out to Megan at megan [at] ohsobeautifulpaper [dot] com for more details.