DIY Hologram Foil Easter Eggs

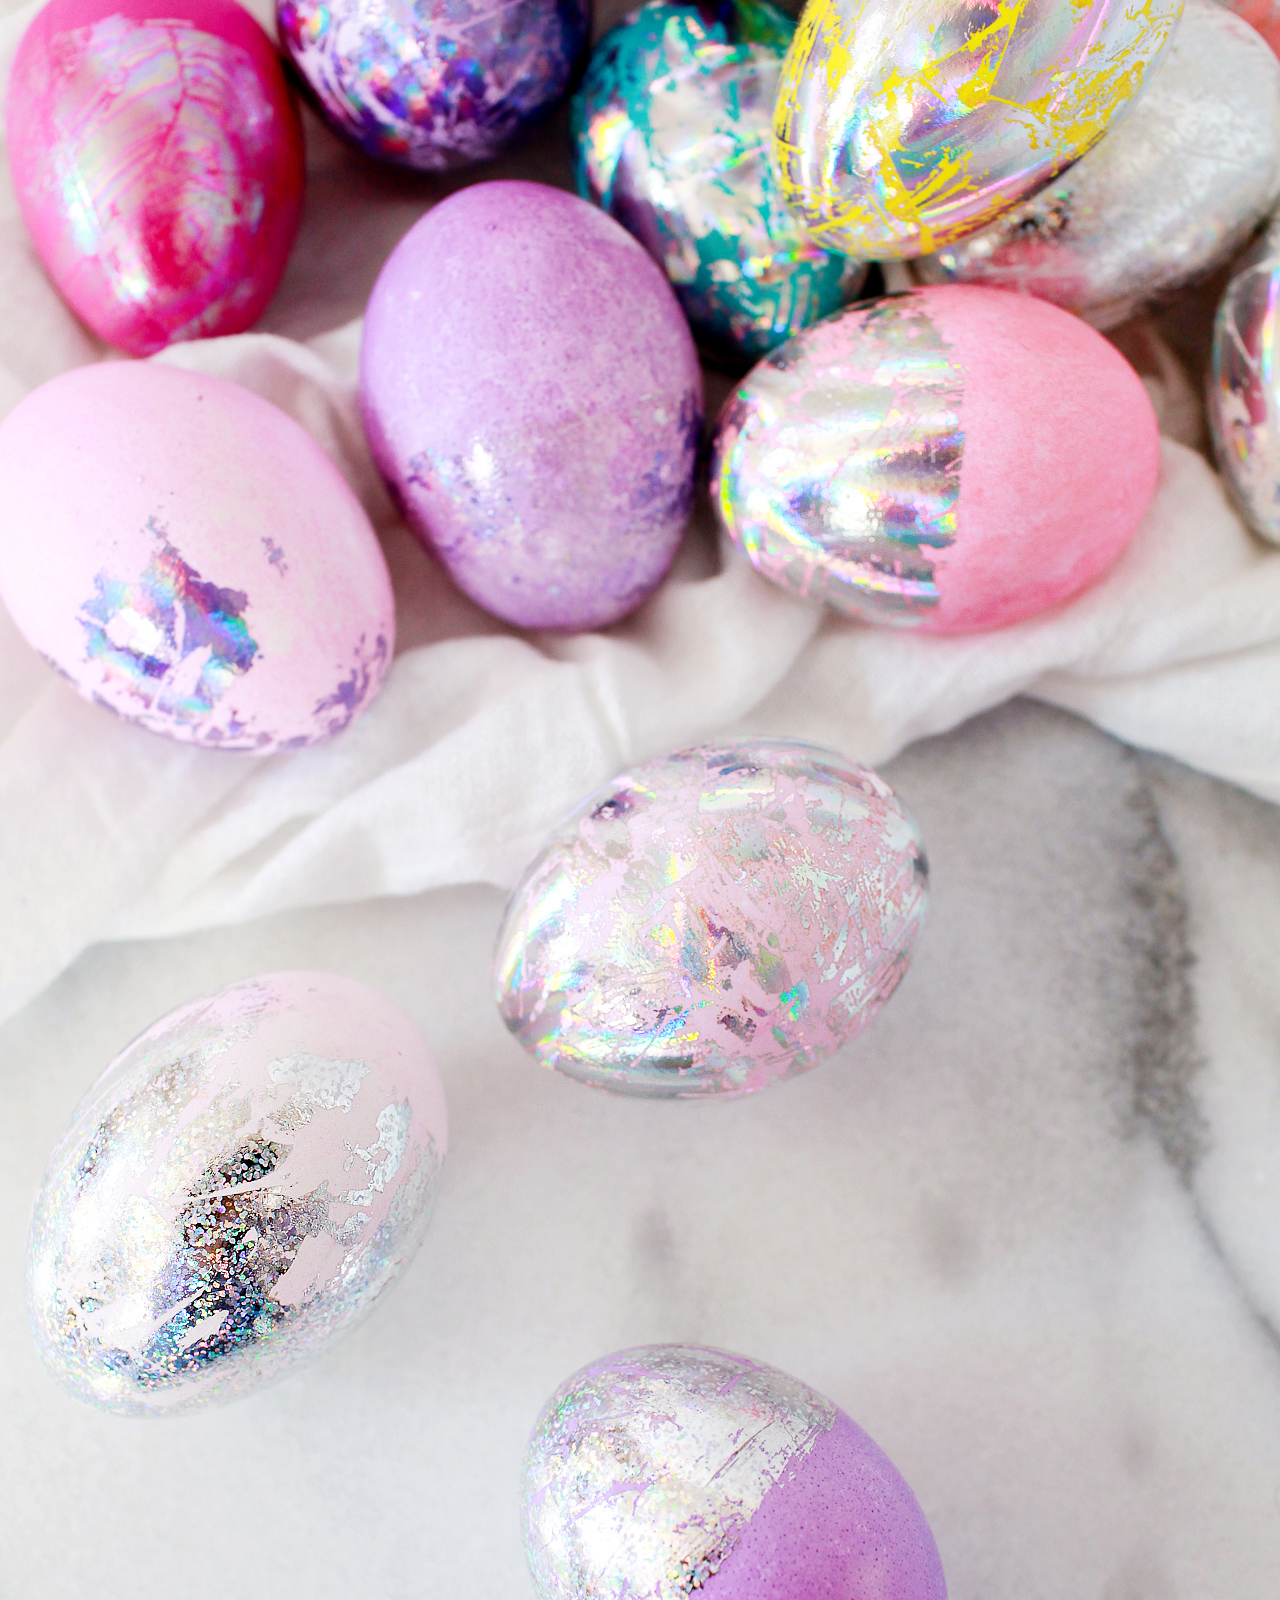
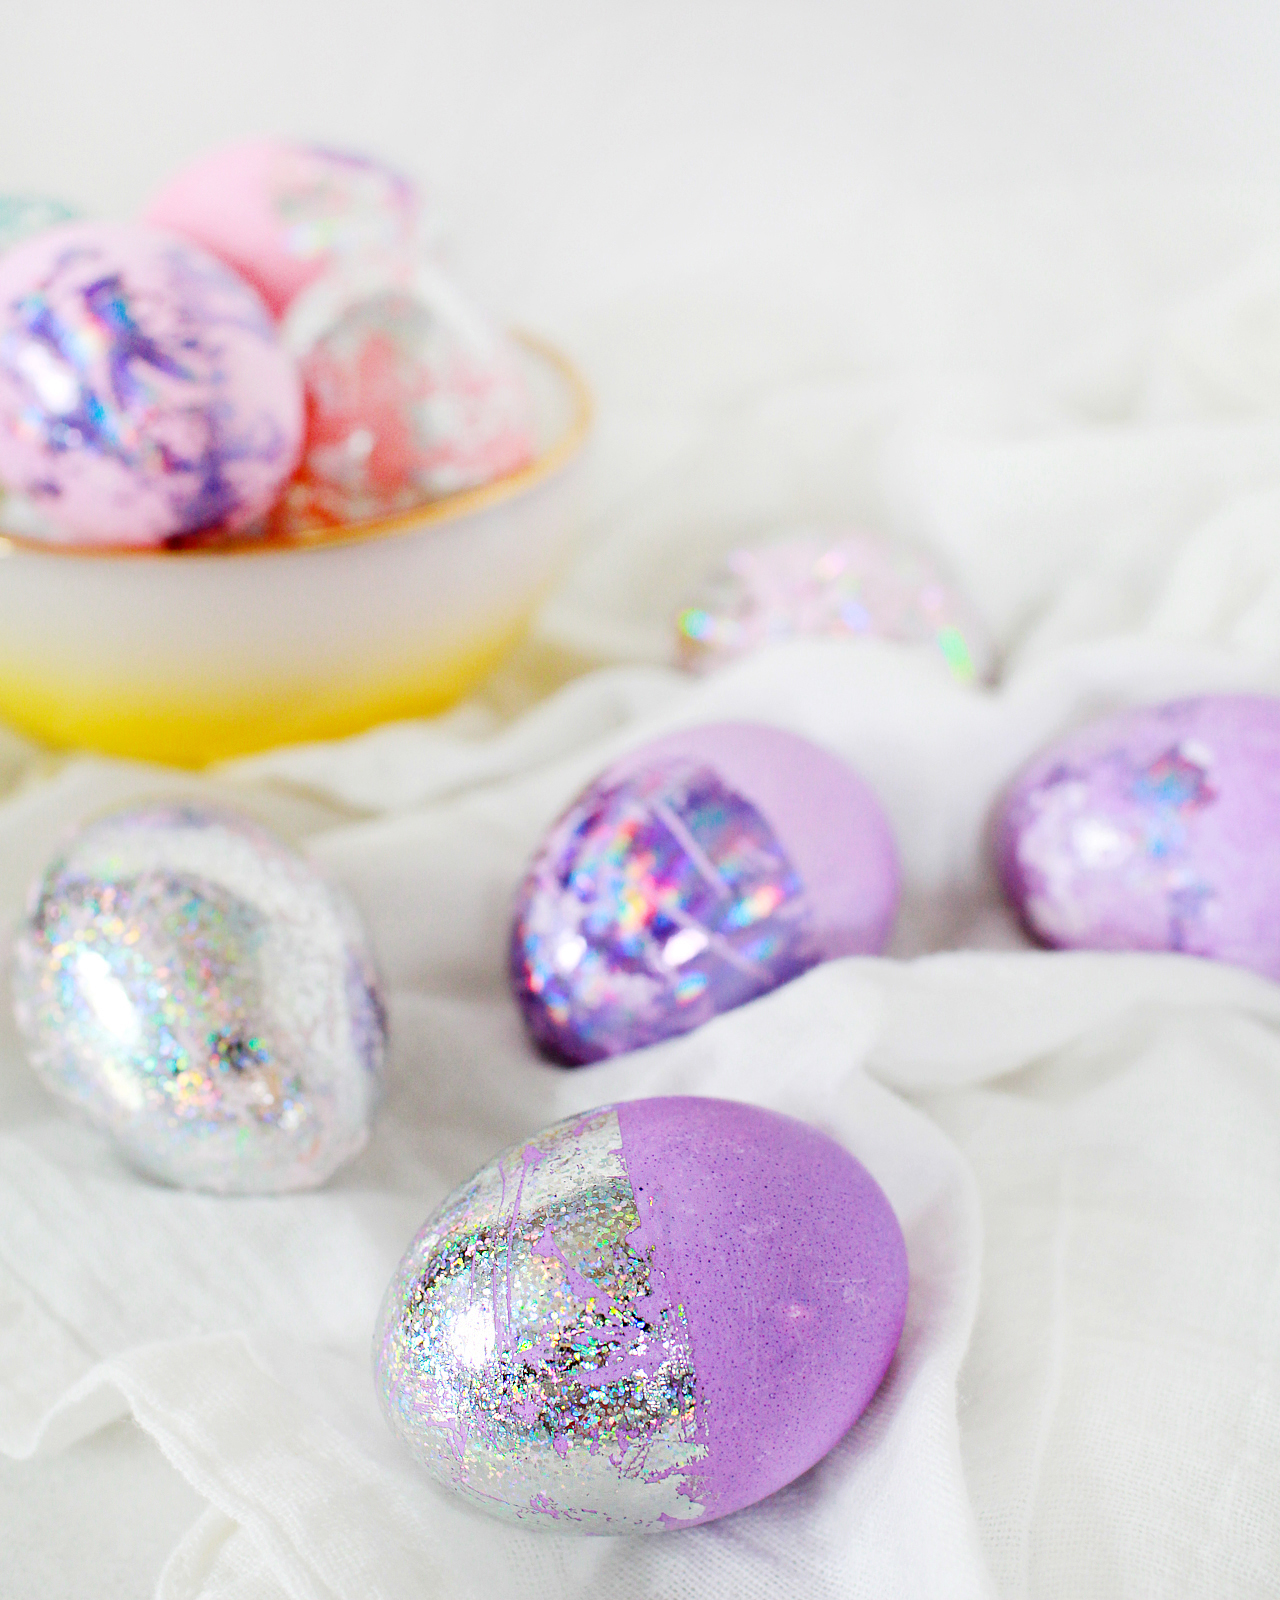
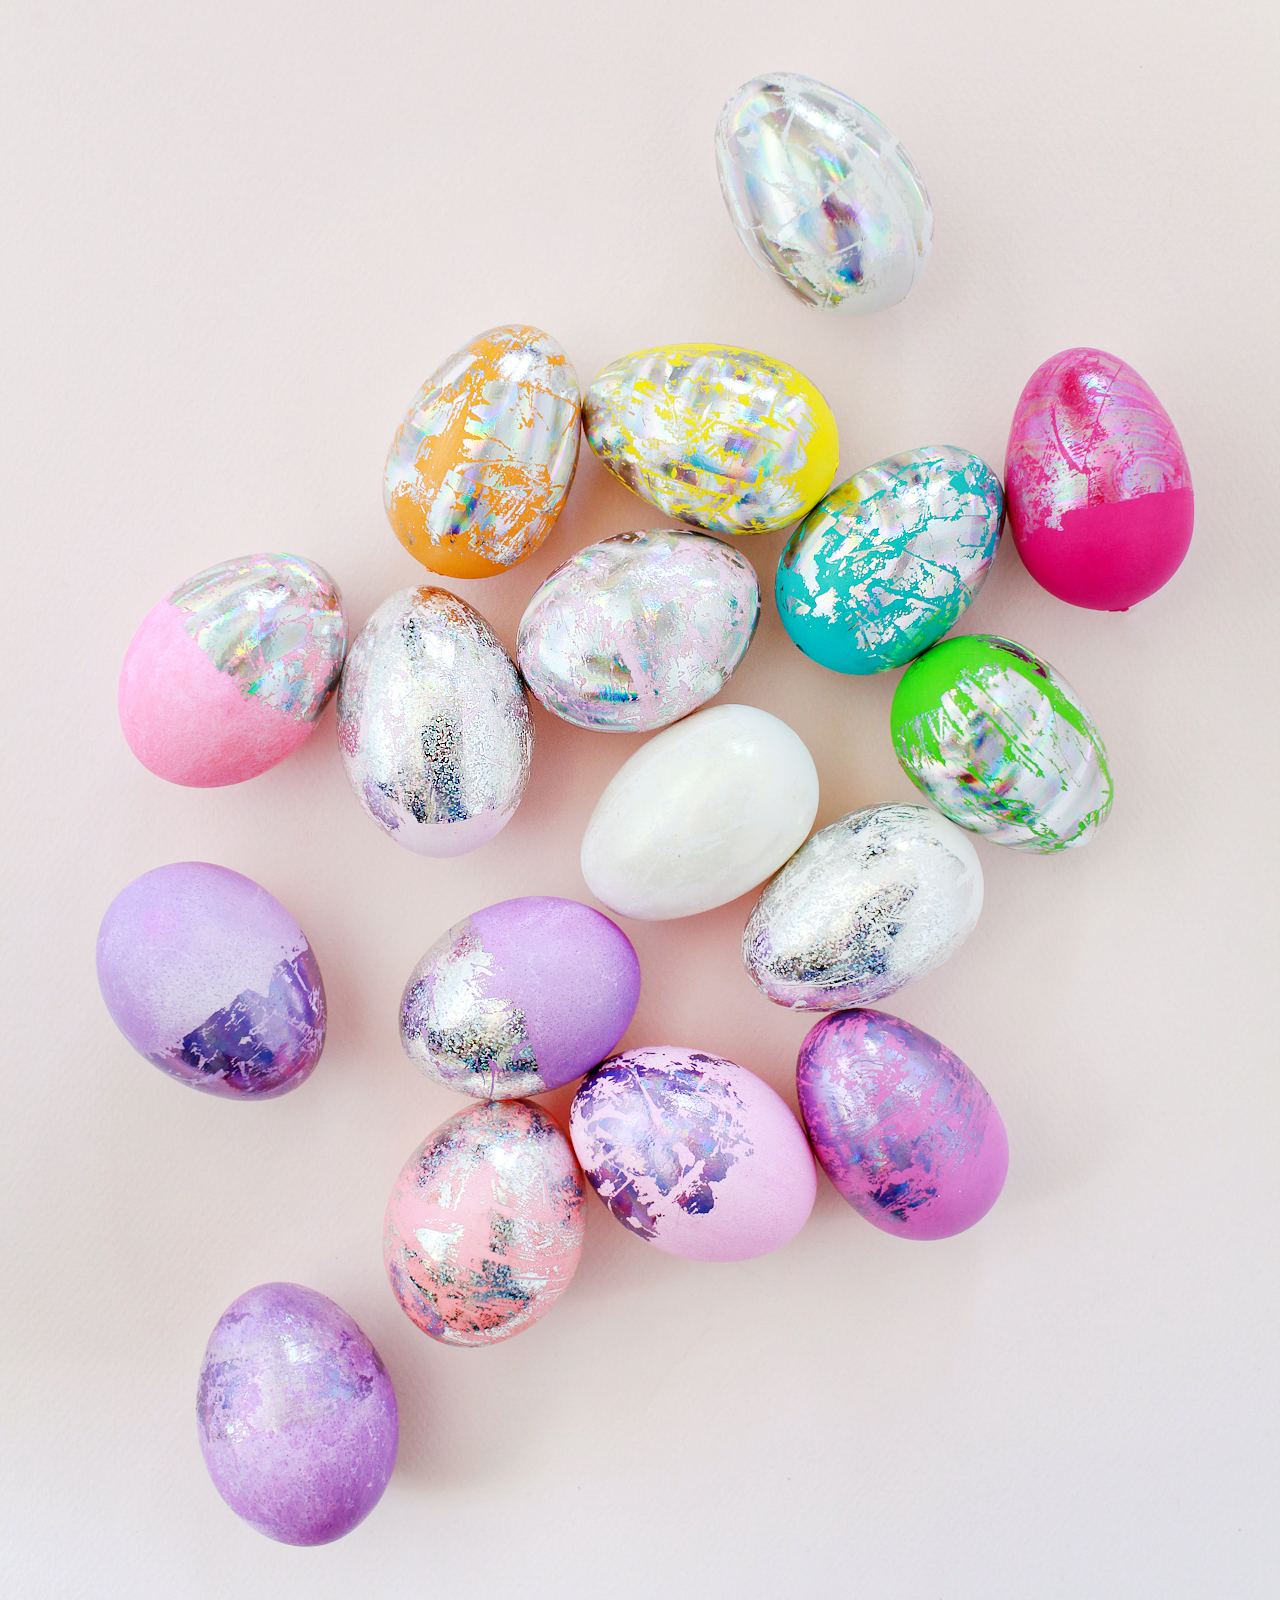
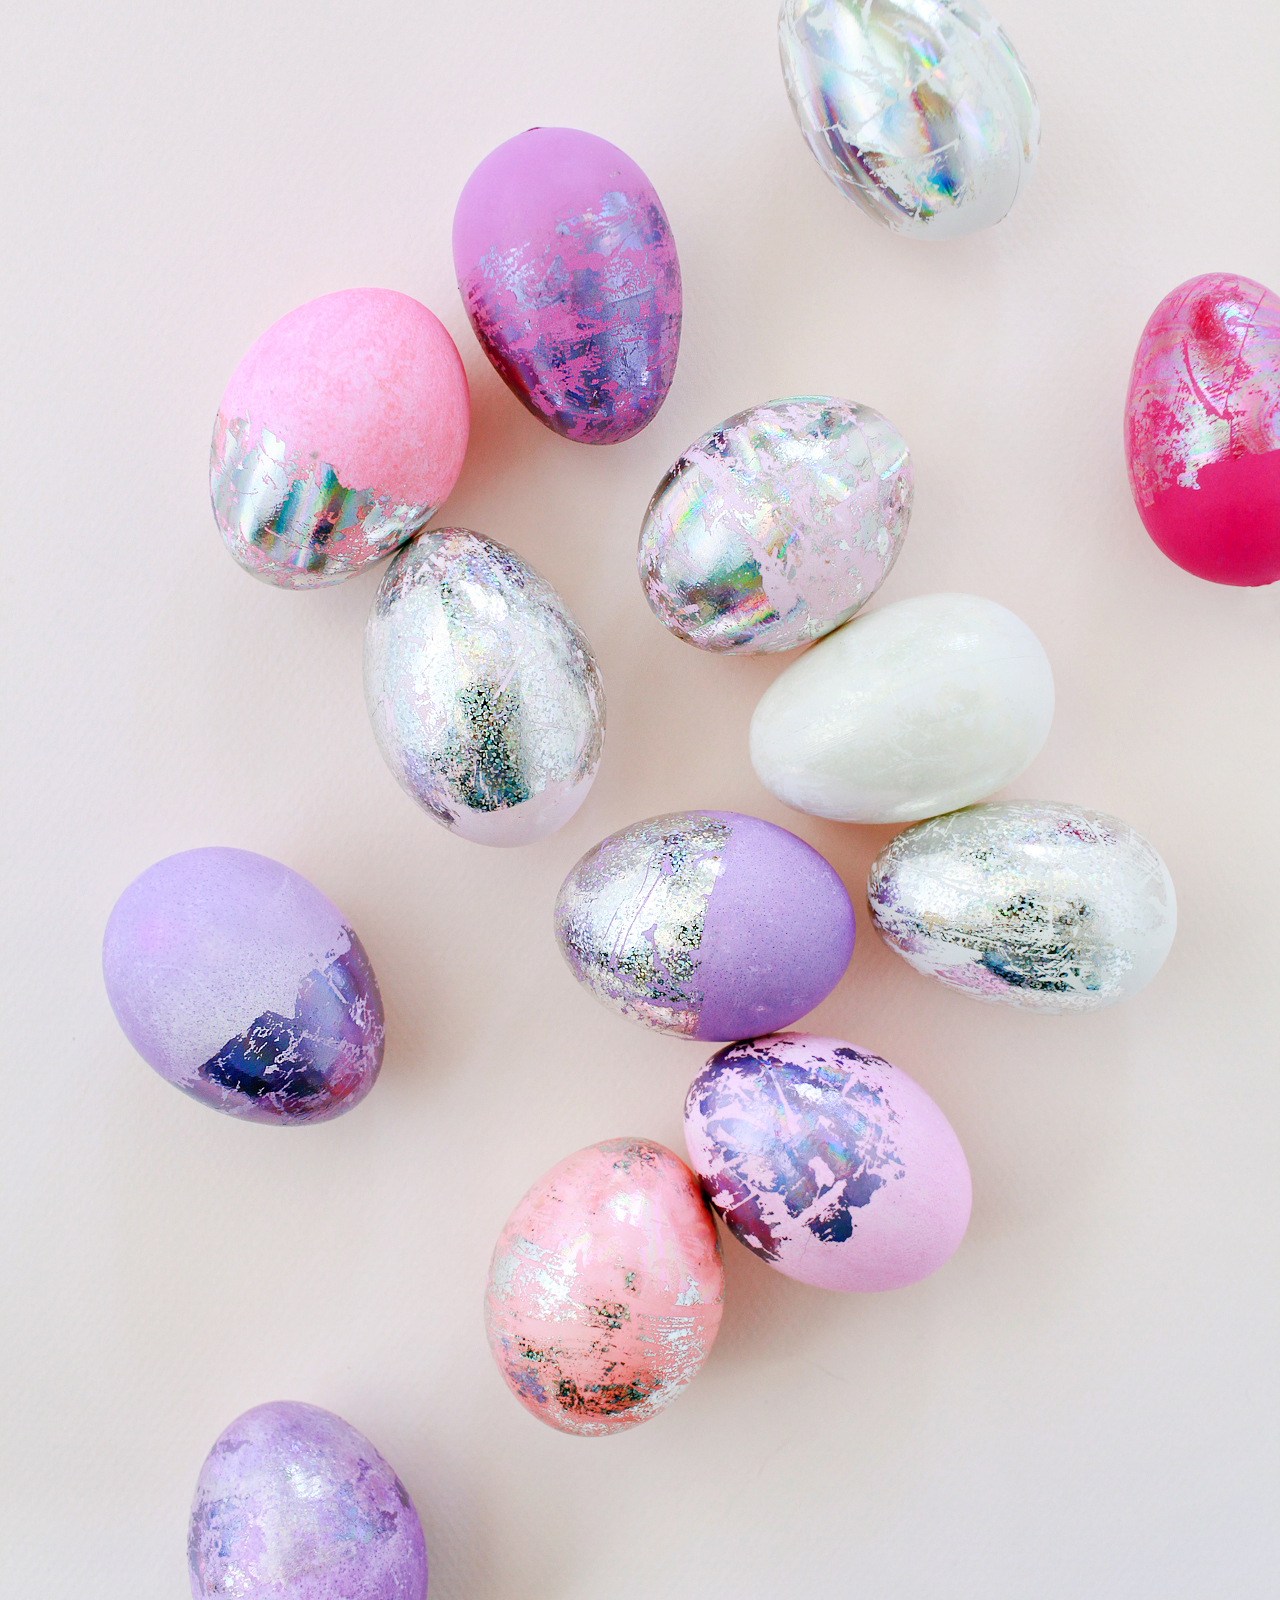
Happy Monday everyone! Today I’m sharing another DIY Easter egg tutorial – and this might just be my favorite yet: DIY hologram foil Easter eggs in every shade of the rainbow! These holographic Easter eggs just make me so happy every time I look at them, and you can even apply the technique to faux eggs to enjoy them year after year. All it takes is a few rolls of hologram nail foil, nail foil transfer adhesive, and you’re good to go!
DIY Hologram Foil Easter Eggs

So first, if you don’t already know about the amazing magic that is nail transfer foil, you’re welcome. It’s super cheap (only $1 for a roll of 5 feet!!), comes in the most amazing range of color and patterns, and you can use it to give yourself a really fun manicure when you’re not busy making holographic Easter eggs. I stuck to a color palette of silver hologram, lavender hologram, and a clear iridescent foil, but you could create an entire rainbow of hologram and iridescent easter eggs just using the nail foils. Now how fun would THAT be??

DIY Hologram Foil Easter Eggs

Supplies

Faux or hardboiled eggs

Nail foil in your choice of color – I used Silver Spectrum, Silver Dots, Opal Glitter, Icy Heather, and a bit of Opal Swirl. I bought all my nail foils here, but you can also find some fun colors and patterns on Amazon.
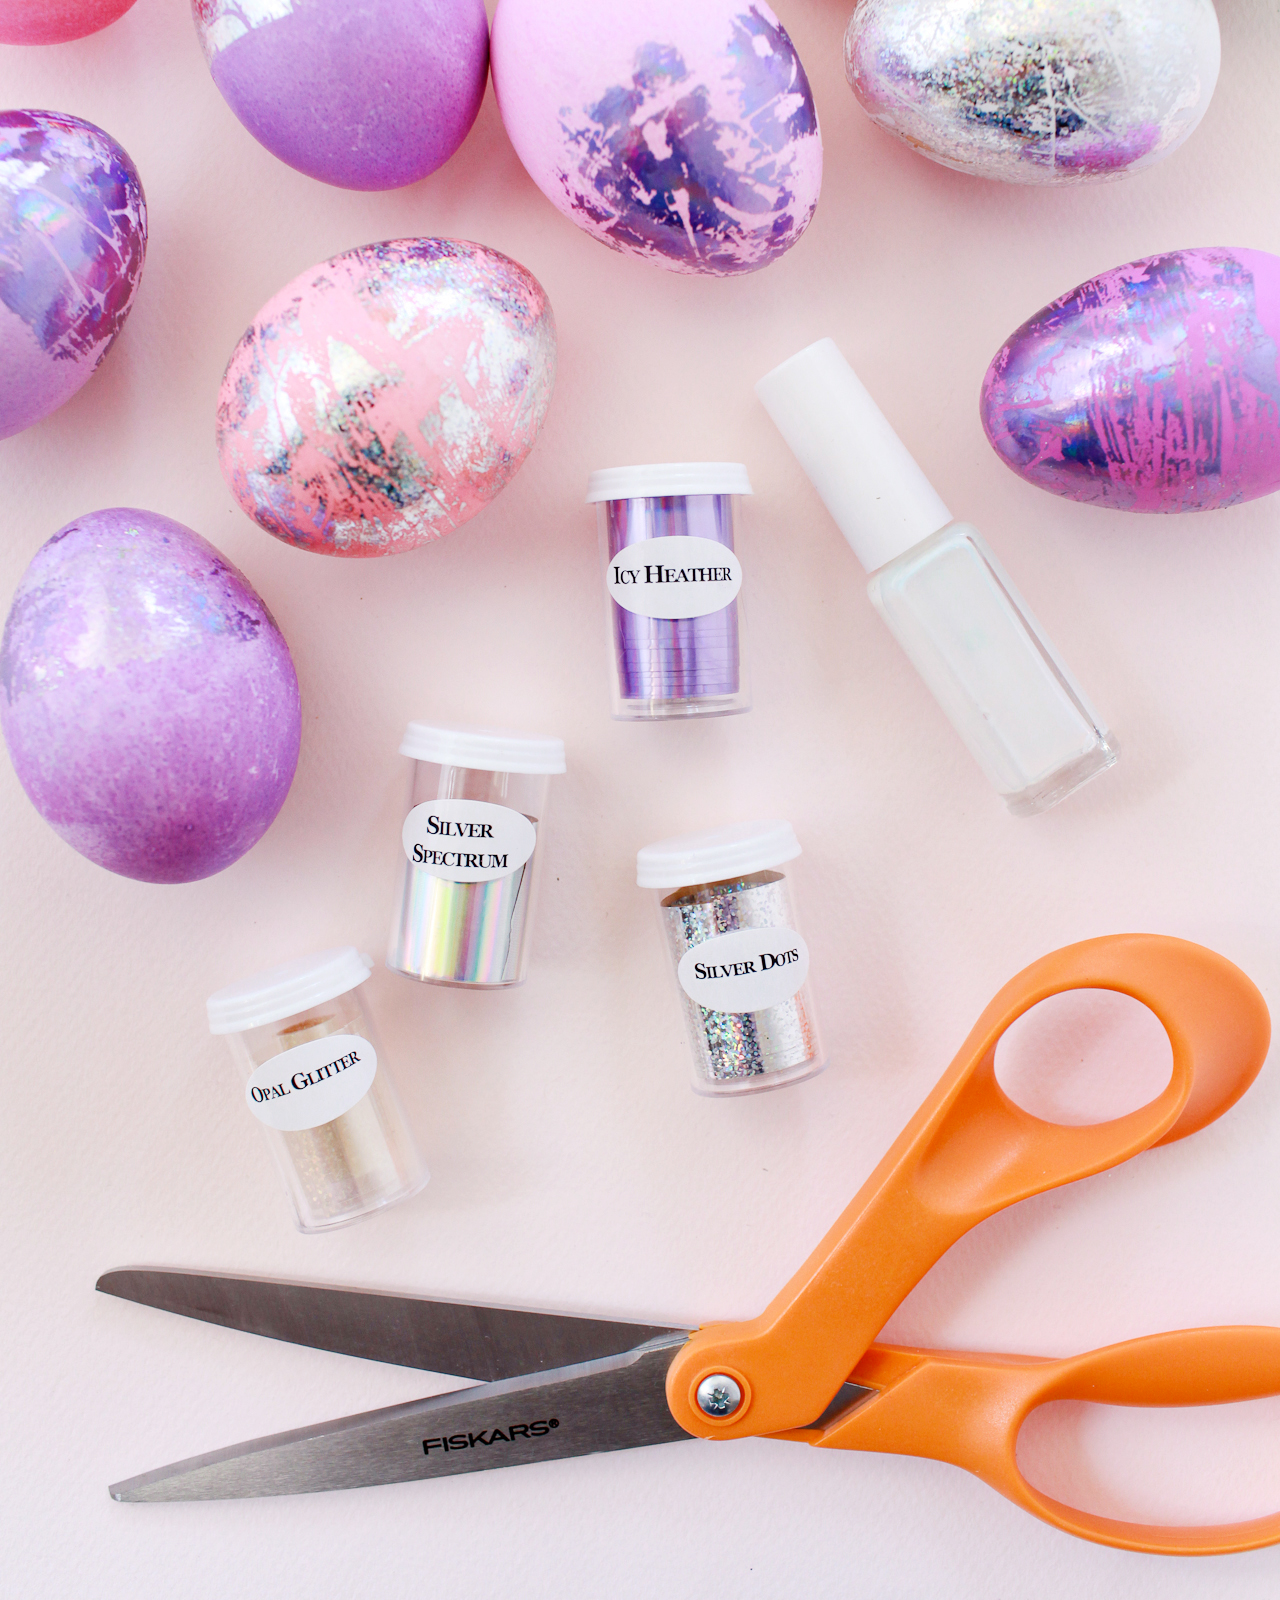
Nail foil transfer adhesive

DIY Hologram Foil Easter Eggs

To make the DIY hologram foil Easter eggs:

Step 1. Start with faux Easter eggs in fun colors (I picked mine up from the dollar spot at Target) or dye hardboiled eggs in a rainbow of bright colors. Just a quick FYI: I tried this foil technique with naturally dyed eggs, and it didn’t go too well. The foil adhesive seemed to have a difficult time sticking to the naturally-dyed eggs. But the eggs dyed with regular liquid food coloring turned out great! The hologram foil also looks pretty great against white eggs, so you could just skip the dye and go straight for the hologram foil.

Step 2. Cut several 2-inch lengths of nail foil in your chosen colors. I usually needed about six 2-inch pieces of foil to cover a single egg. The foiling process moves pretty quickly, so it’s helpful to have a bunch of pre-cut pieces ready to apply ahead of time.

Step 3. Apply the nail foil transfer adhesive to your egg and allow it to dry for several minutes, or until the adhesive becomes clear and tacky. I found it easiest and most effective to apply the adhesive to several eggs at once, but only one half of the egg at a time. I lined up about six eggs at a time and applied the adhesive to each egg, and by the time I was done the first egg was usually ready for hologram foil.

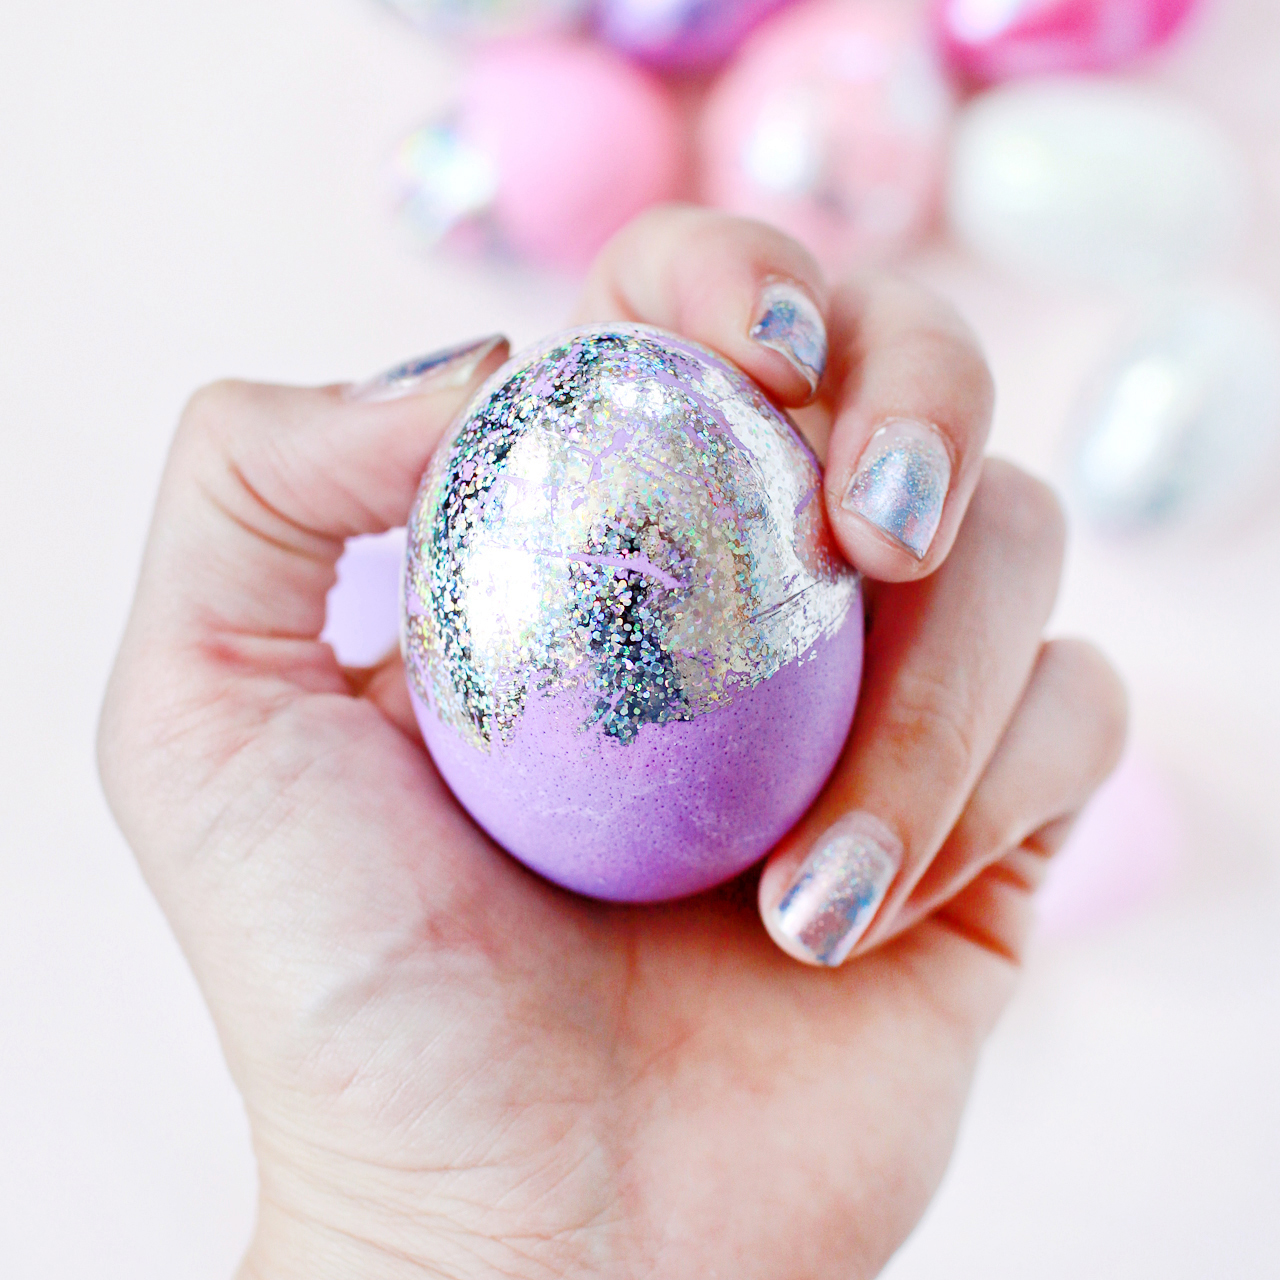
Step 4. Once the adhesive is clear and tacky to the touch, apply the hologram foil to the egg. For more solid coverage, press a piece of foil over the adhesive and smooth it down with your fingers. If you want more of the egg color to show through, quickly tap the foil against the adhesive and then move to another section of the egg. Continue around the entire area until you’re satisfied with the amount of coverage.

DIY Hologram Foil Easter Eggs

The silver spectrum and silver dots hologram foils are so much fun – and they look good on both white and colorful eggs! The opalescent foils are really subtle in person and look best on brighter or dark color eggs, but are just so gorgeous in person. And how pretty is that lavender (aka icy heather) hologram foil?? So many great color combinations, so little time!
DIY Hologram Foil Easter Eggs

DIY Hologram Foil Easter Eggs

DIY Hologram Foil Easter Eggs

DIY Hologram Foil Easter Eggs

Sparkle! Rainbows! Gah, I just love these eggs SO much! But what do YOU think?? Will you be making holographic Easter eggs this year? If you do, be sure to share a photo on Instagram with the hashtag #madewithosbp so I can see it!

p.s. DIY painterly pink and gold Easter eggs and DIY tropical leaf Easter eggs

Photos by Nole Garey for Oh So Beautiful Paper

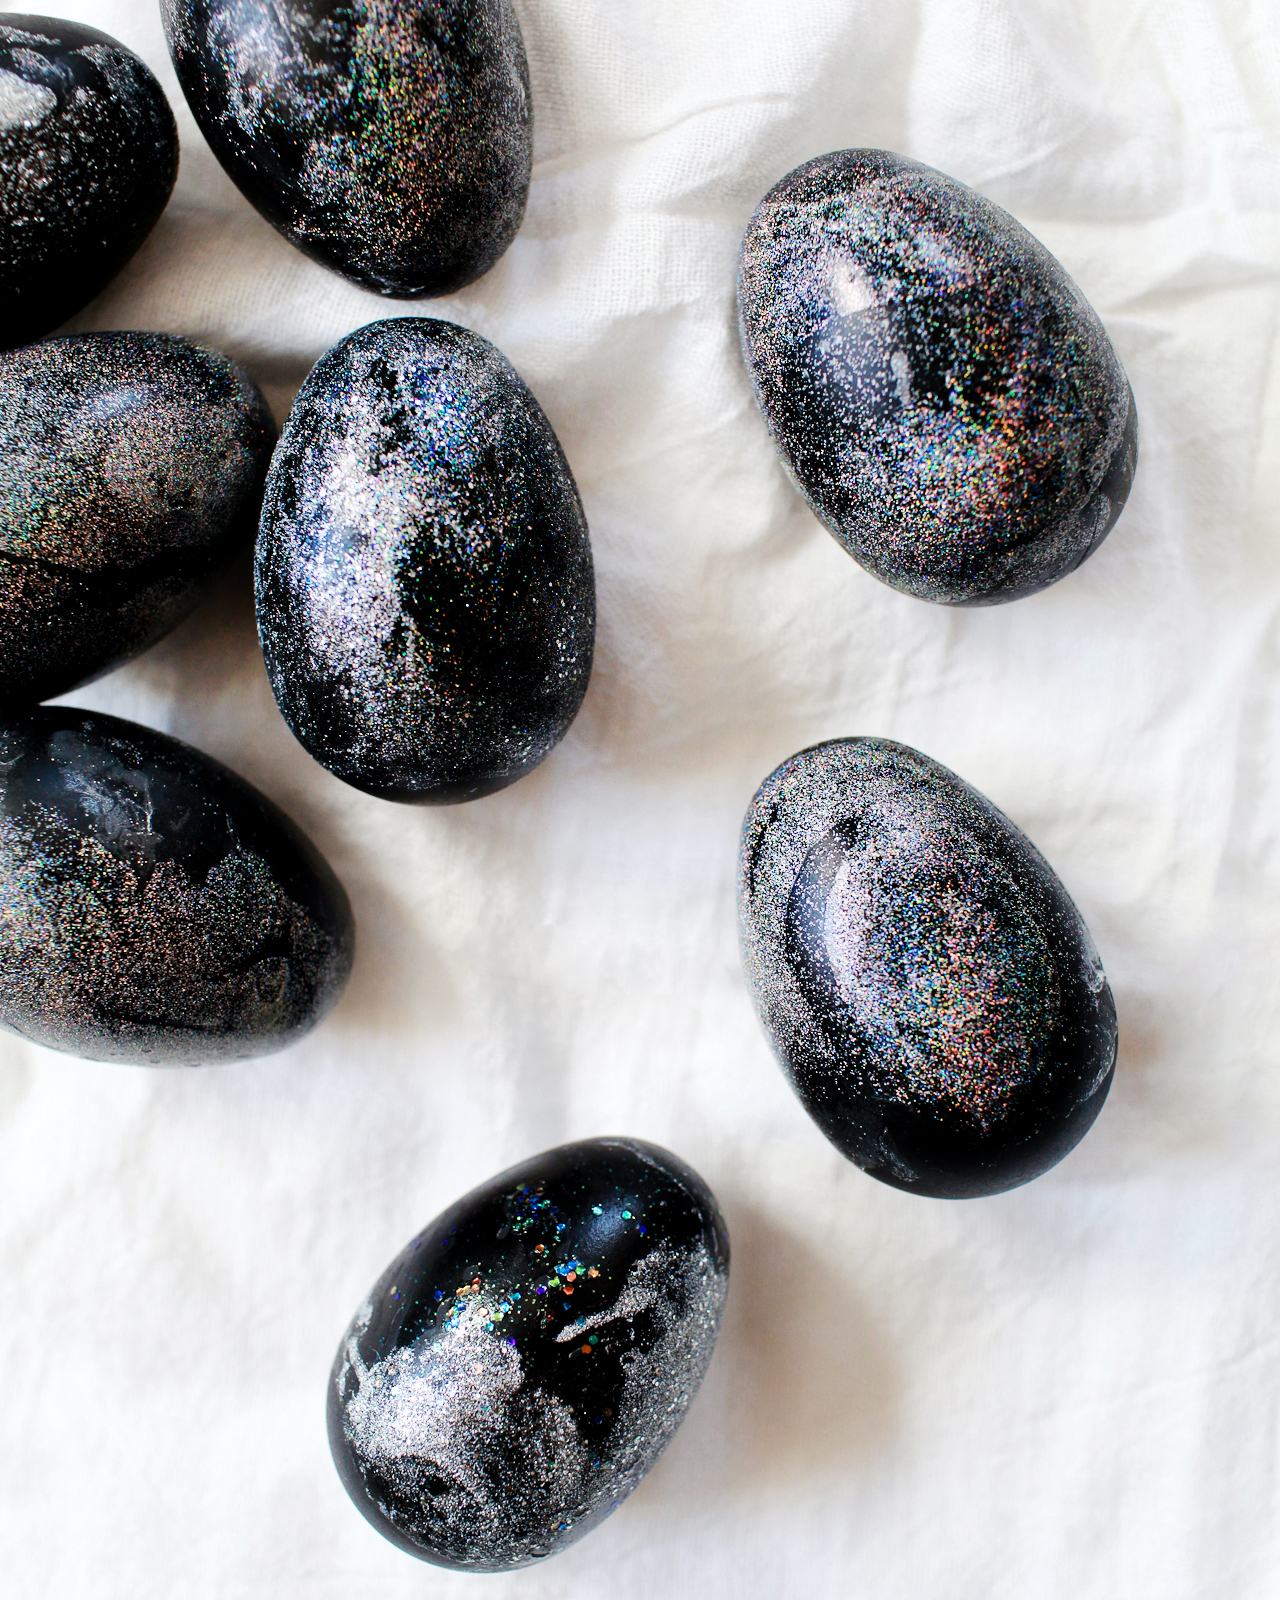
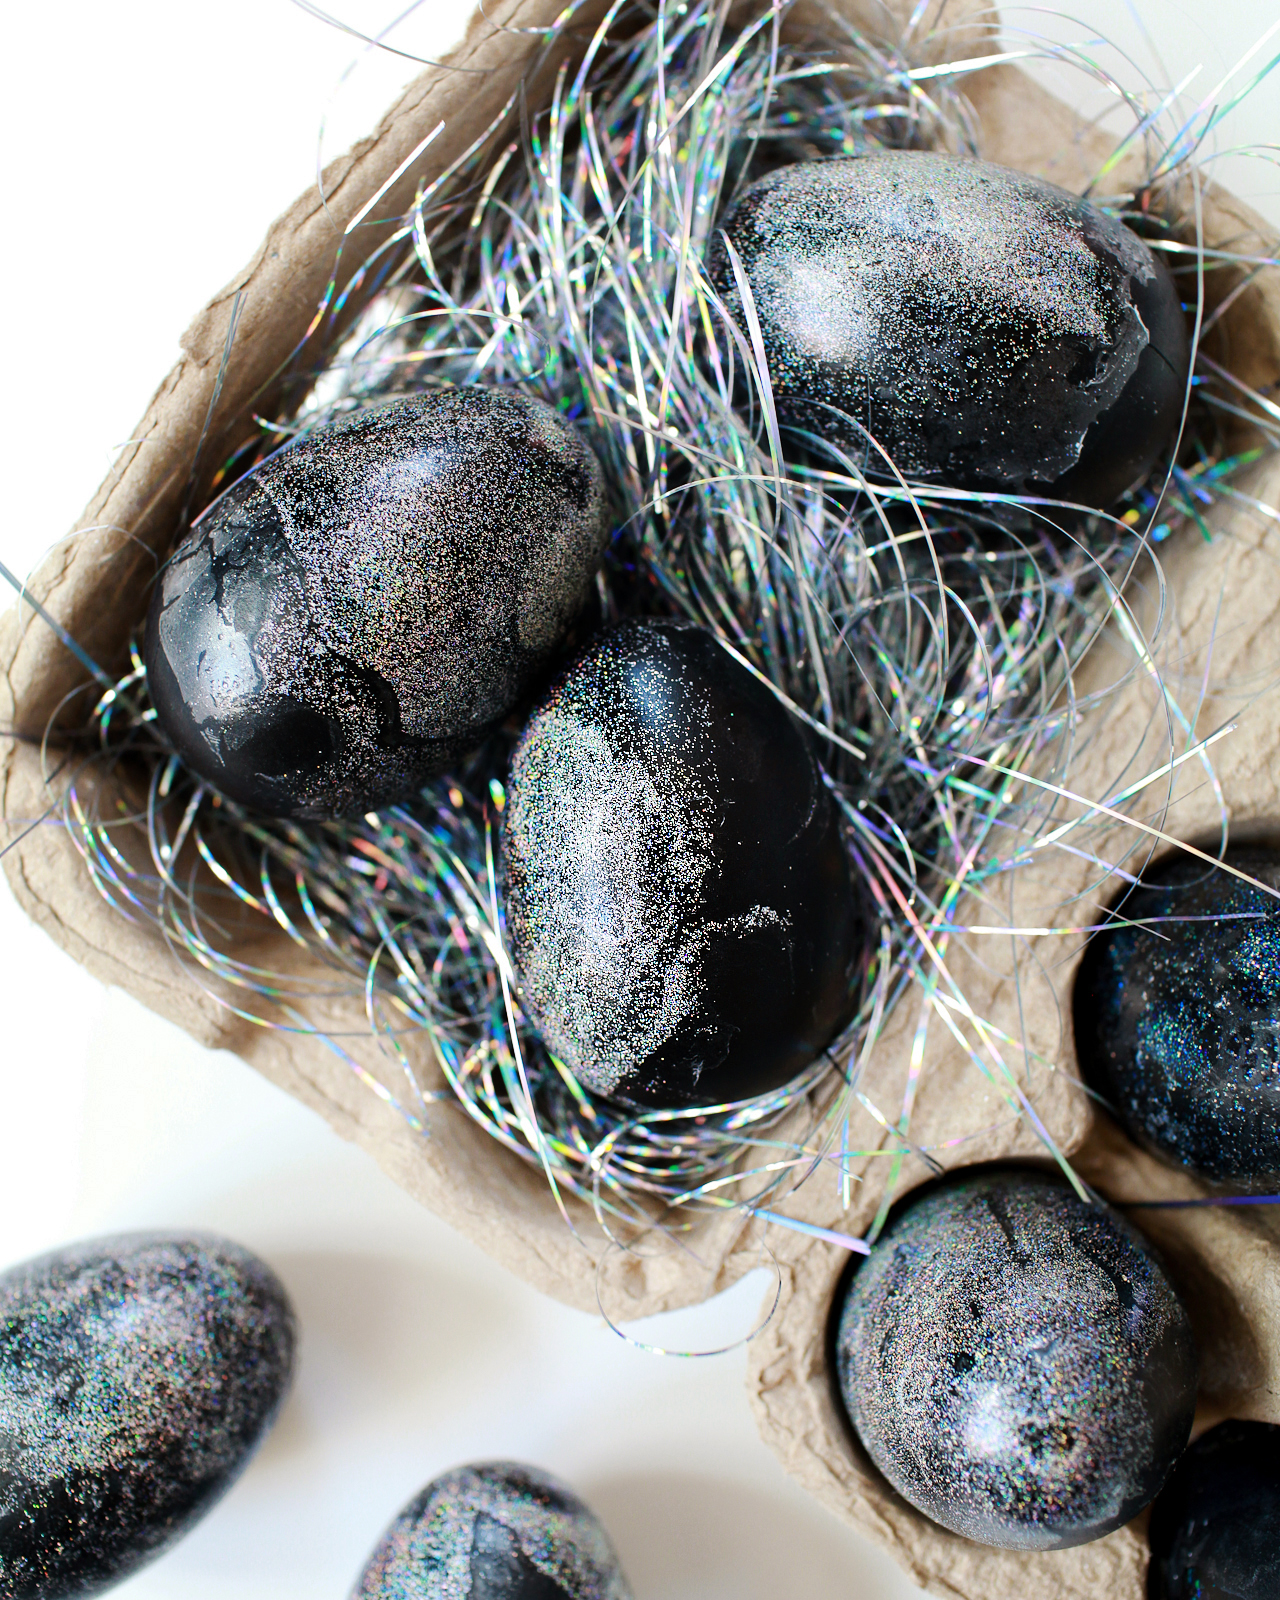
DIY Hologram Galaxy Easter Eggs

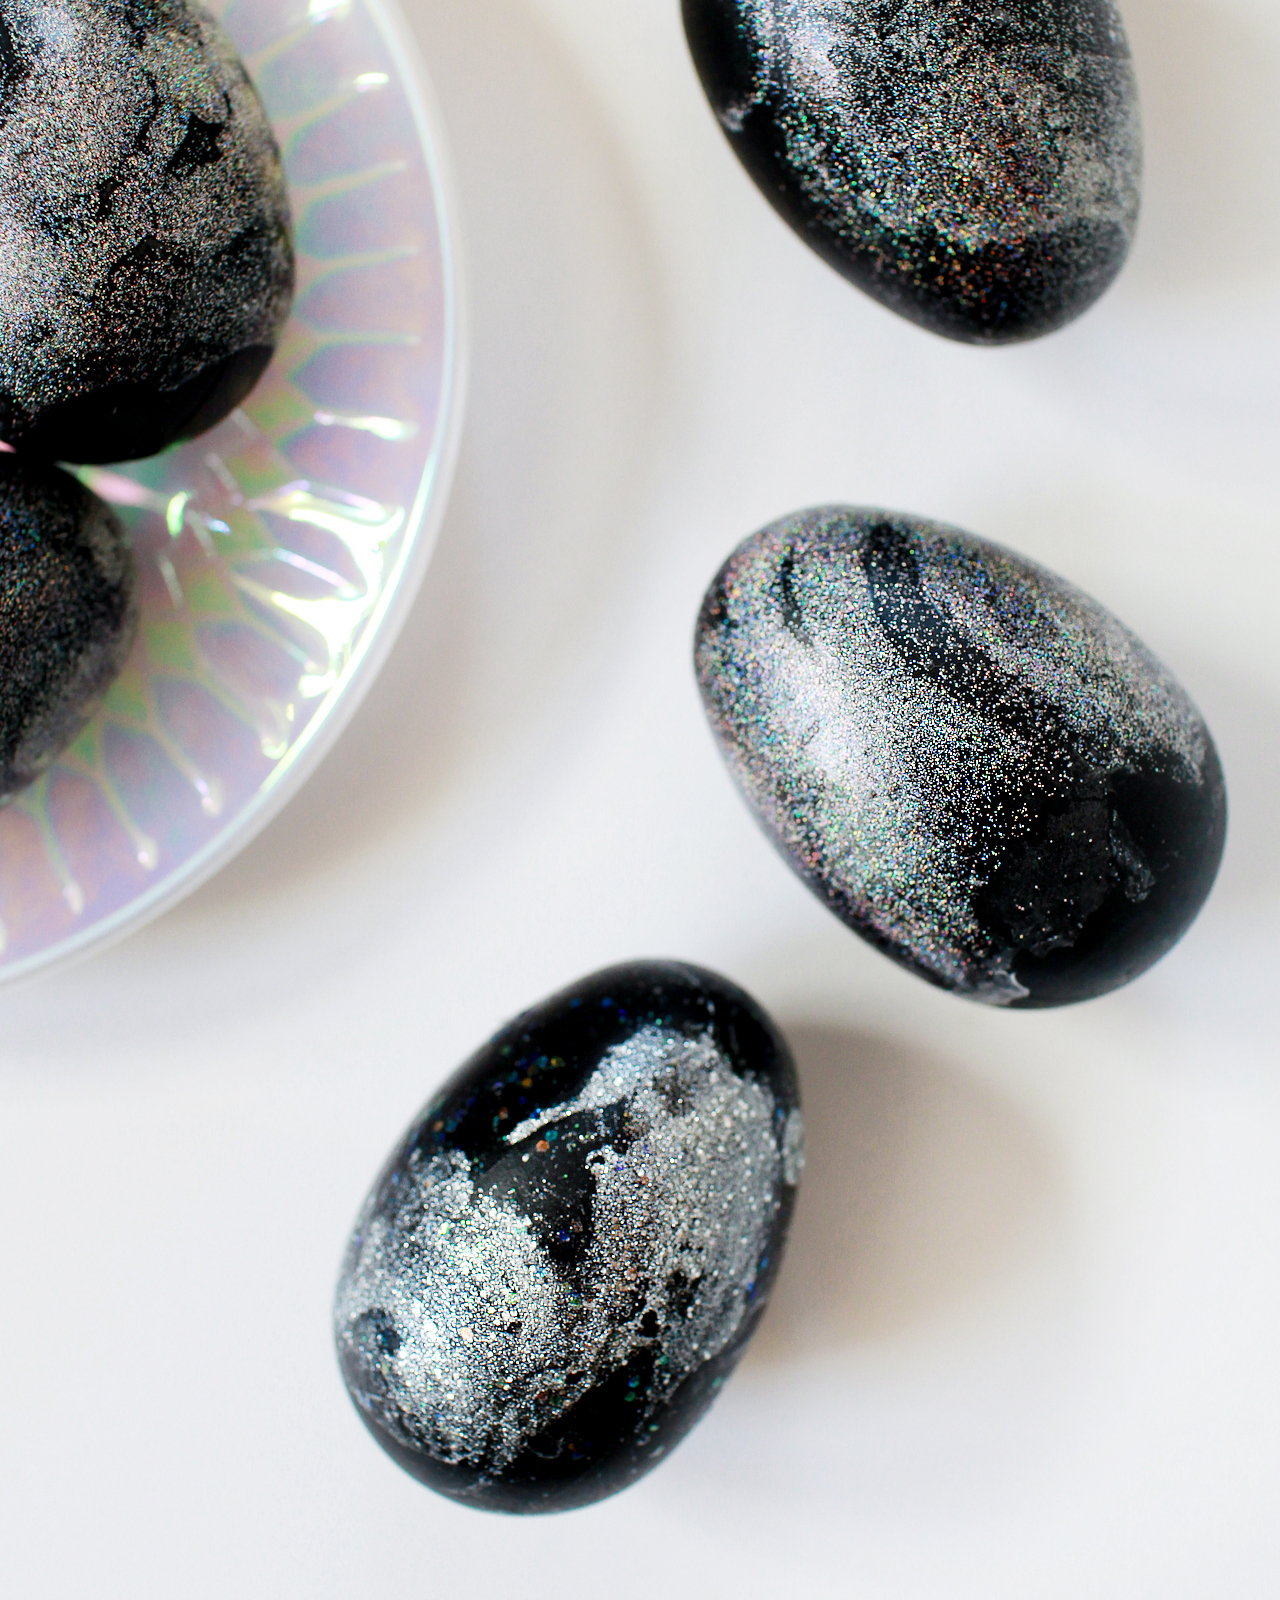
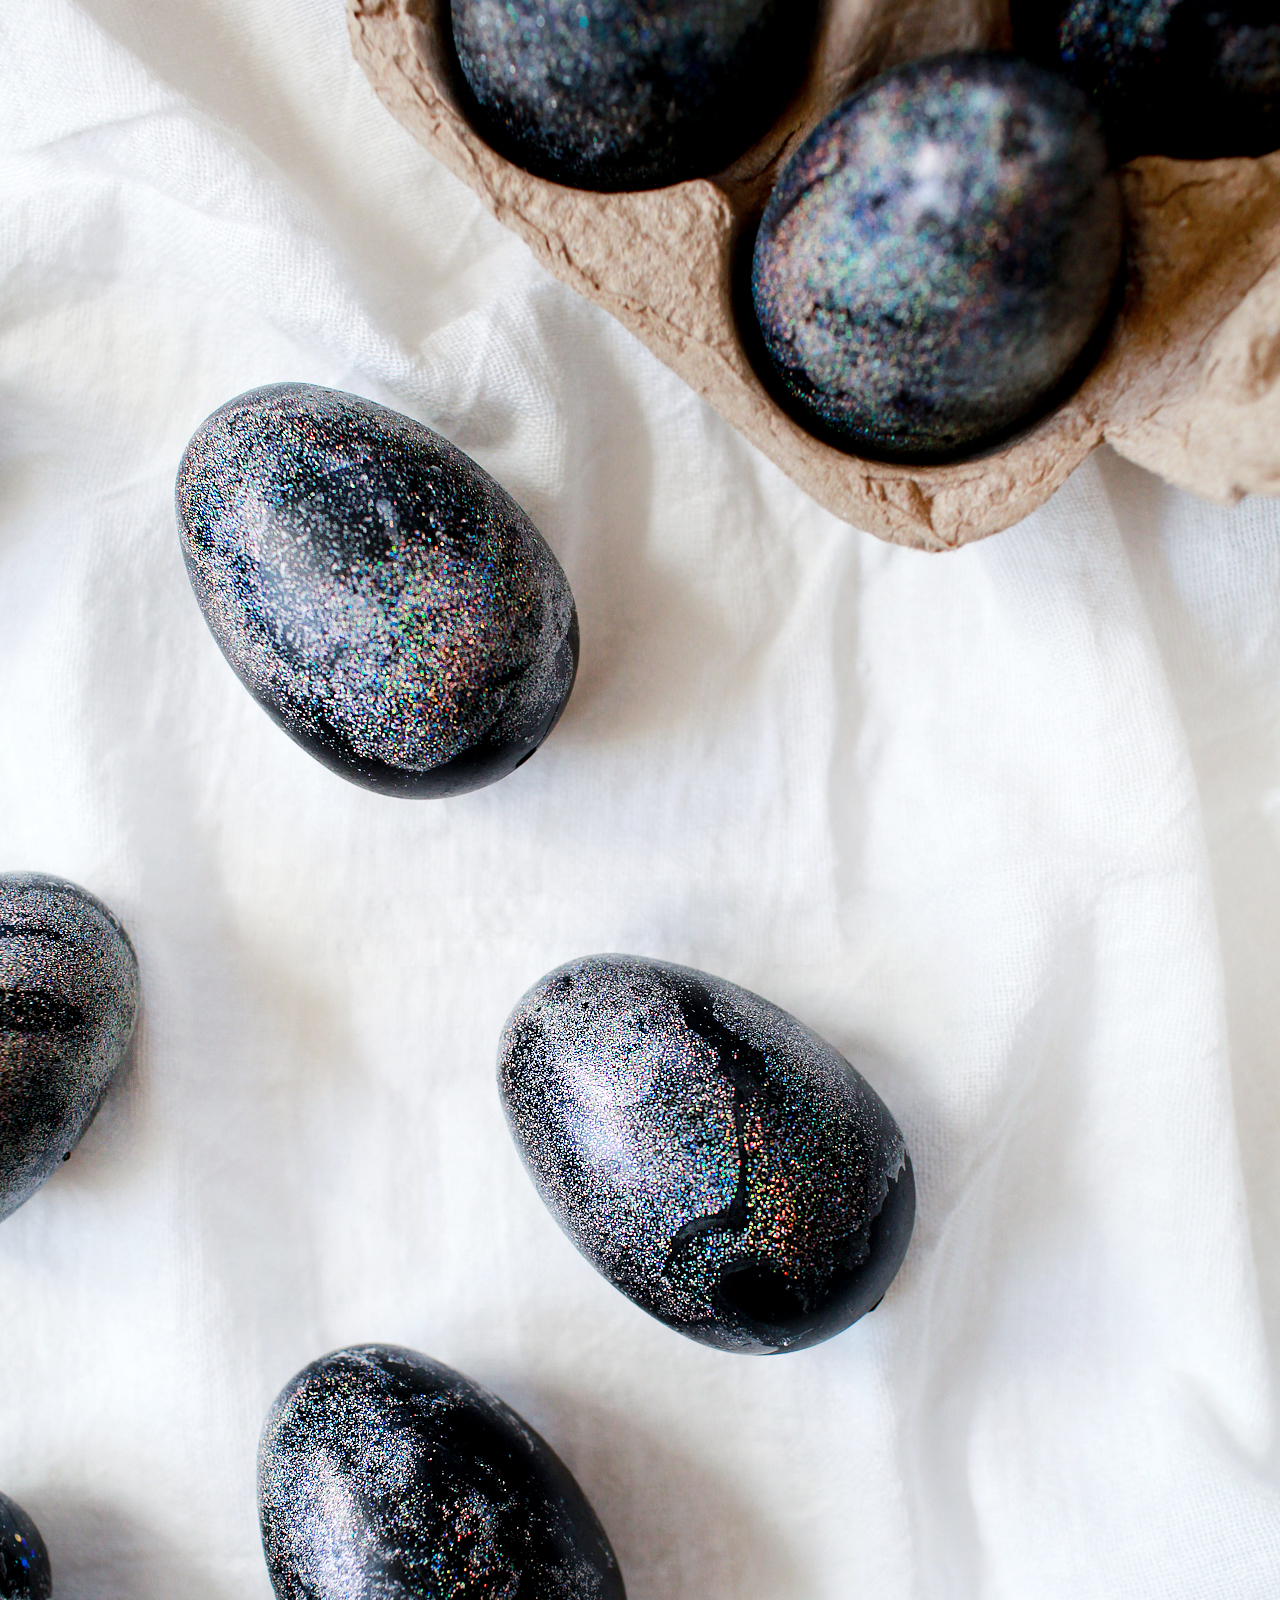
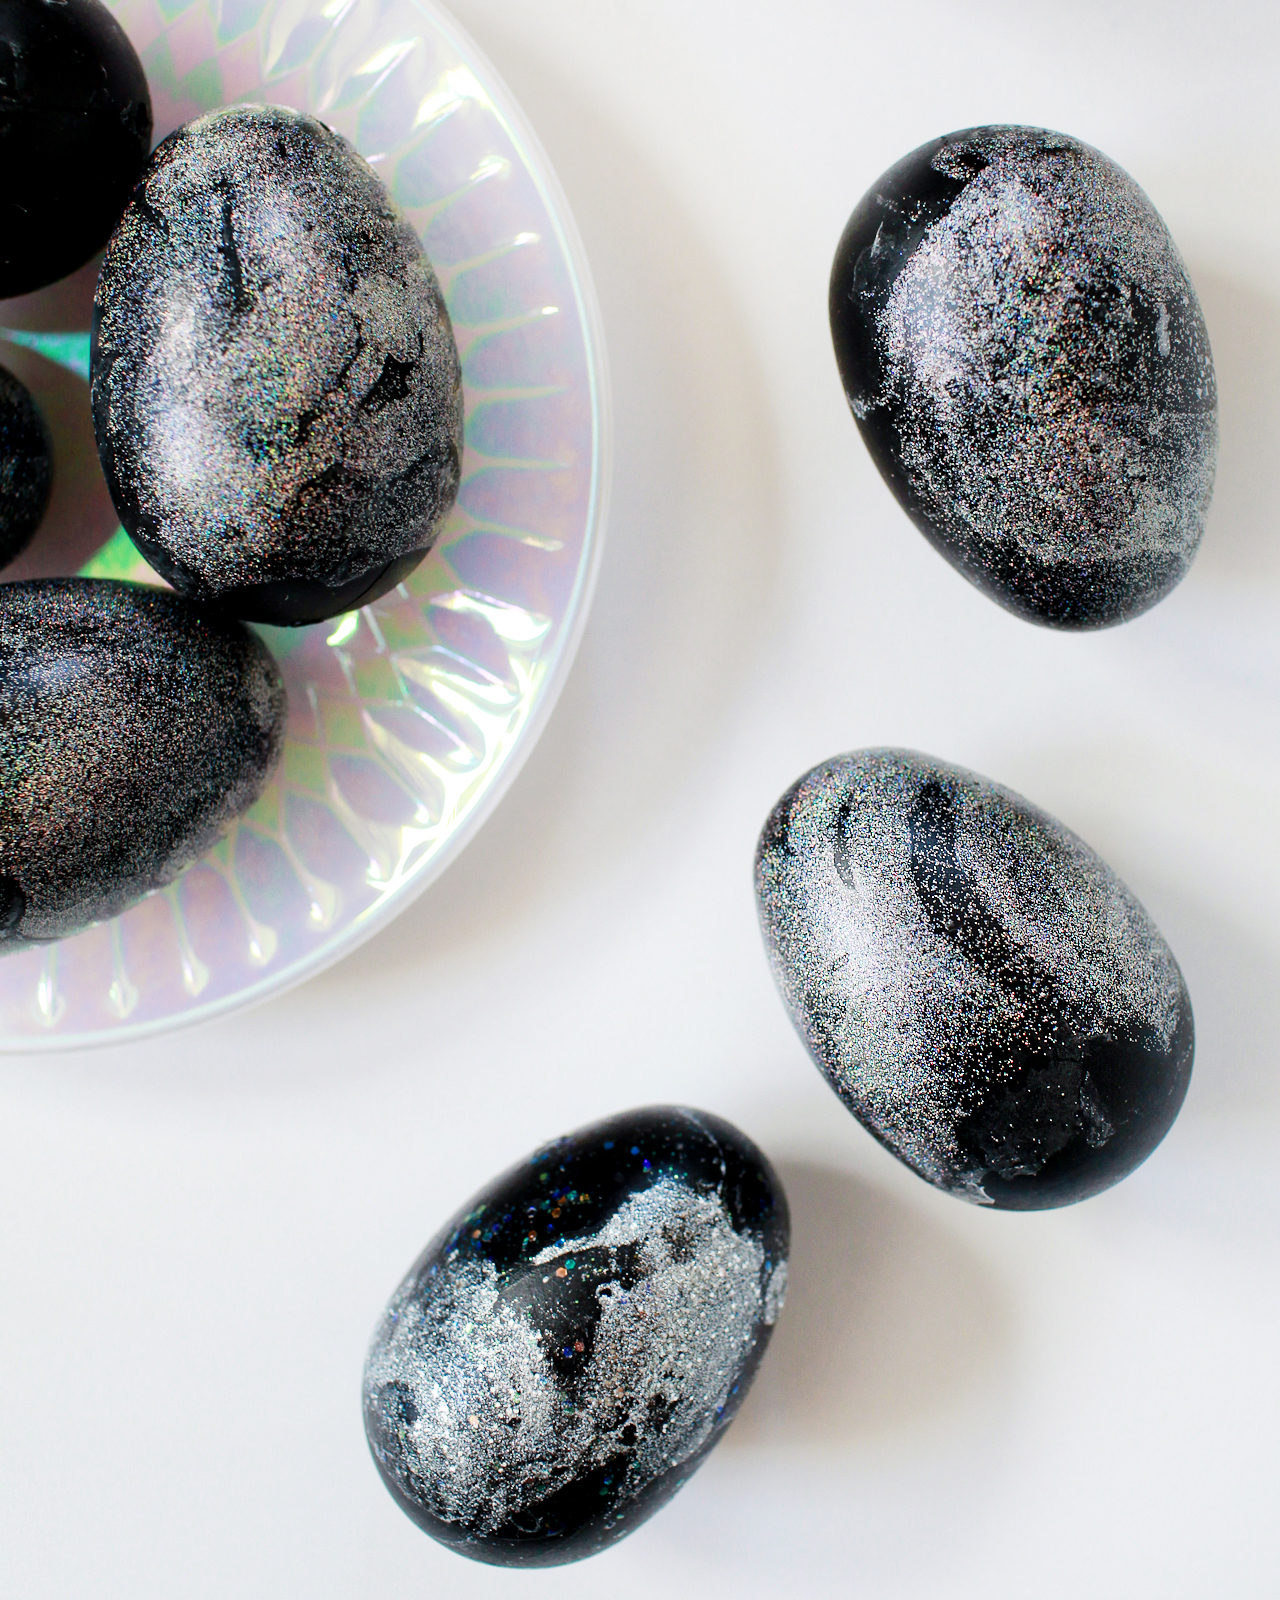
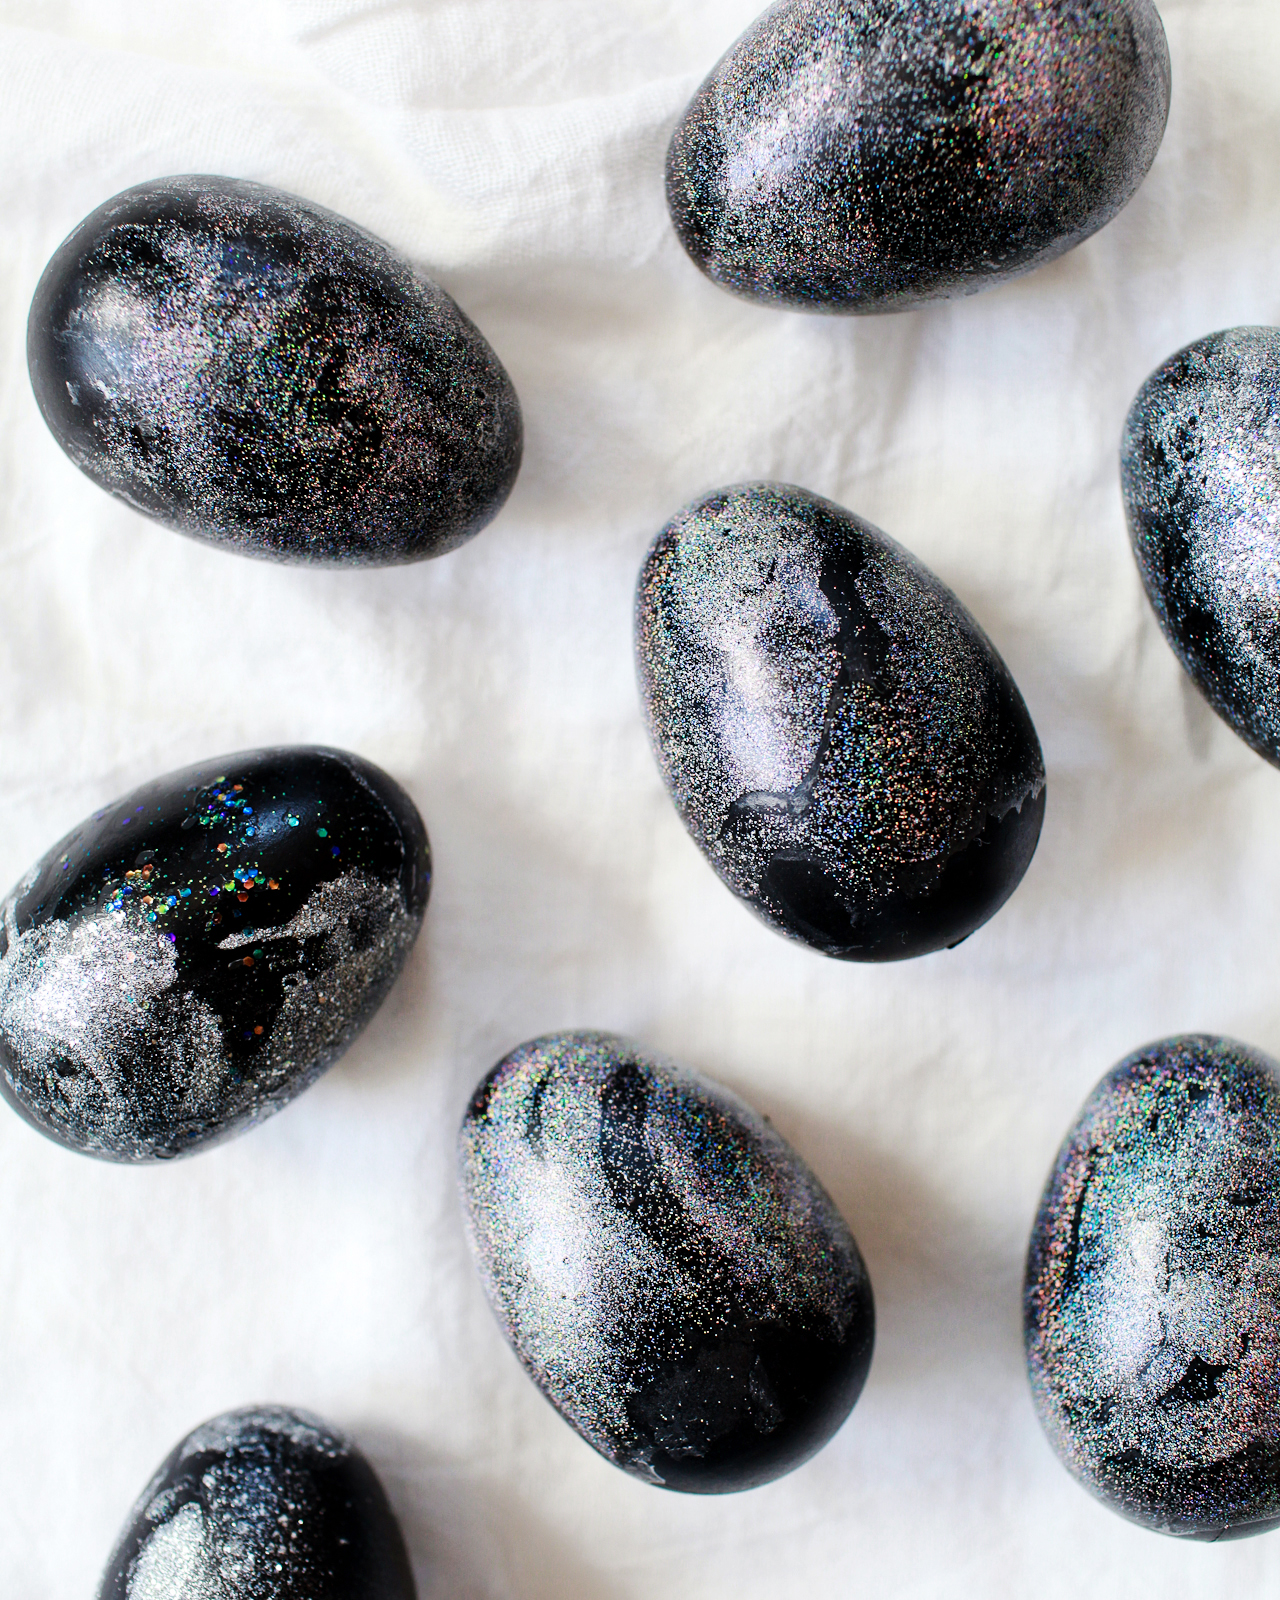
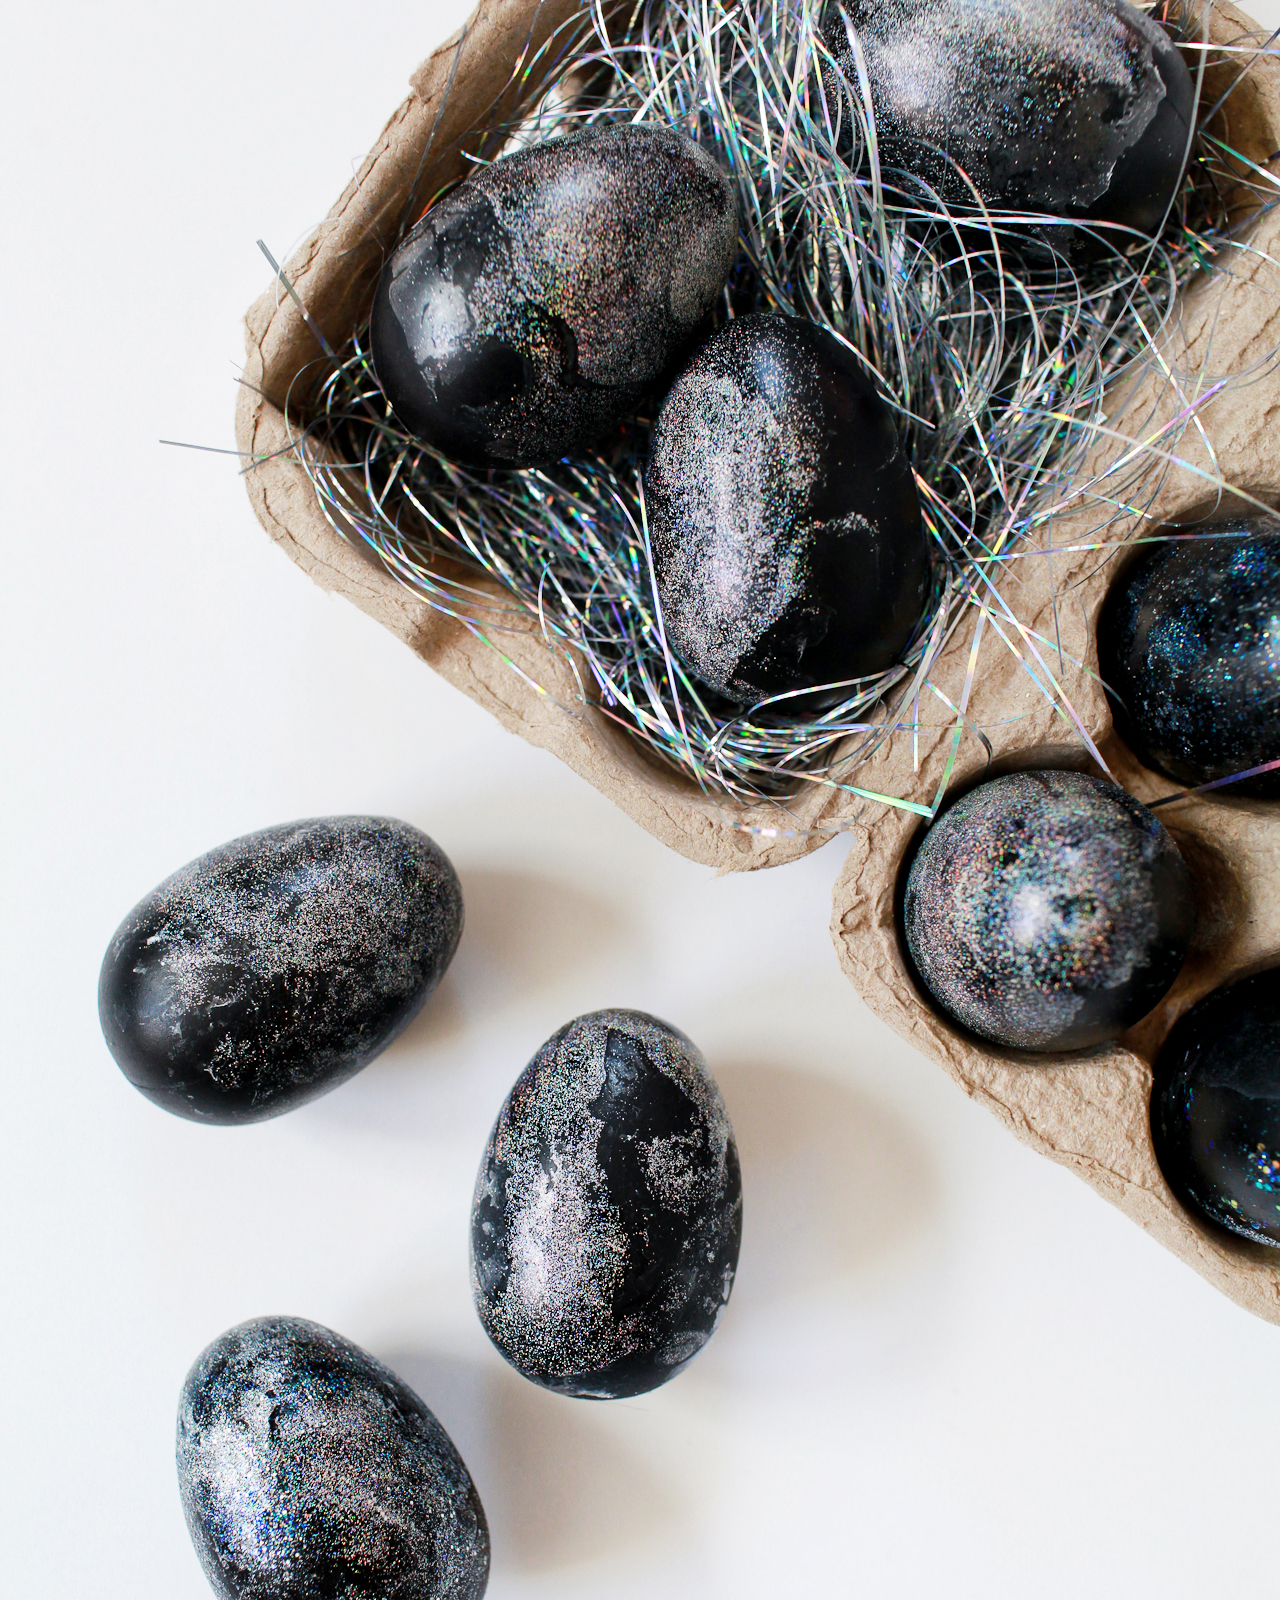
Happy Monday everyone! Today I’m excited to share my first Easter egg tutorial of the season – DIY Hologram Galaxy Easter Eggs! I loved the marbled hologram pumpkins that I made back in October, and I was excited to apply the hologram marbling concept to Easter eggs. When marbled, the hologram nail polish takes on a galaxy-like quality that I absolutely LOVE, especially against a dark background. And they’re super sparkly, which my daughters both love. So fun!

DIY Hologram Galaxy Easter Eggs

I mean, what’s not to love about shimmery rainbow sparkles on an Easter egg? I knew I wanted to use the hologram nail polish against a super dark color, so I decided to make things easy for myself and marble a few black plastic chalkboard Easter eggs. You could also paint regular hard boiled eggs with black craft paint or chalkboard paint! I tried mixing a few different types of glittery hologram and iridescent nail polish together, and while it still worked, I found that I got the best results when I stuck to just a few drops of a single nail polish color. Each egg only takes a few drops of nail polish and a few seconds to make – so easy!

DIY Hologram Galaxy Easter Eggs

Supplies

Black plastic Easter eggs

Hologram nail polish

Latex gloves

Disposable plastic container

Wax paper

Paper towels

DIY Hologram Galaxy Easter Eggs

DIY Hologram Galaxy Easter Eggs

To make the DIY hologram galaxy Easter eggs:

Step 1. Fill a disposable plastic container with lukewarm water. The container should be slightly wider than an egg and deep enough to cover the entire egg in water (I used a grande size plastic Starbucks cup!). 

Step 2. Drizzle a few drops of nail polish in curvy circular patterns. Wait a few seconds for the hologram glitter nail polish to naturally disperse over the surface of the water. Wearing disposable gloves, dip the egg into the water and twirl it all the way around before removing from the water.

Step 3. Set the egg on a sheet of wax paper to dry. The nail polish actually dries REALLY fast, so you can usually pat the eggs with a paper towel to soak up any excess water.

Step 4. Use a toothpick, stir stick, or disposable utensil to remove any excess nail polish from the water. Repeat steps 2 and 3 for all the remaining eggs!

DIY Hologram Galaxy Easter Eggs

DIY Hologram Galaxy Easter Eggs

DIY Hologram Galaxy Easter Eggs

Can you tell I’m just totally obsessed with these hologram Easter eggs? I’m so excited to add these hologram galaxy eggs to our Easter egg hunt this year! I hope you’ll try making some, too!

p.s. DIY marbled Easter eggs using liquid food coloring and DIY tropical leaf Easter eggs

Photos by Nole Garey for Oh So Beautiful Paper
Matcha and Mint Mocktail

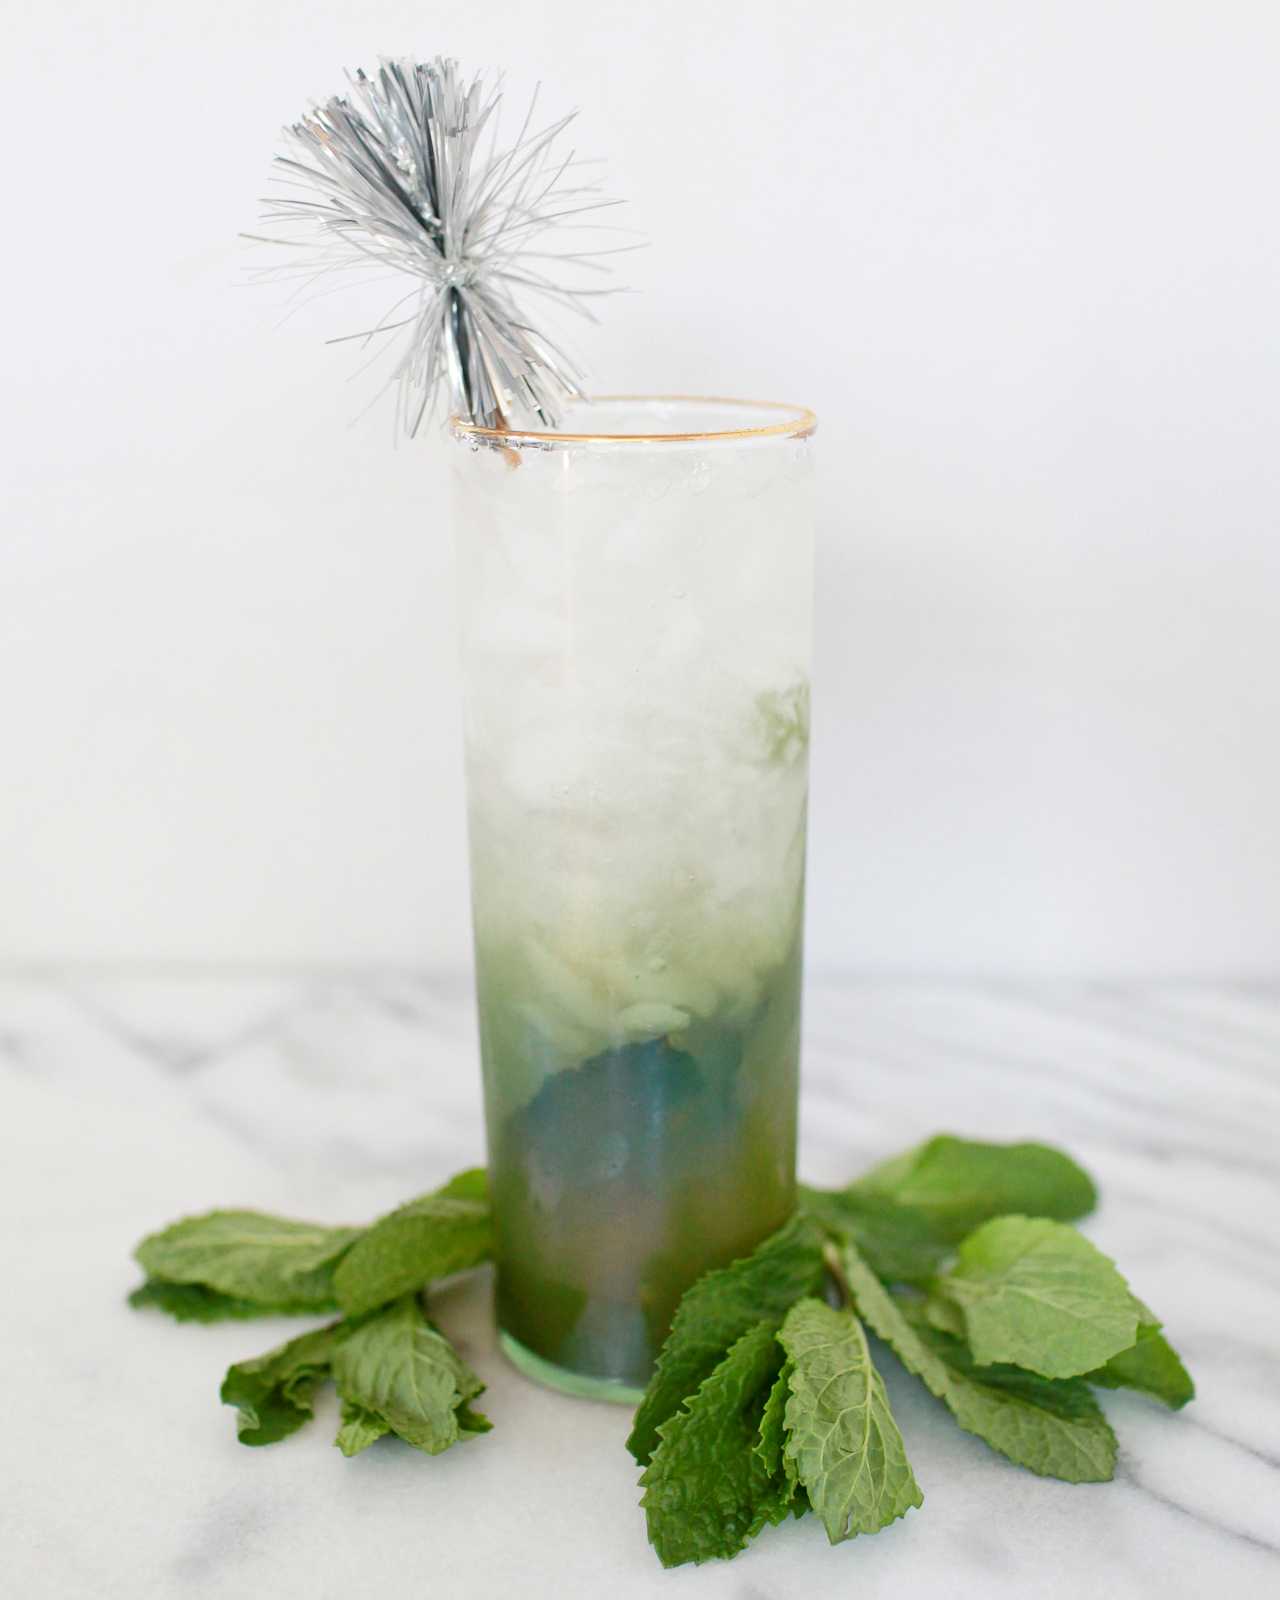
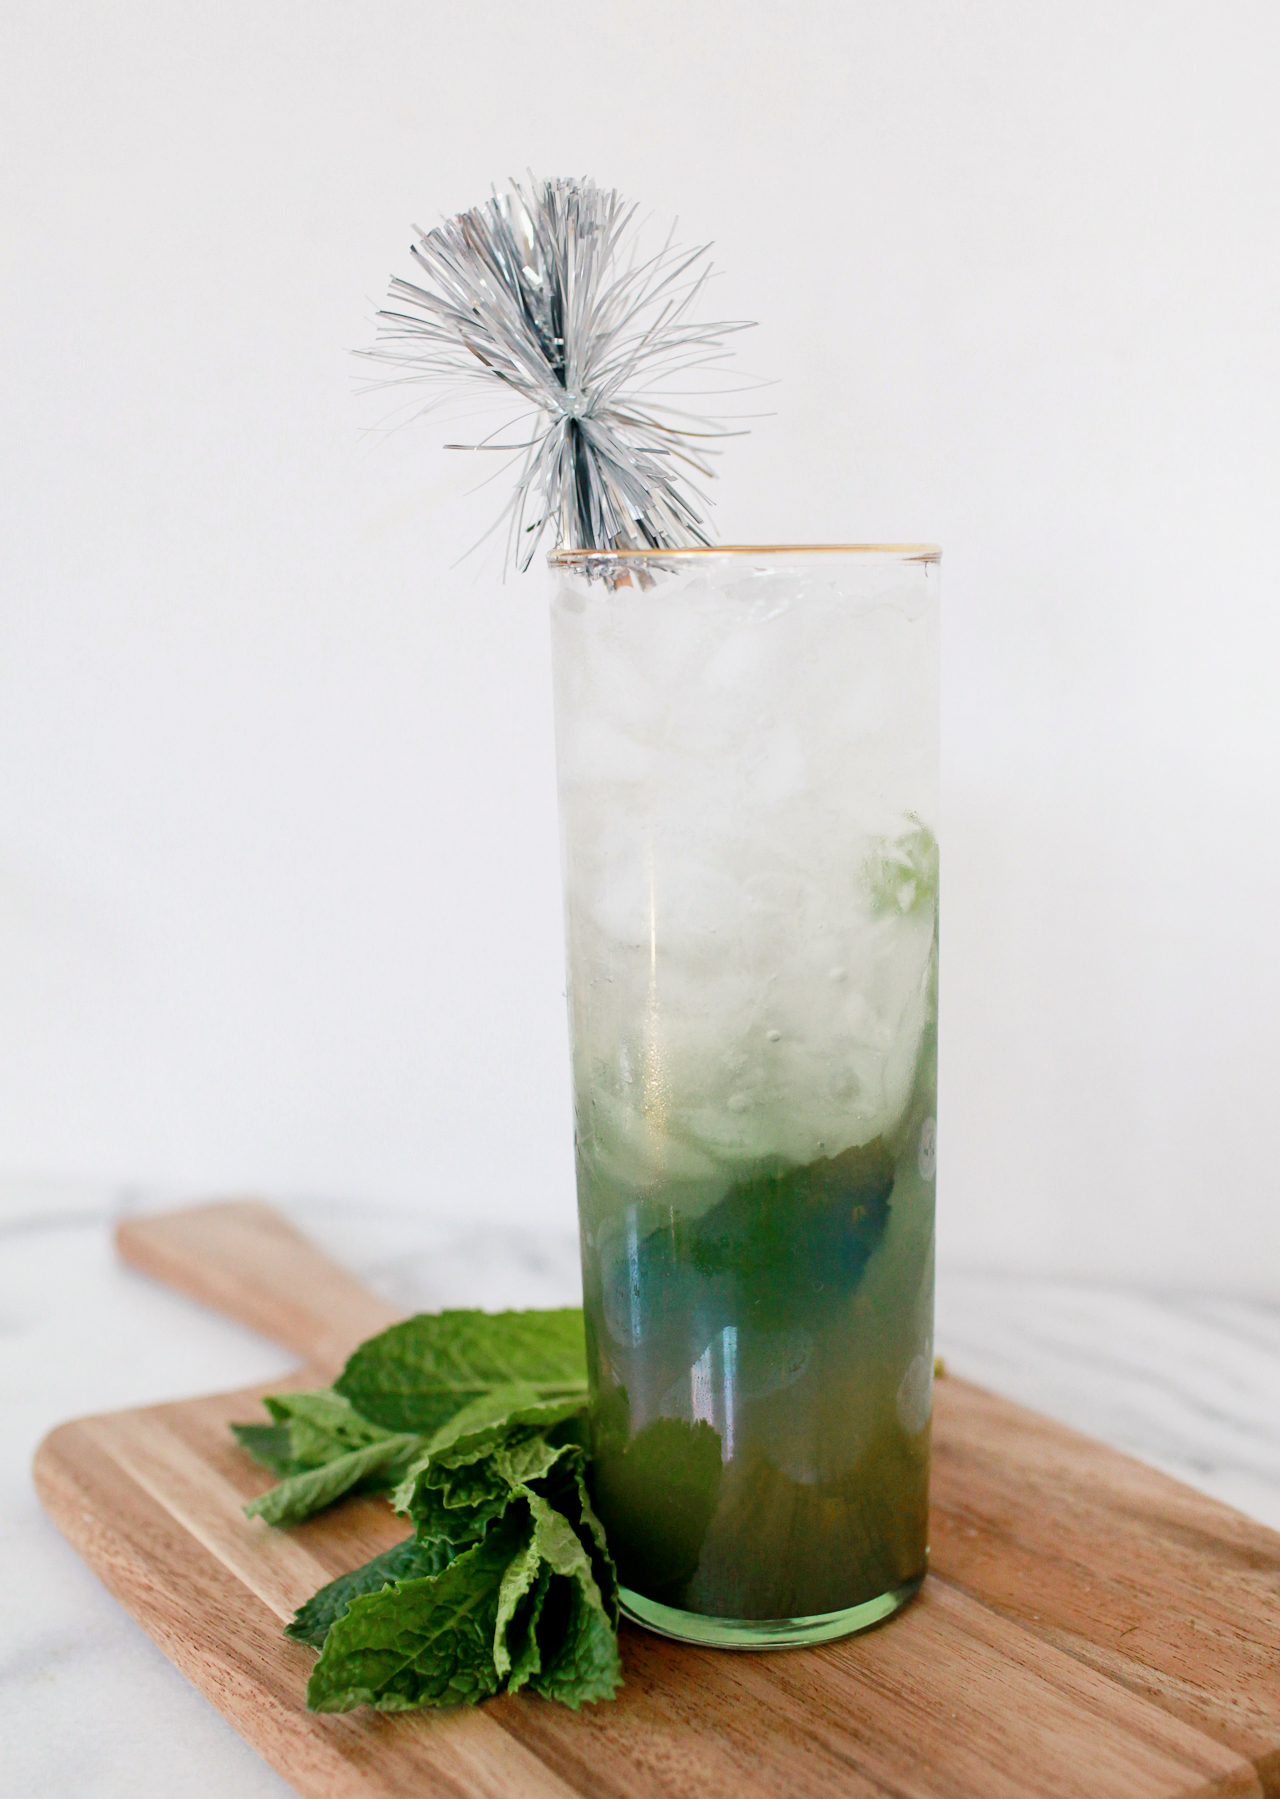
You might have noticed that Saint Patrick’s Day has become something of a drinking holiday. I’m not a huge fan of this whole turn-a-meaningful-day-into-a-themed-drinking-day thing, because I tend to think that those days were already important to people for reasons other than drinking. I also think that drinking is something we should incorporate into our every day cuisines, and not something we should cram into wild days of excessive partying. So, if you’re looking for something to drink today that doesn’t require booze, we’ve got a great Matcha and Mint mocktail recipe for you. It’s green. Total coincidence. –Andrew

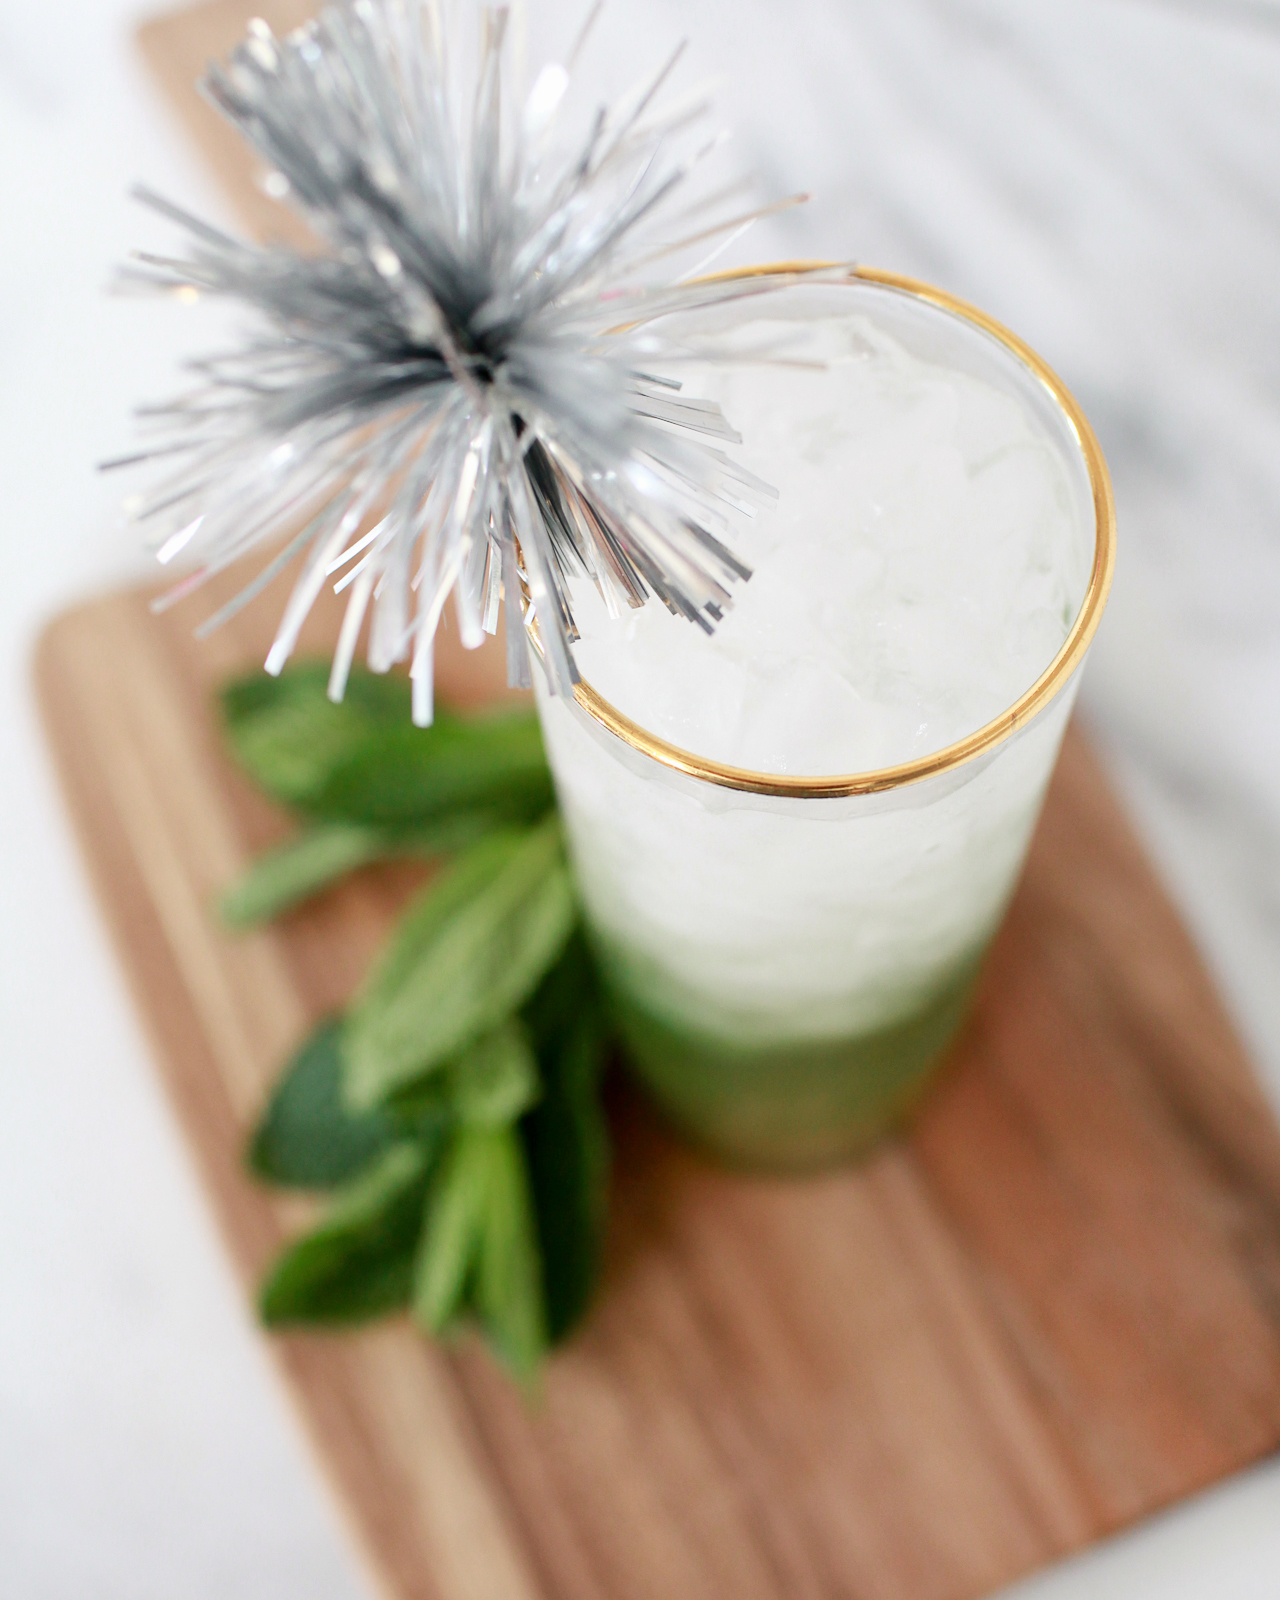
Matcha and Mint Mocktail

Matcha and Mint Mocktail

1 oz Matcha Syrup
1 oz Lime Juice
Mint Leaves
Tonic Water

To make the matcha syrup: combine a cup of water, a cup of white sugar, and 2 tablespoons of matcha green tea powder in a sauce pan over low heat. Whisk everything together until the sugar is melted and the matcha is dissolved. Bottle and refrigerate.

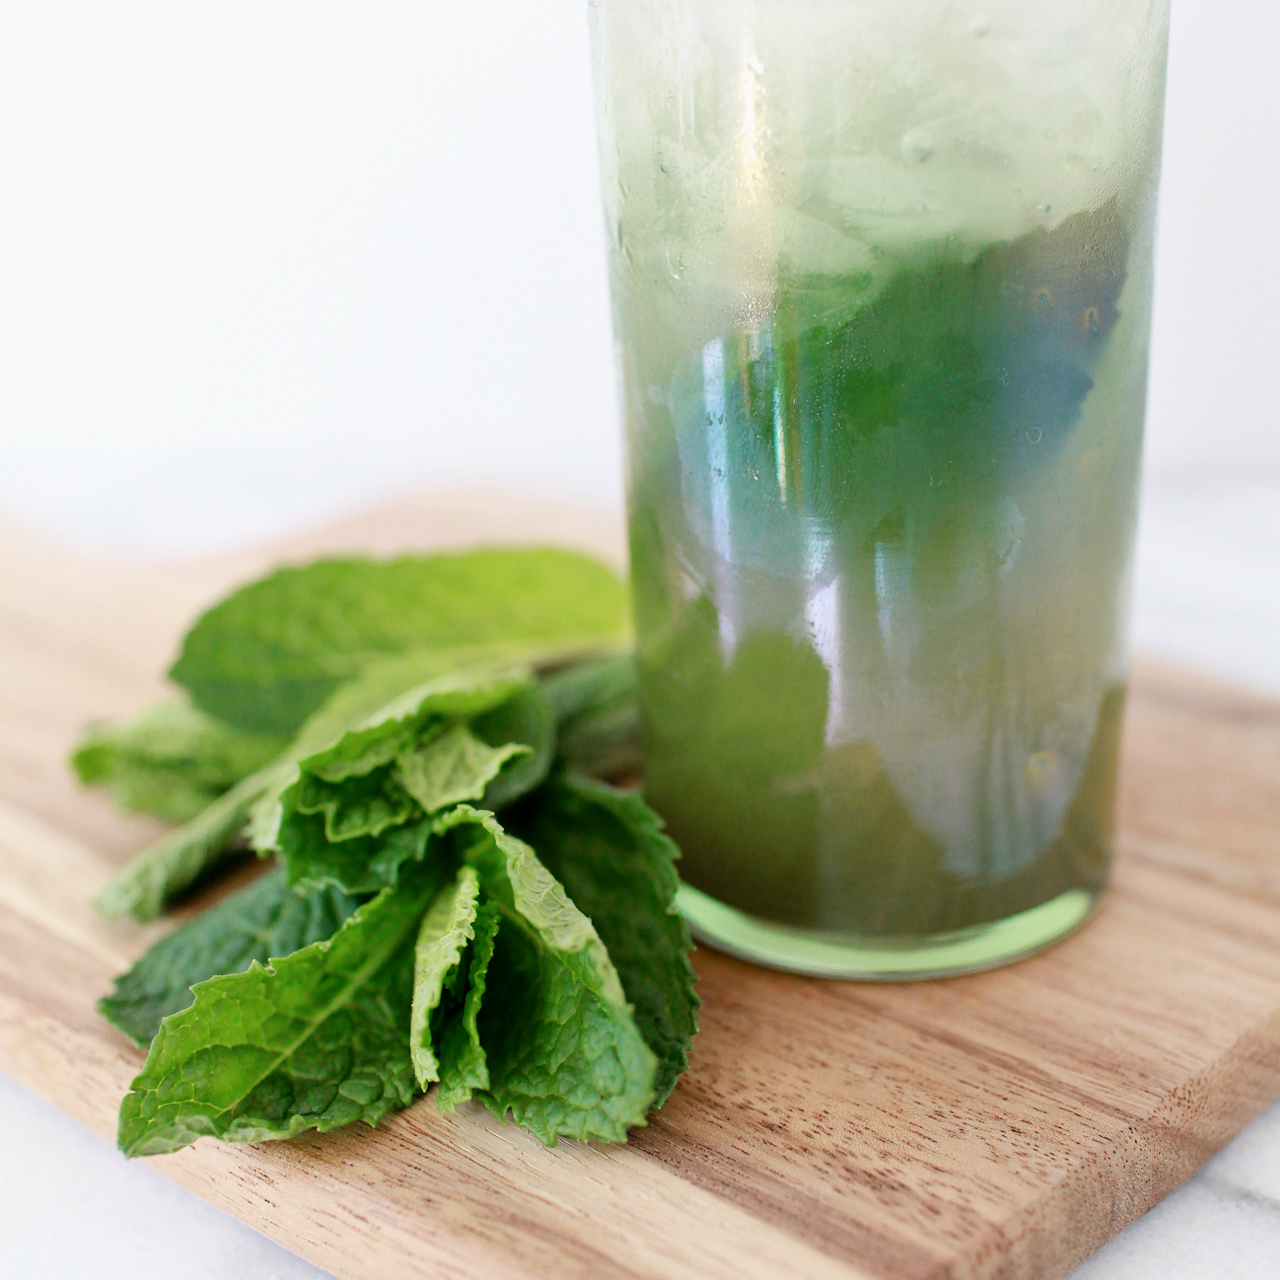
To make the mocktail: combine the syrup and lime juice in a highball glass. Add the leaves of a sprig of mint and gently muddle. Then fill the glass with ice, top with tonic water, and give a good stir. Enjoy!

Matcha and Mint Mocktail

Matcha – a powder made from carefully selected and dried green tea leaves – is a fun thing to add to mocktails and cocktails alike. It’s the same ingredient that goes into Japanese green tea, of tea ceremony fame. Matcha adds earthy botanical notes and a bit of tannic astringency – something that you might get from some spirits but that can be hard to replicate in a mocktail. A syrup made from matcha is also a deep, rich green color, which can make your drinks sparkle green.

Matcha and Mint Mocktail

Mint and lime are, it goes without saying, amazing and delicious together. Add in the matcha syrup and you have the foundation of a pretty good mocktail – sweet and tart and minty and earthy and richly green.

Matcha and Mint Mocktail

To that we add tonic water, and we can’t emphasize enough: real tonic water, made with actual quinine, is the only way to go for mocktails. (I mean, it’s important in cocktails too, but it’s a lot harder to fake flavors in a mocktail, since mocktails don’t benefit from the powerhouse flavors of booze.) Tonic water adds refreshing effervescence (and this is a really refreshing drink) and some of the bitterness that can be missing from mocktails. Bitter is one of the ways our brains recognize things that are really dangerous (like poison!) or really fun (like coffee!) or a little bit of both (like alcohol!). It helps elevate this drink into a legitimately complex and grownup mocktail.

(Don’t forget to follow us on Instagram!)

Glassware by Liquorary

Photo Credits: Nole Garey for Oh So Beautiful Paper
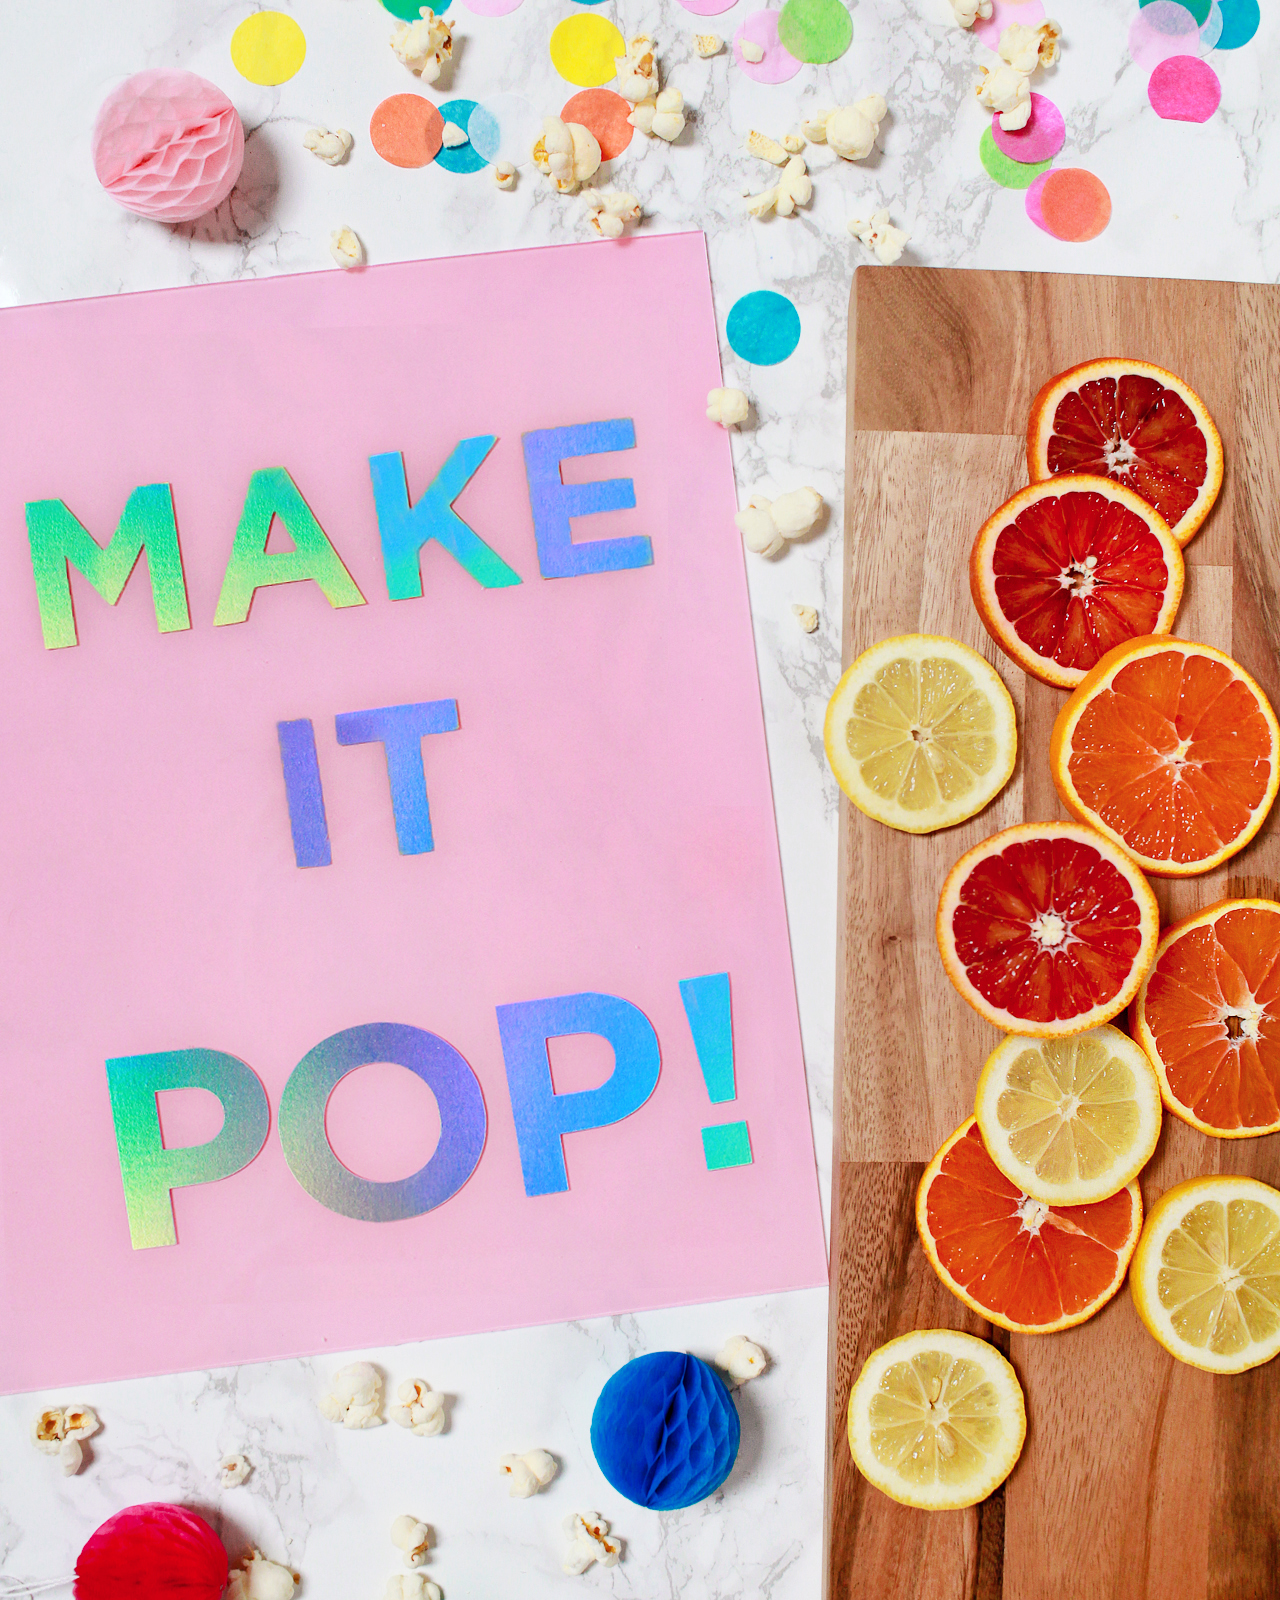
Make it Pop! Non-alcoholic Winter Citrus Punch

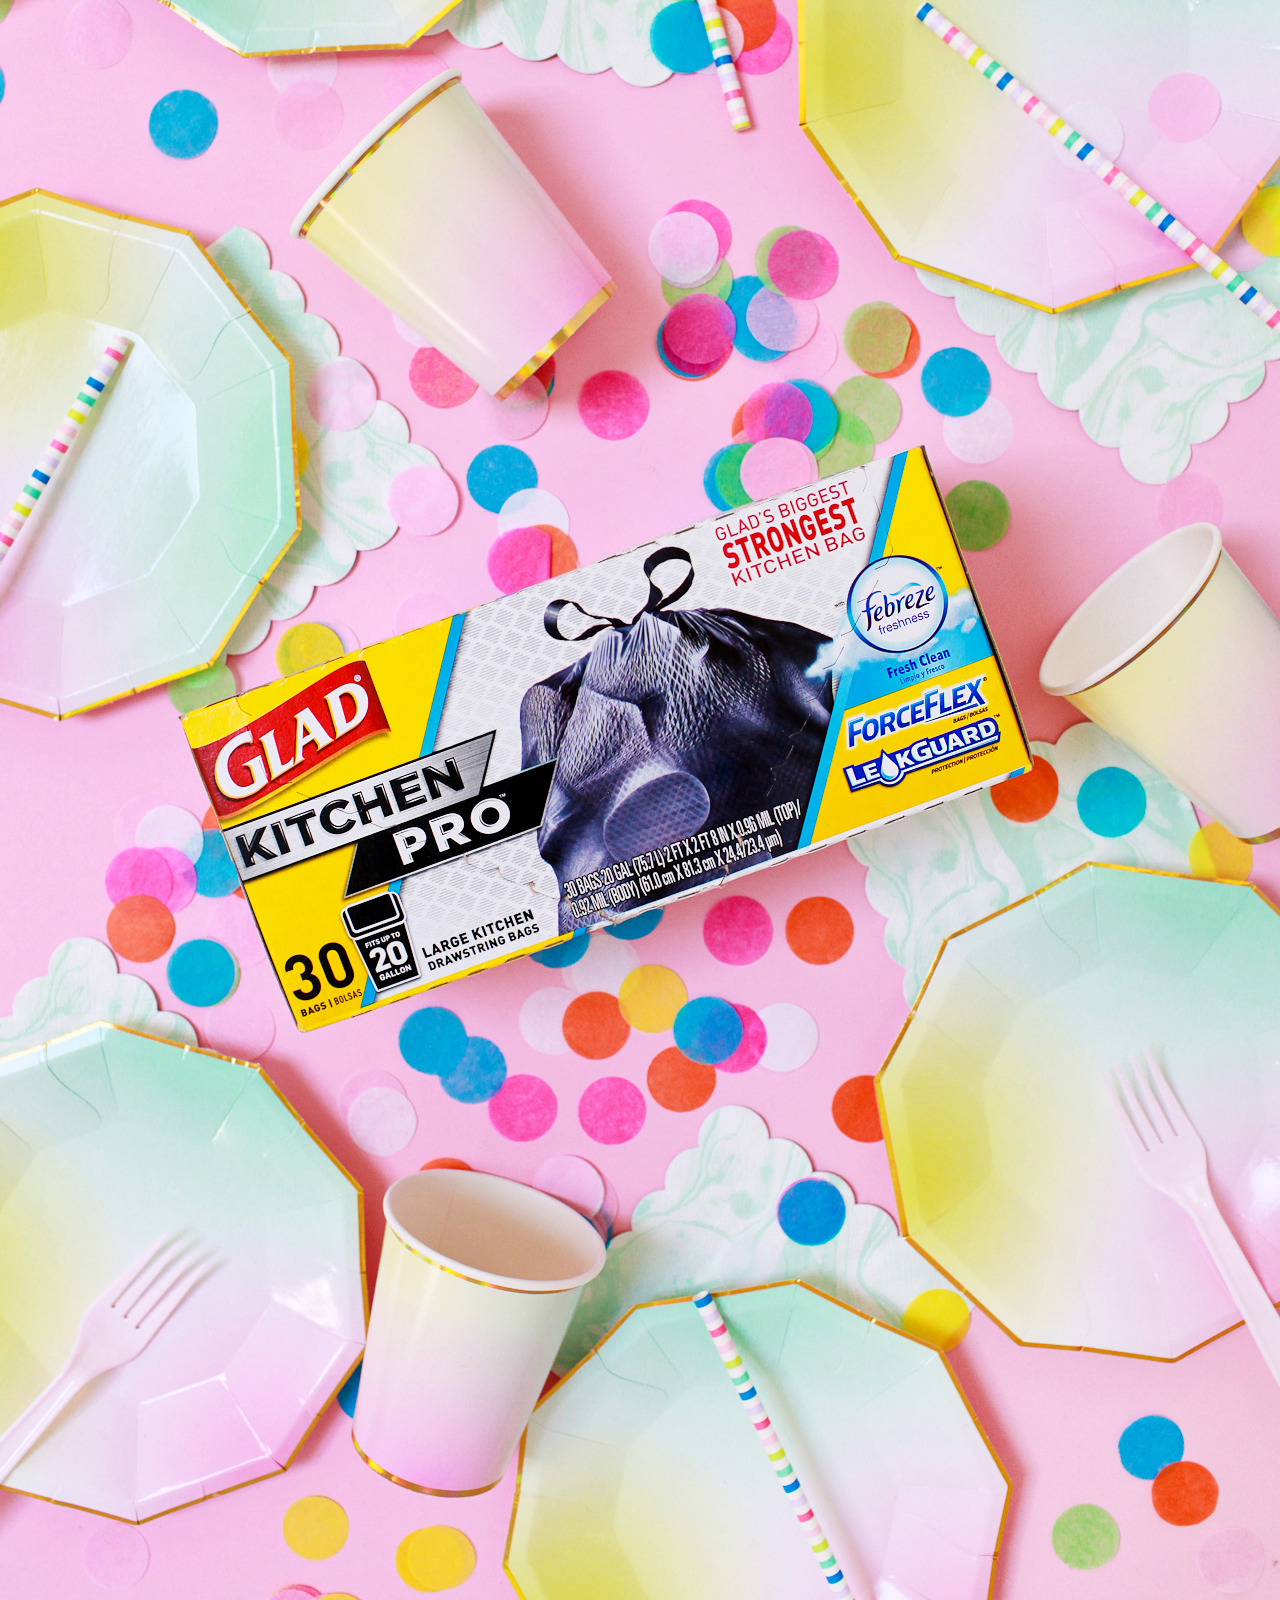
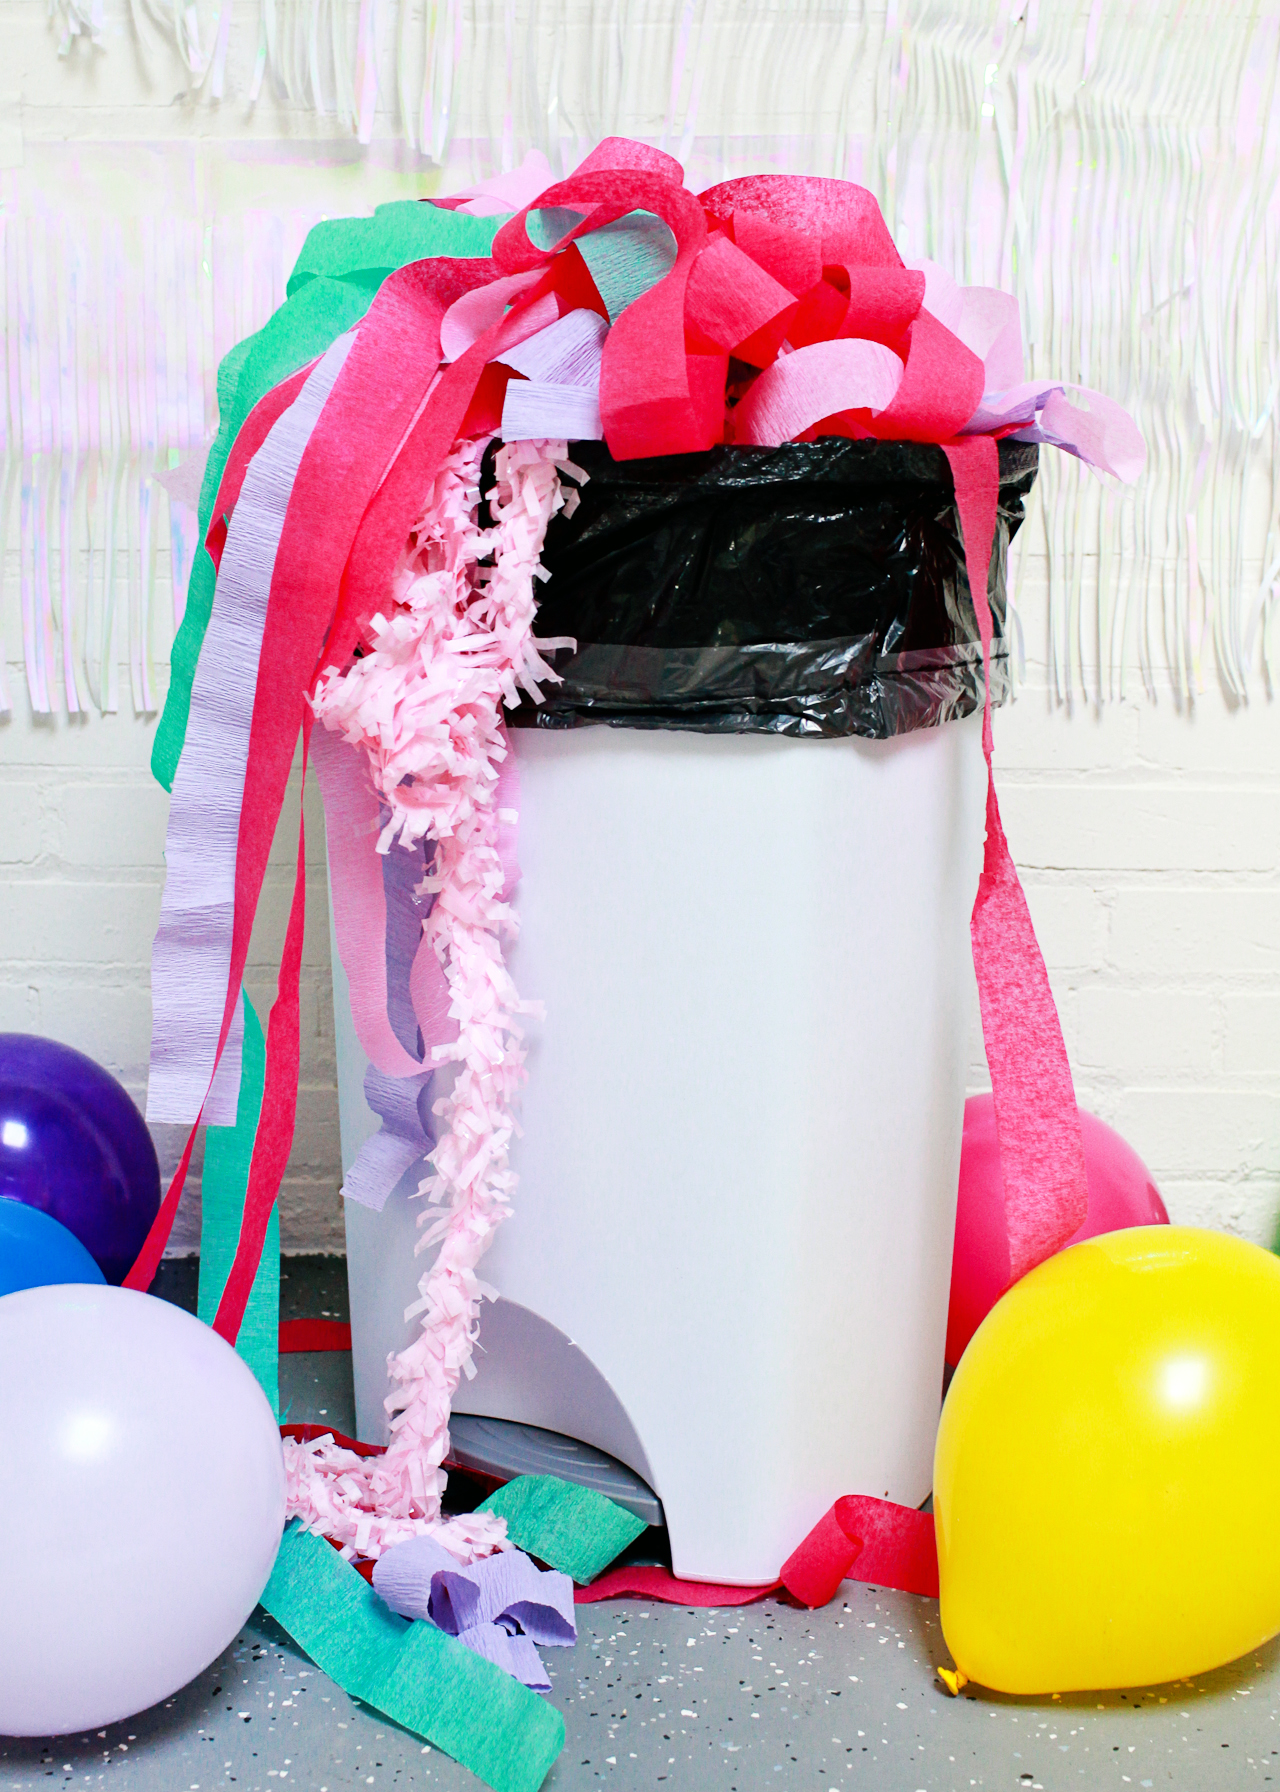
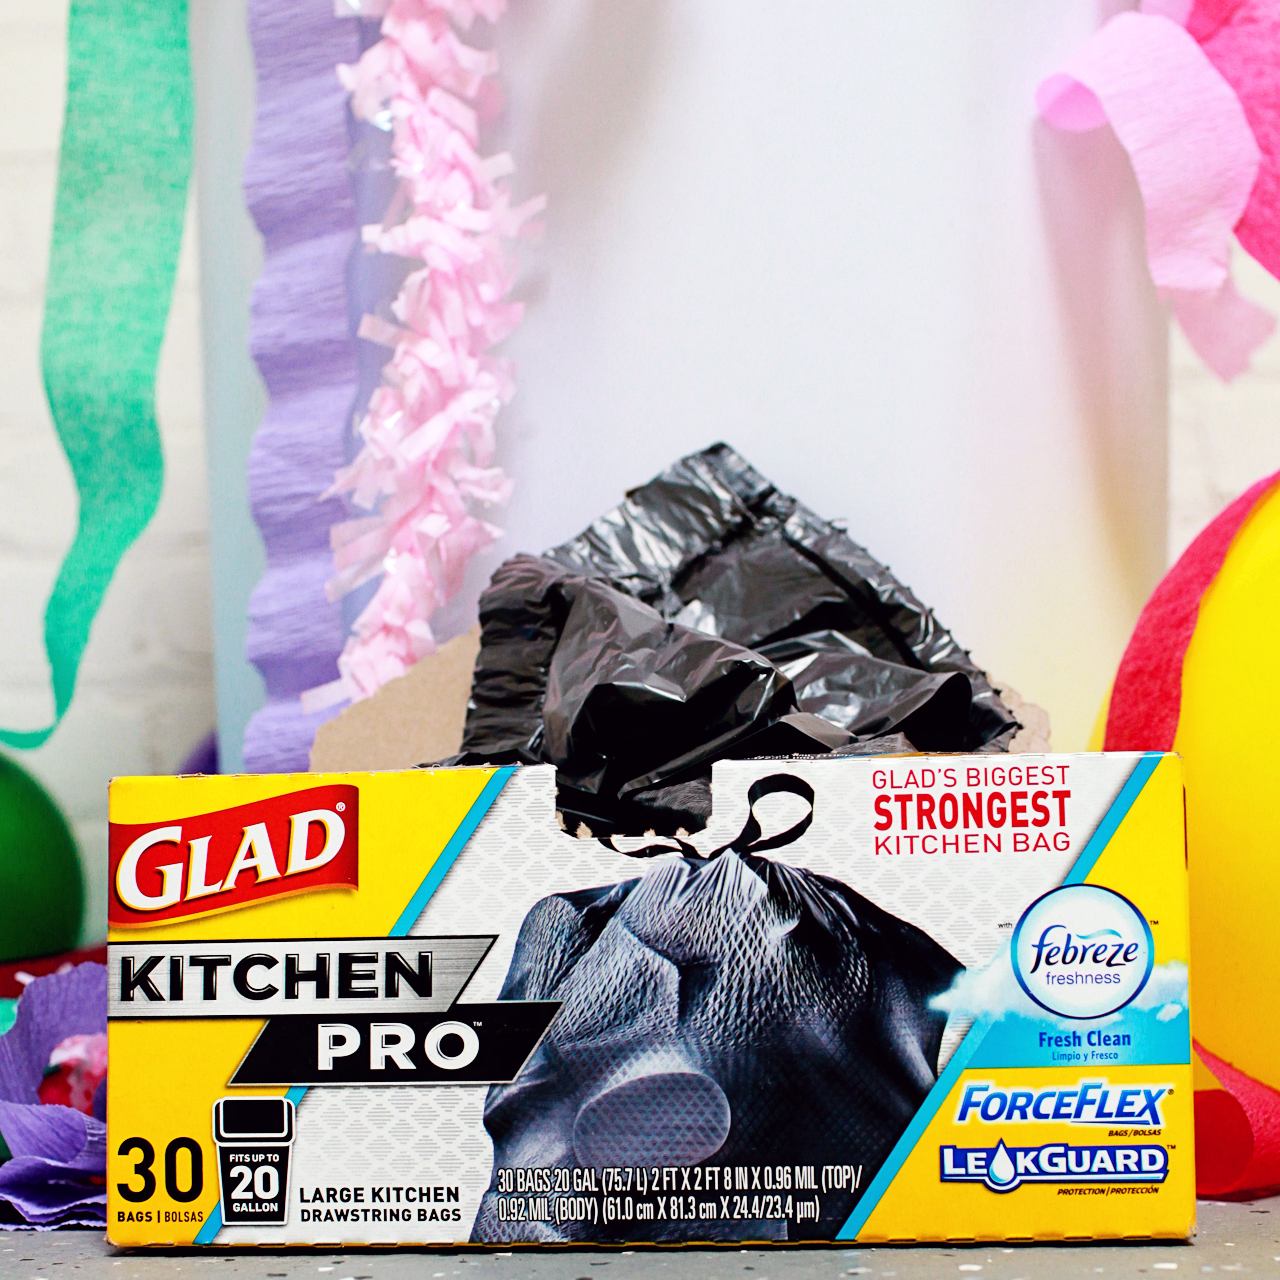
As a mother of two young children, my party world mostly revolves around kid parties. Birthday parties, preschool holiday parties, even the occasional outdoor picnic party when the weather calls for it. Serving punch in a big punch bowl is one of my favorite party tricks – it makes any party feel glamorous (especially for a group of kids!), and you can make it ahead of time so you aren’t rushing to get everything done on the day of the party. Today I’m excited to share a kid friendly, non-alcoholic Winter Citrus Punch recipe in partnership with Glad’s brand new Kitchen Pro trash bags. As any mom knows, post party clean up can be NO JOKE. But with 53% more bag, ForceFlex strength, LeakGuard Technology, and Febreeze Odor Control, Kitchen Pro is Glad’s biggest and strongest kitchen trash bag – making it even easier to clean up after a major event like a birthday party!

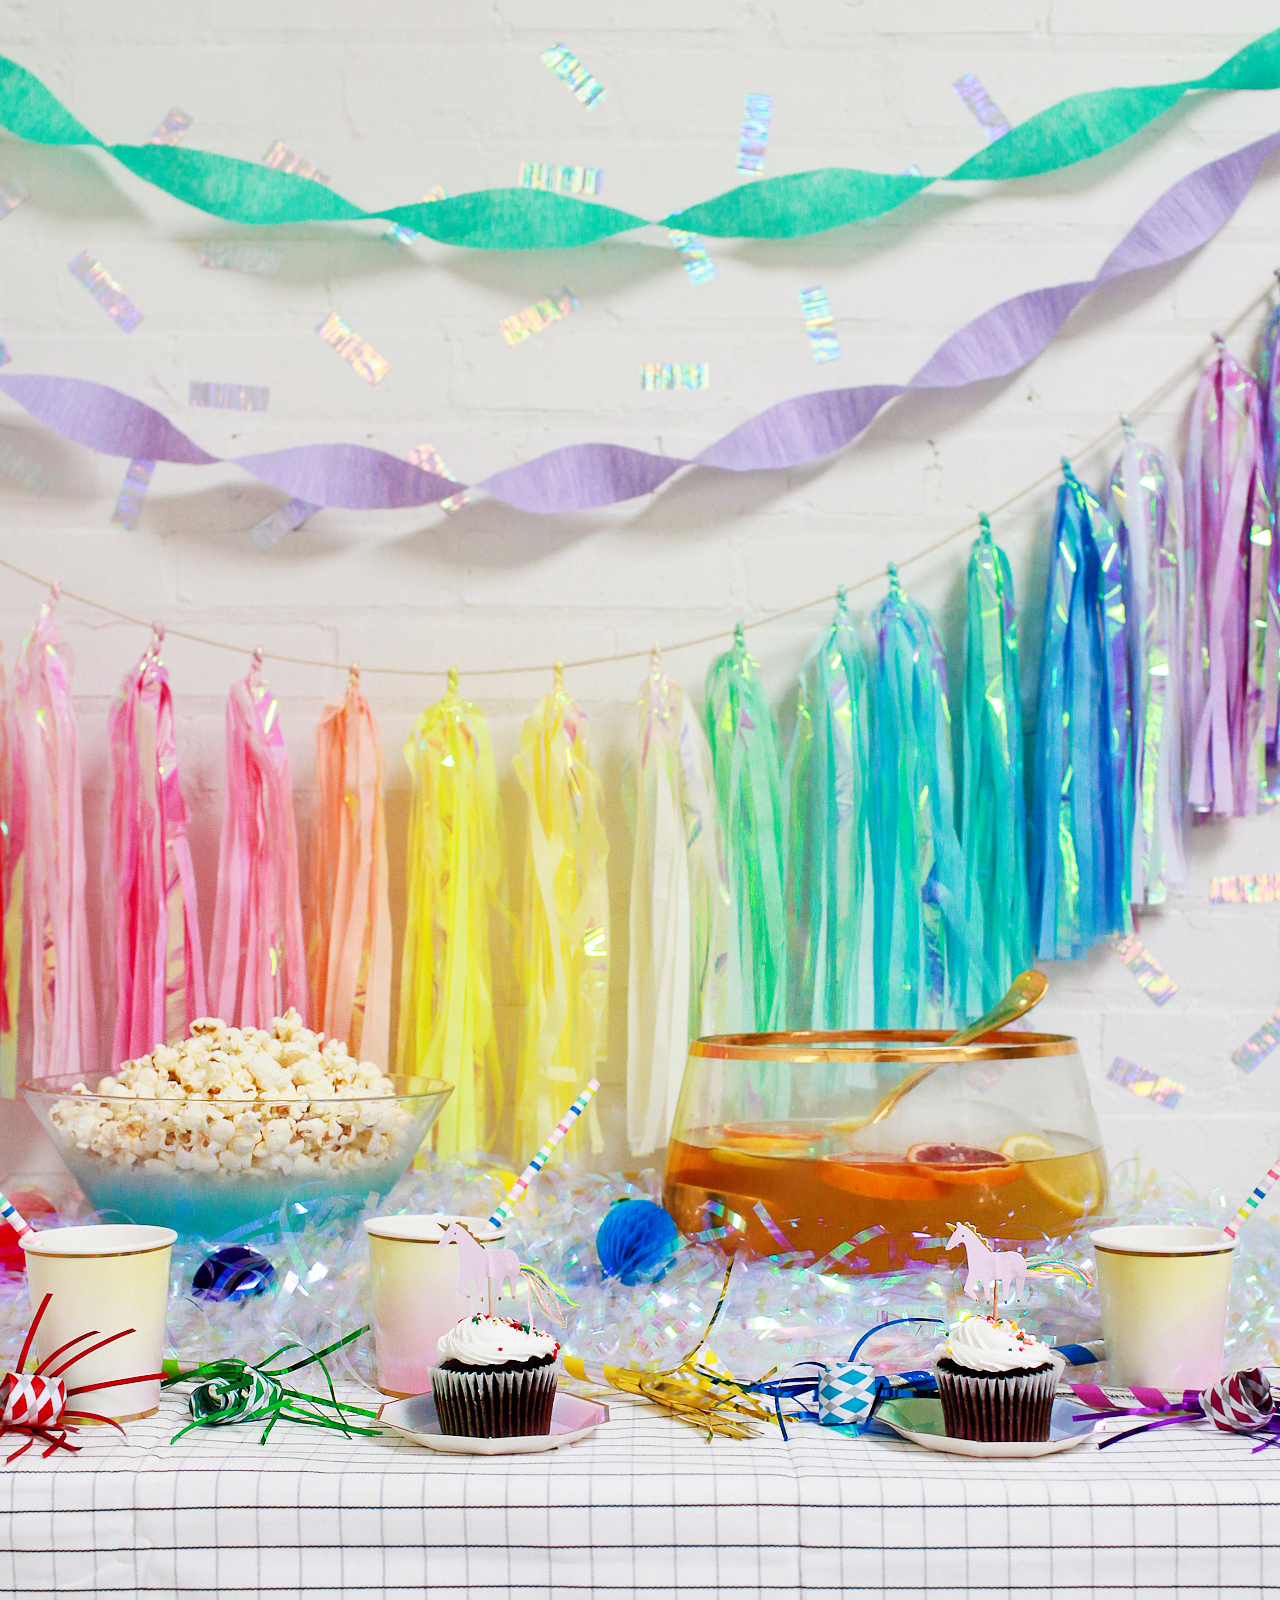
Non-alcoholic Winter Citrus Punch with Glad Kitchen Pro

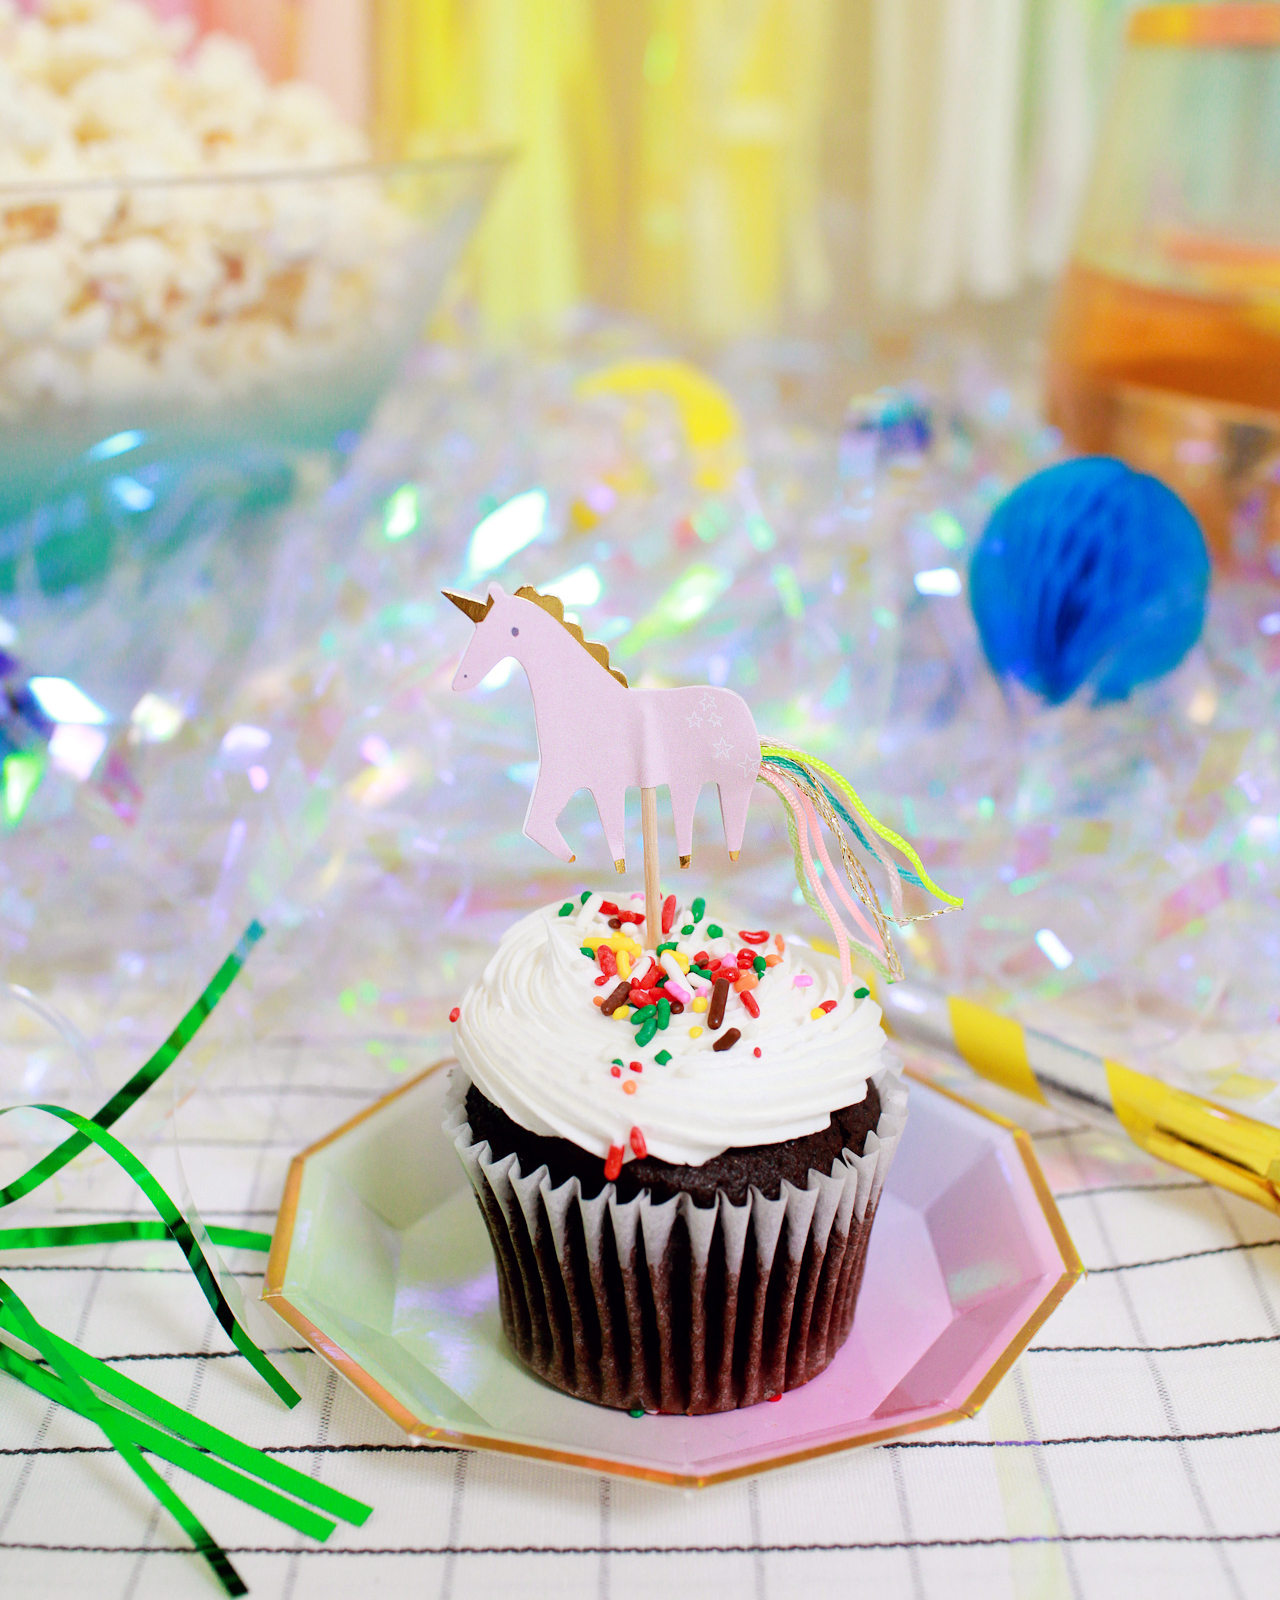
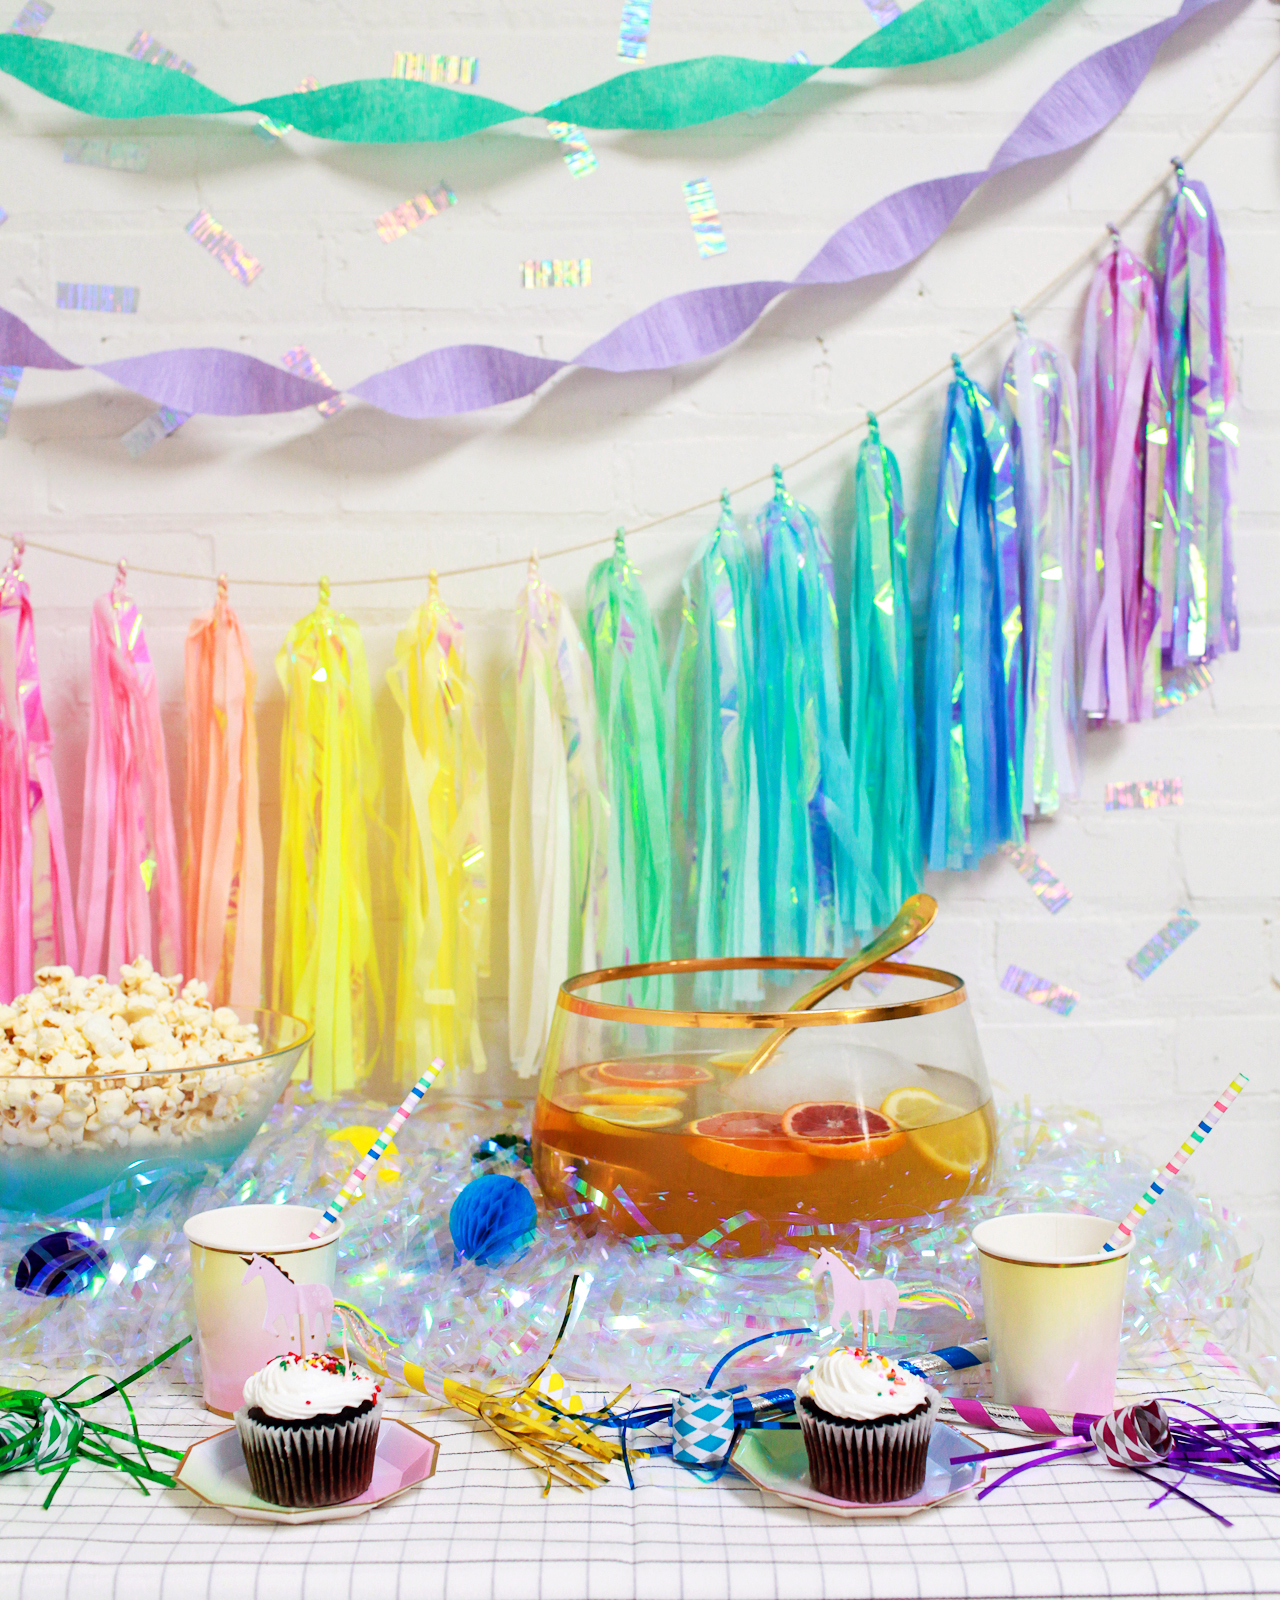
When my girls turned two and four last September, we threw a Rainbow Unicorn birthday party in our backyard, with plenty of rainbow balloons, rainbow tissue tassel garlands with iridescent sparkle, rainbow plates, napkins, and cups – and cupcakes with the cutest little unicorn picks! We also set up a craft table where our little guests could decorate their own paper unicorn with glitter glue and colorful rhinestones. The party was SO much fun, but also made a big, big mess – as you might expect from a party with fifteen little kids and their parents!

Glad Kitchen Pro Trash Bags

Luckily, big party messes are no match for Glad’s new Kitchen Pro trash bags! Kitchen Pro trash bags offer 53% more bag for cleaning up messes, from fun party messes to regular everyday messes around the house. With an inner layer of ForceFlex and an outer layer of LeakGuard, Glad Kitchen Pro bags are both stretchable and protect against leaks, so you can even toss in those half-empty cups or leftover ice without any problems. And if you’re looking for a new everyday trash bag, the stretchable strength, leak protection, and odor neutralization mean you can take your trash out less. Which is definitely something I appreciate for my little family of four (plus five cats)!

Non-alcoholic Winter Citrus Punch with Glad Kitchen Pro

Non-alcoholic Winter Citrus Punch with Glad Kitchen Pro

Make it Pop Non-alcoholic Winter Citrus Punch Recipe

Non-alcoholic Winter Citrus Punch with Glad Kitchen Pro

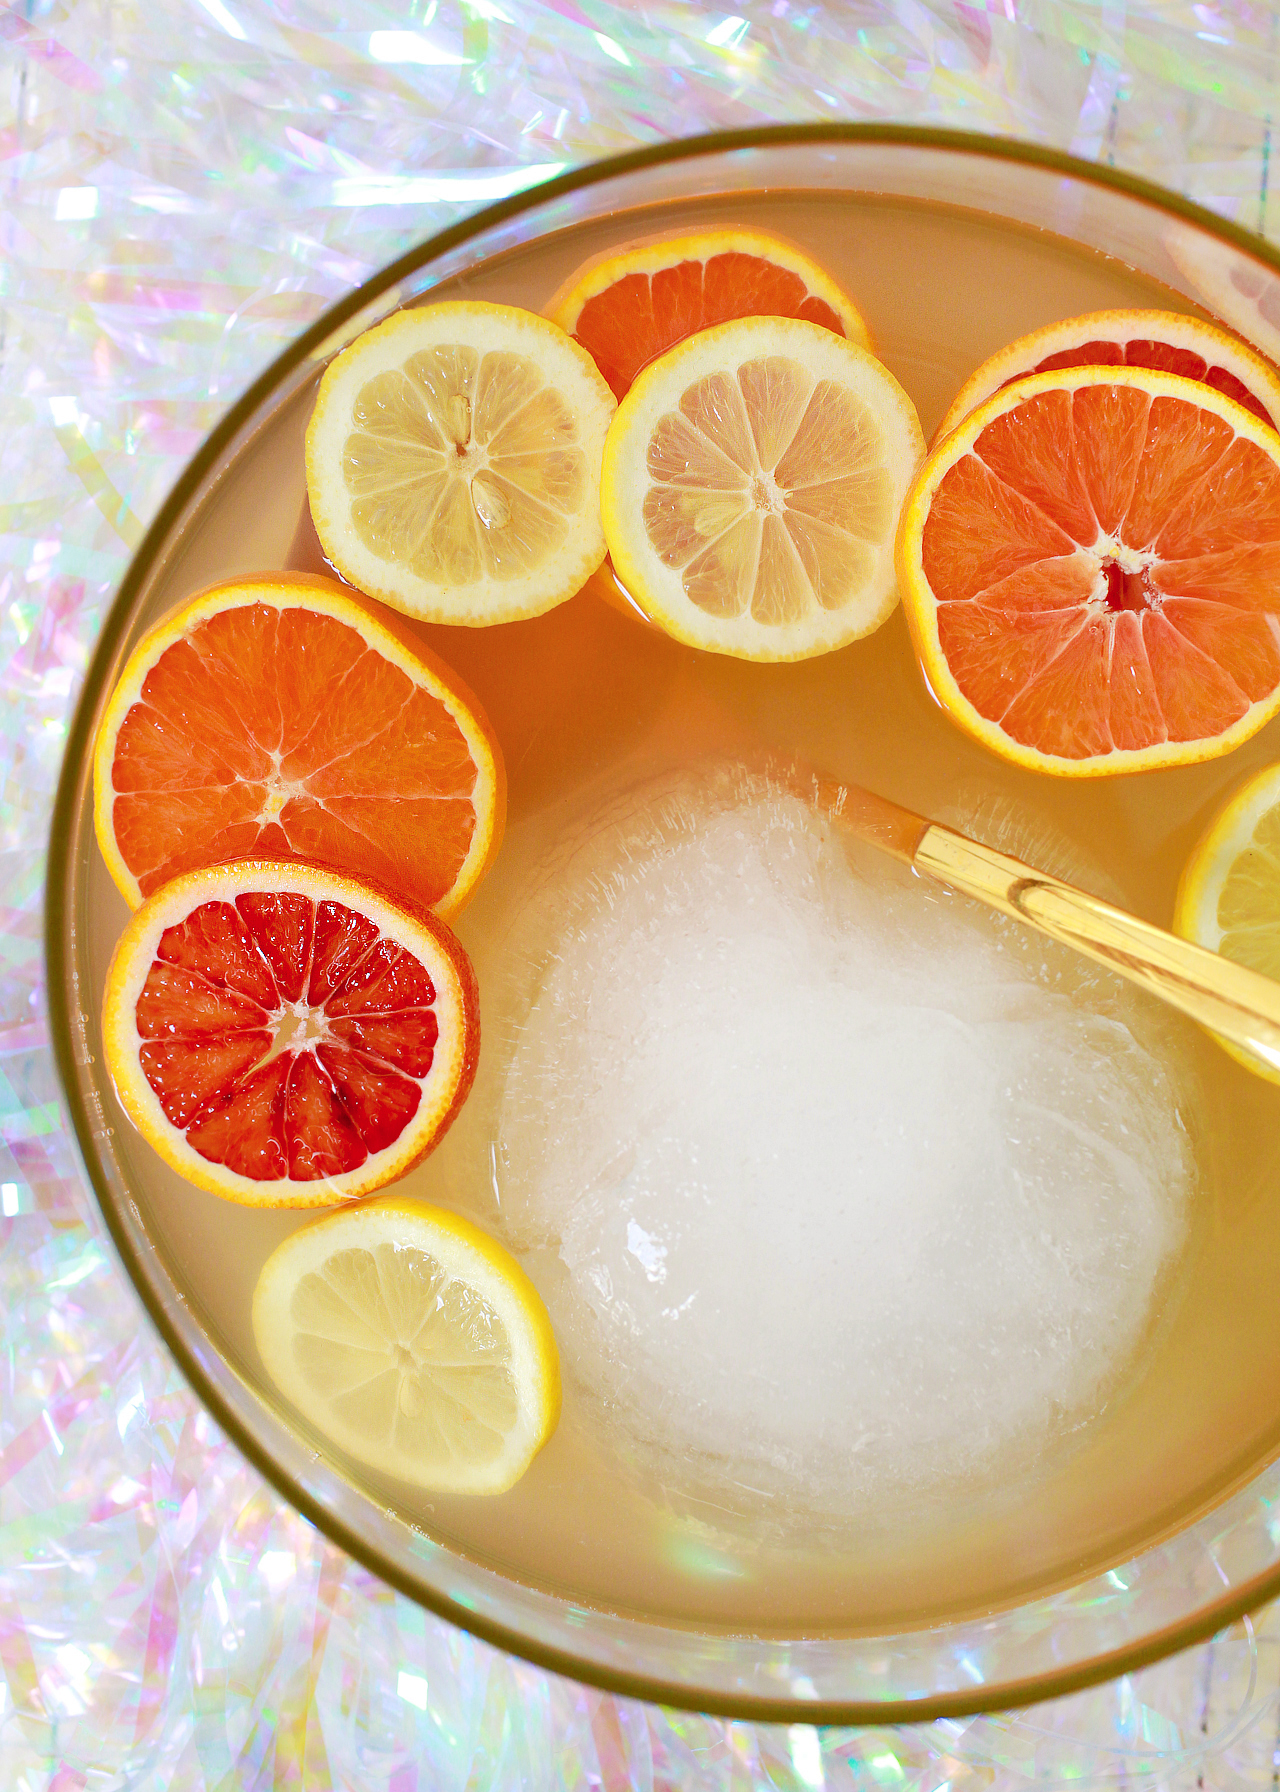
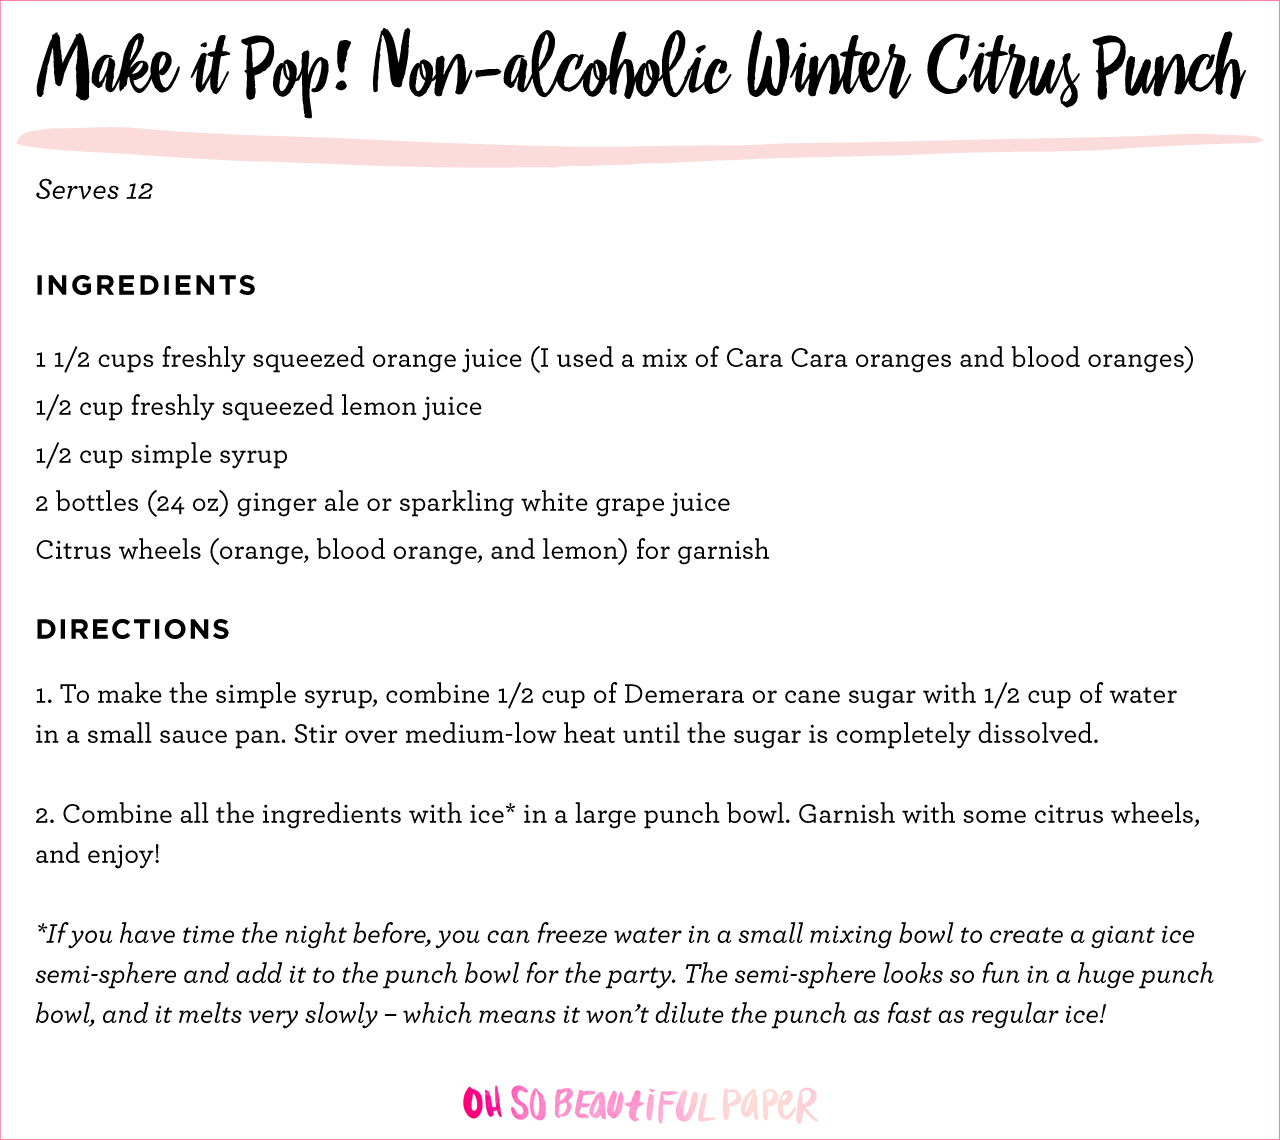
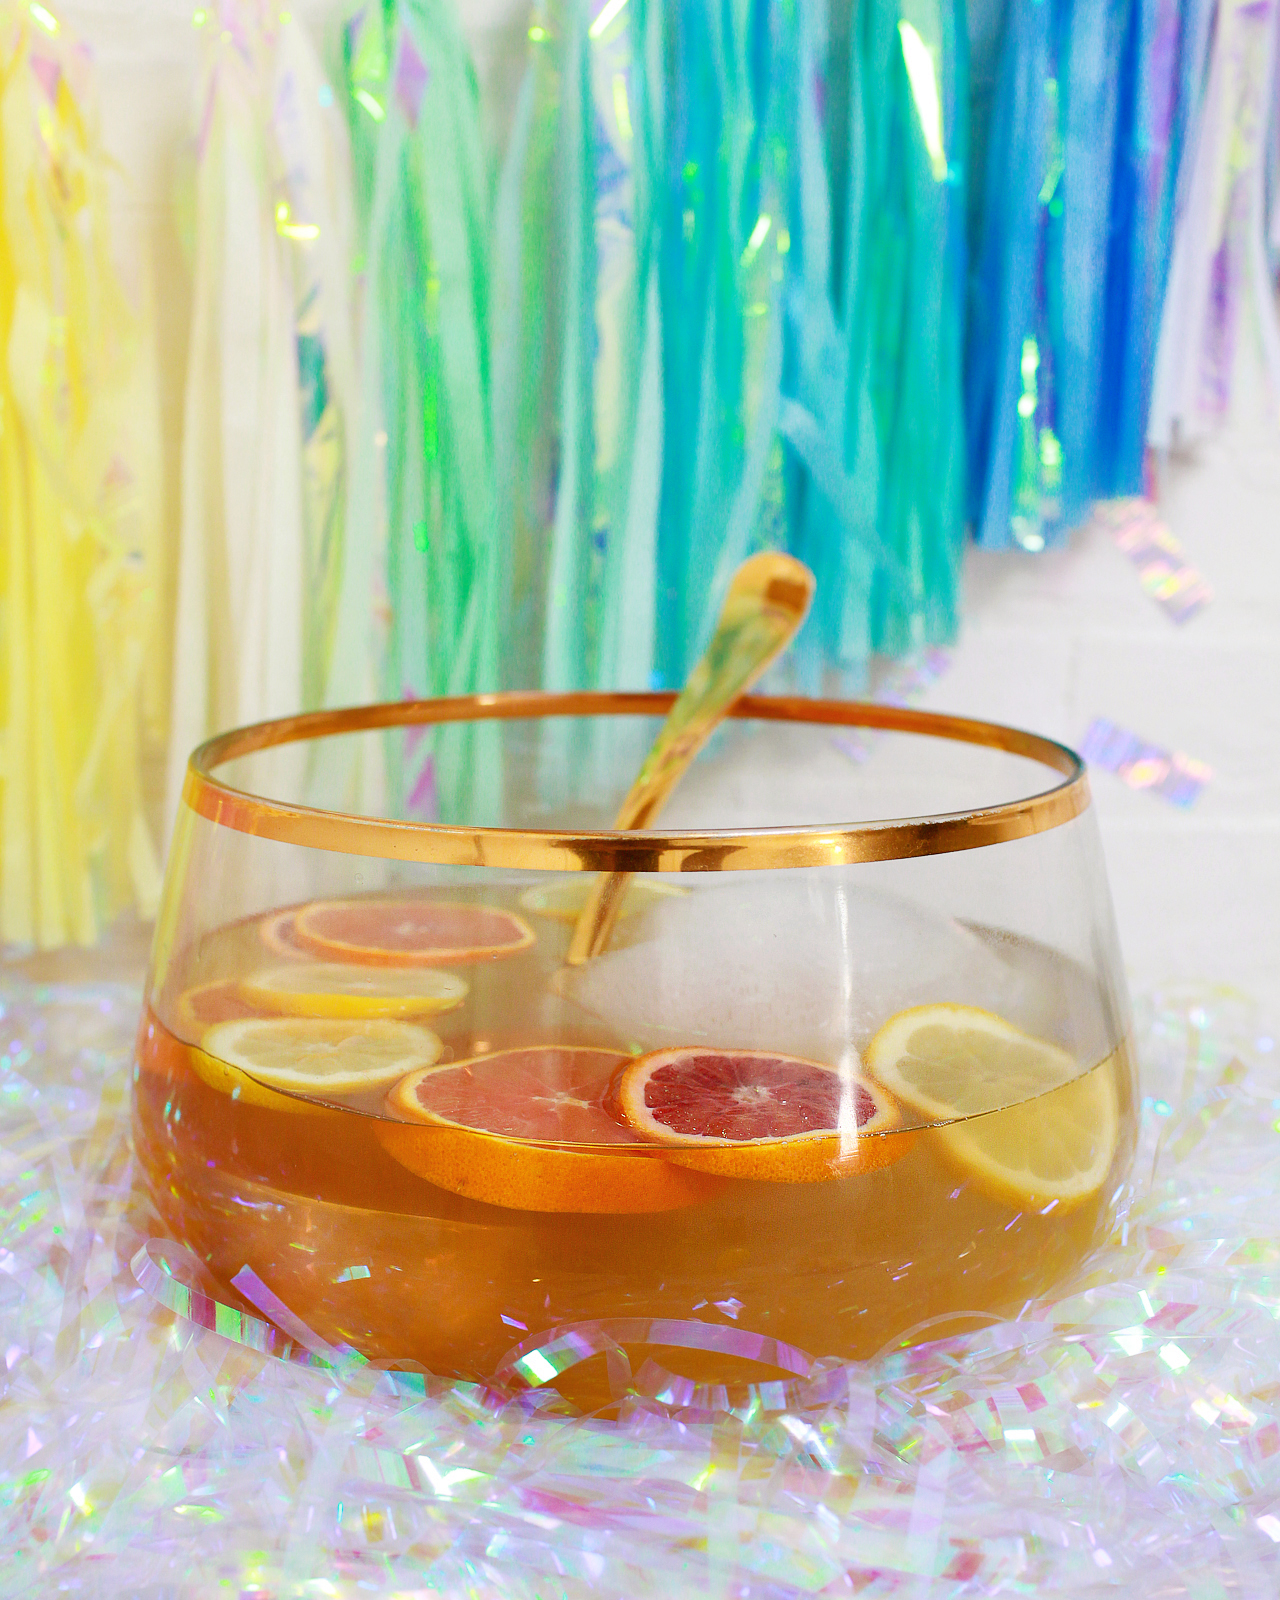
Okay, back to the punch! It’s the perfect balance of tart citrus juice and fizzy bubbles – such a fun and special treat! We used Cara Cara oranges and blood oranges since they happen to be in season right now, but this punch would easily work with regular naval oranges, or even pineapple juice later in the summer. You can make the simple syrup and squeeze the citrus juices the day before, then add the ginger ale or sparkling grape juice in a punch bowl on the day of the party.

For an adult version of this punch, consider swapping the ginger ale for champagne or sparkling wine and adding a cup of brandy. You could also add a couple rosemary sprigs to the simple syrup for a savory rosemary citrus punch. So many possibilities!

Non-alcoholic Winter Citrus Punch with Glad Kitchen Pro

Non-alcoholic Winter Citrus Punch with Glad Kitchen Pro

Non-alcoholic Winter Citrus Punch with Glad Kitchen Pro

You can pick the new Glad Kitchen Pro trash bags up at your local Target – and for those of you with the Cartwheel app, you can snag a special 10% off Cartwheel deal from now through February 28!

Non-alcoholic Winter Citrus Punch with Glad Kitchen Pro

Photo Credits: Nole Garey for Oh So Beautiful Paper
This post is a sponsored conversation written by me on behalf of Glad. All content and opinions are my own. Thank you for supporting the sponsors that make Oh So Beautiful Paper possible!
 

Iridescent Pastel Gem-Inspired Wedding Invitations

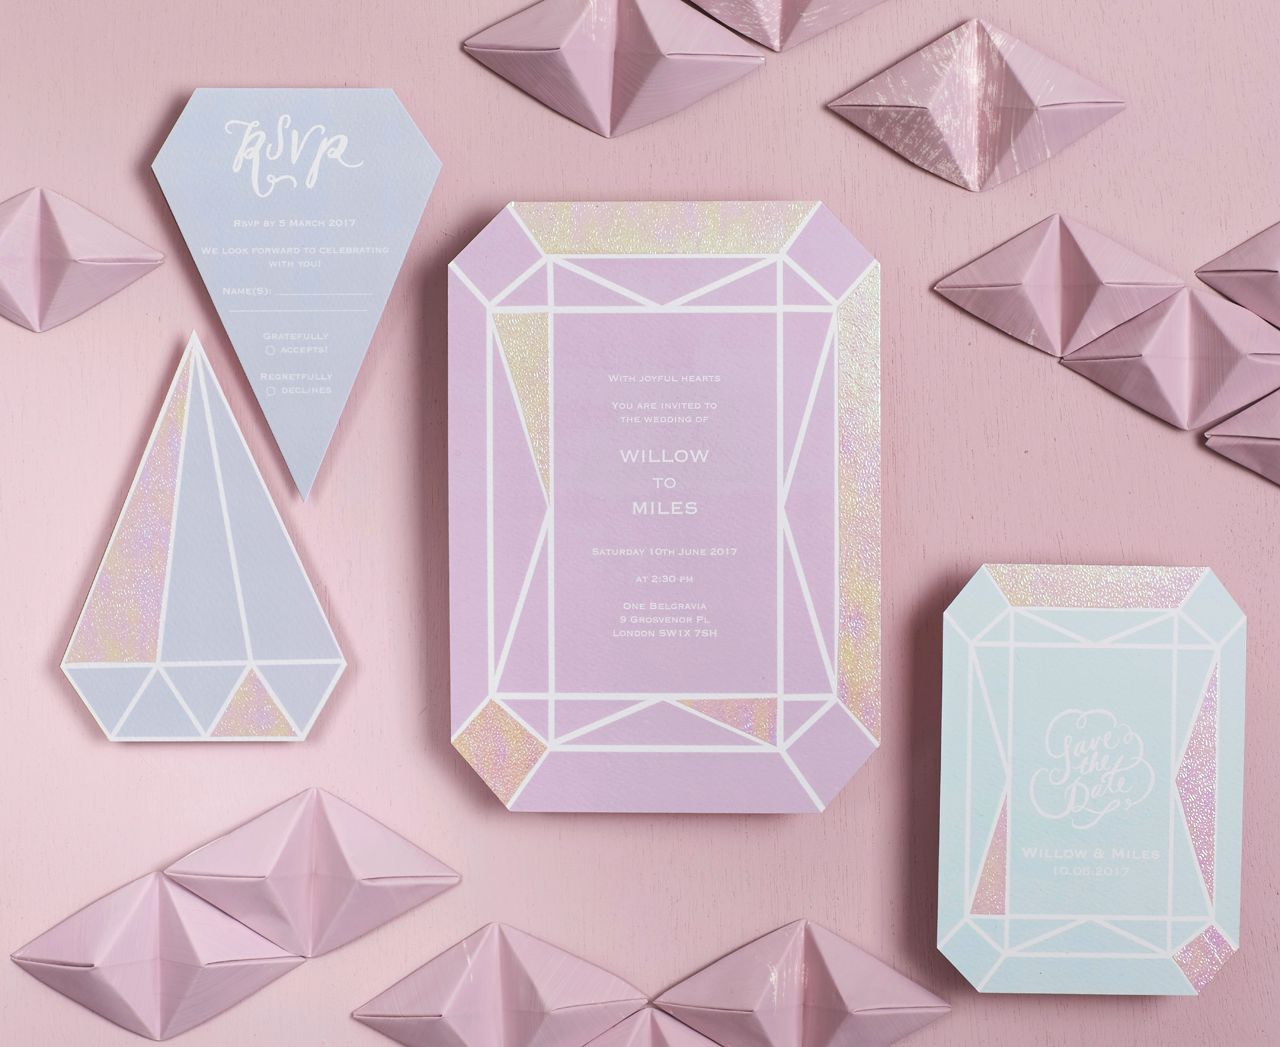
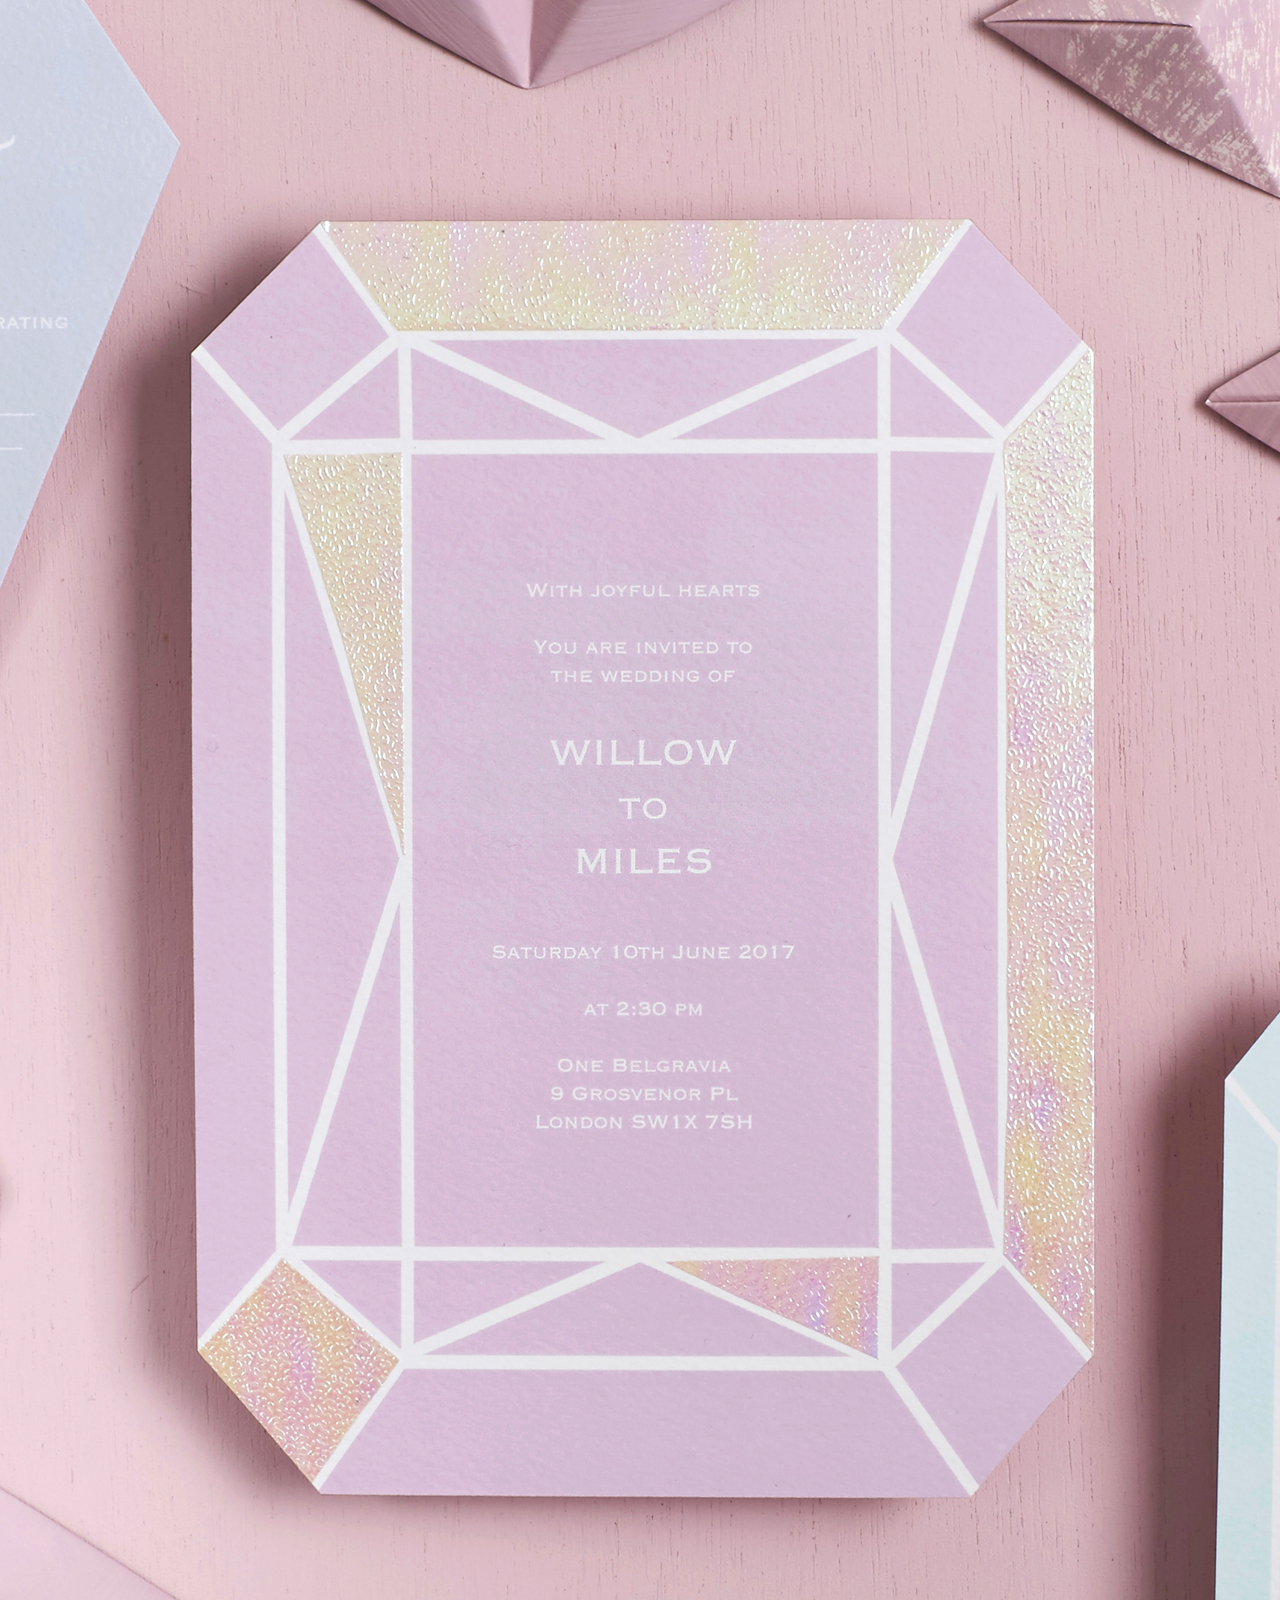
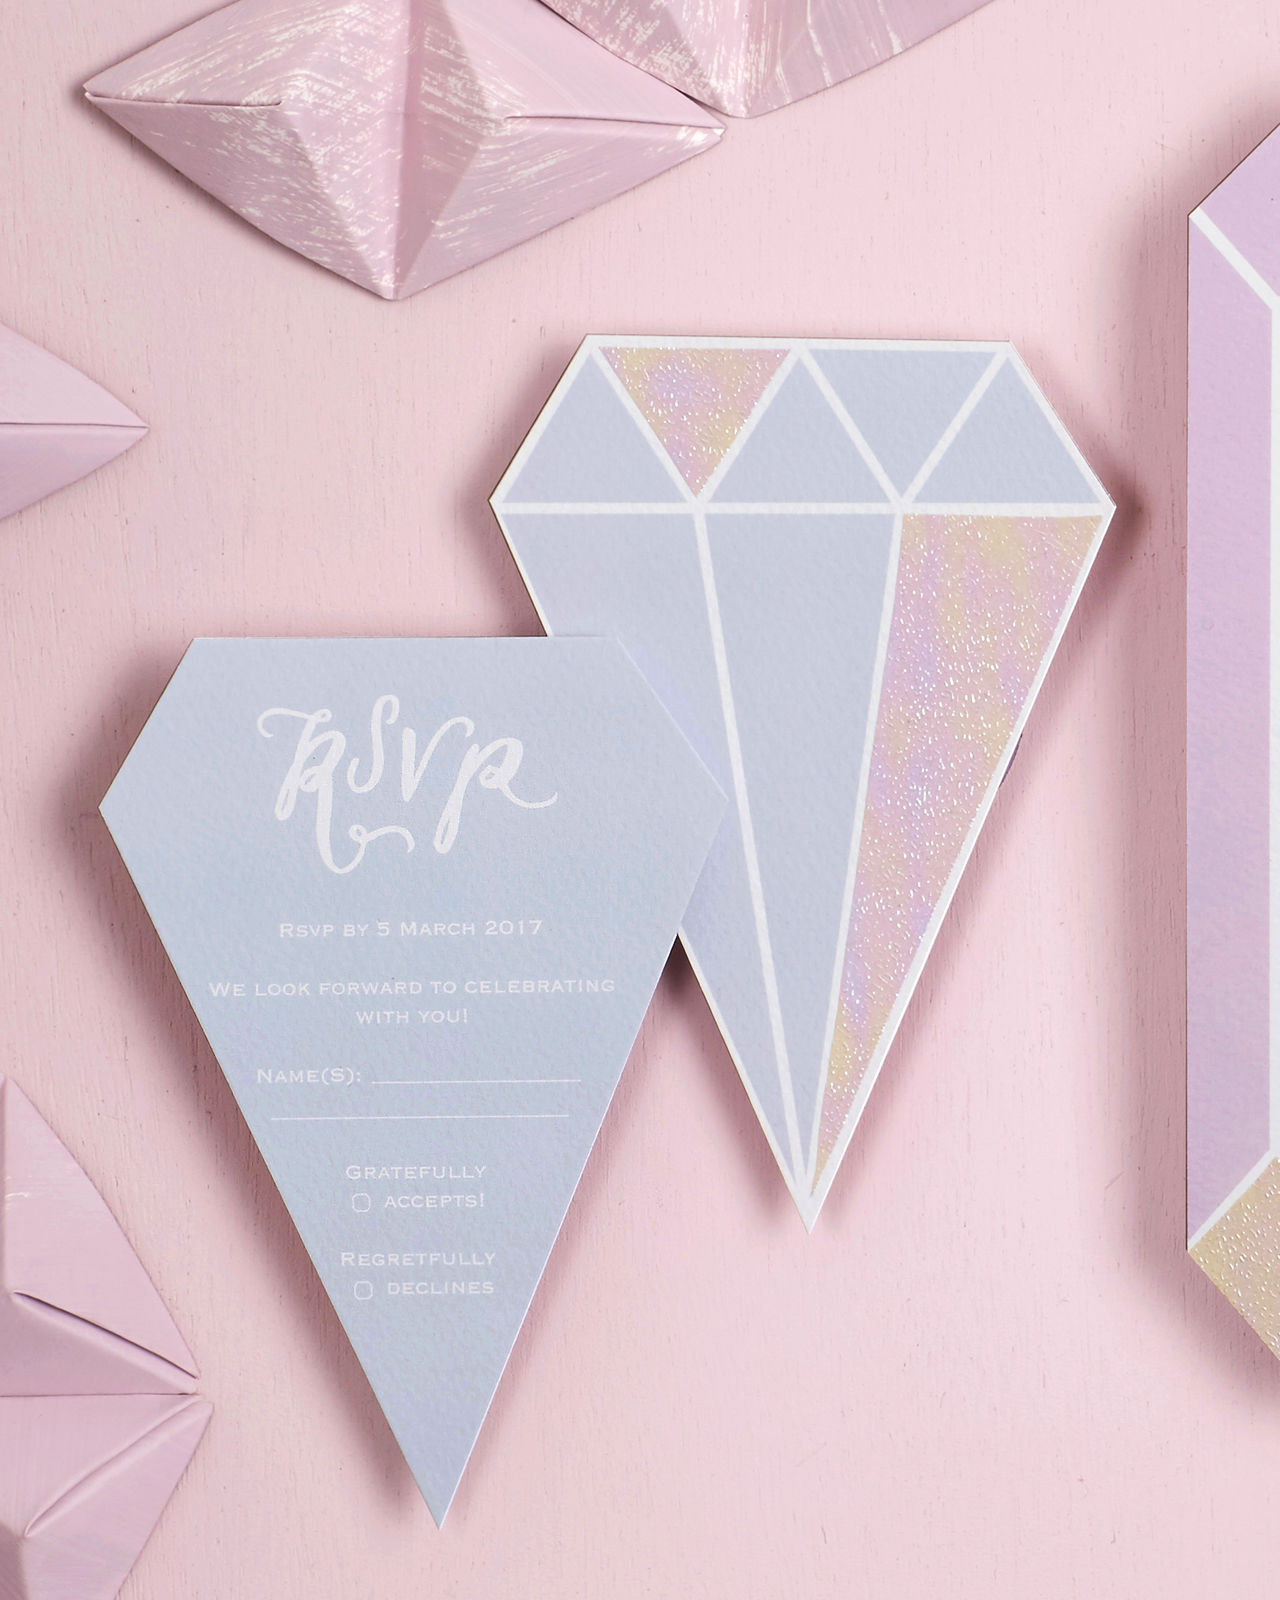
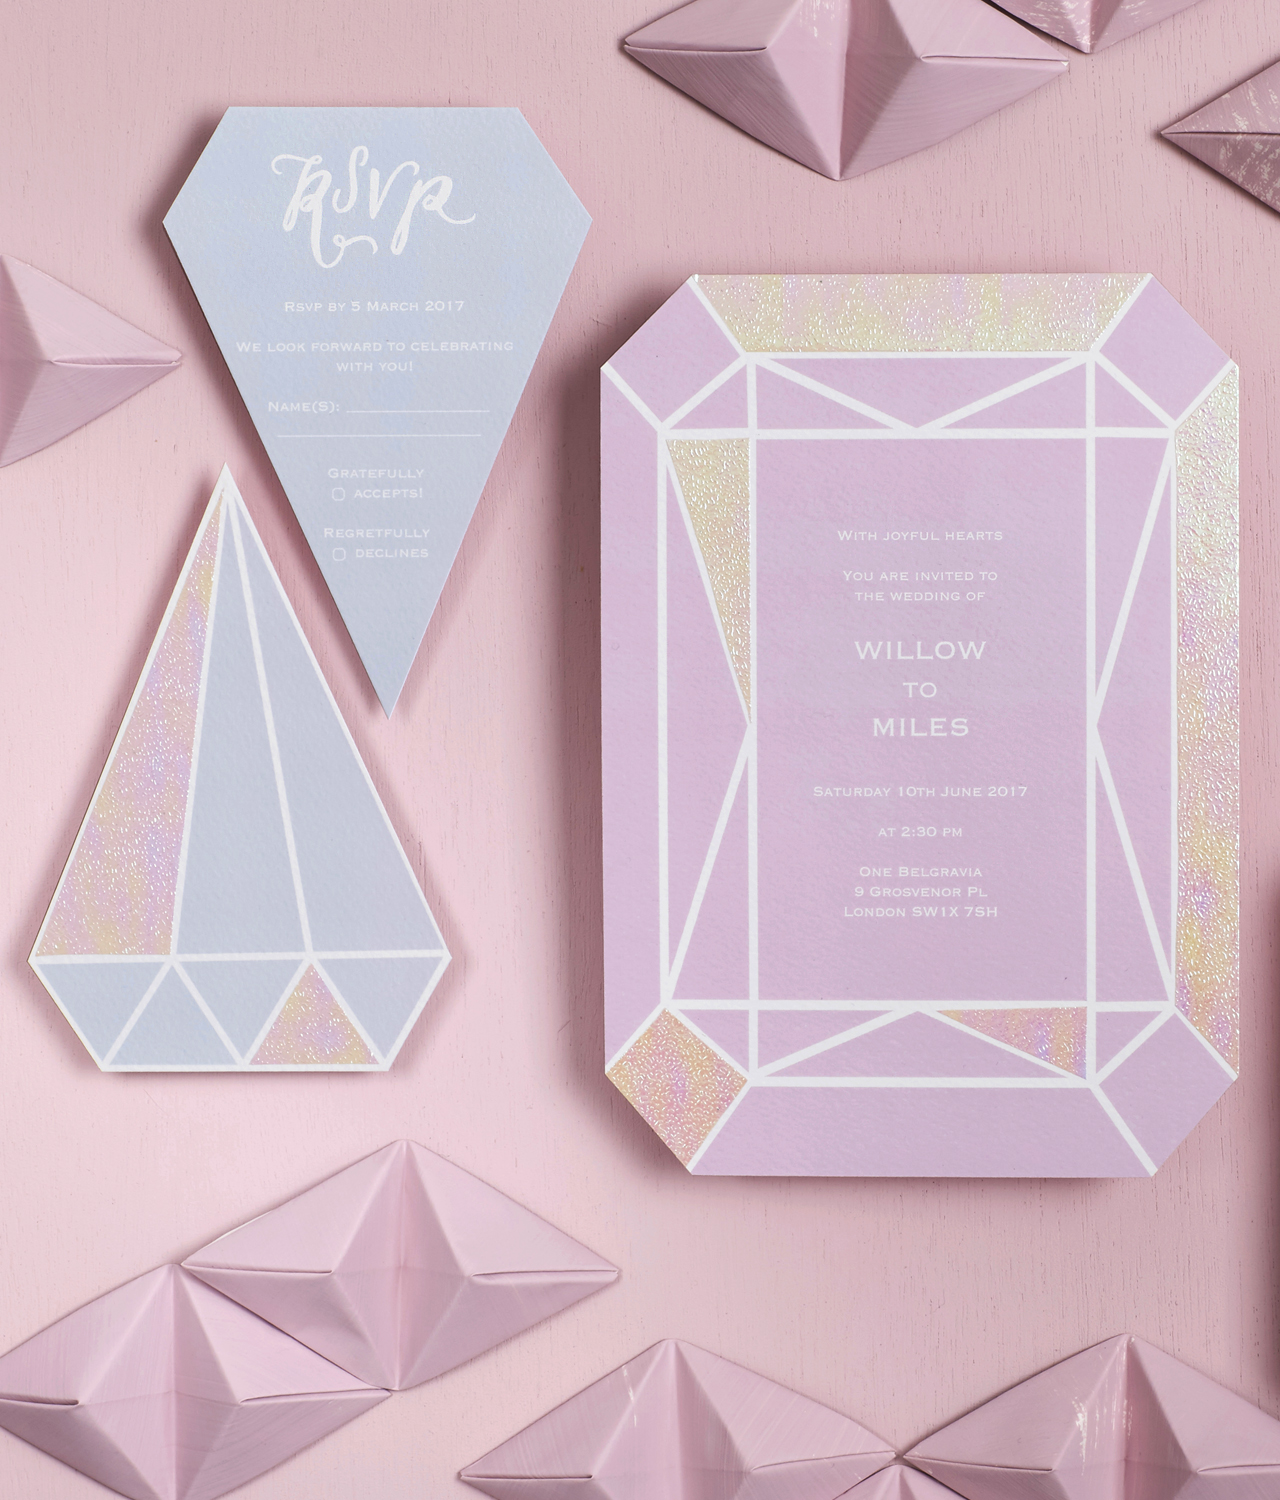
Aaaahhh! You already know how much I’ve been loving all things iridescent for the last year and a half, so I was beyond thrilled when these iridescent pastel gem-inspired wedding invitations from Erin of BerinMade arrived in our inbox. Crisp and modern, with fun hints of sparkle and iridescent foil, these invitations are kind of my everything!

Iridescent Pastel Gem-Inspired Wedding Invitations by BerinMade

From Erin: A few months ago, I was asked by Holly Poulter of Revelry Events to design for a wedding styled shoot she was planning. Centered around one of the biggest, hottest trends – Urban Mermaid – I just couldn’t say no! The inspiration behind this was all about the mystical and magical. Mother of pearl, mermaid scales, pastel rainbows, gemstones, shells and glass textures were all part of the initial brainstorm. It was amazing!

Iridescent Pastel Gem-Inspired Wedding Invitations by BerinMade

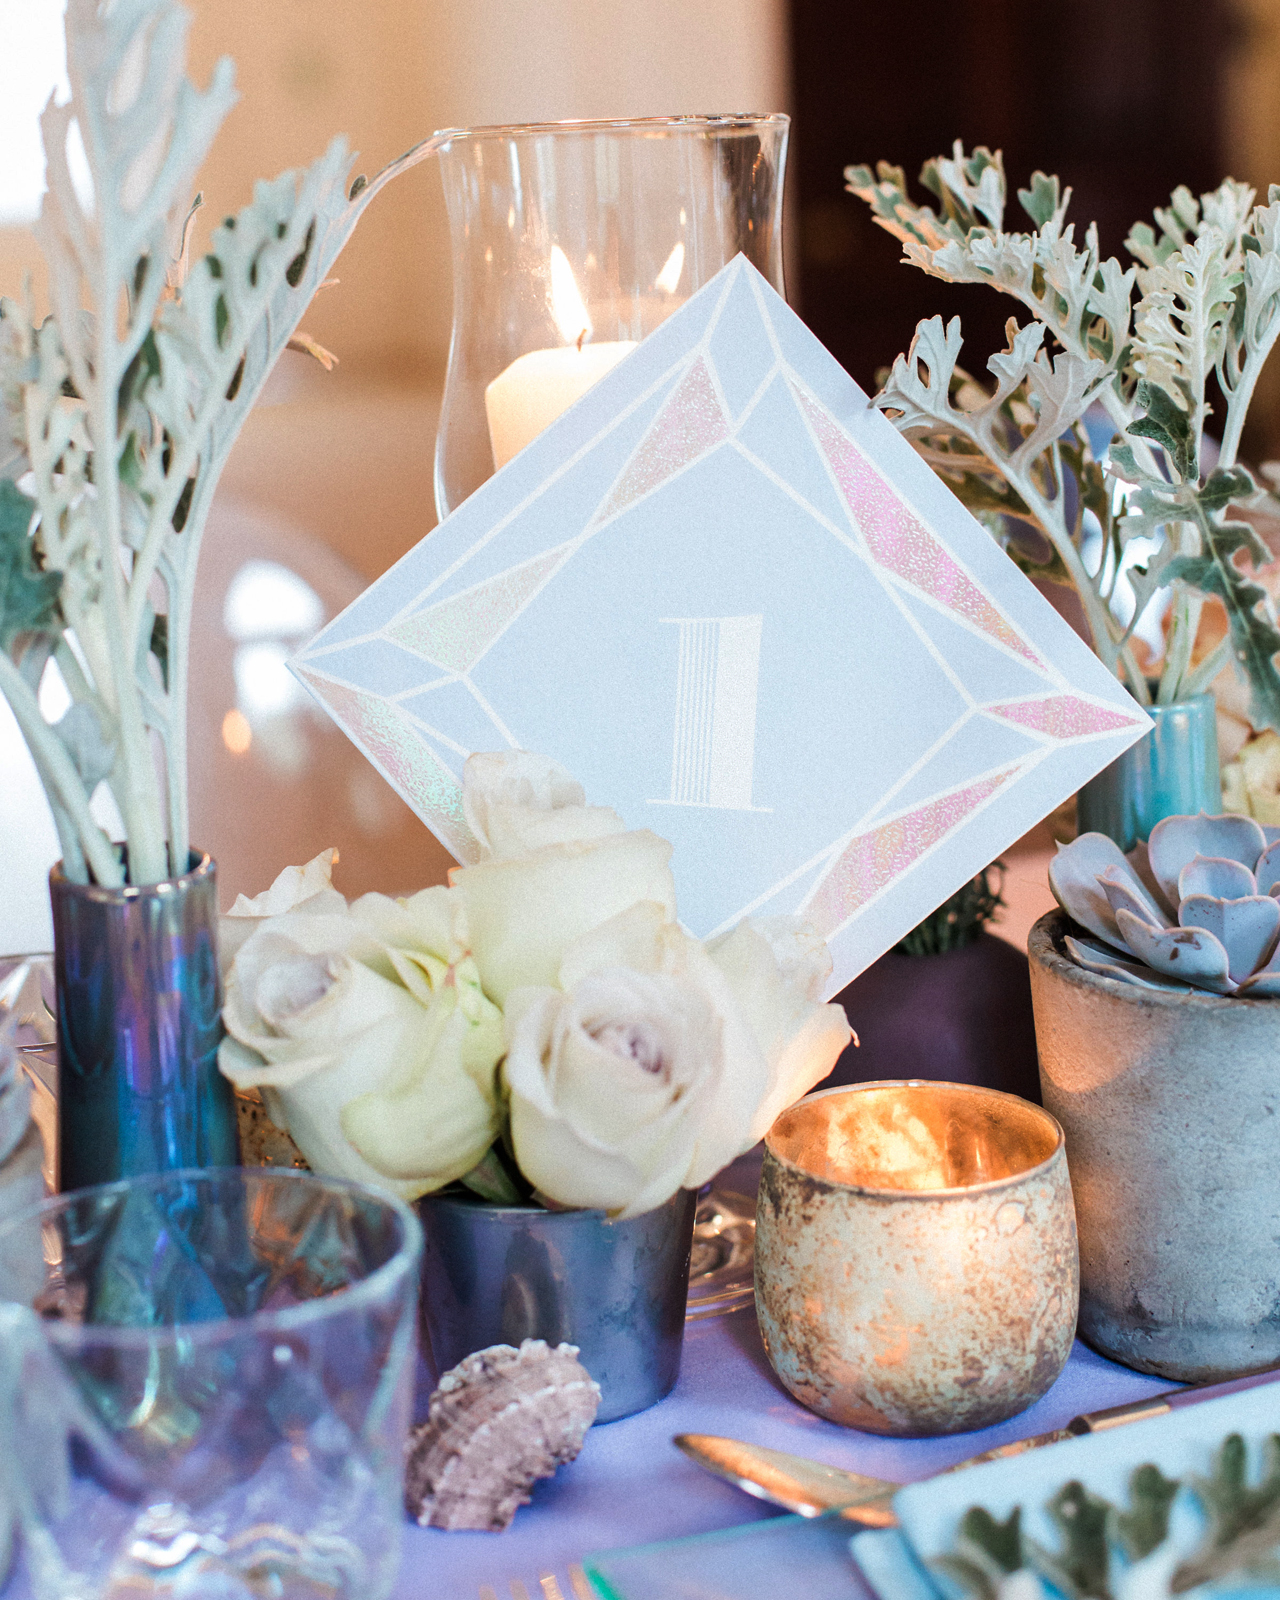
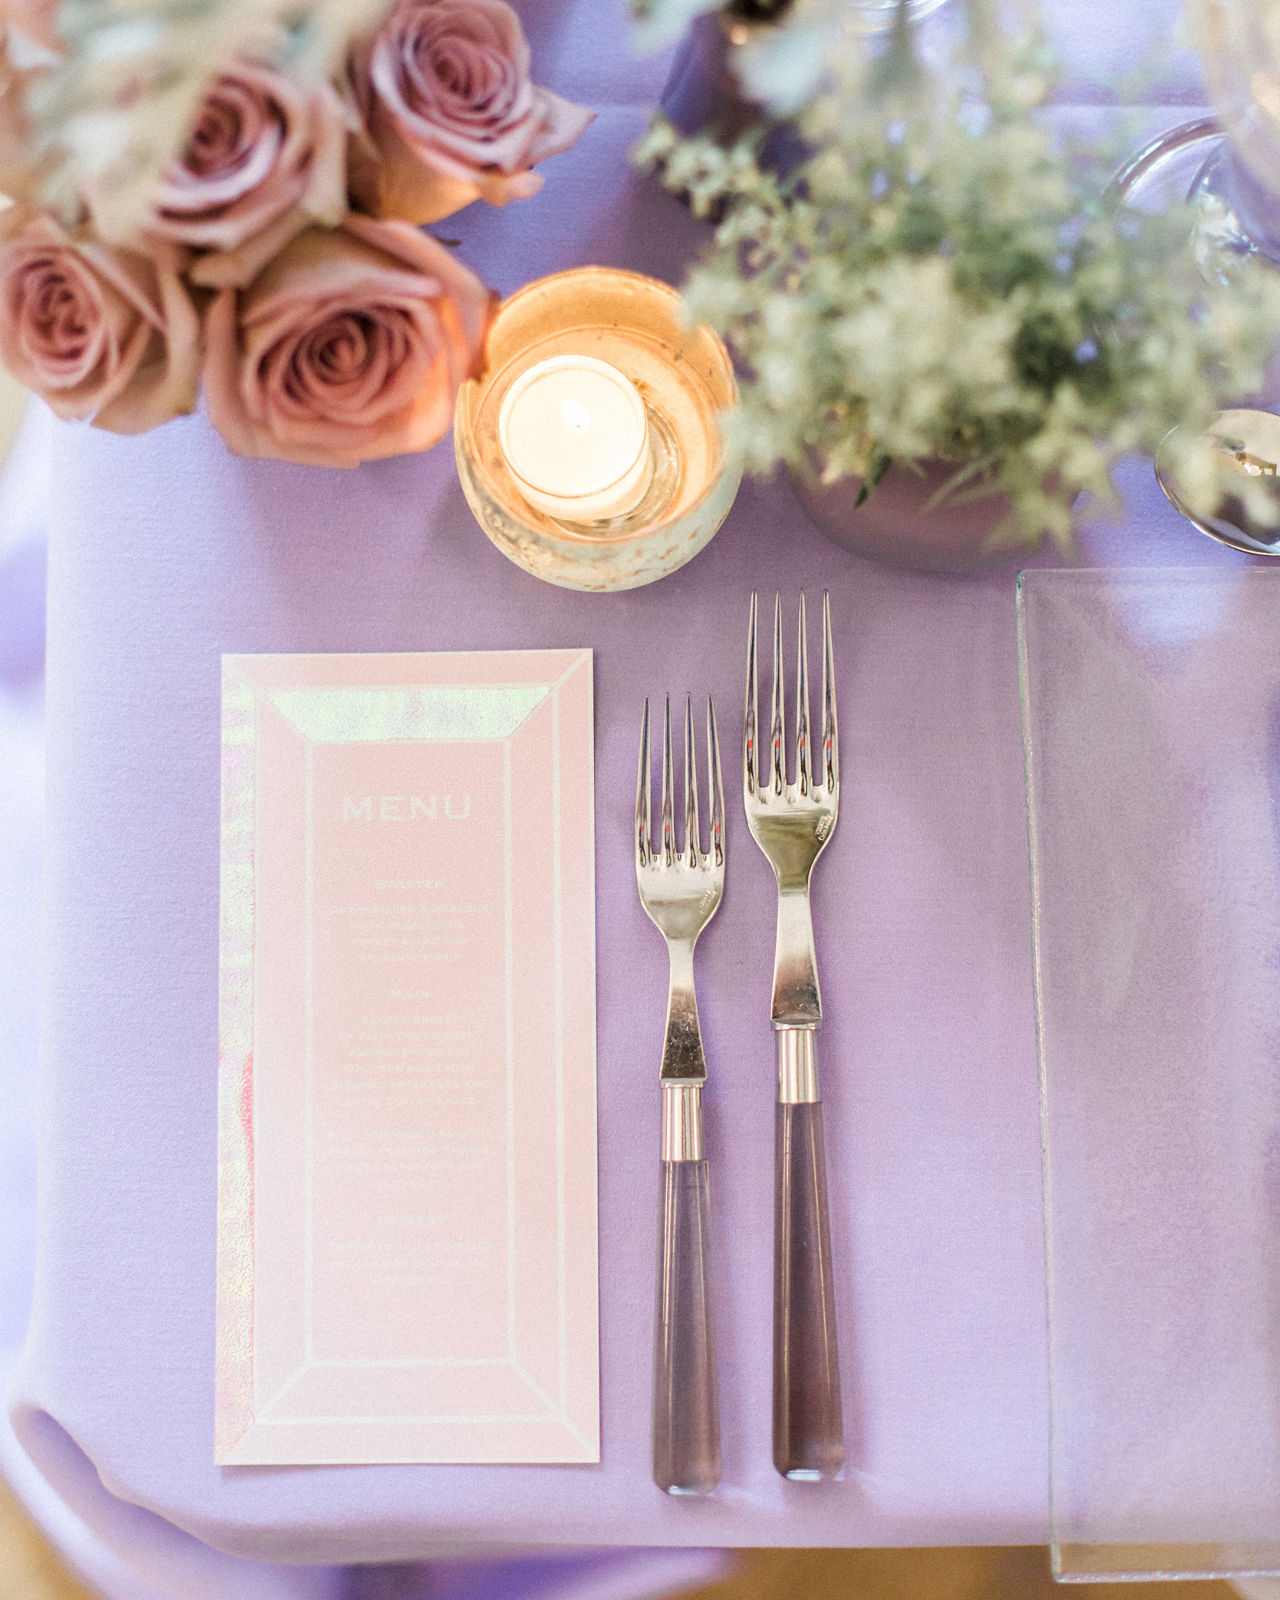
We wanted a clean, modern aesthetic to the stationery pieces, with a strong gemstone theme running throughout. So, setting to work, I found a handful of gem shapes which we loved and translated well into stationery pieces. Because we were only producing sample pieces, we didn’t use any gem shapes that required a curved die-cut, but only shapes which we could hand cut to bevel shape. My favorite idea was turning a square card into a diamond, as seen on the table number. Sometimes the simplest ideas are the best!

Iridescent Pastel Gem-Inspired Wedding Invitations by BerinMade

Iridescent Pastel Gem-Inspired Wedding Invitations by BerinMade

We kept the typeface very clean and contemporary, and white-only, so as not to distract from the gems. Working to a strict pastel color palette, all the pieces were different “cuts” and colors. We applied an iridescent foil finish on some of the facets to give them an extra wow! I really love the finished pieces and they set the tone wonderfully for the rest of the décor.

Iridescent Pastel Gem-Inspired Wedding Invitations by BerinMade

Iridescent Pastel Gem-Inspired Wedding Invitations by BerinMade

iridescent-pastel-diamond-wedding-invitations-berinmade-osbp-4

Thanks Erin!

Design: BerinMade

Styling: Holly Poulter

BerinMade is a member of the Designer Rolodex – you can see more of their beautiful work right here or visit the real invi­ta­tions gallery for more wedding invitation ideas!

Photo Credits: BerinMade and Xander and Thea