DIY Hologram Foil Ornaments

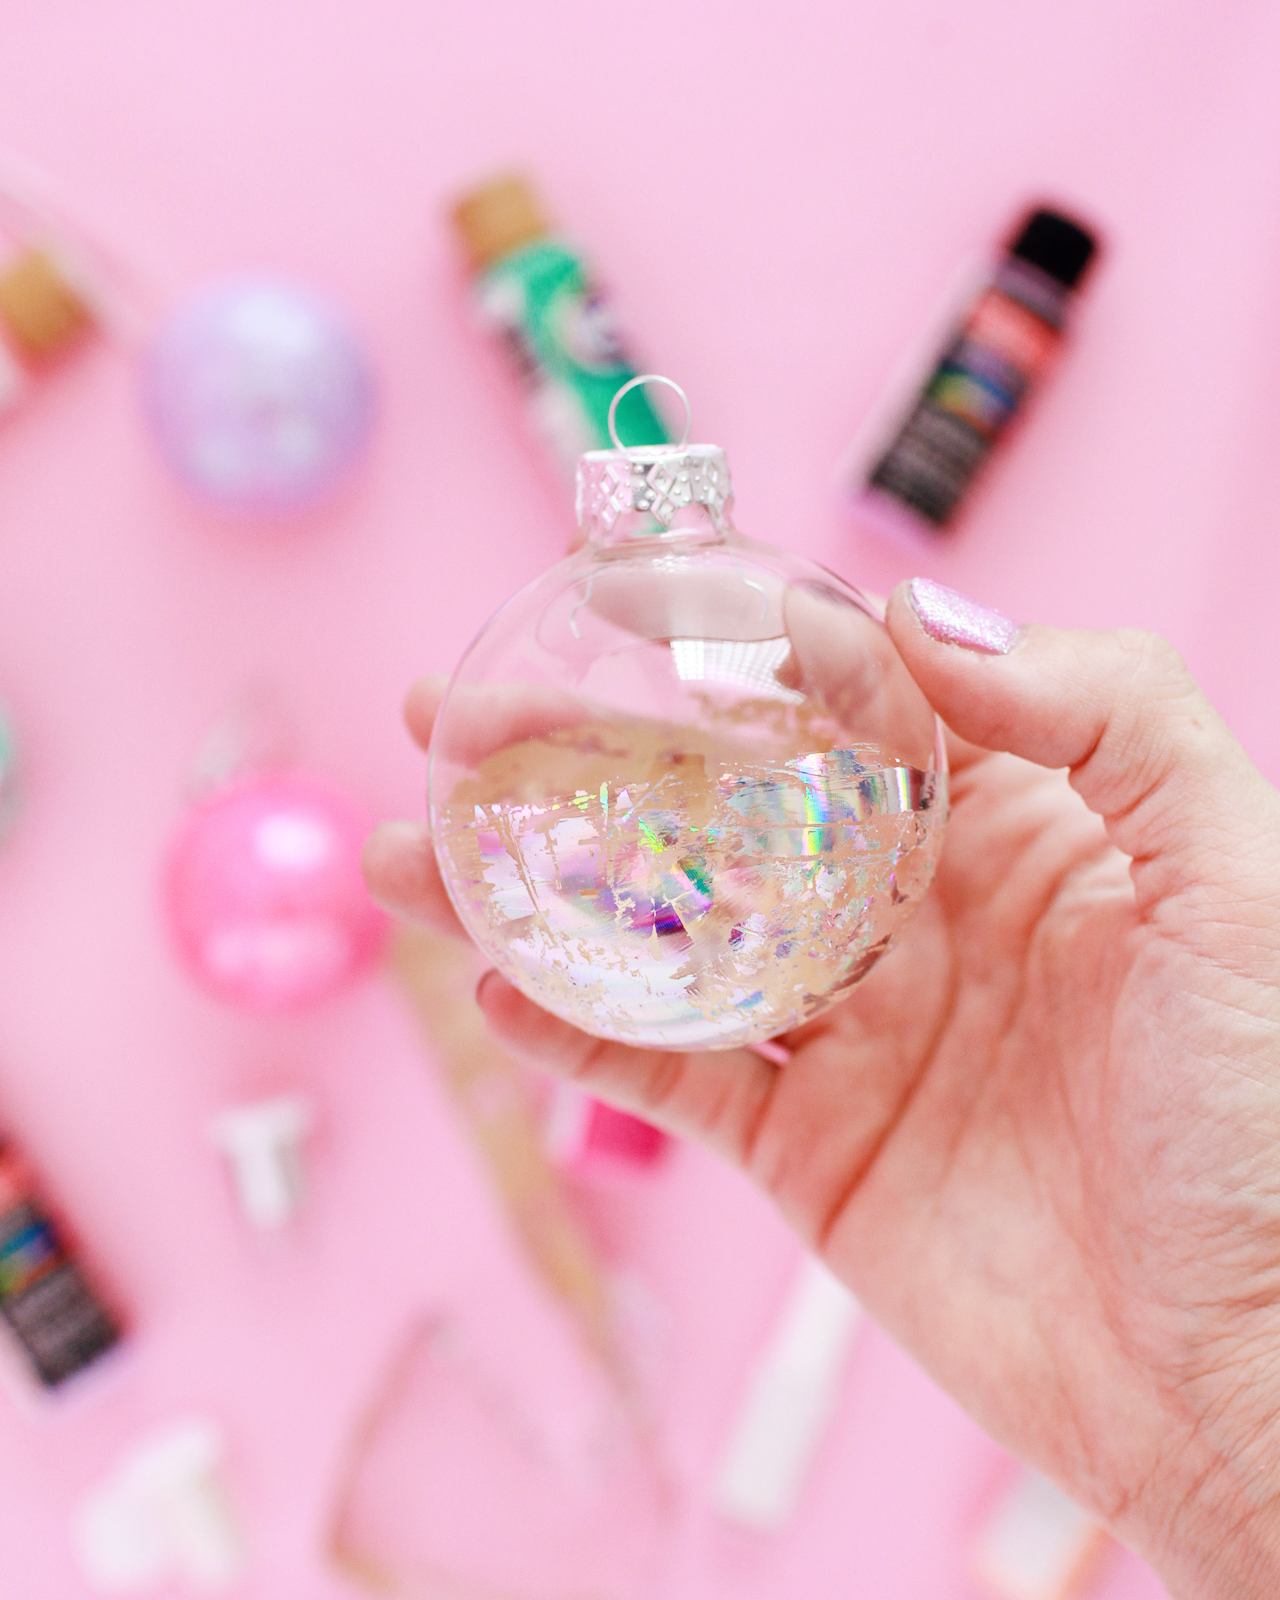
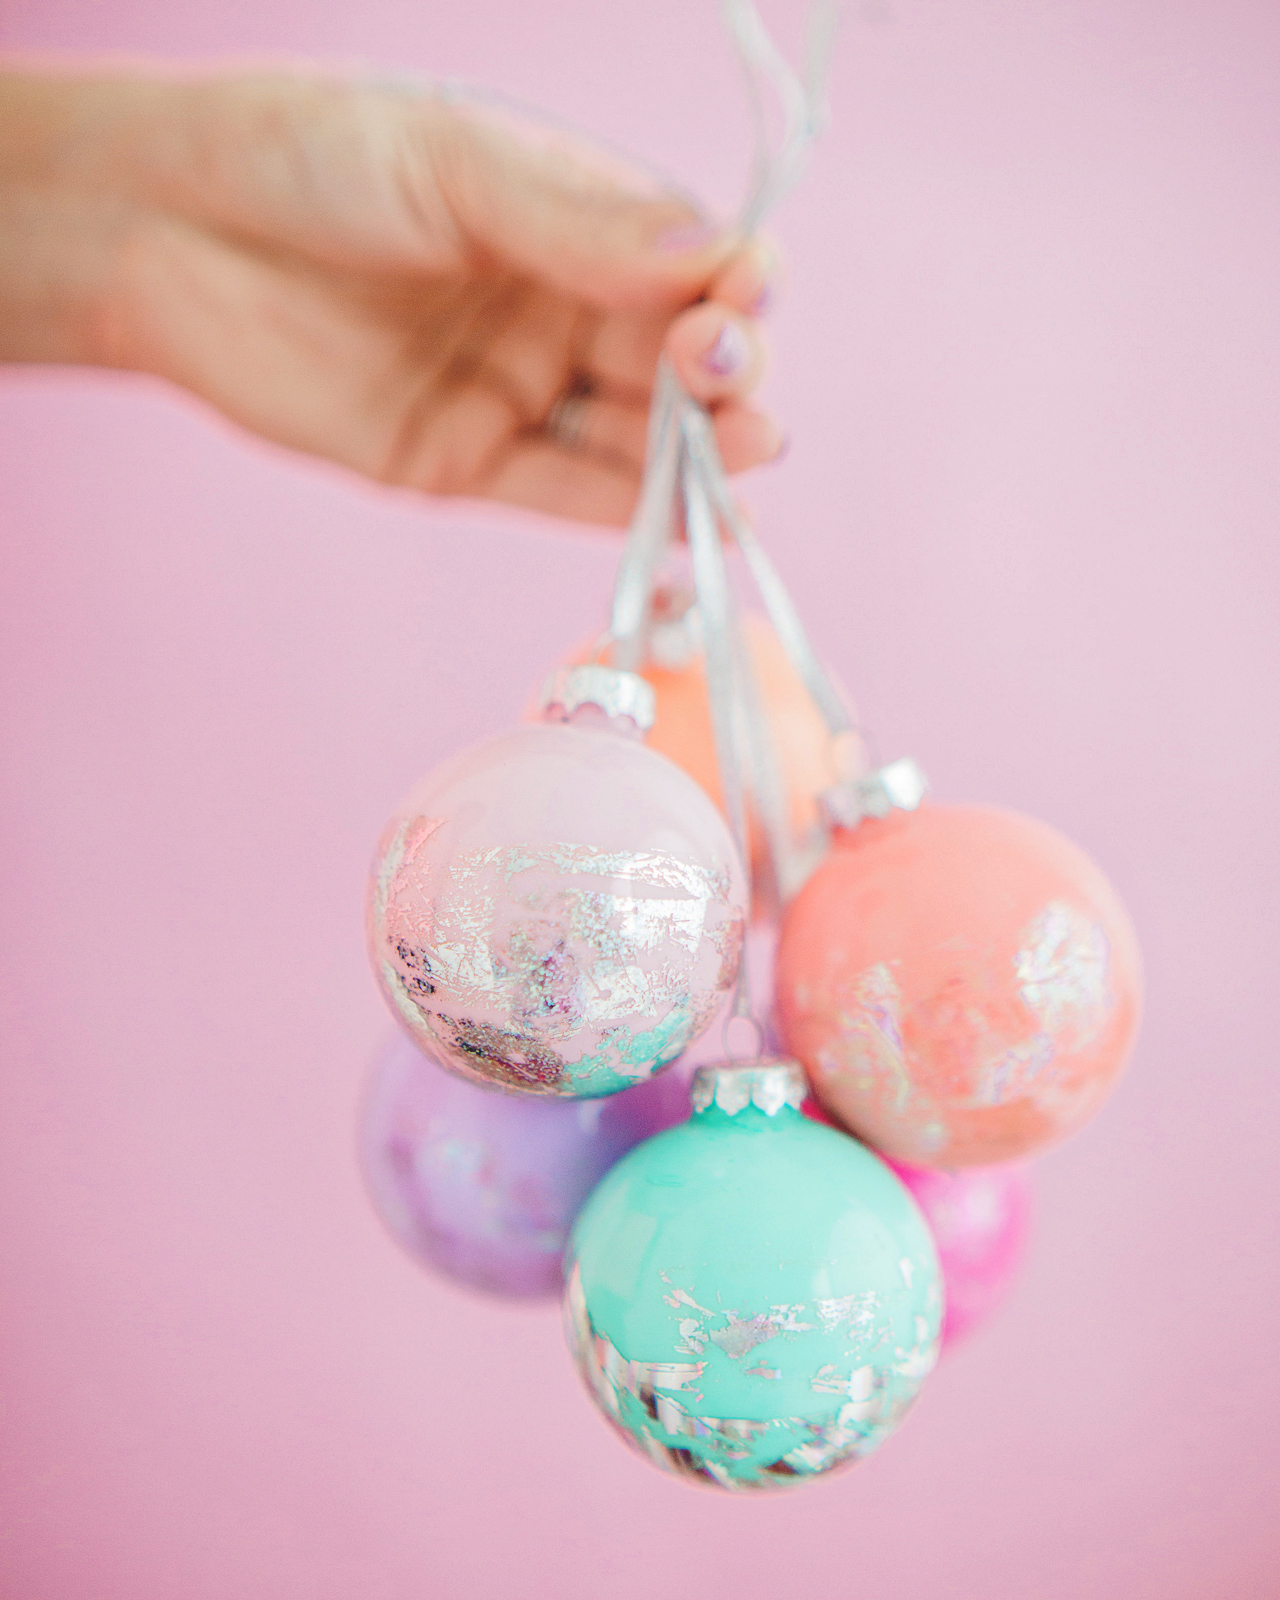
So apparently my brain works best on a really tight deadline. Here’s my brain: a week to go until Christmas? Great! Here are five DIY christmas ornament ideas! So for those of you looking for some fun non-traditional DIY ornament ideas, I’ve got a couple of ideas to share with you this week! First up, DIY hologram foil ornaments! You might remember these DIY hologram Easter eggs that I made last Spring, and I couldn’t resist making a set of Christmas ornaments from these amazing iridescent and hologram nail foils!
DIY Hologram Foil Ornaments

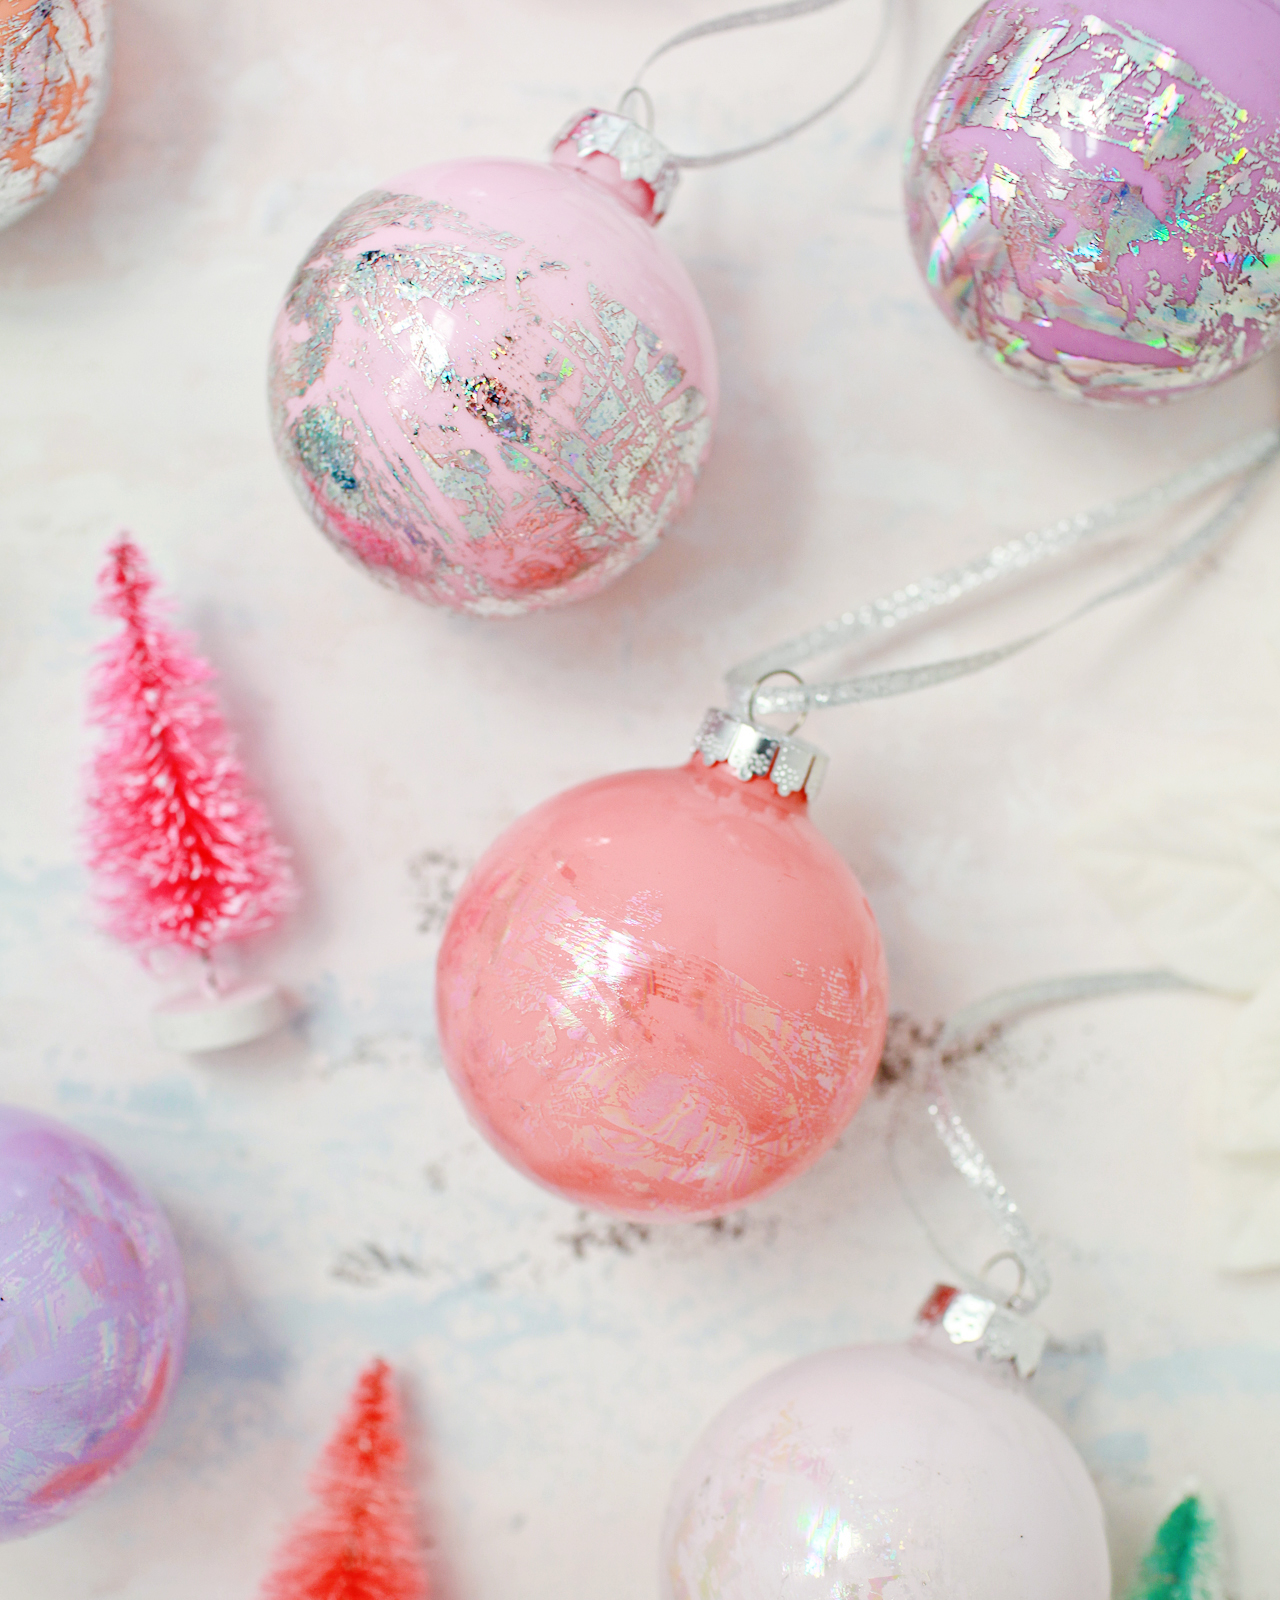
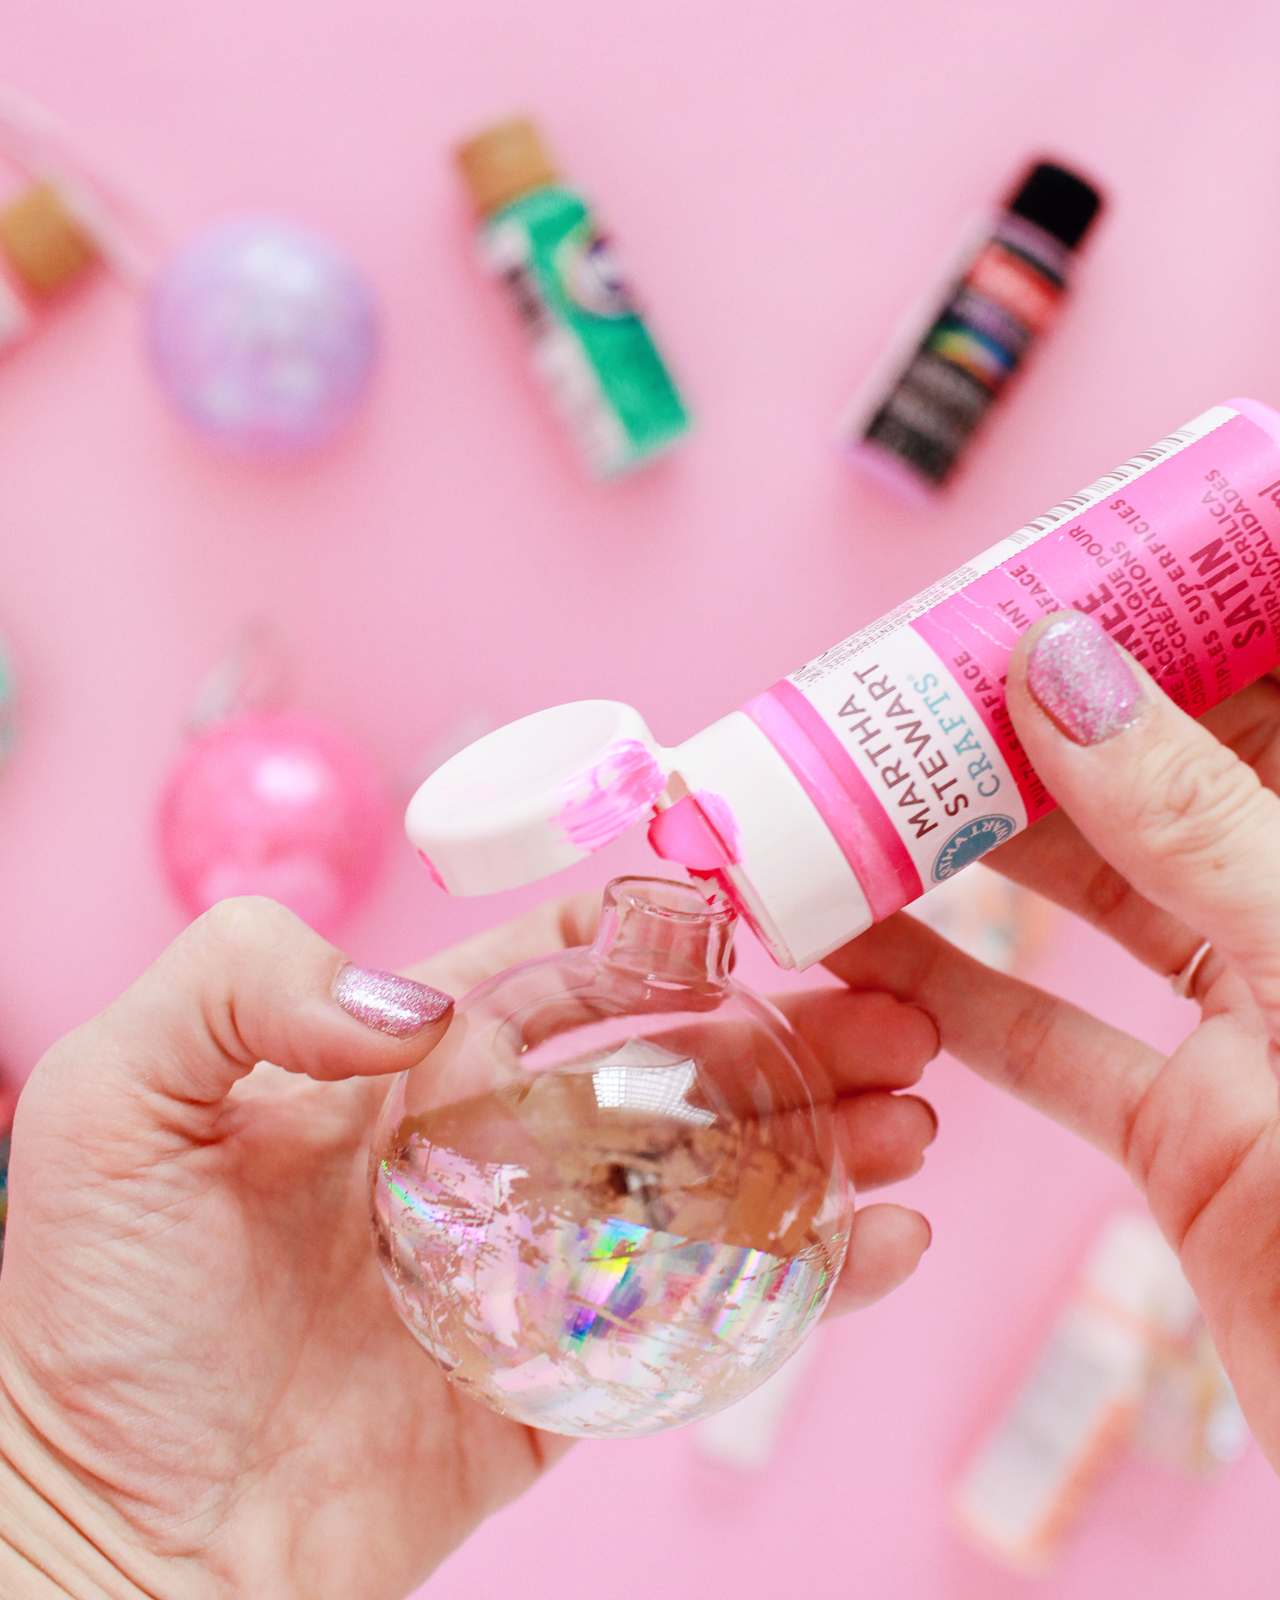
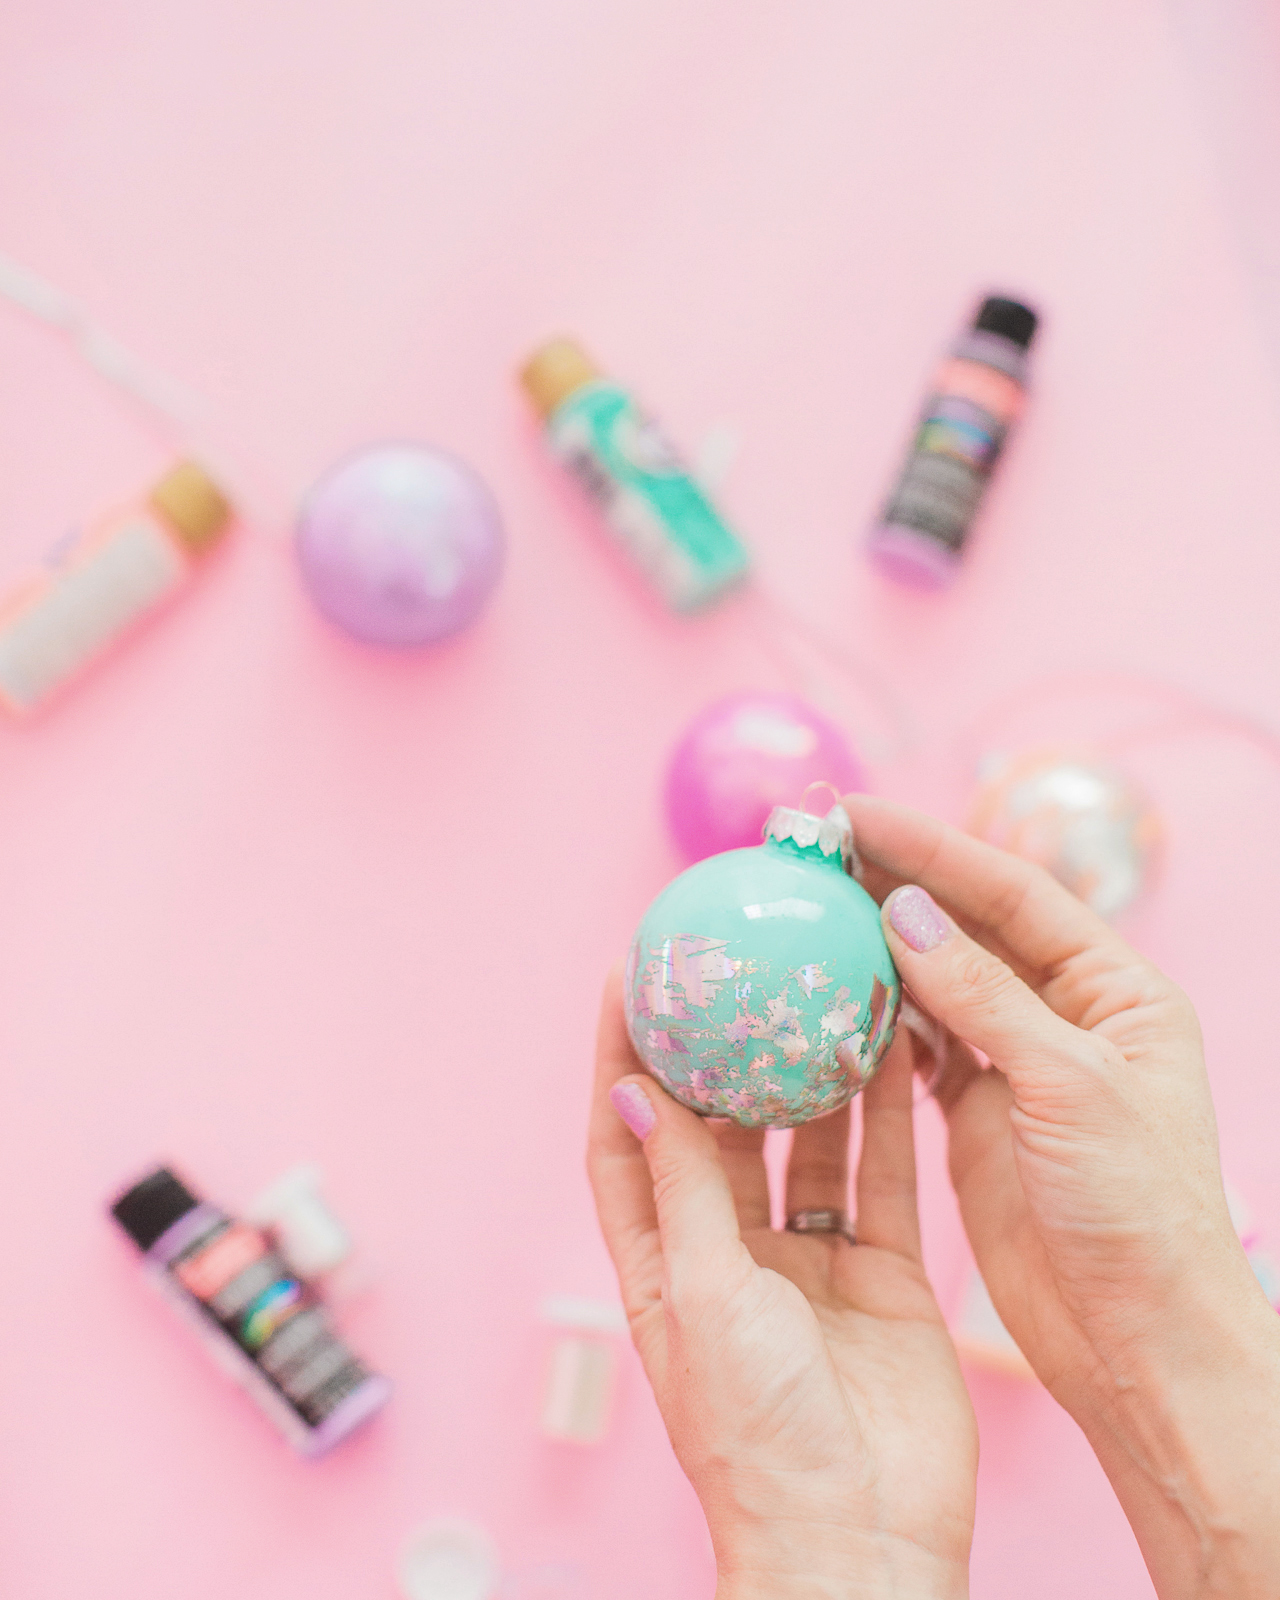
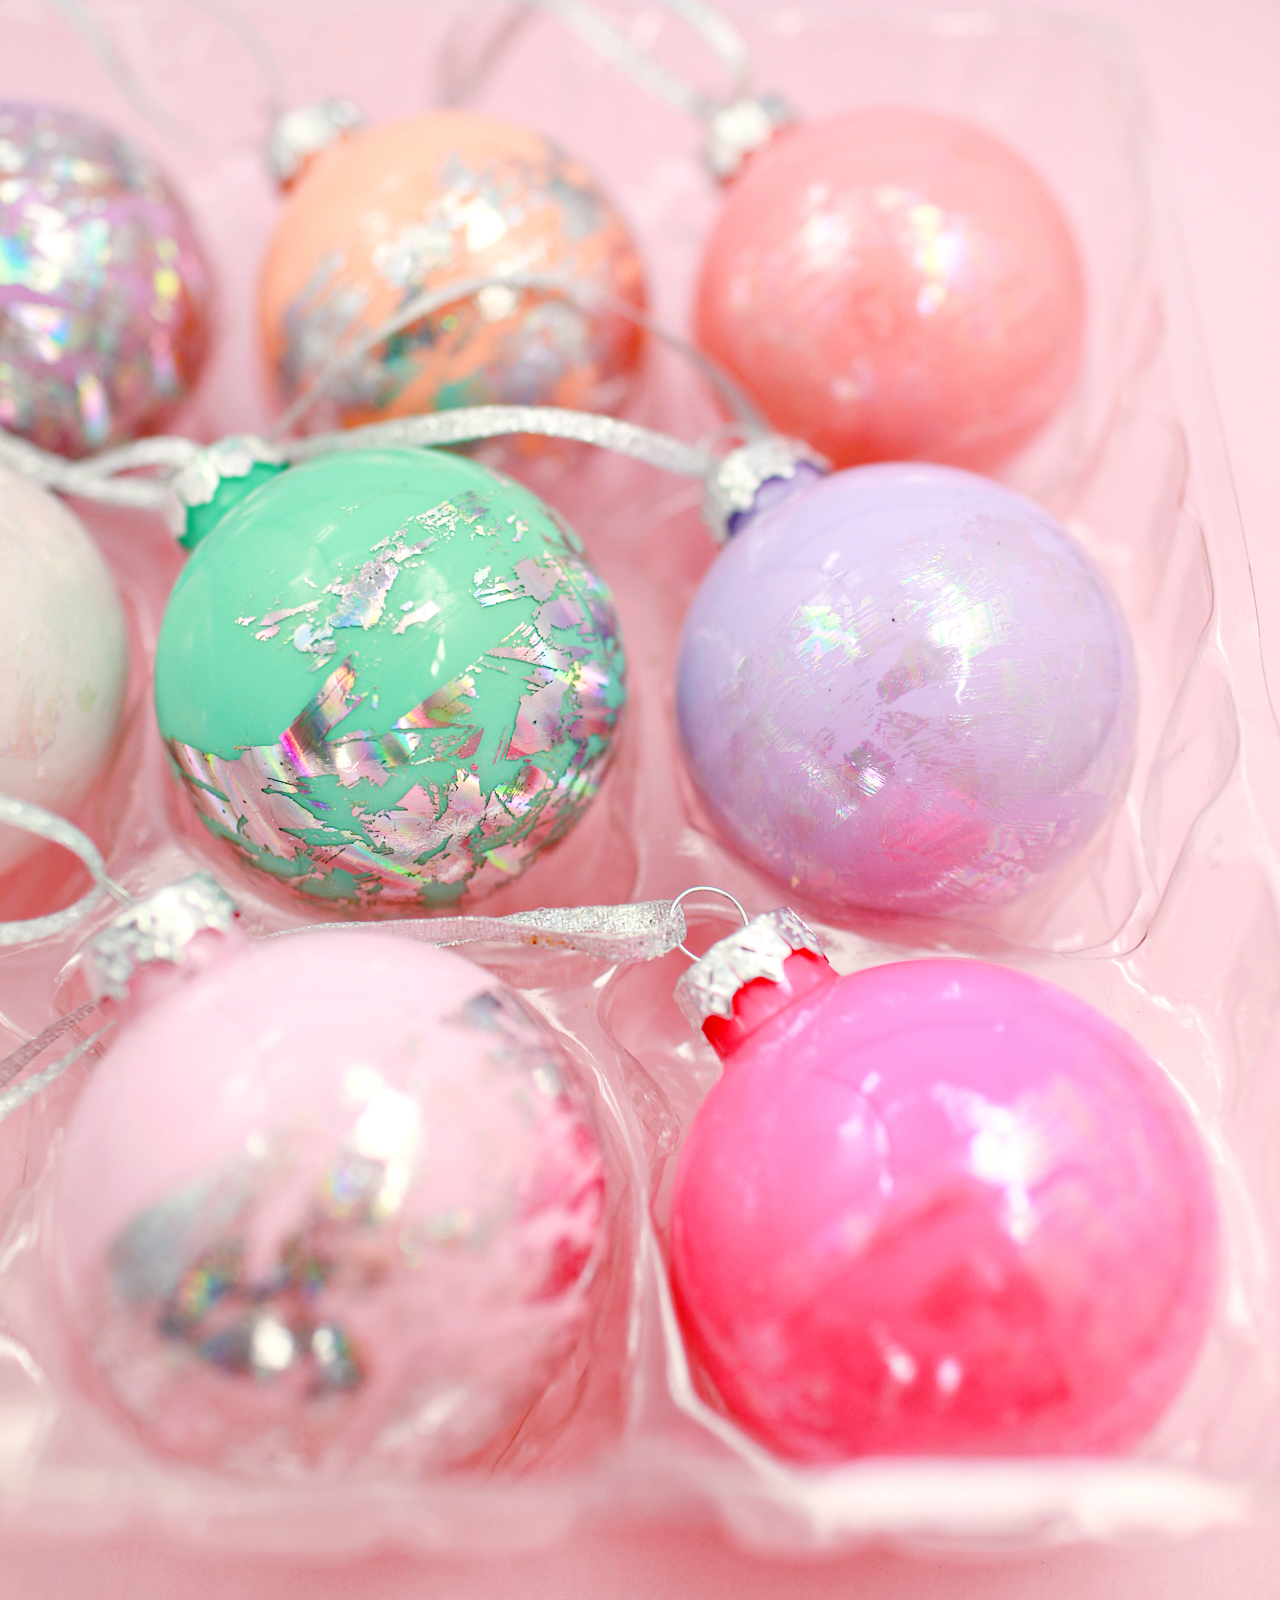
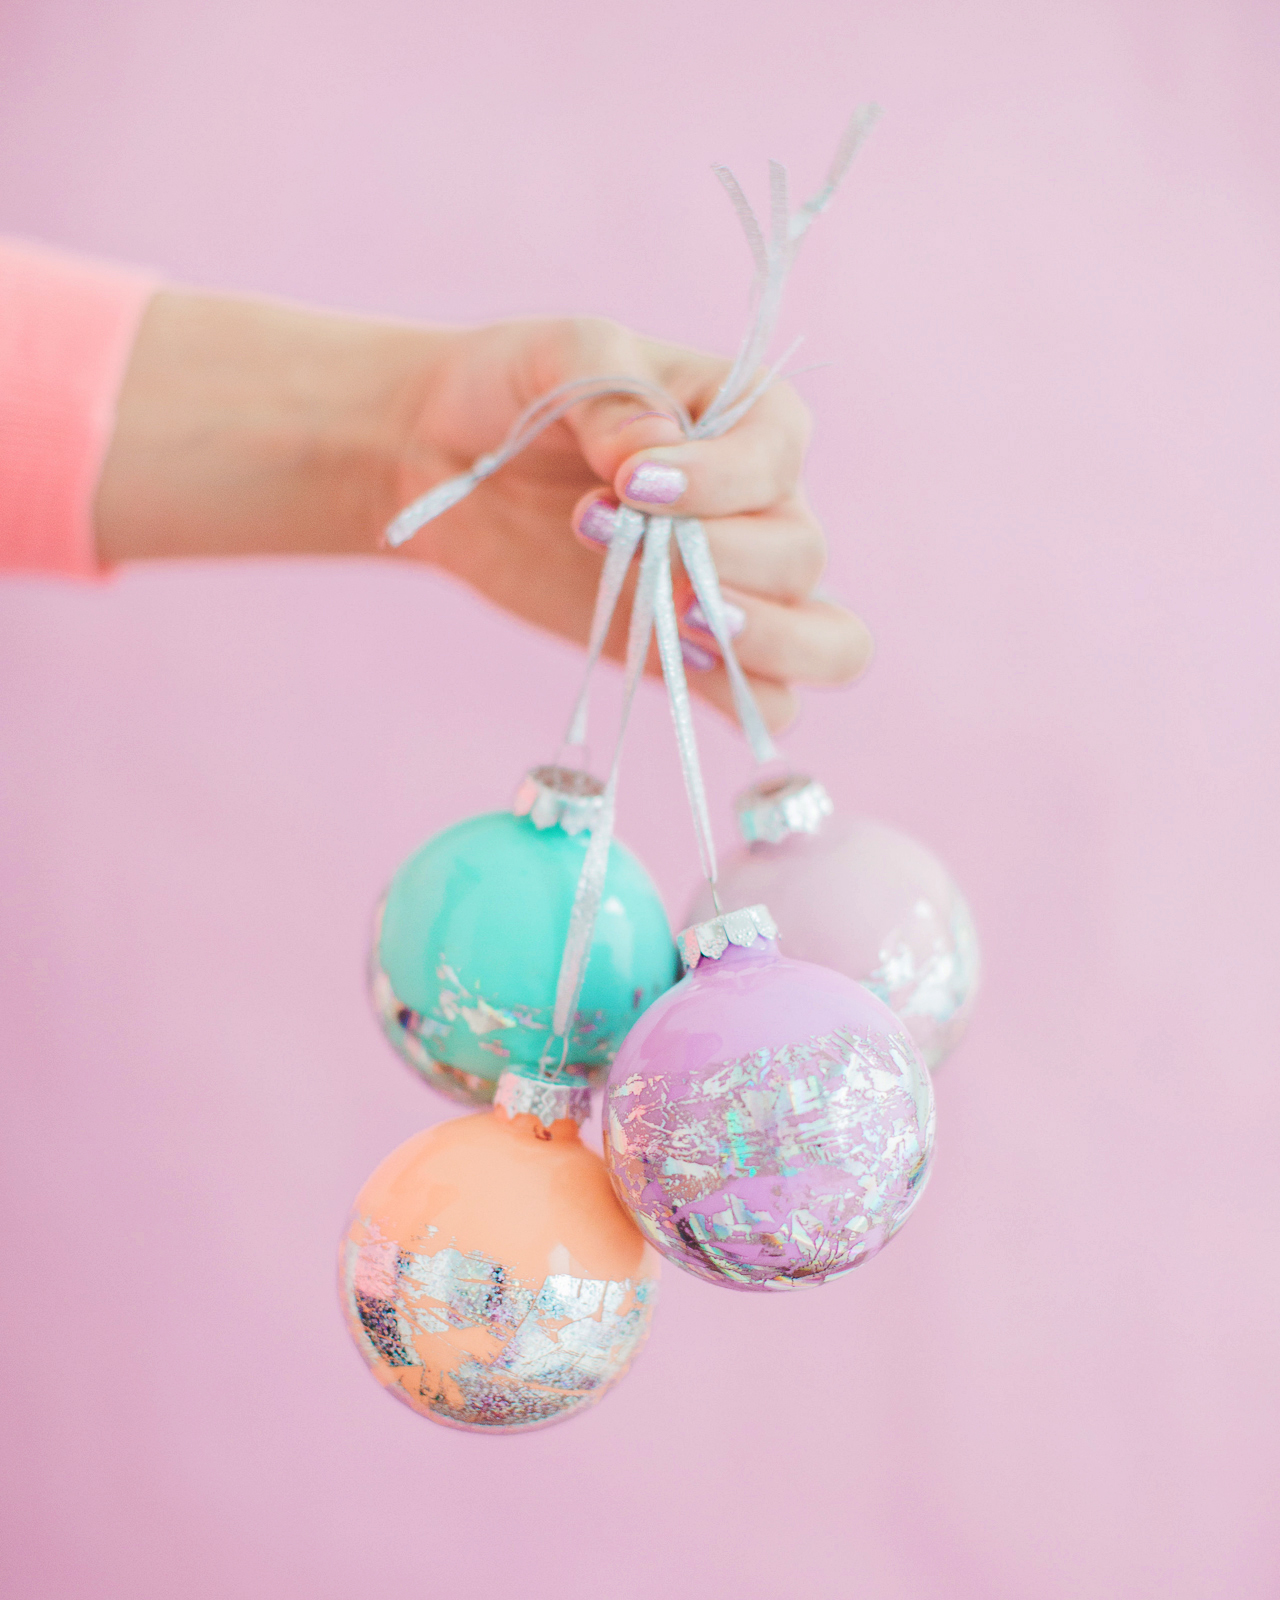
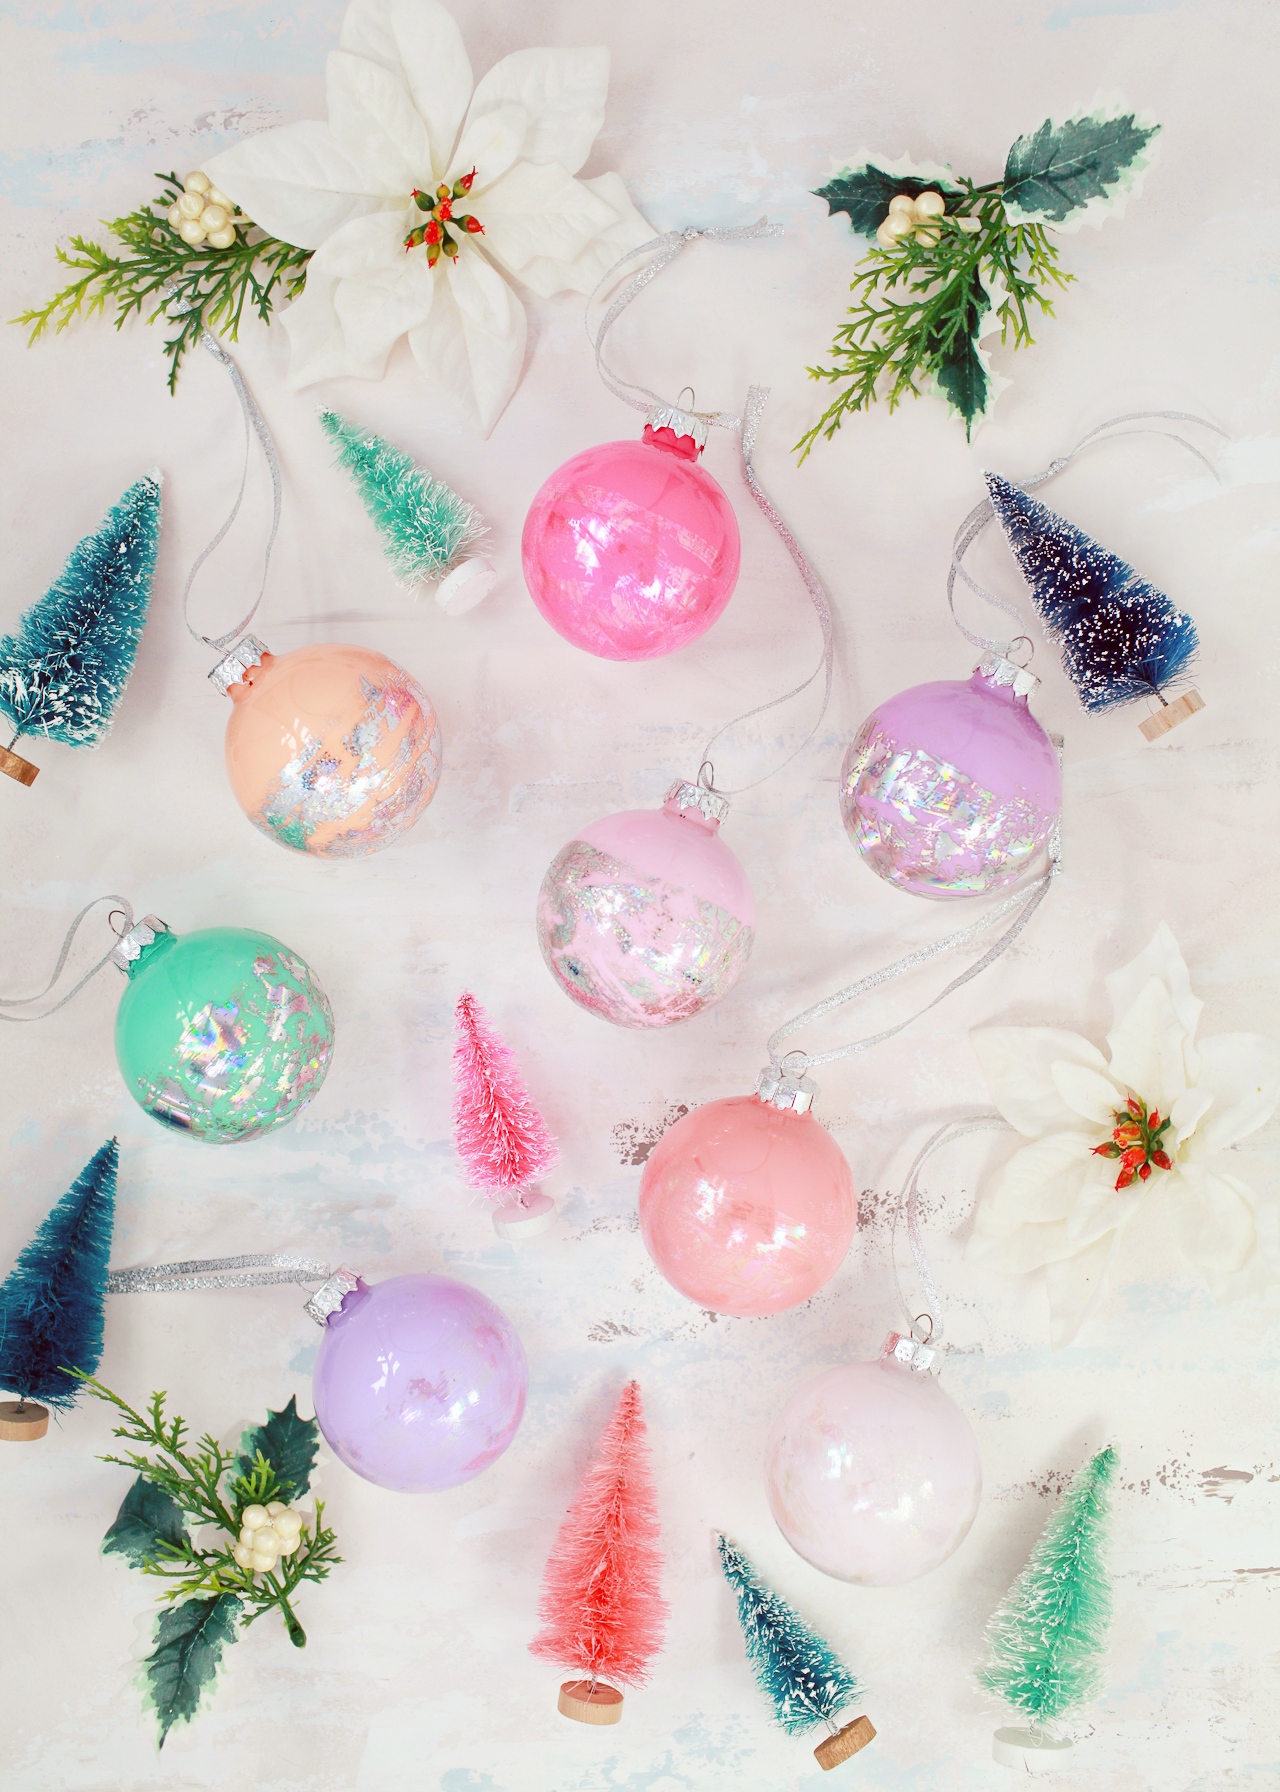
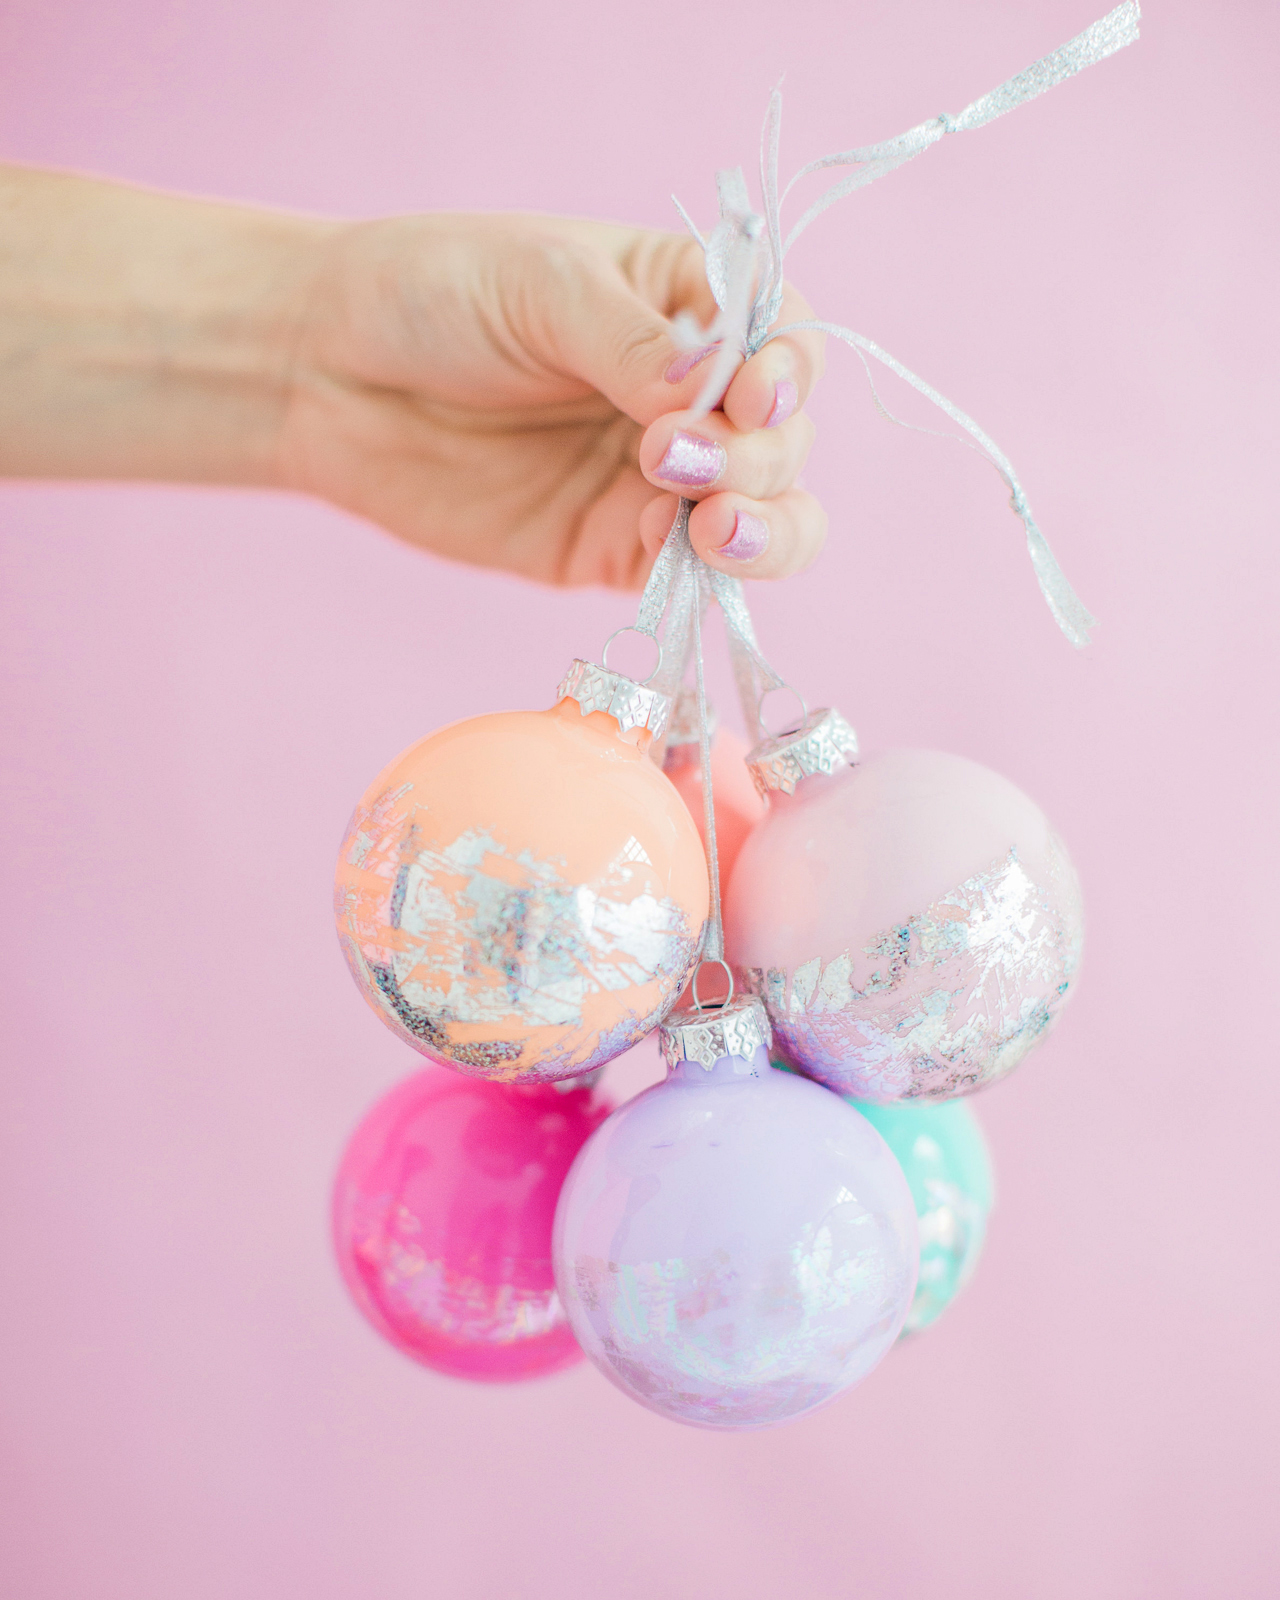
I know pastels are on the non-traditional side for Christmas, but I just couldn’t resist! I used clear glass ornaments and filled them in with a few colors of craft paint that I had on hand, but you could definitely pick more traditional colors. Or use existing solid color ornaments – either glass or plastic. The hologram nail foils stick to pretty much anything!
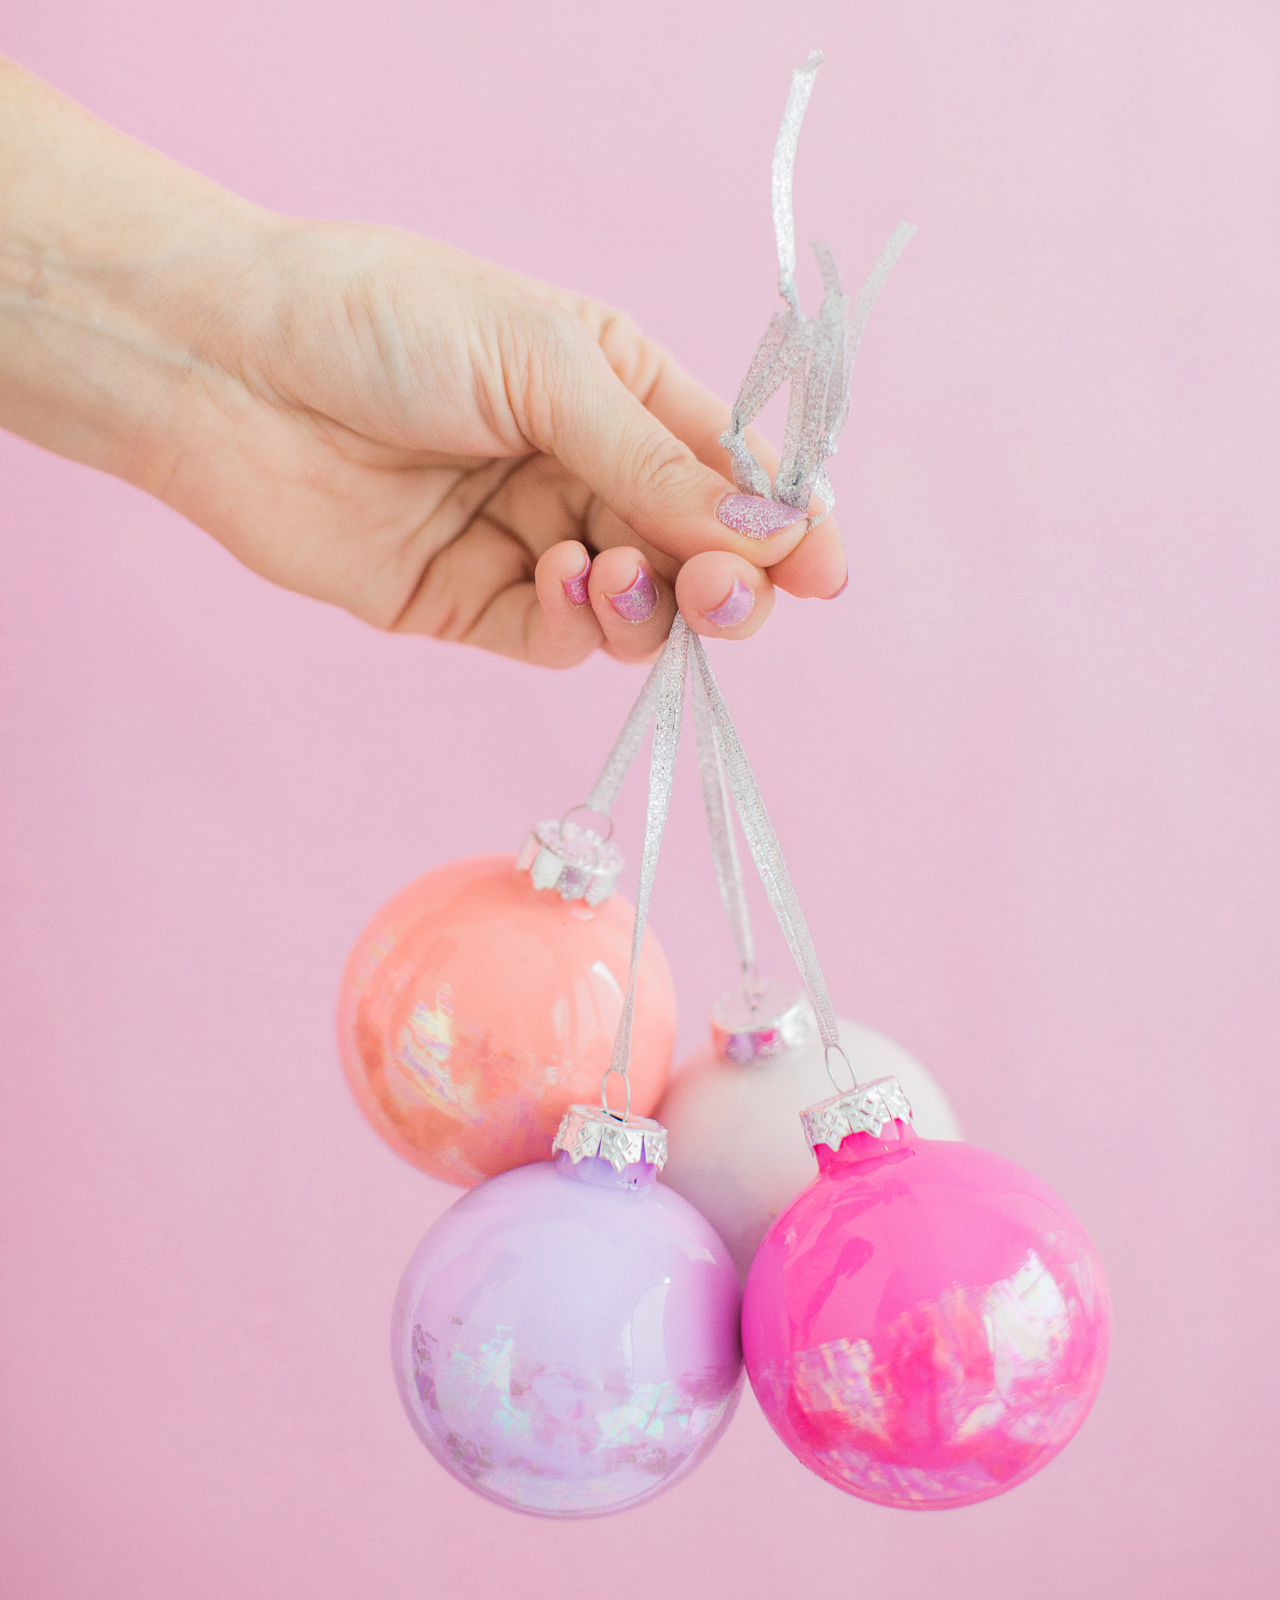
DIY Hologram Foil Ornaments

DIY Hologram Foil Ornaments

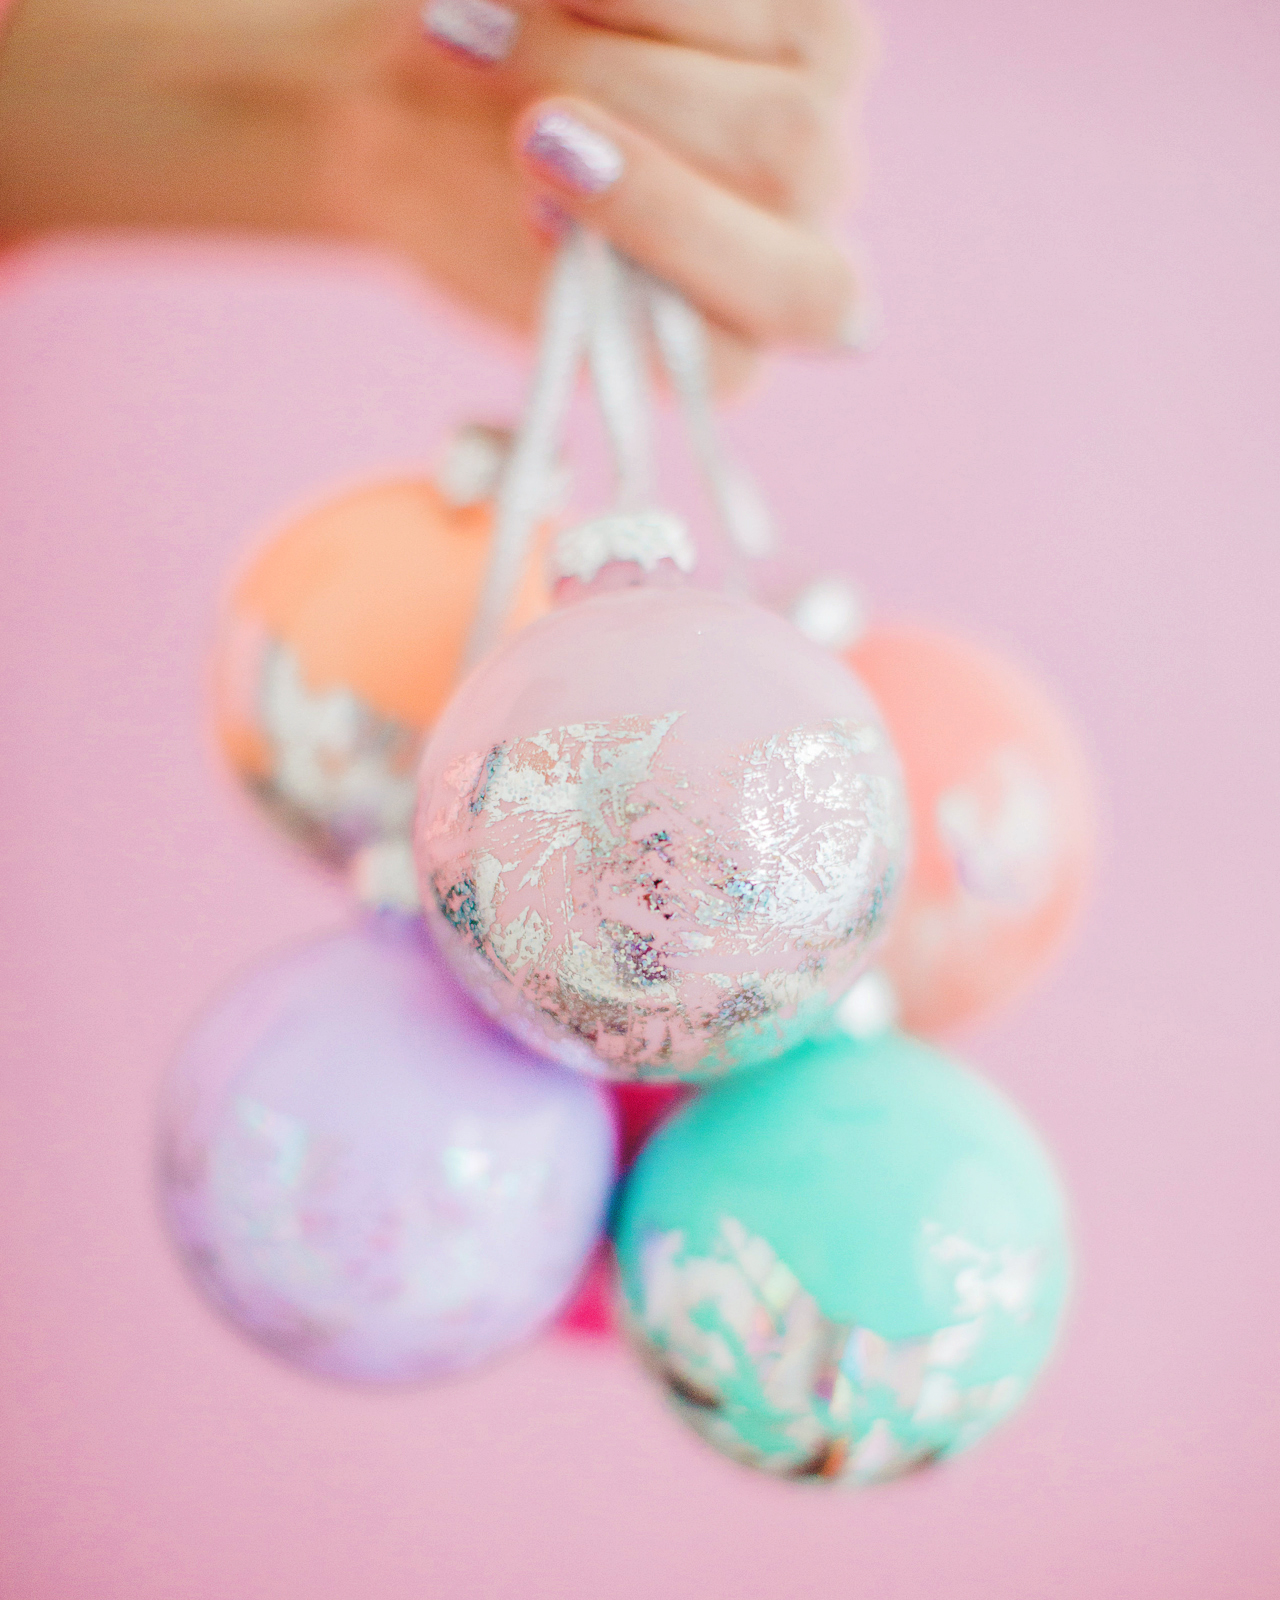
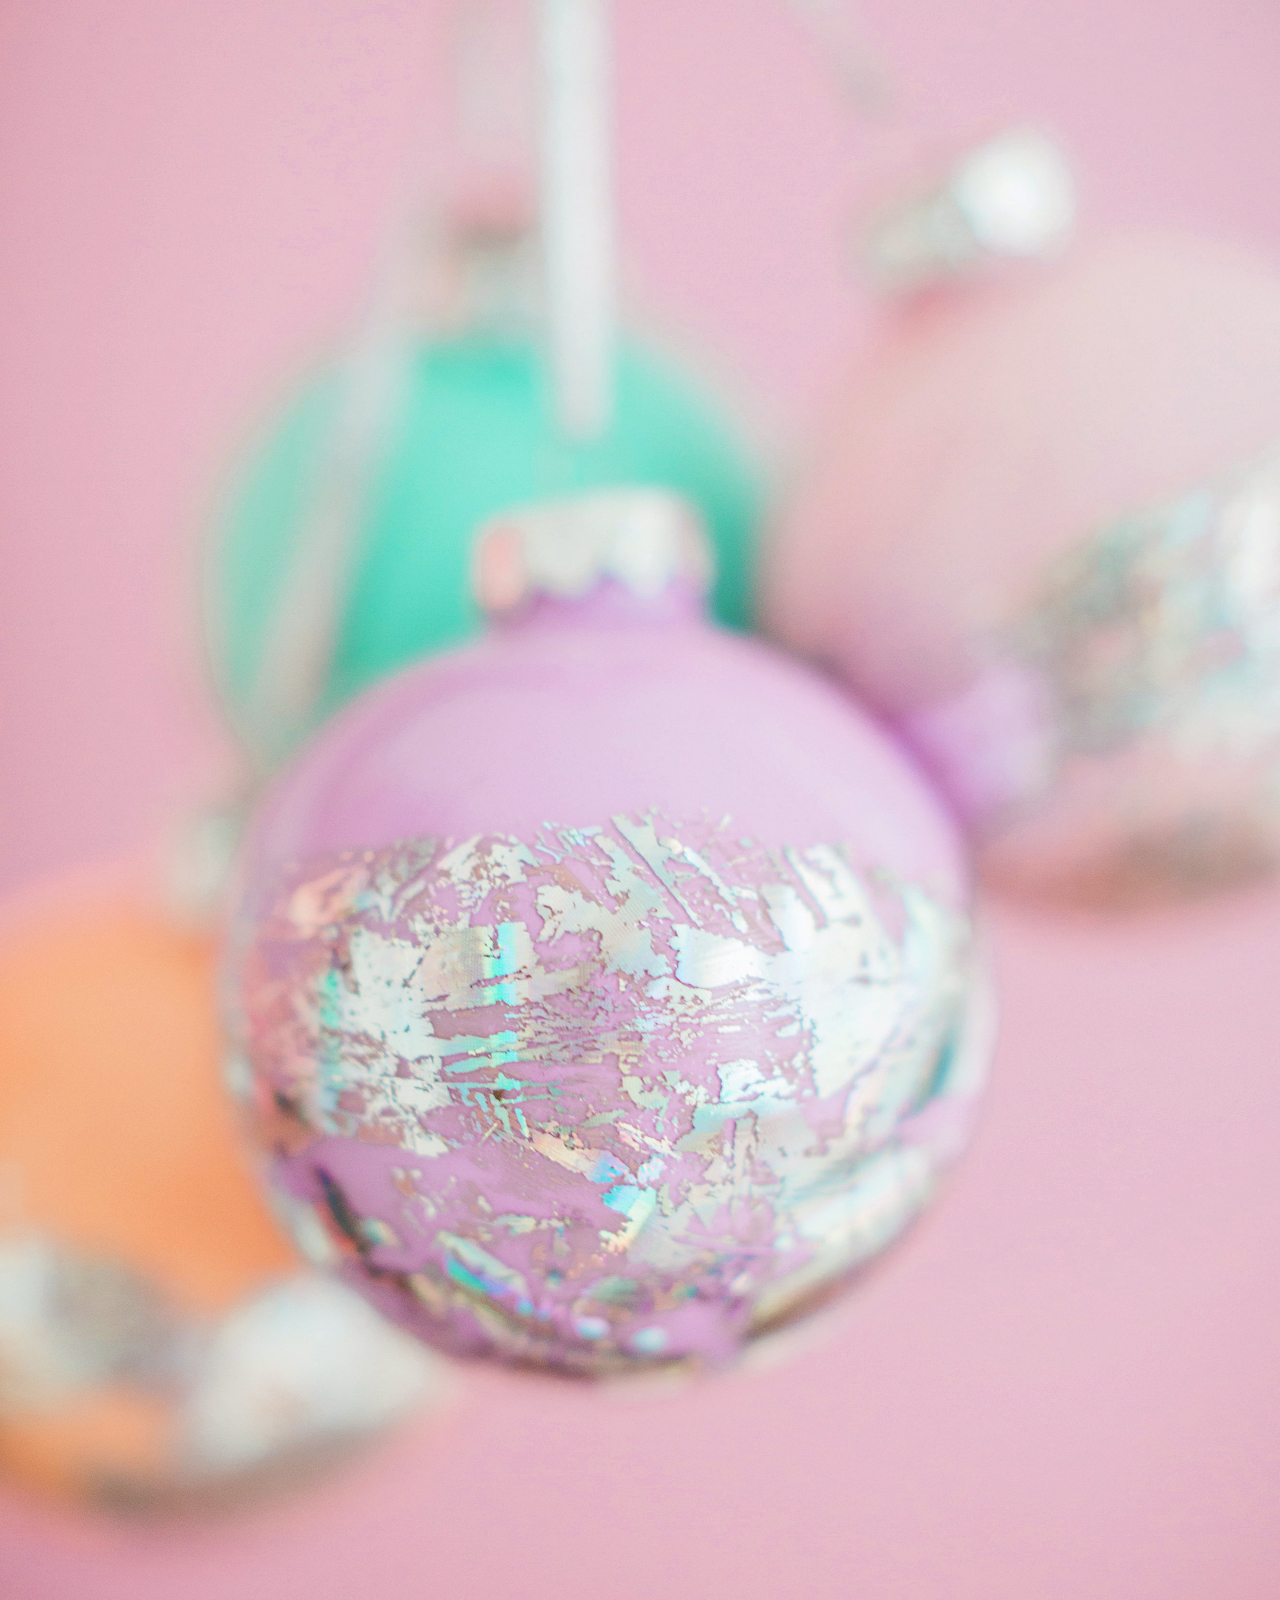
The silver hologram foil really stands out, while the clear iridescent foil makes for a more subtle shimmer – but both are just totally gorgeous in person. That lavender and iridescent opal swirl is such a dreamy combination!
DIY Hologram Foil Ornaments

DIY Hologram Foil Ornaments

DIY Hologram Foil Ornaments

Supplies

Plastic or glass ornaments

Nail foil in your choice of color – I used Silver Spectrum, Silver Dots, Opal Glitter, and Opal Swirl. I bought all my nail foils here, but you can also find some fun colors and patterns on Amazon.

Nail foil transfer adhesive

Thin ribbon

Craft paint in assorted colors (optional)
DIY Hologram Foil Ornaments

To make the DIY hologram foil ornaments:

Step 1. Start by cutting several lengths of nail foil in your chosen colors. I usually needed one 5-inch piece to wrap around the middle of the ornament, then a few 3-inch pieces to fill in the rest of the ornament. The foiling process moves pretty quickly, so it’s helpful to have a bunch of pre-cut pieces ready to apply ahead of time. 

Step 2. Apply the nail foil transfer adhesive to the bottom half of your ornament. Allow the adhesive to dry until it becomes clear and tacky (usually 2-3 minutes).

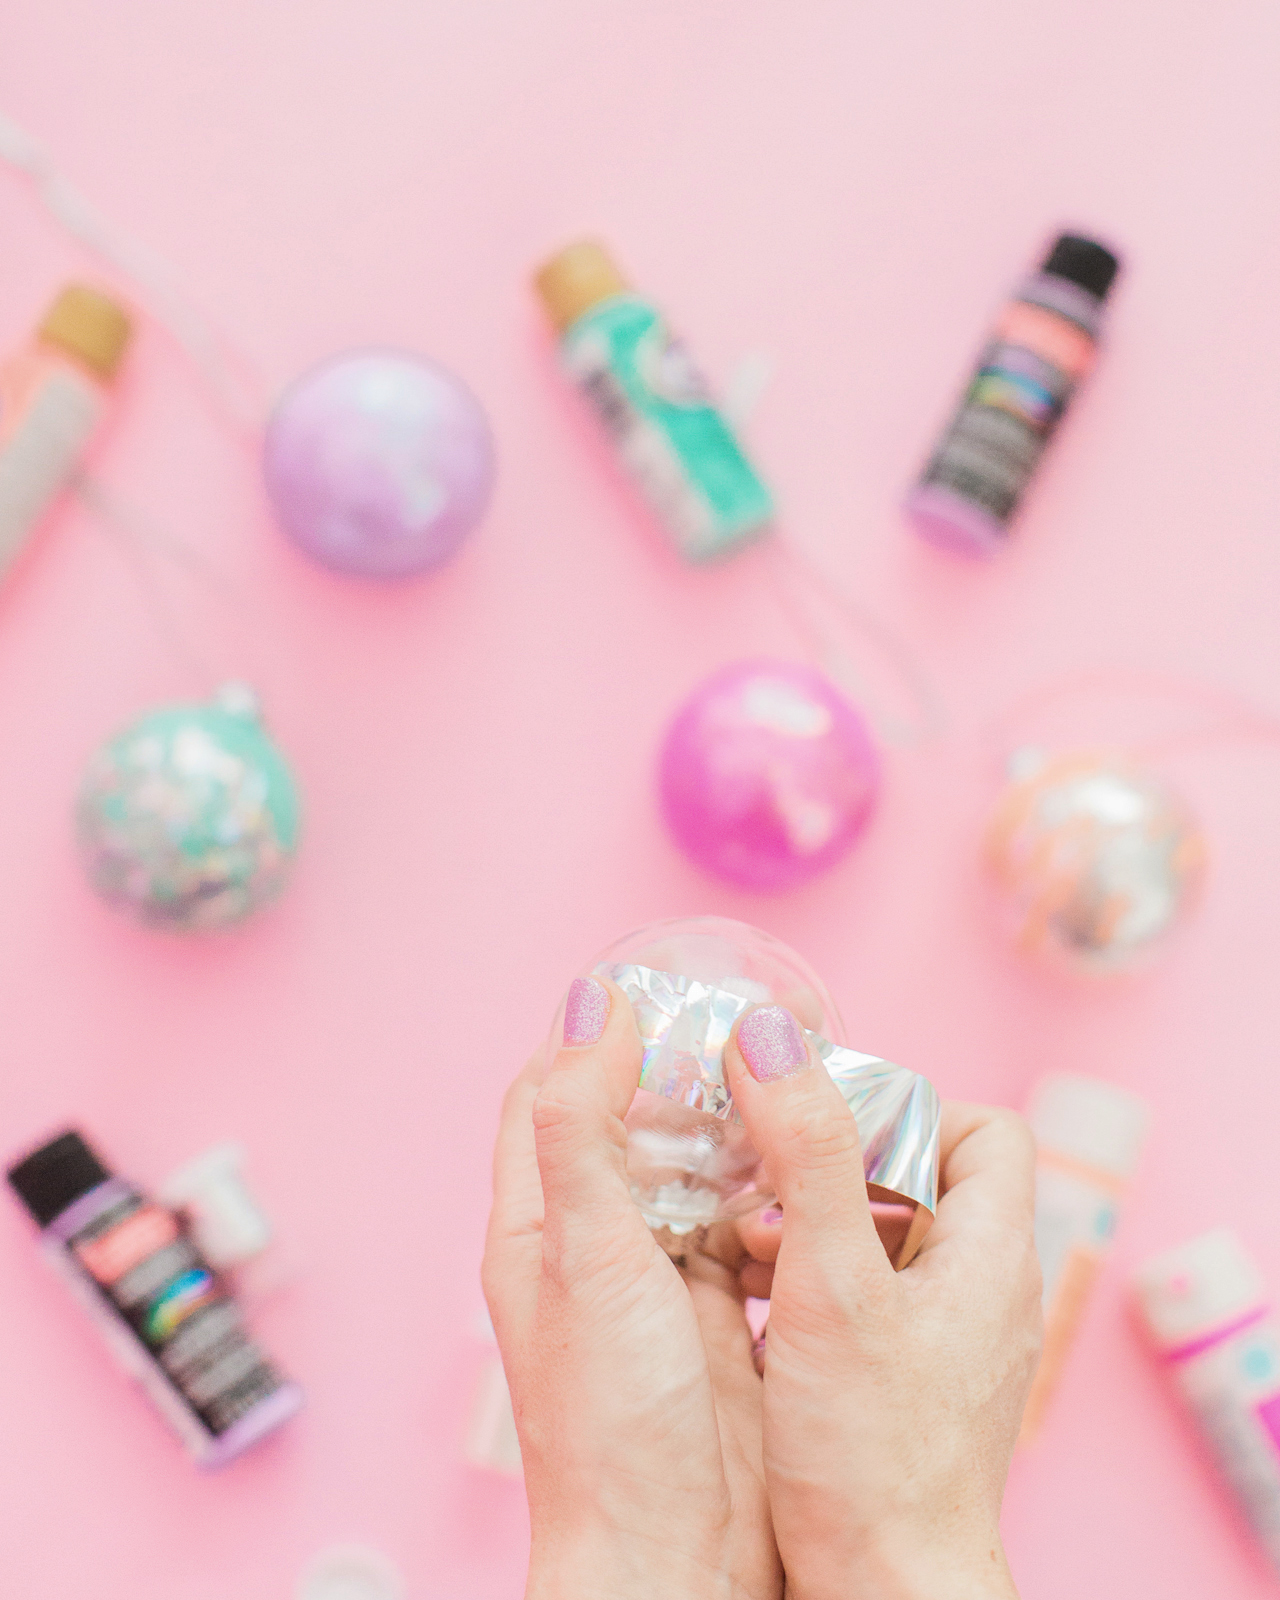
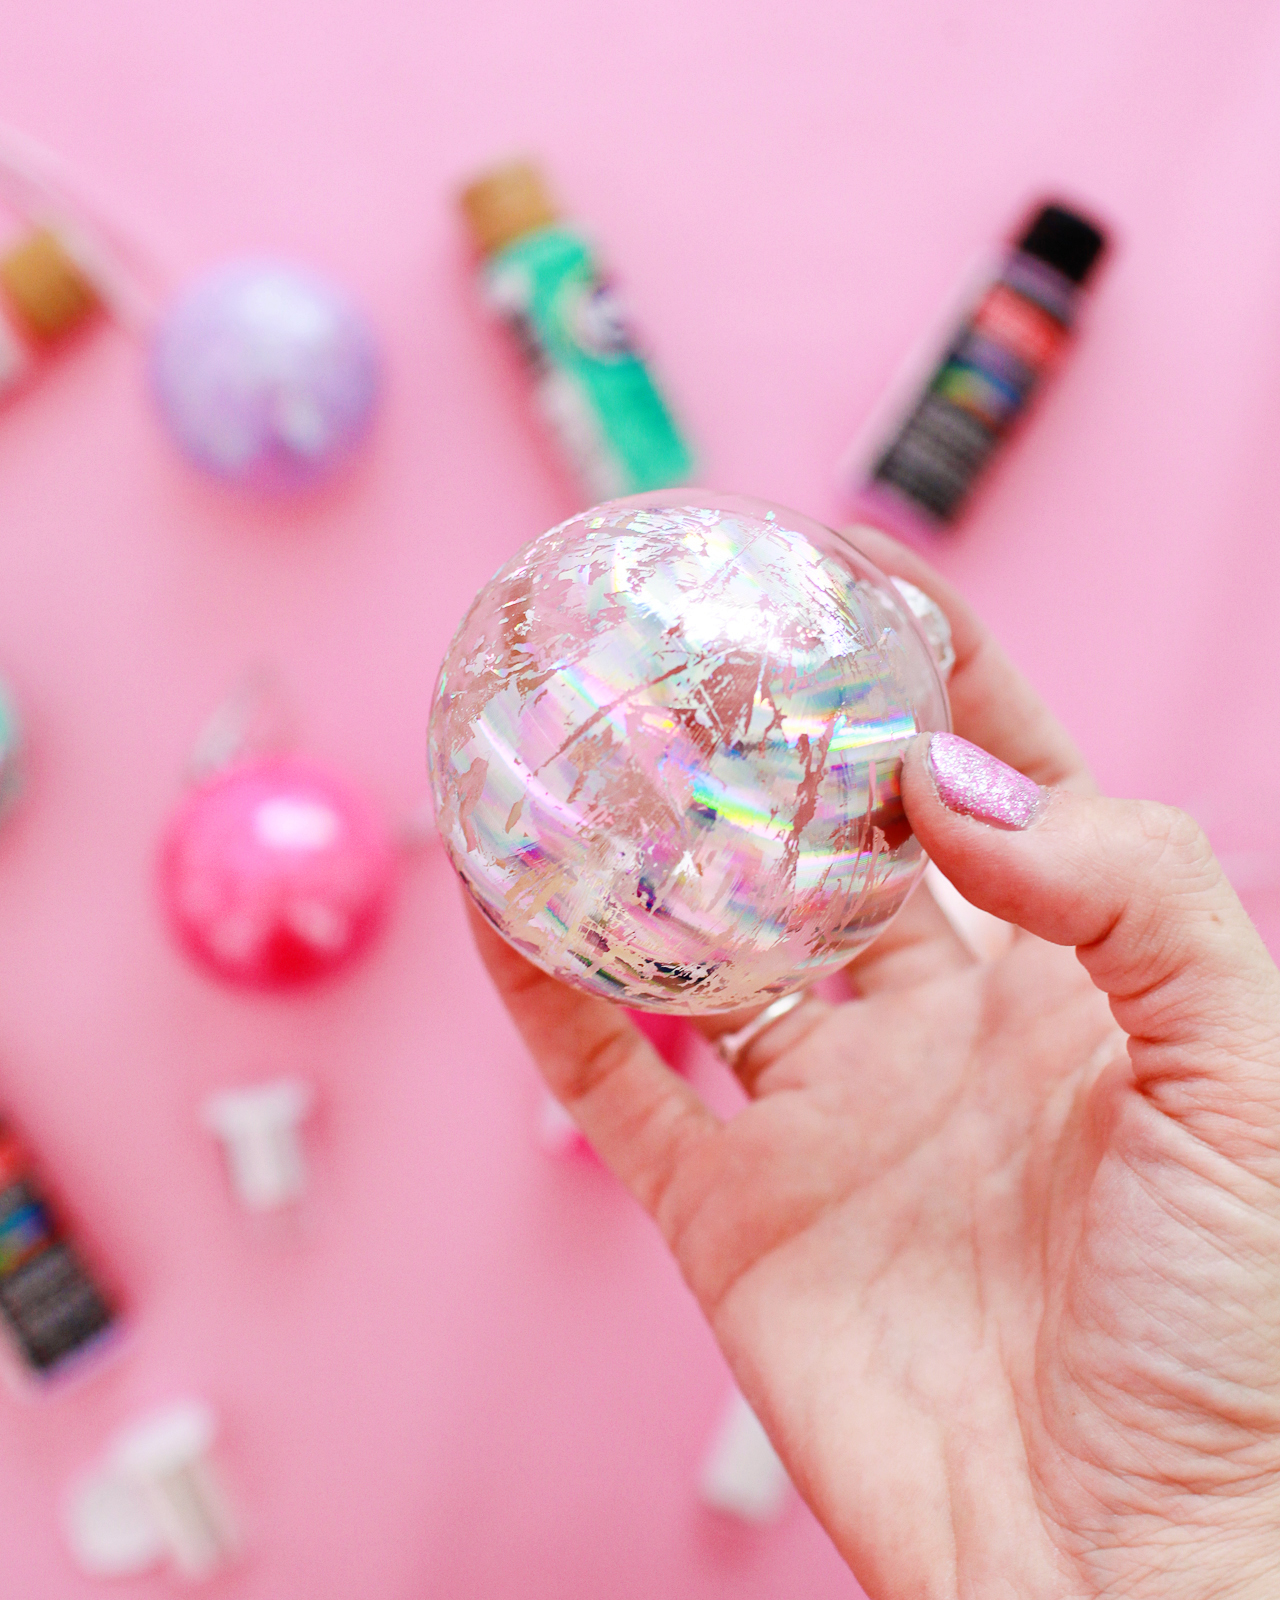
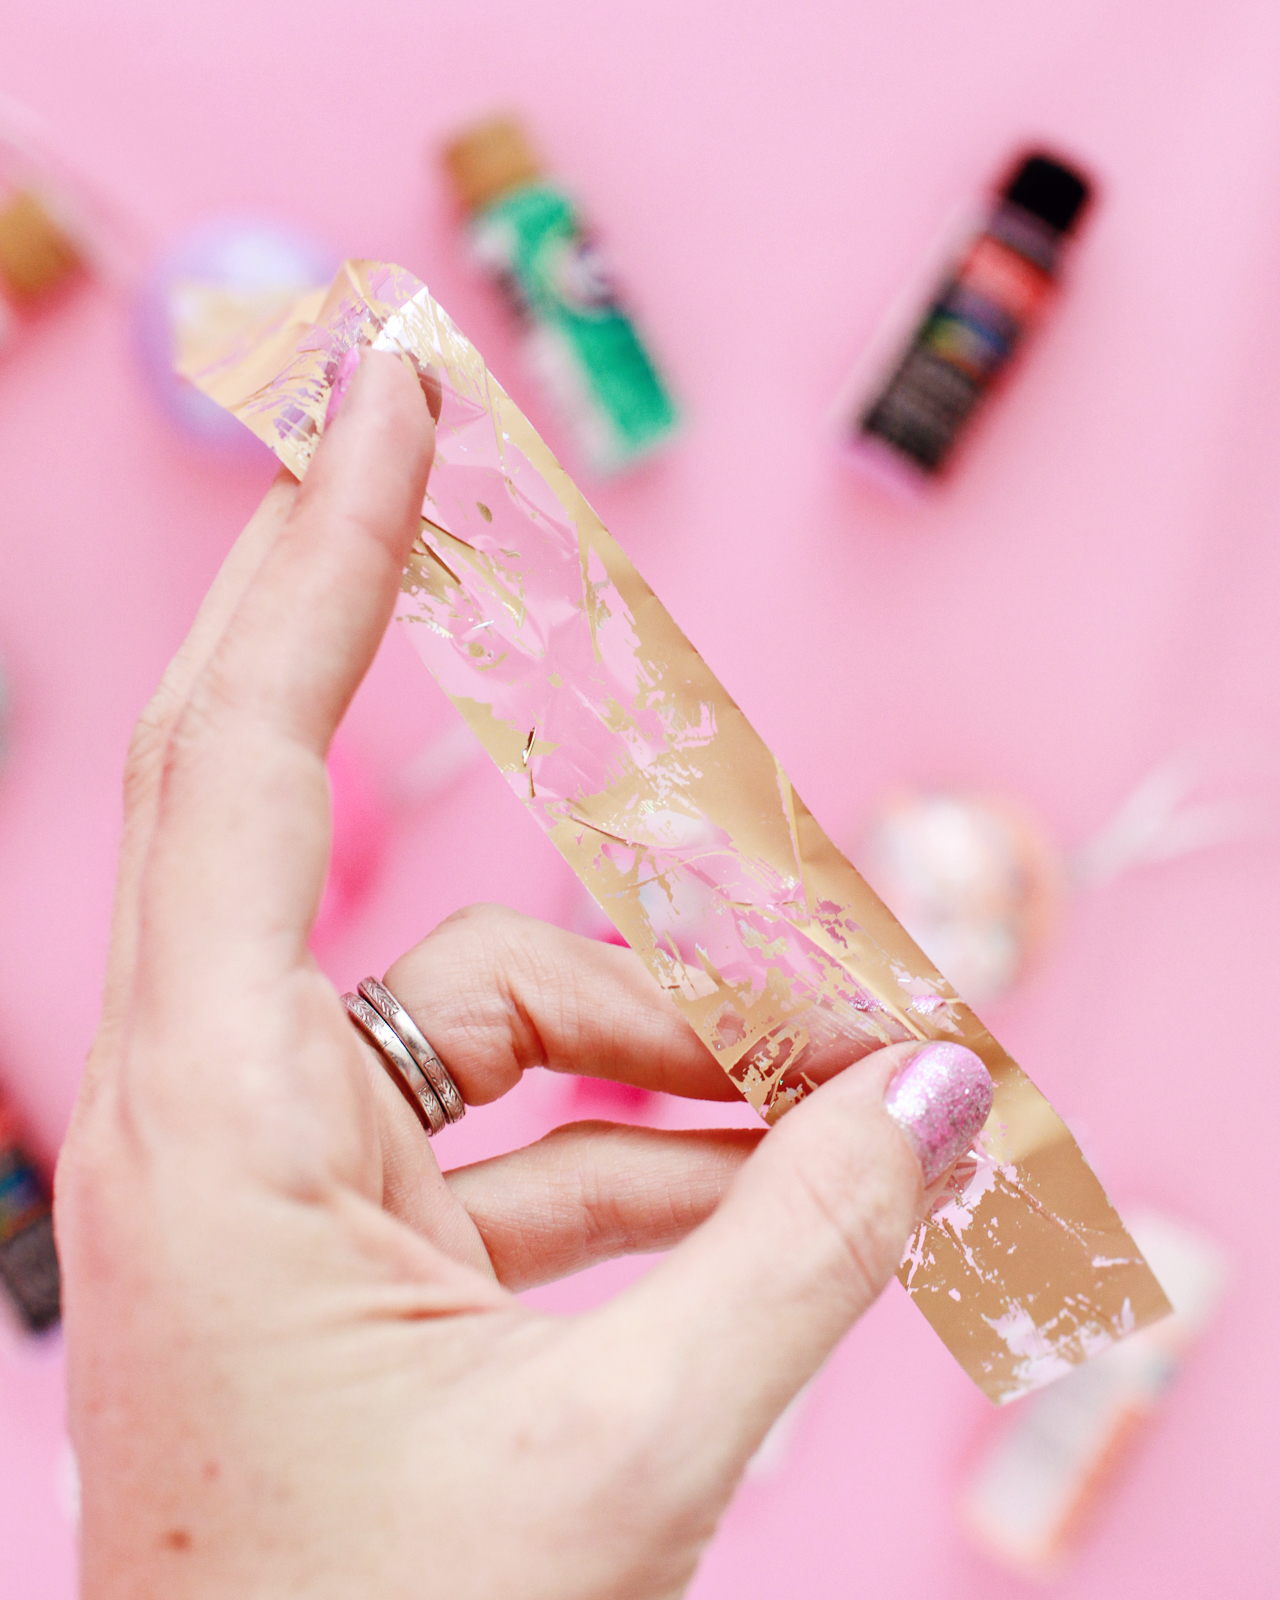
Step 3. Once the adhesive is clear, apply the hologram foil to the ornament, pressing the foil down over the adhesive and smoothing it down with your fingers. Smooth the foil down for 10-20 seconds, then remove the foil. Continue applying the nail foils over all parts of the ornament where you applied the adhesive until you’re satisfied with the amount of coverage.

Step 4. If using clear glass ornaments, remove the top of each ornament, then fill the ornaments with craft paint in your chosen colors. With your finger (and maybe a paper towel) over the open end, shake the ornament until the paint covers the entire inside of the ornament. Allow the paint to dry completely (ideally overnight), then replace the ornament top. If using solid color ornaments, you can skip this step entirely!

Step 5. Cut a length of thin ribbon and string it through the ornament – and it’s ready to hang!
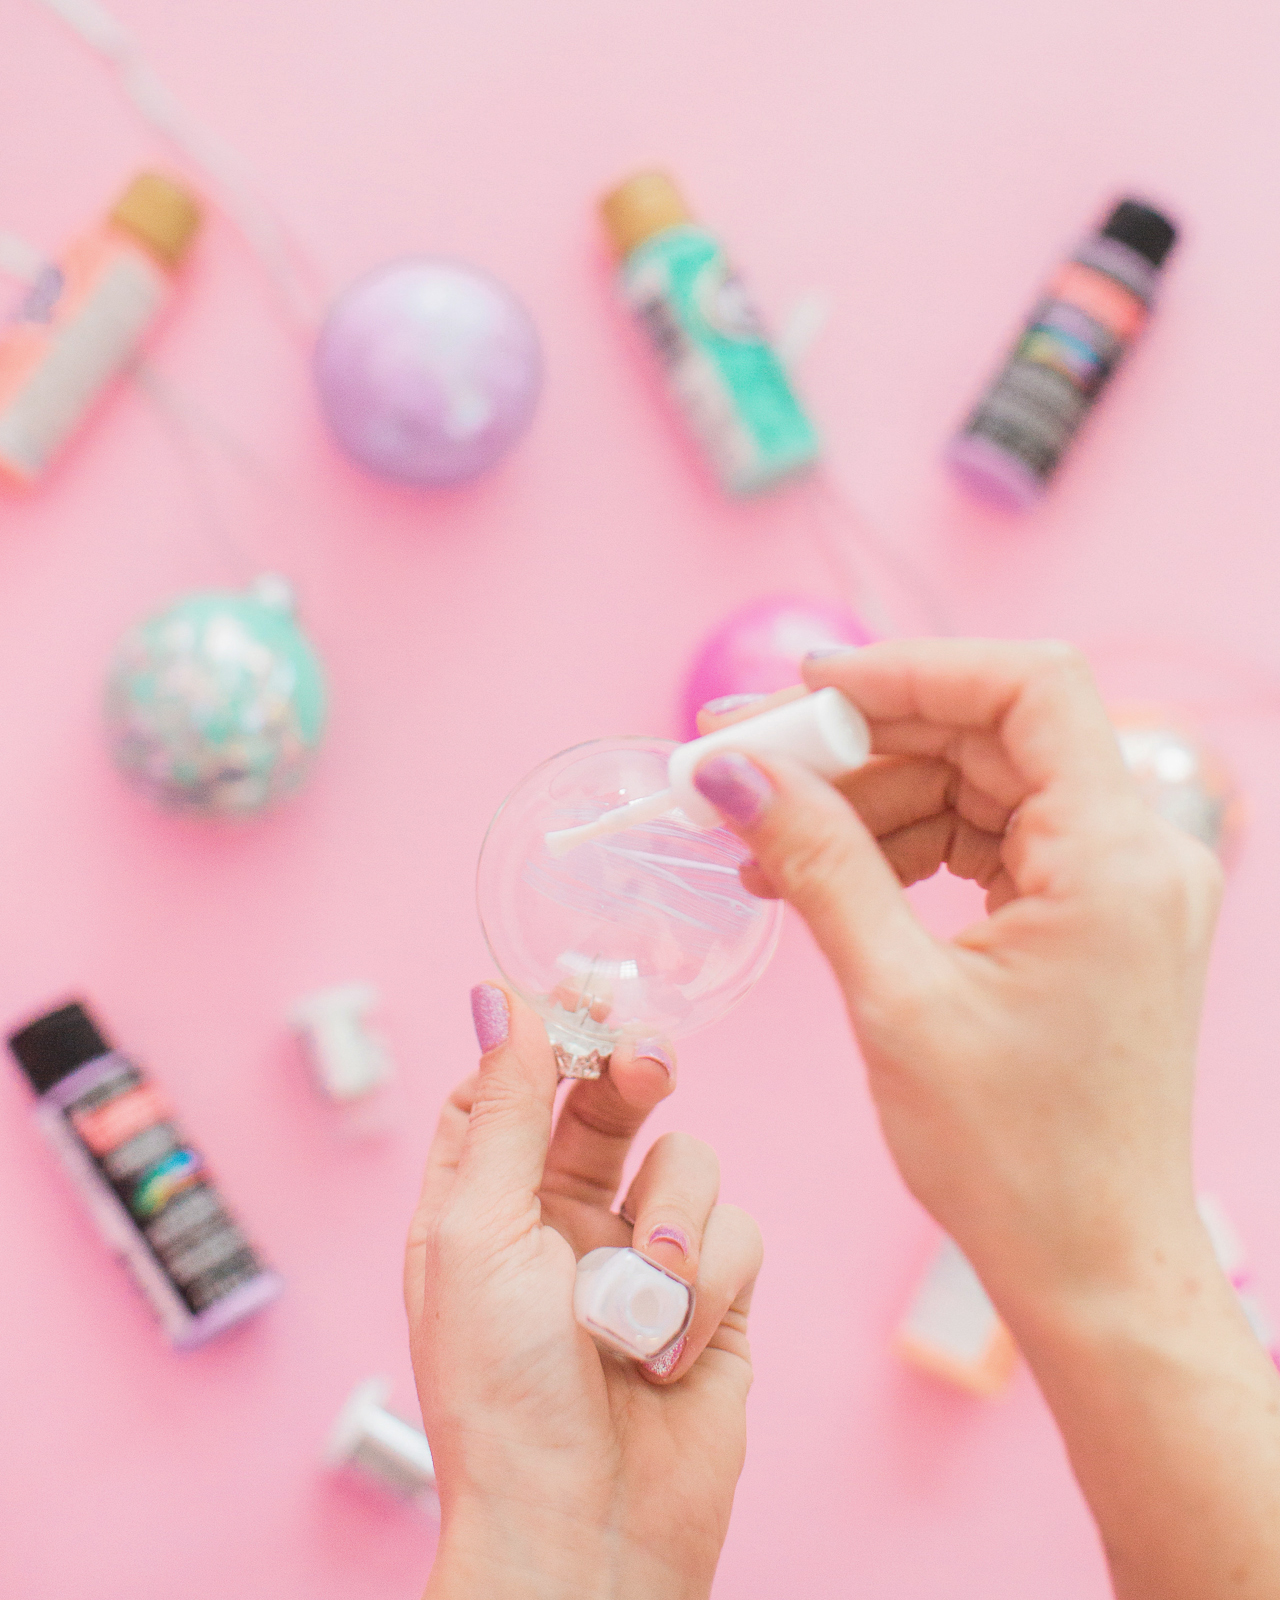
DIY Hologram Foil Ornaments

DIY Hologram Foil Ornaments

DIY Hologram Foil Ornaments

DIY Hologram Foil Ornaments

DIY Hologram Foil Ornaments

DIY Hologram Foil Ornaments

DIY Hologram Foil Ornaments


DIY Hologram Foil Ornaments

So much hologram and iridescent sparkle! Gah, I just love these ornaments SO much – and my girls are absolutely crazy about them! I think it also helped that I used their favorite colors to fill the inside of the glass ornaments. I’m loving all the pastel prettiness of these ornaments, but I also want to give this a try on some darker tones like navy blue and green!
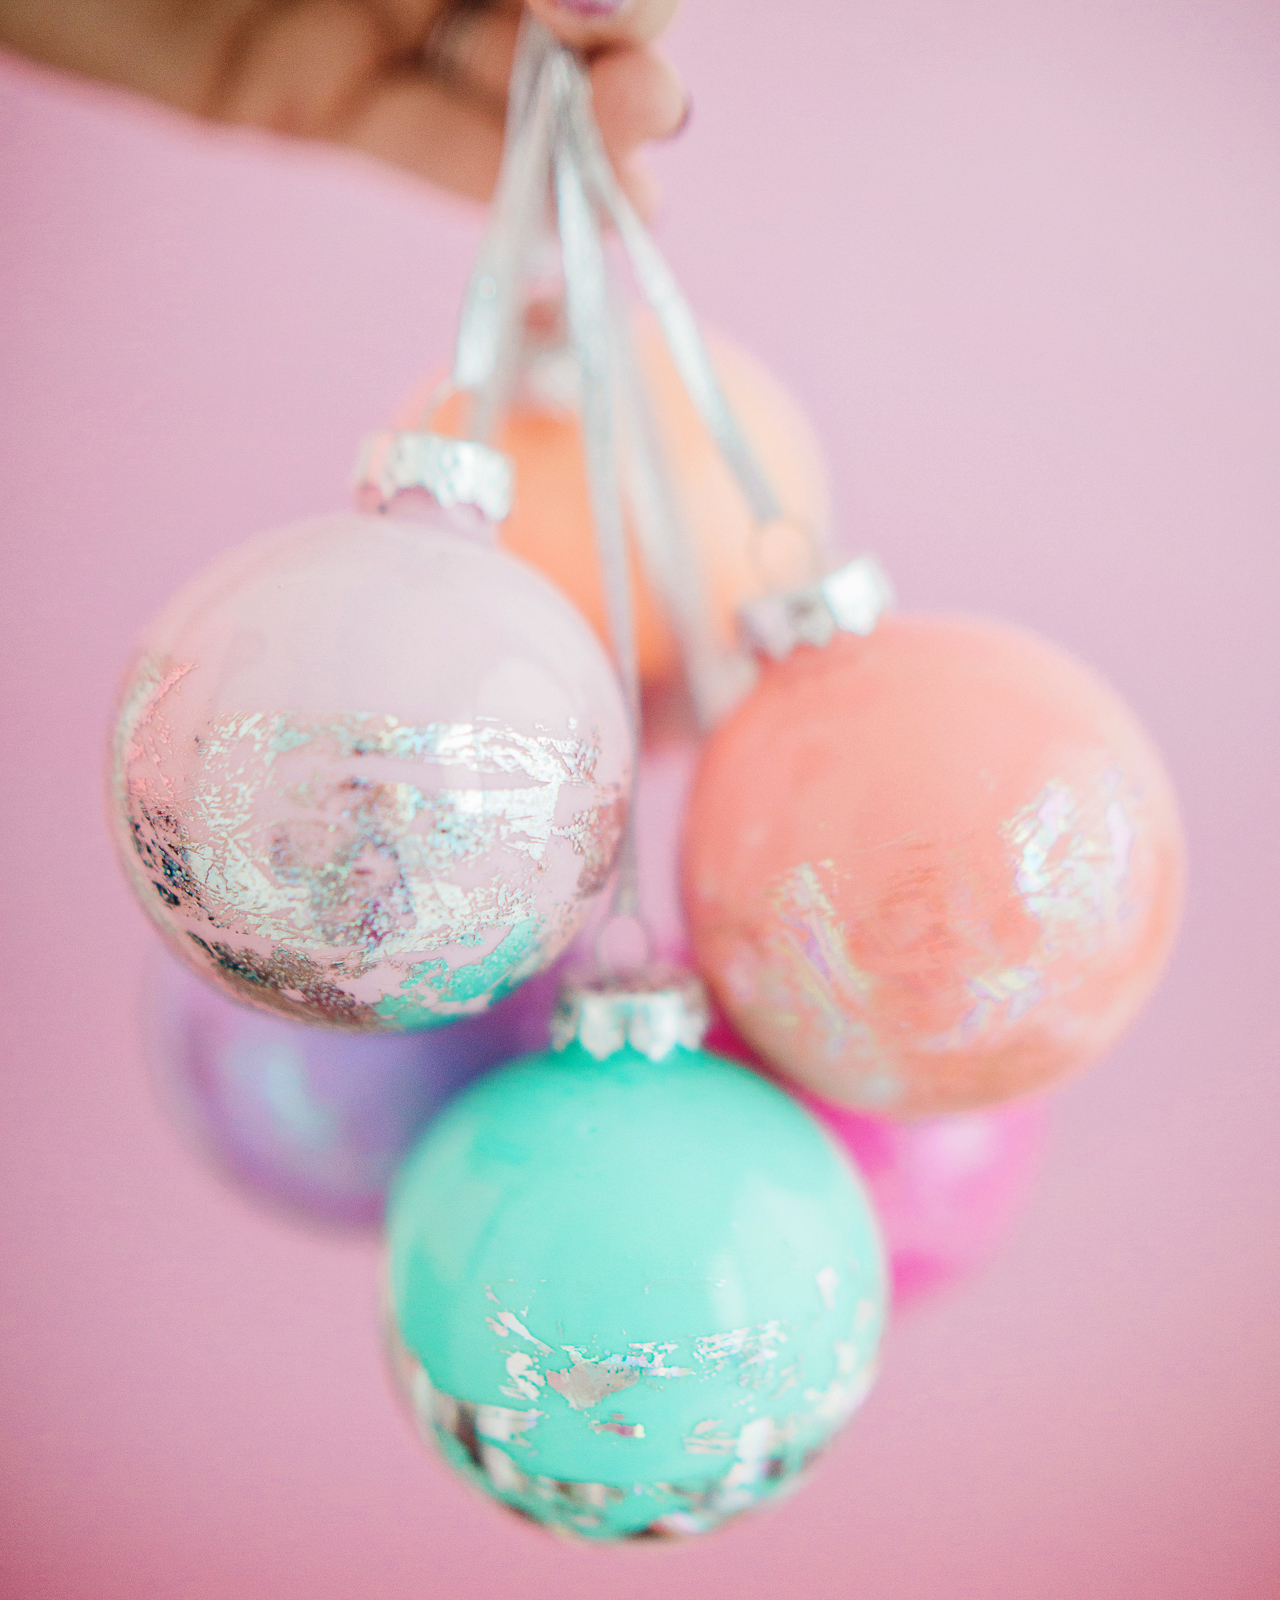
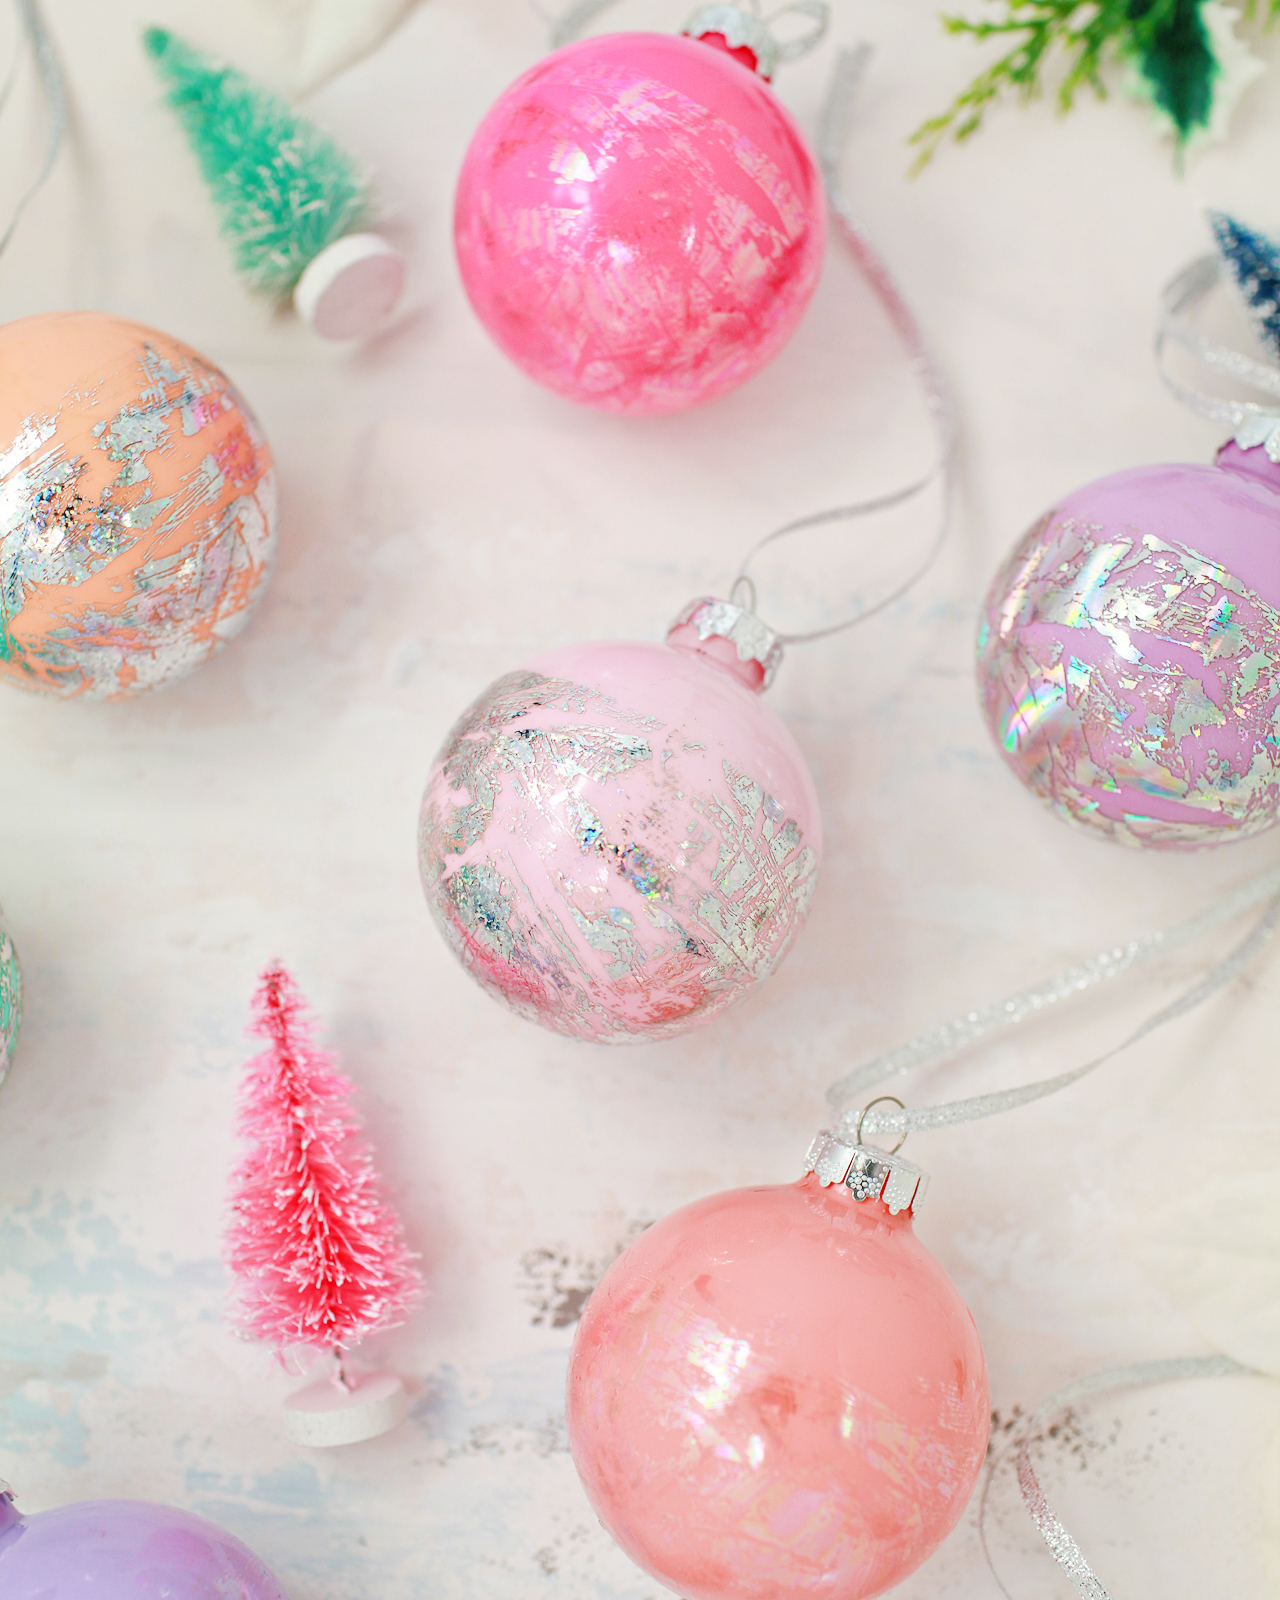
DIY Hologram Foil Ornaments

DIY Hologram Foil Ornaments

DIY Hologram Foil Ornaments

DIY Hologram Foil Ornaments

What do YOU think?? Will you be making DIY hologram foil ornaments this year? If you do, I hope you’ll share a photo on Instagram with the hashtag #madewithosbp â€“ I want to see your craftiness in action!

p.s. DIY hologram foil Easter eggs and my favorite holiday gift wrap pairings

Photo Credits: Meghan Marie Photography and Nole Garey for Oh So Beautiful Paper

Holiday Gift Wrap Pairings

Okay, show of hands: who gets just as excited about finding the perfect wrapping paper during the holiday season? Or really, any time of year! My color palette changes from year to year, but I always enjoy mixing traditional holiday patterns with non-traditional (aka year-round) gift wrap patterns. So today I thought I’d show you how I’m wrapping my holiday gifts this season and how I’m mixing and matching my holiday gift wrap pairings to create an eclectic holiday vibe. Oh, and the ribbons! That might actually be my favorite part. Plus, I’ve got a fun DIY gift tag coming up tomorrow that adds just the perfect amount of sparkle to your holiday gifts. Let’s jump right in!

Beautiful Holiday Gift Wrap Pairings

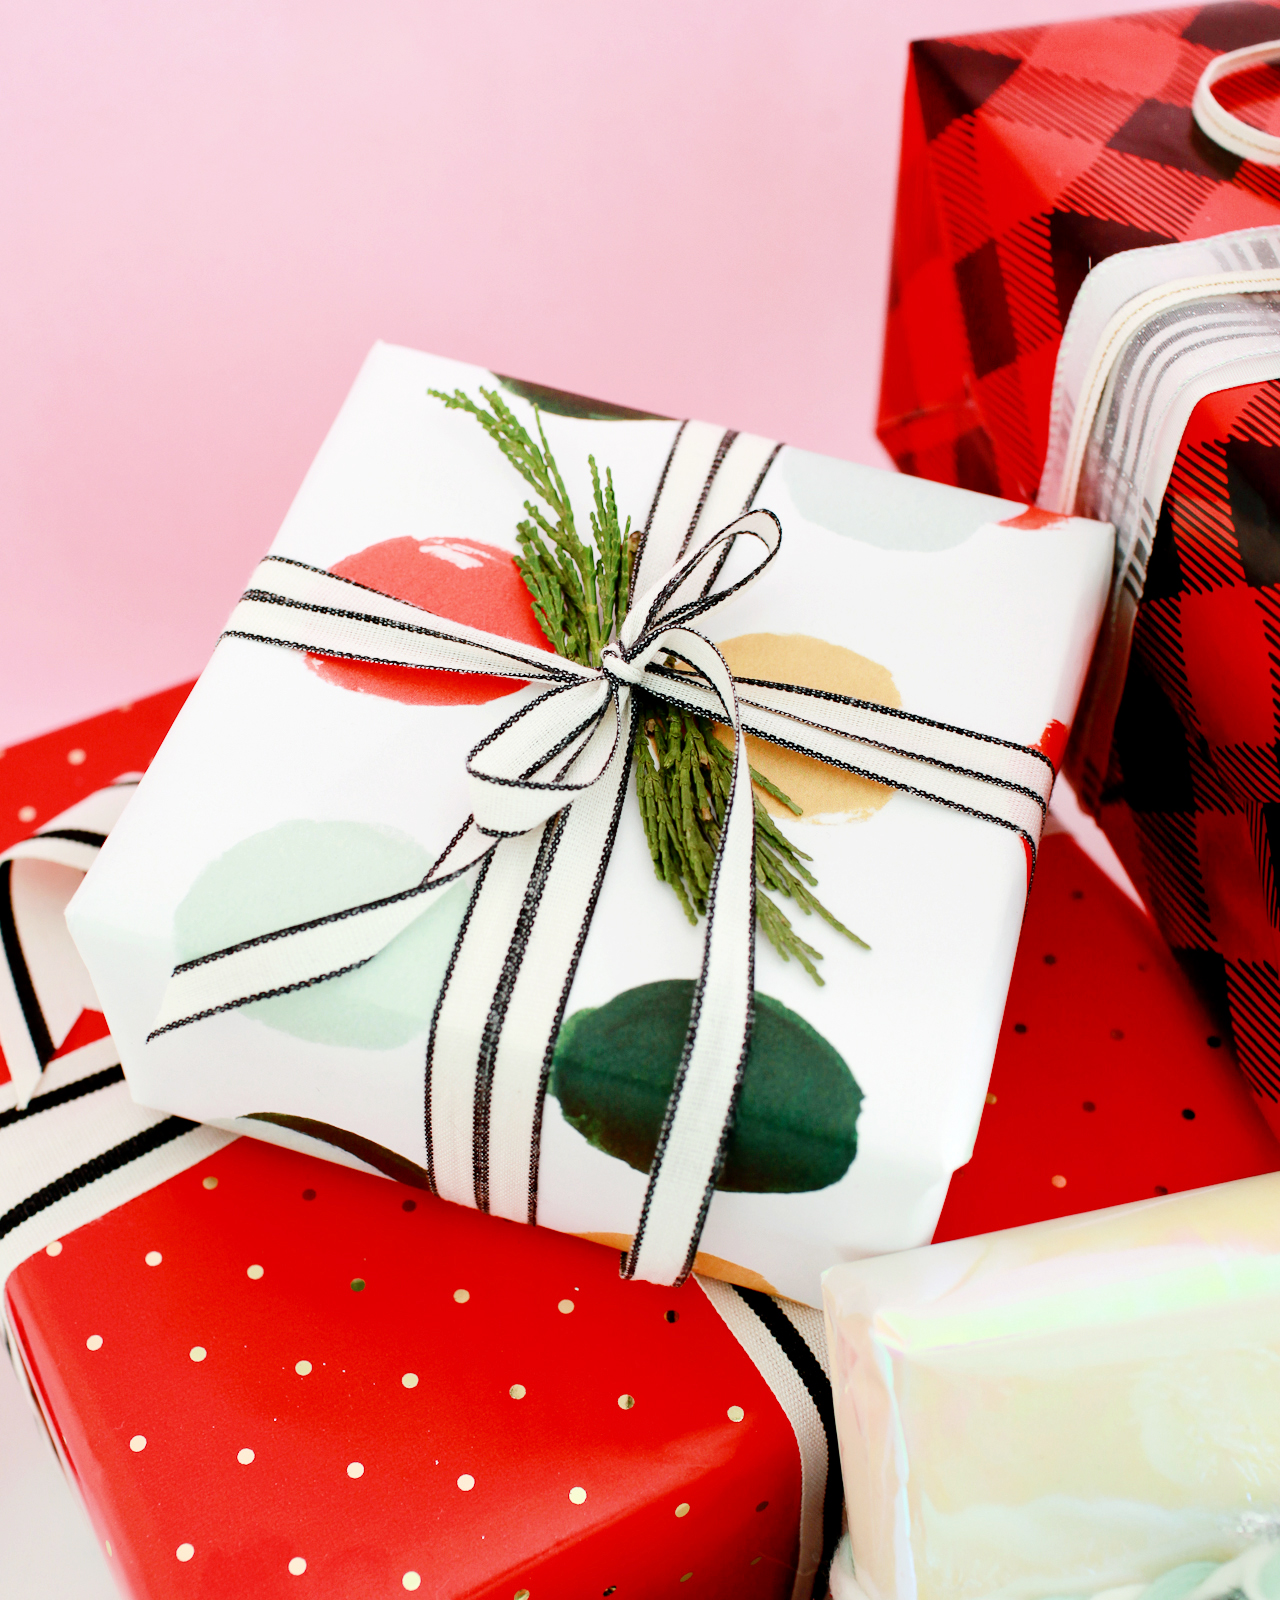
Each year, I start with a color palette. In past years I’ve done kraft paper gift wrap with red and white accents, I’ve done all metallics, and last year I went with pink and green in honor of my daughter’s favorite colors. I’m normally not a traditional red-and-green-Christmas kind of girl, but this year I was definitely feeling it – so I decided to just roll with it! My color palette for this year ended up being red, white, and black mixed with pops of green, gold, and silver. I’m loving it!

Beautiful Holiday Gift Wrap Pairings

Once I have my color palette established, I pick out 1-2 patterns in the following categories: traditional, modern, and non-traditional. This year, my traditional patterns were plaid and tiny polka dots, my modern pattern was large painterly dots, and my non-traditional patterns were iridescent white and green marbled gift wrap. I find it’s easiest to mix linear patterns (like stripes and plaids), polka dot patterns (large and small), solids, and one organic or abstract pattern like marbling or hand painted patterns. You can definitely mix illustrated gift wrap patterns, but make sure you pick different pattern sizes (not all large scale illustrations or all small scale illustrations) and keep them in the same color palette to avoid clashing.

Beautiful Holiday Gift Wrap Pairings

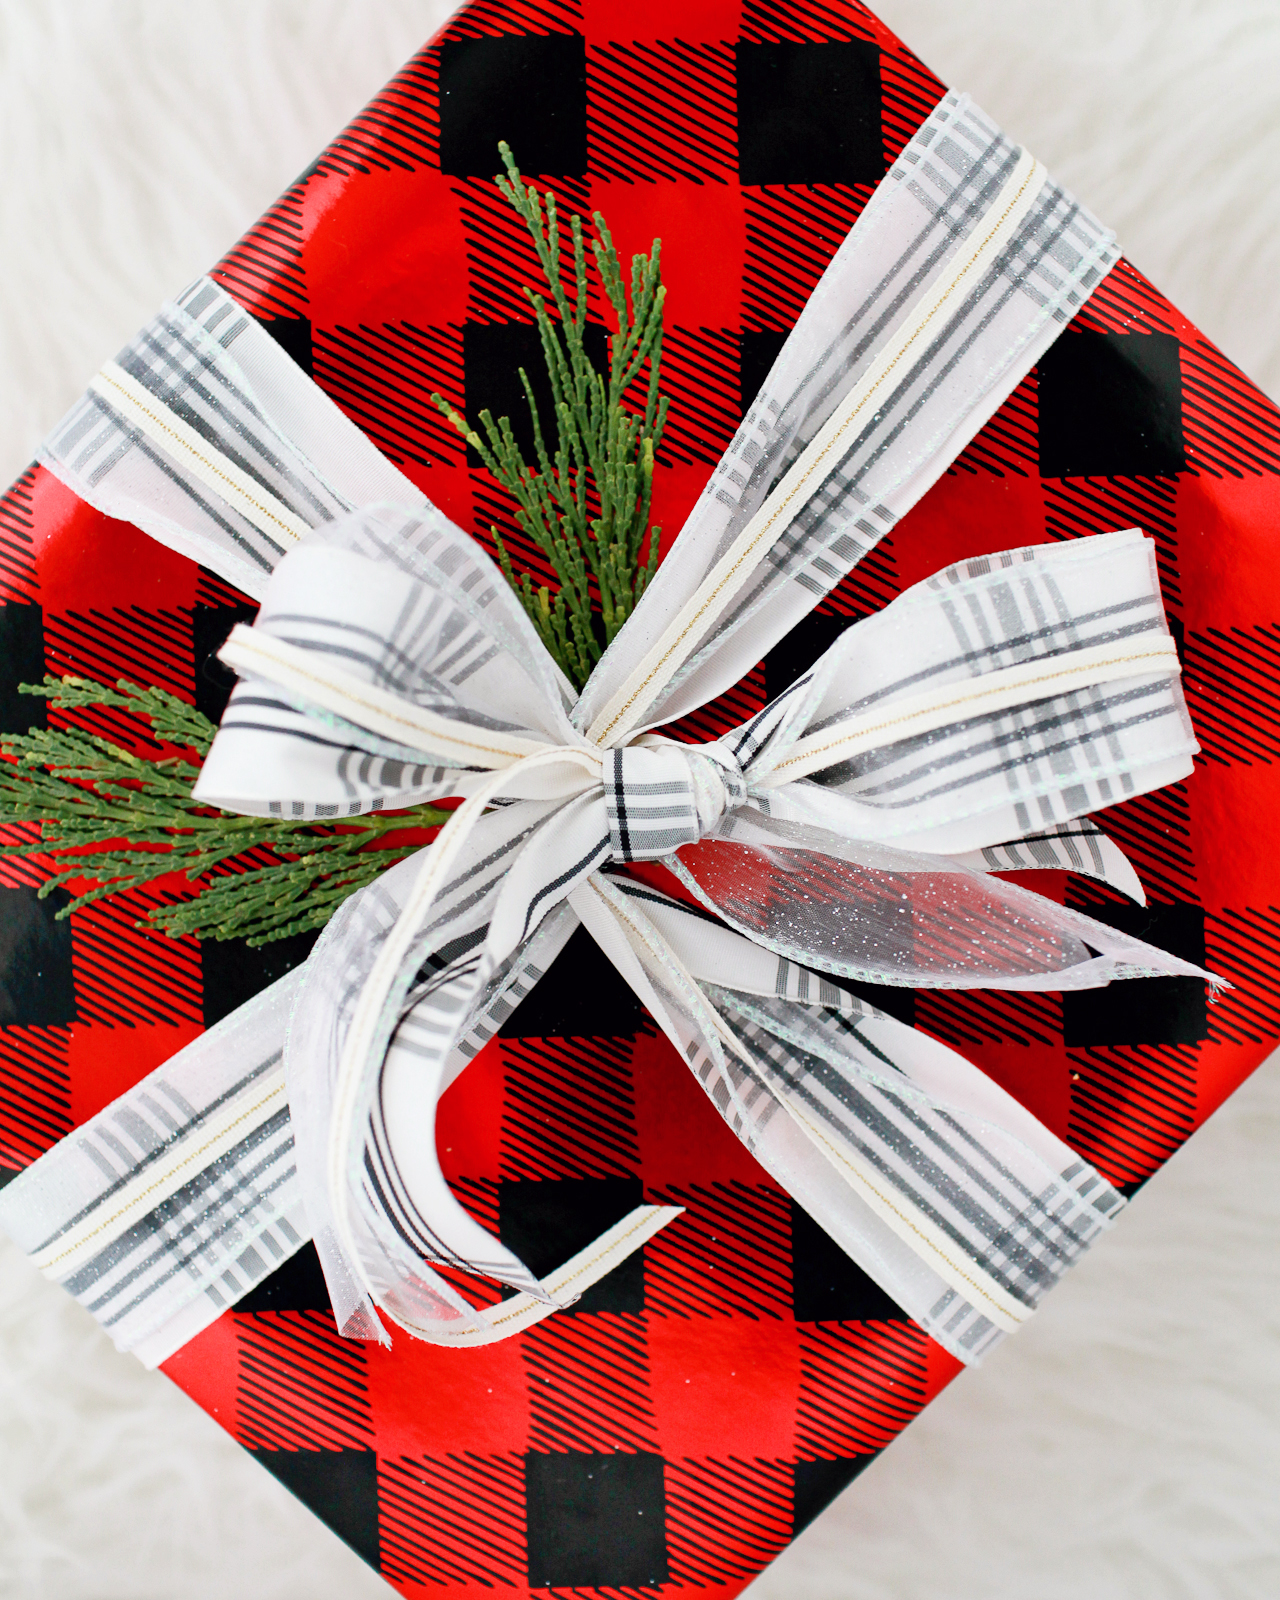
Let’s start with the traditional patterns! I can’t resist a good buffalo check, and I went all in with a plaid ribbon, too! It looks so pretty with a bit of greenery tucked into the ribbon! I also love the plaid ribbon layered over white iridescent gift wrap from the Target birthday party supply aisle.

Beautiful Holiday Gift Wrap Pairings

Beautiful Holiday Gift Wrap Pairings

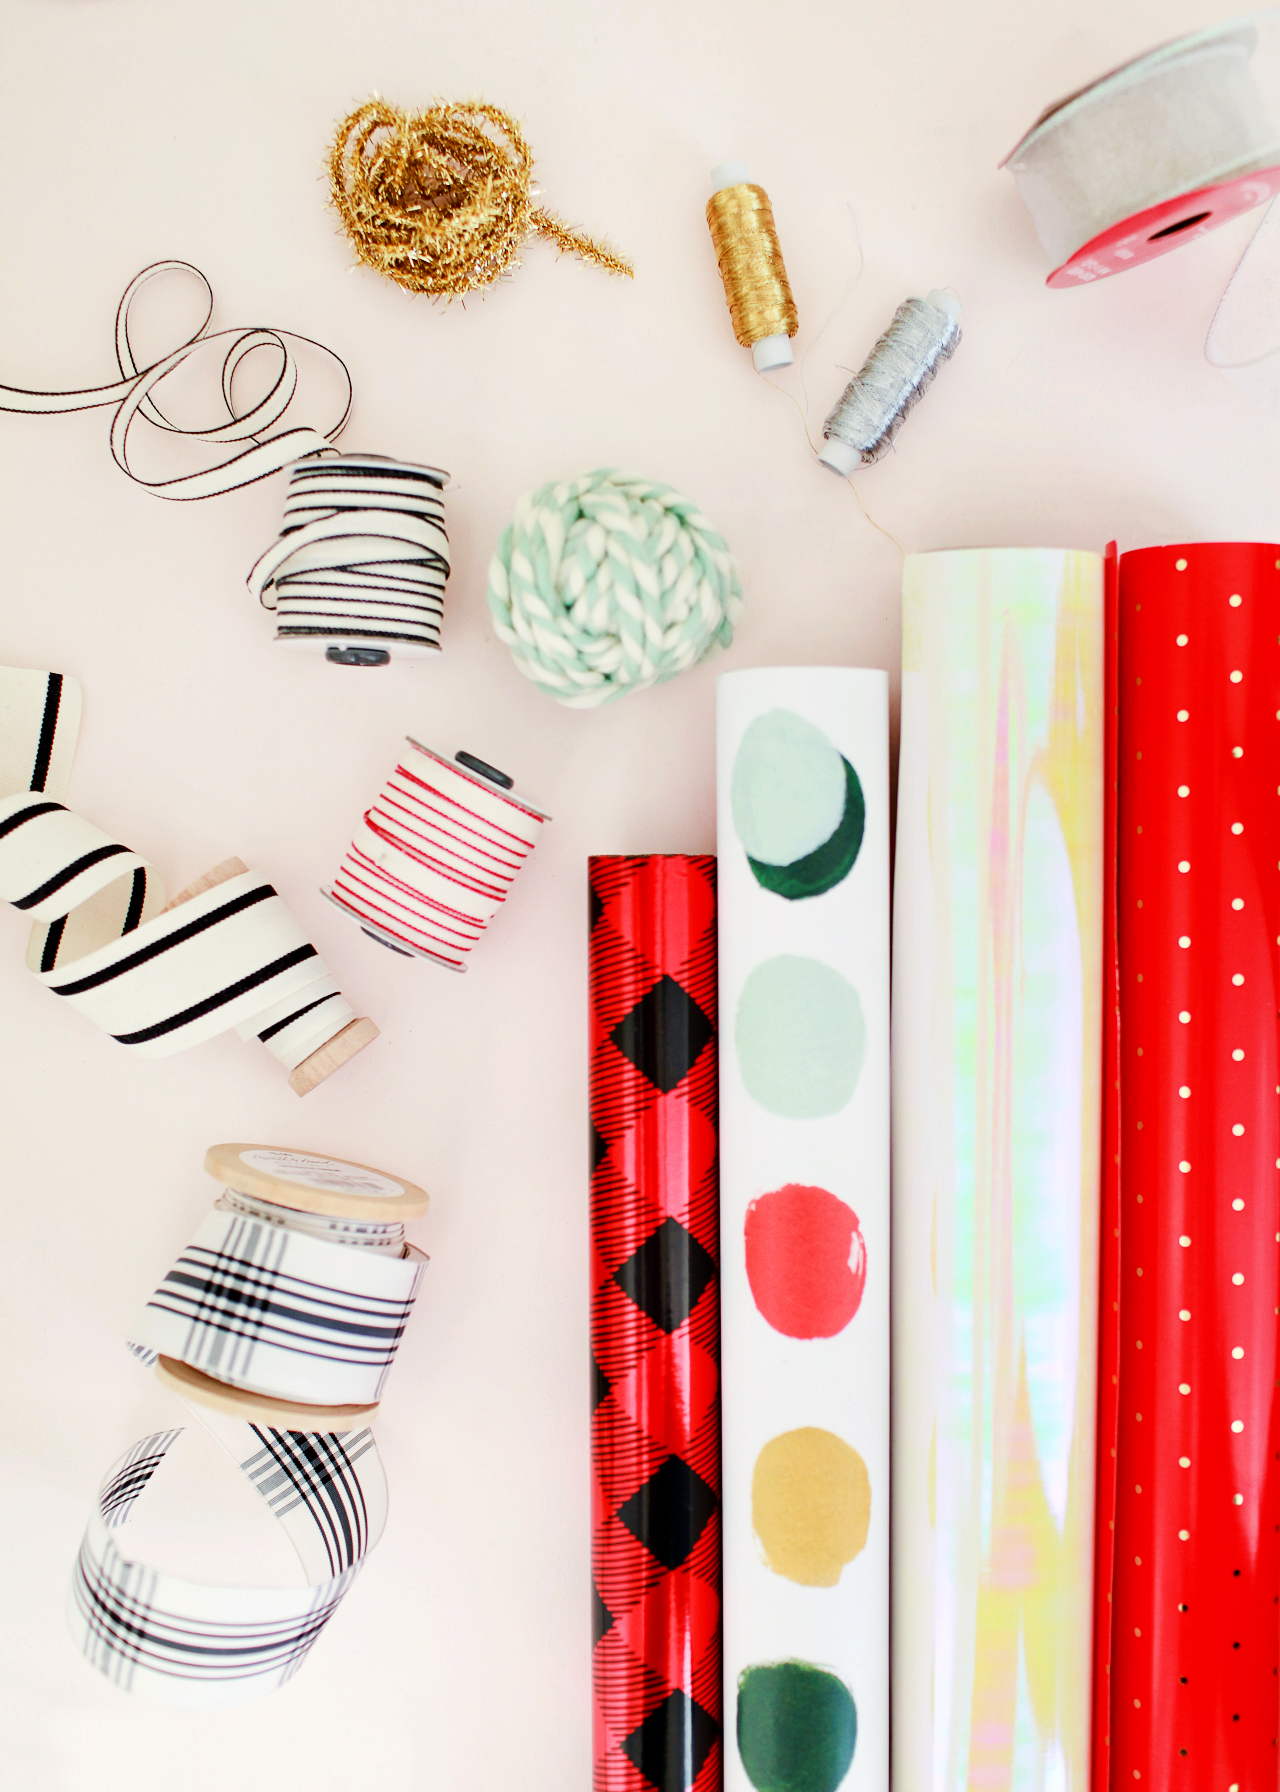
Buffalo Check Gift Wrap | White Iridescent Gift Wrap | Plaid Grosgrain Ribbon | Glitter Wire Ribbon | Gold Metallic Line Ribbon

Beautiful Holiday Gift Wrap Pairings

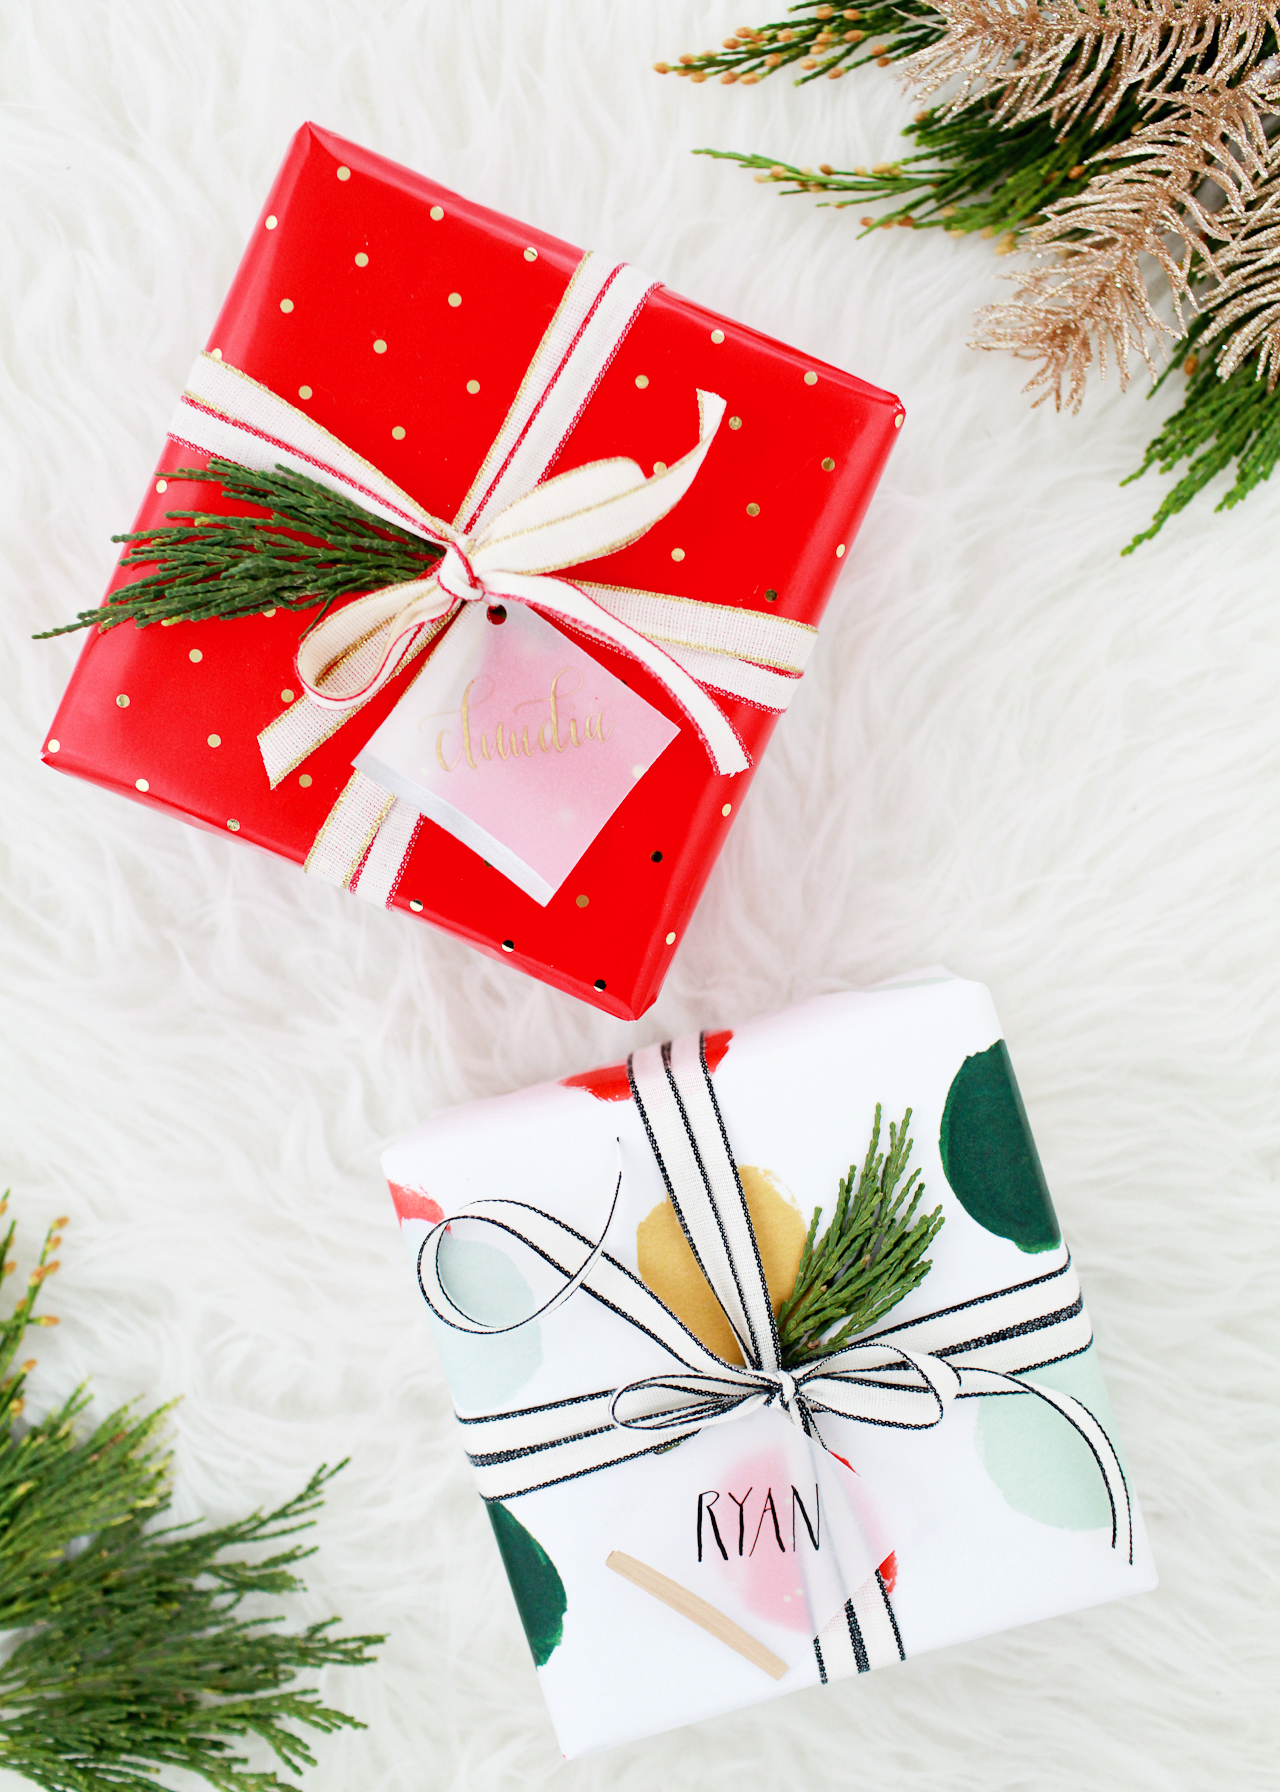
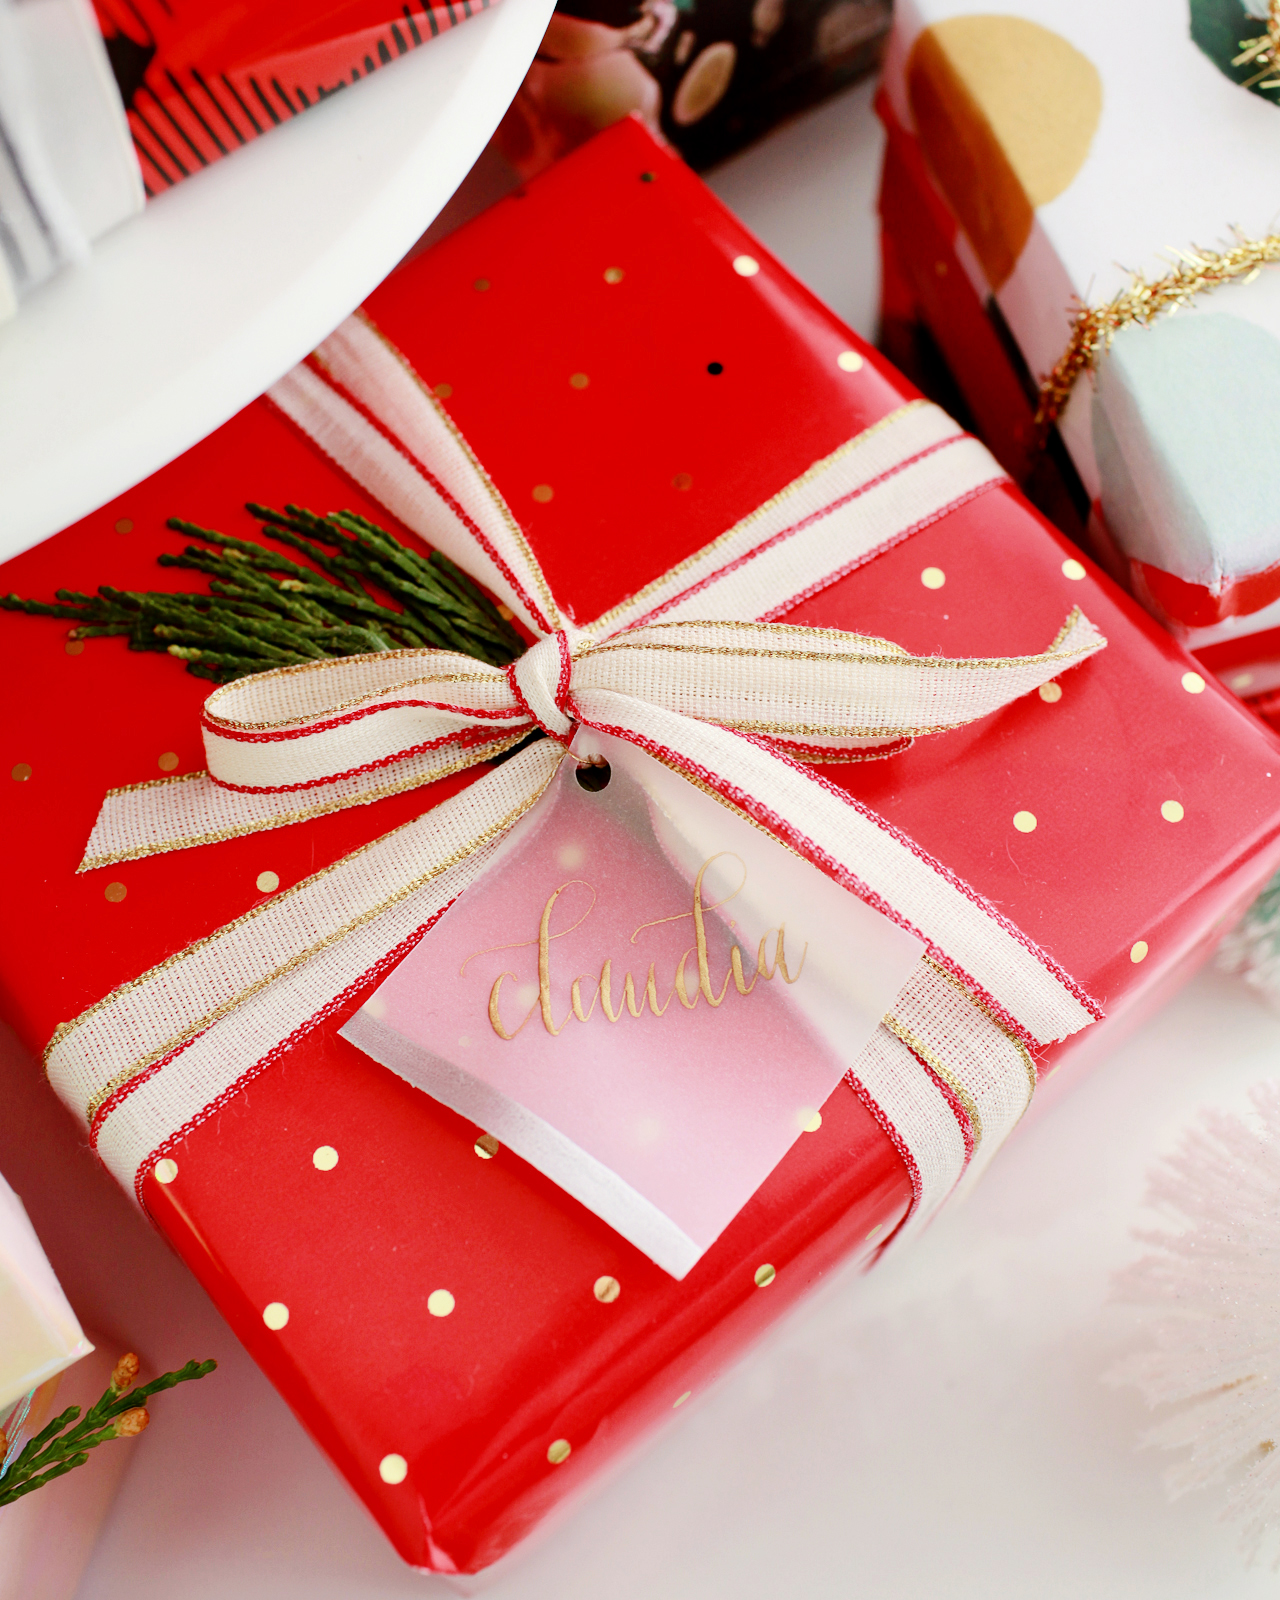
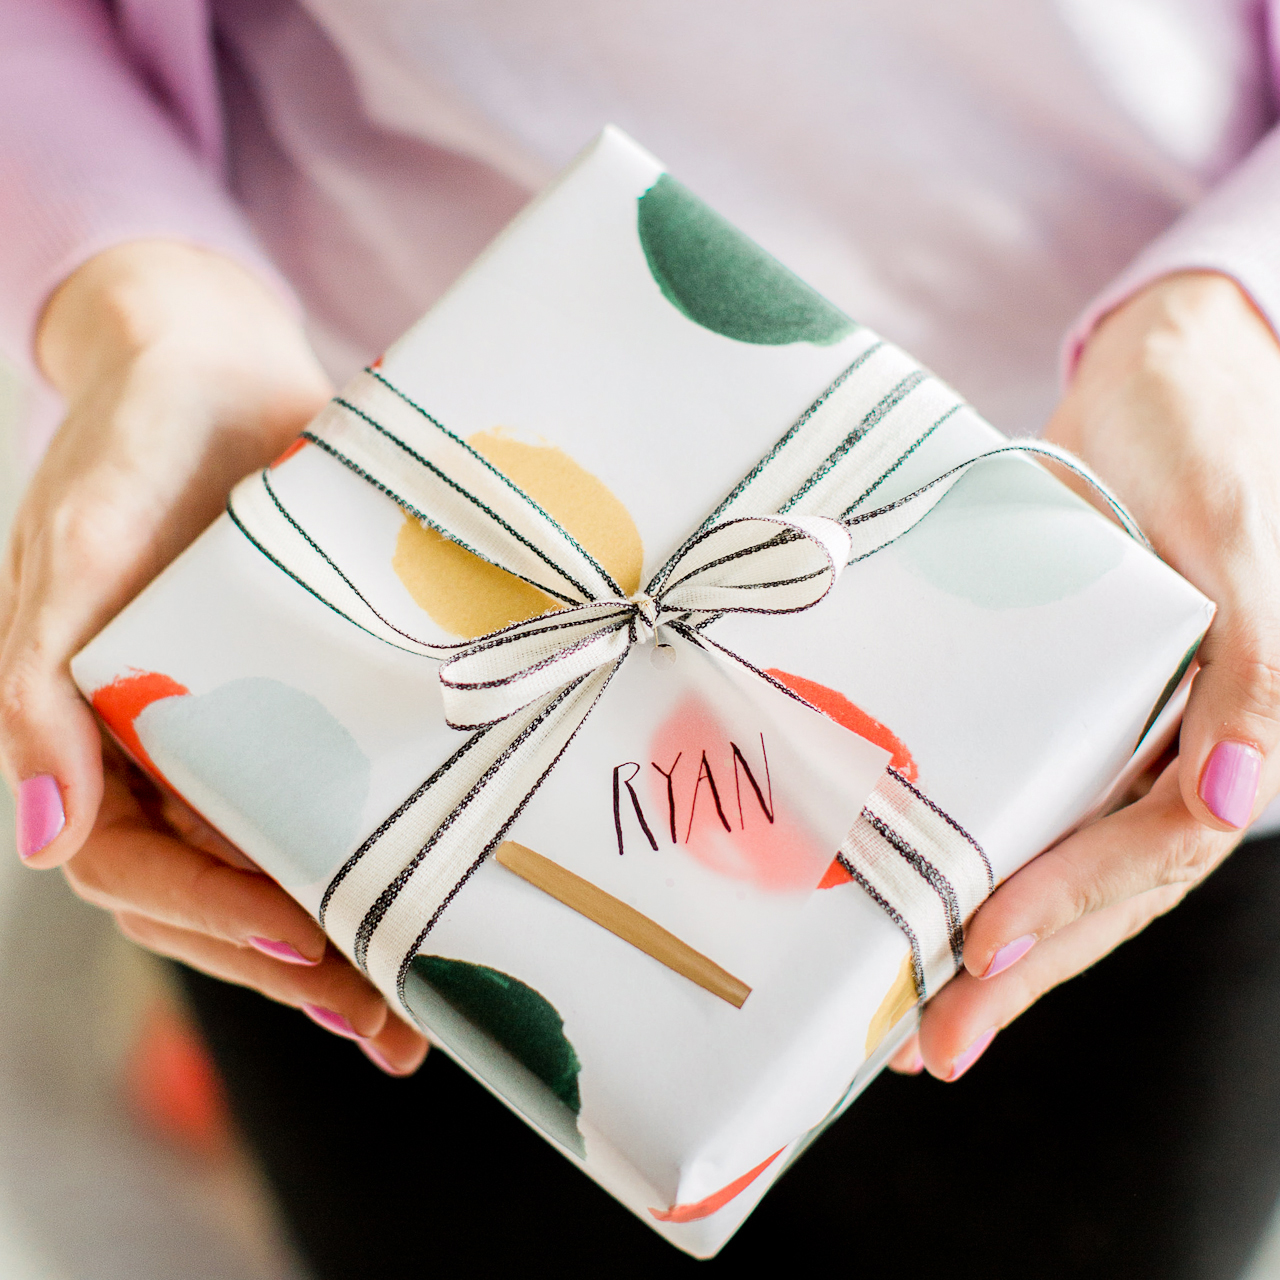
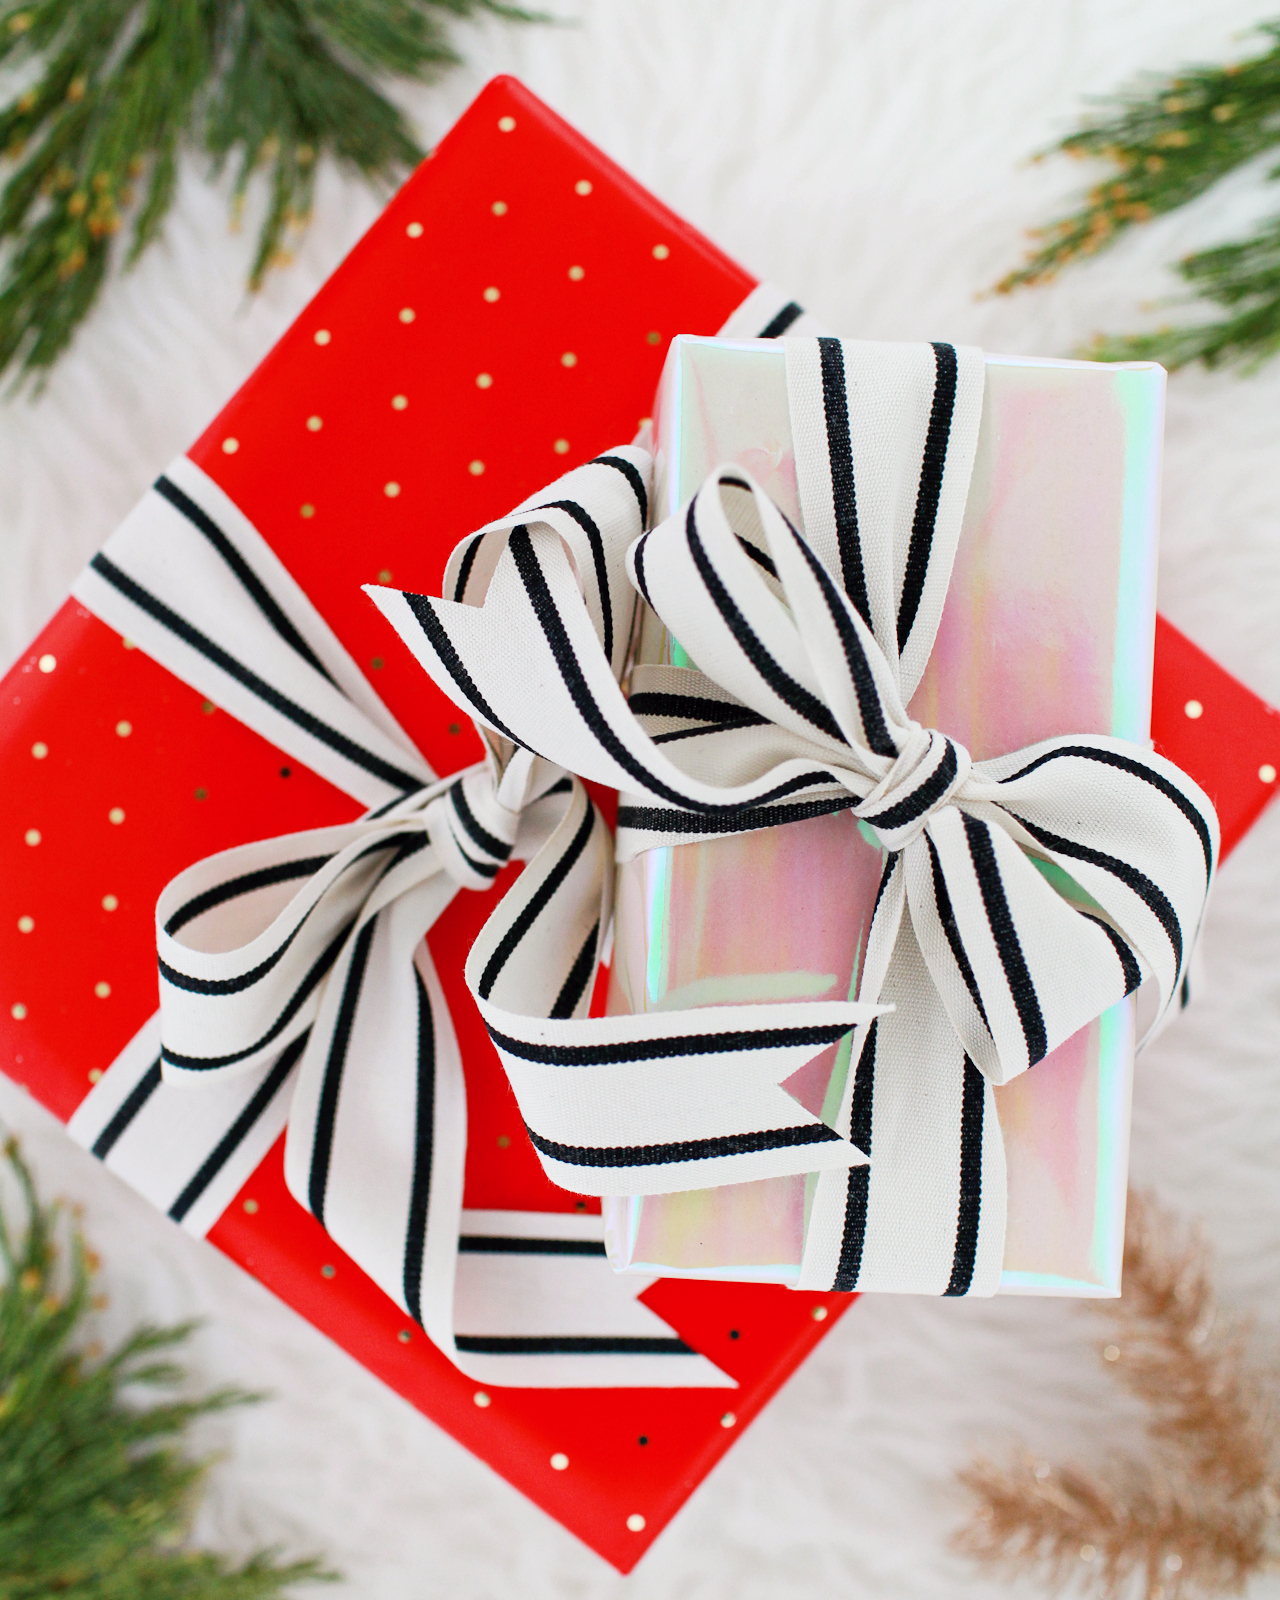
You can’t go wrong with polka dots! I love the contrast between the tiny red and gold polka dots (from this year’s Sugar Paper for Target collection) and the larger multicolor hand painted dots from Our Heiday. And those new Drittofilo cotton ribbons from Angela Liguori? An instant favorite!

Beautiful Holiday Gift Wrap Pairings

Beautiful Holiday Gift Wrap Pairings

Red and Gold Dot Gift Wrap | Hand Painted Dot Gift Wrap | Drittofilo Cotton Ribbons (in Natural with Black, Red, and Gold edges)

Beautiful Holiday Gift Wrap Pairings

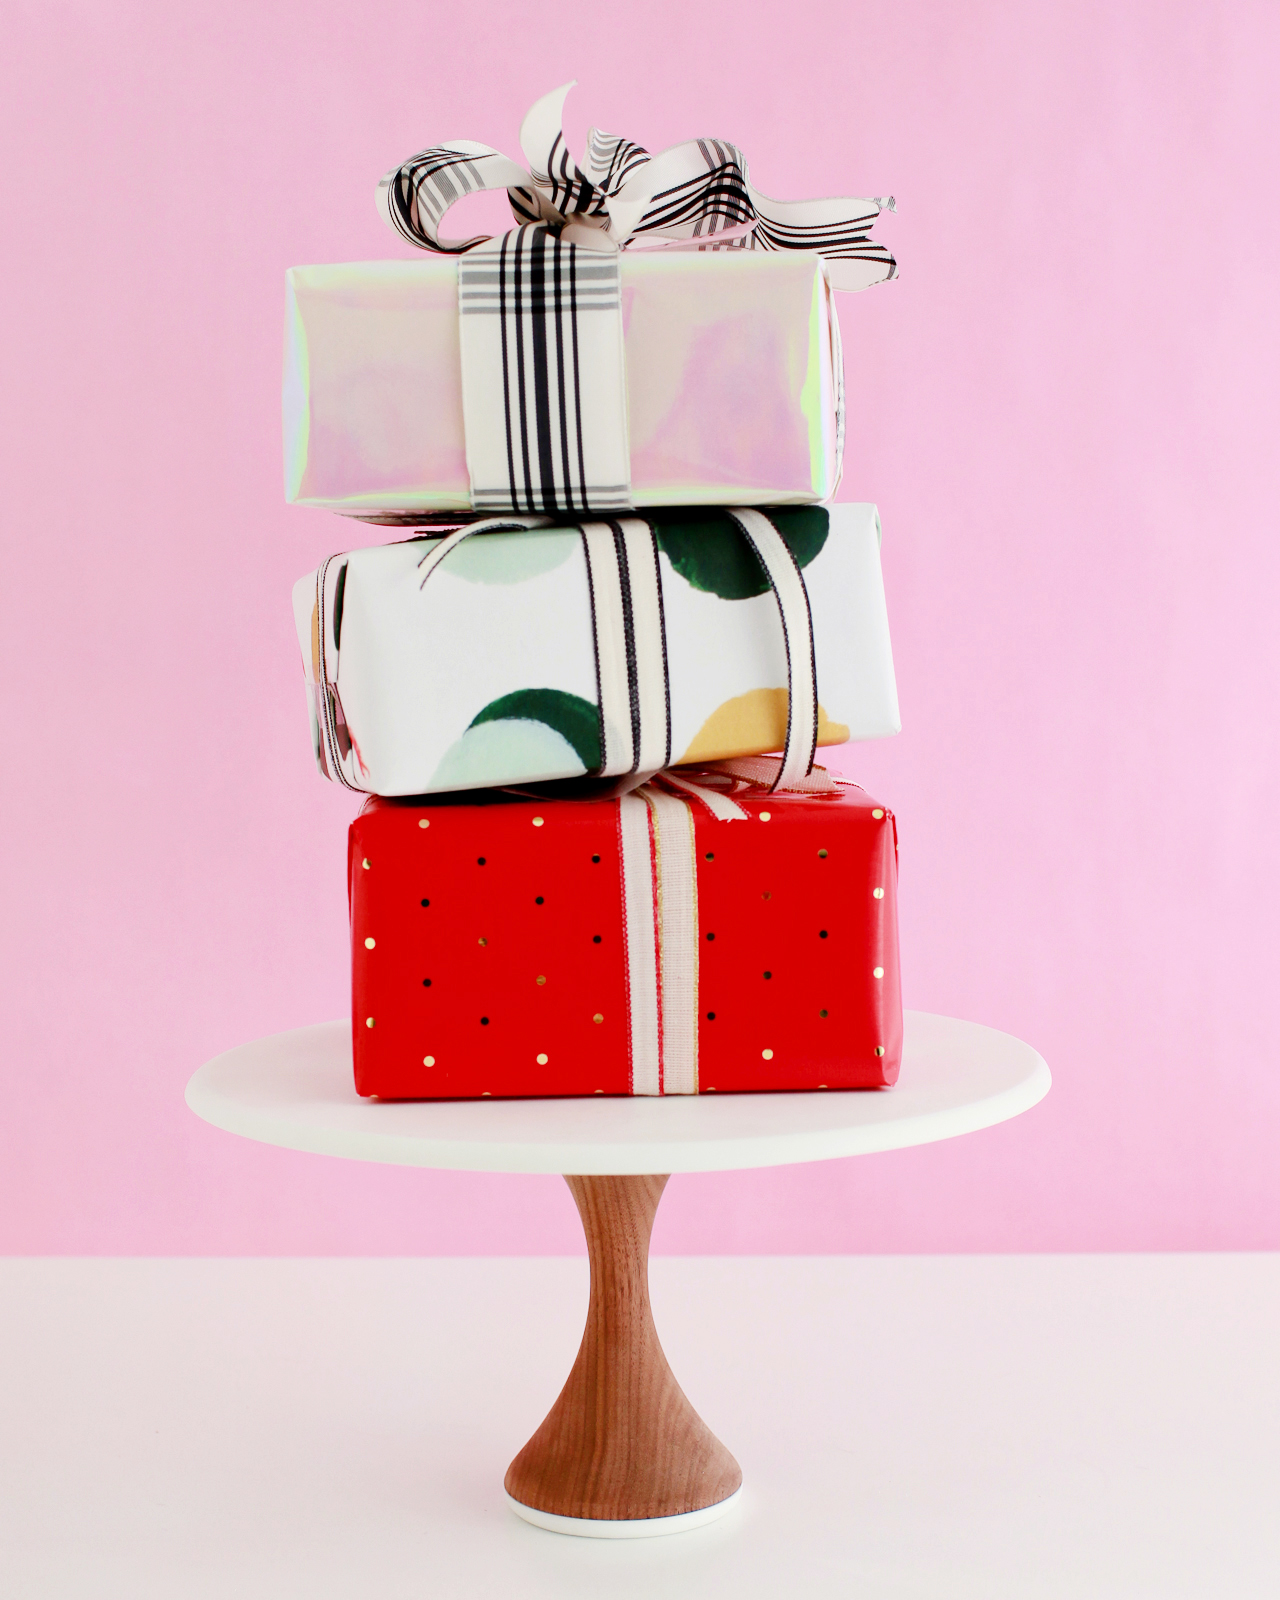
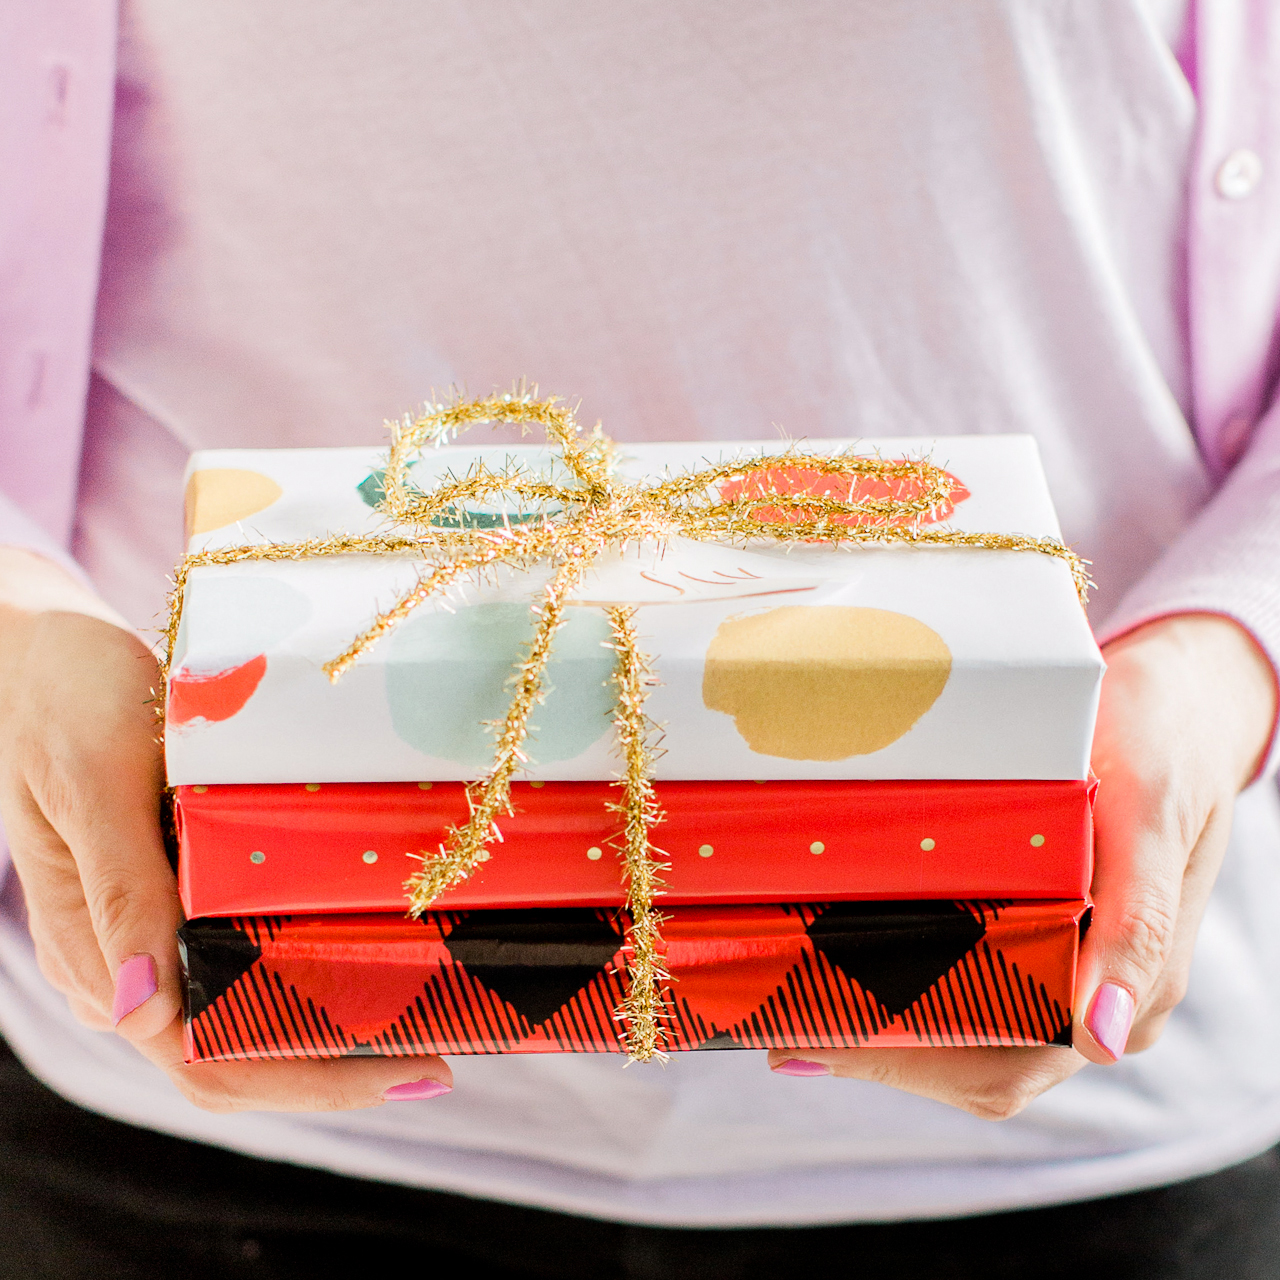
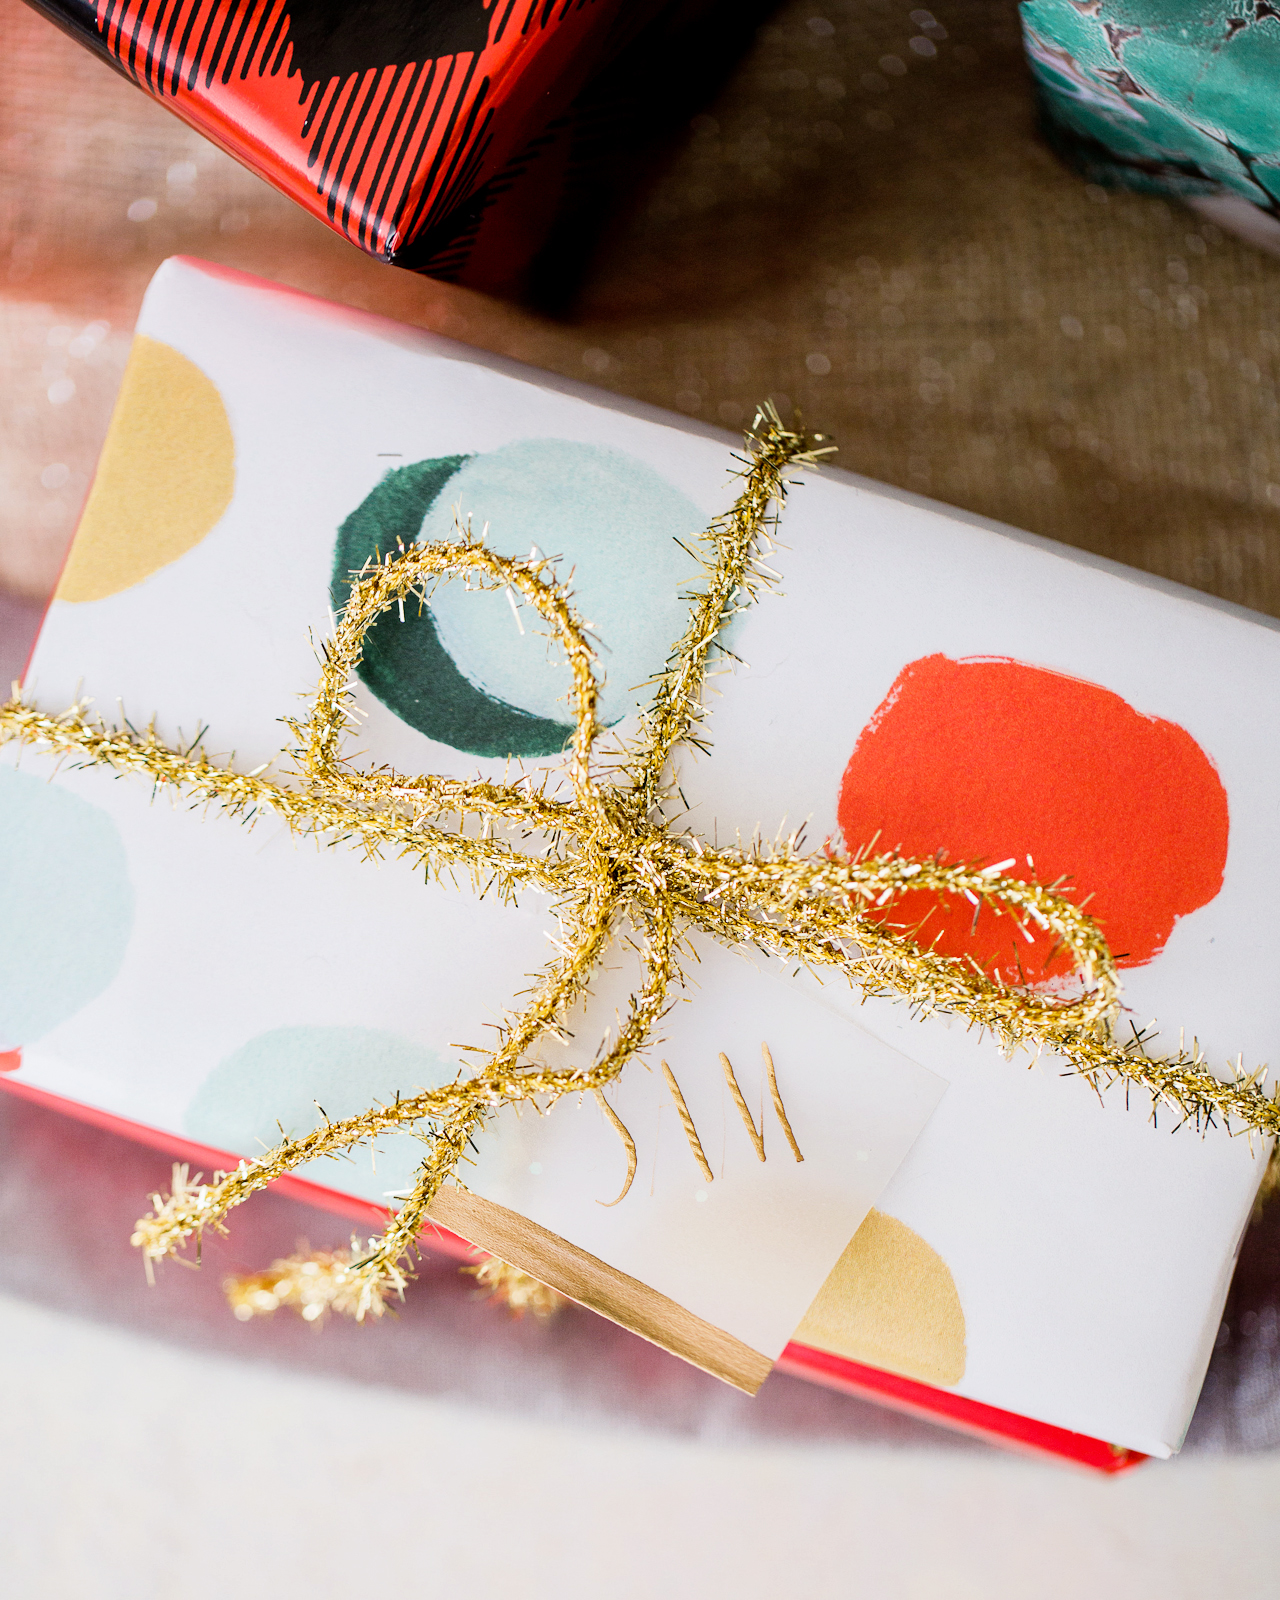
Don’t they look so pretty all mixed together? When wrapping a set of gifts (these are Star Wars books for our nephew) with multiple patterns, I like to keep the ribbon fairly simple. This gold tinsel ribbon is simple but very festive!

Beautiful Holiday Gift Wrap Pairings

Hand Painted Dot Gift Wrap | Red and Gold Dot Gift Wrap | Buffalo Check Gift Wrap | Gold Tinsel Ribbon

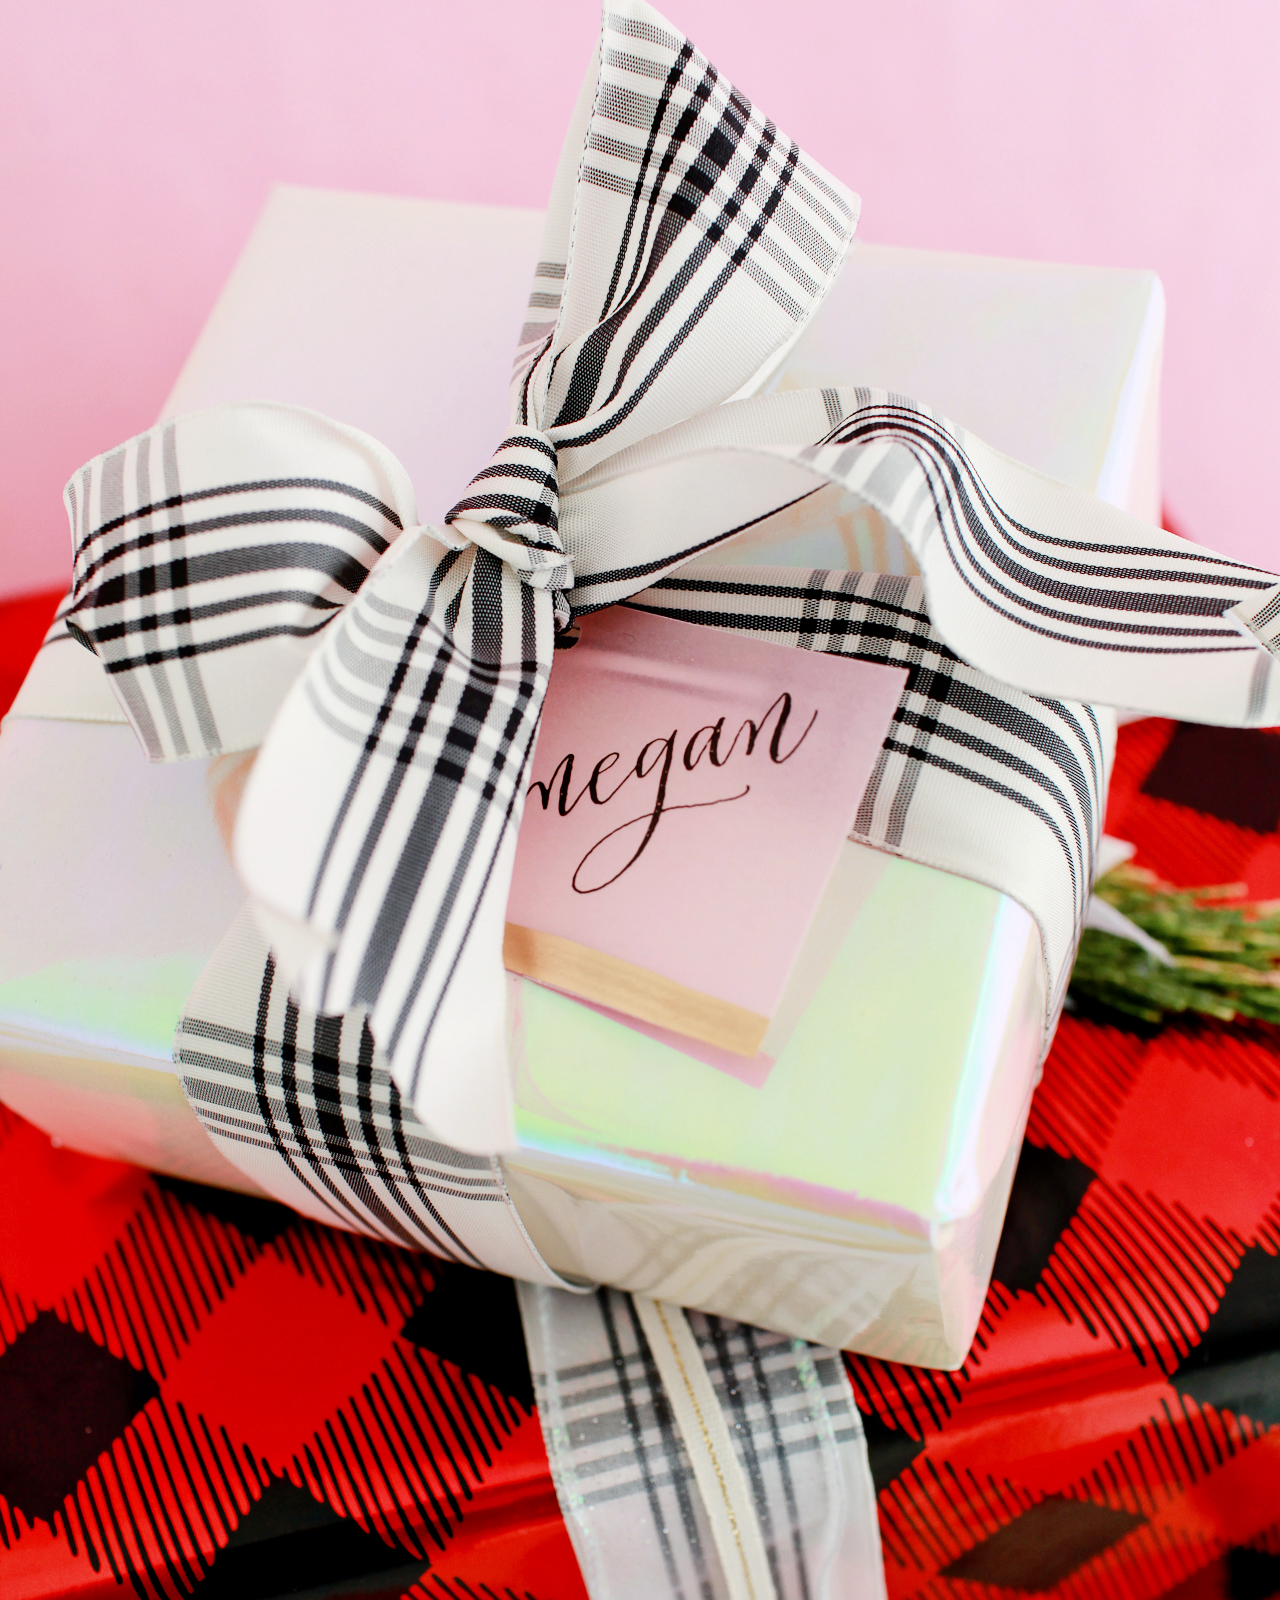
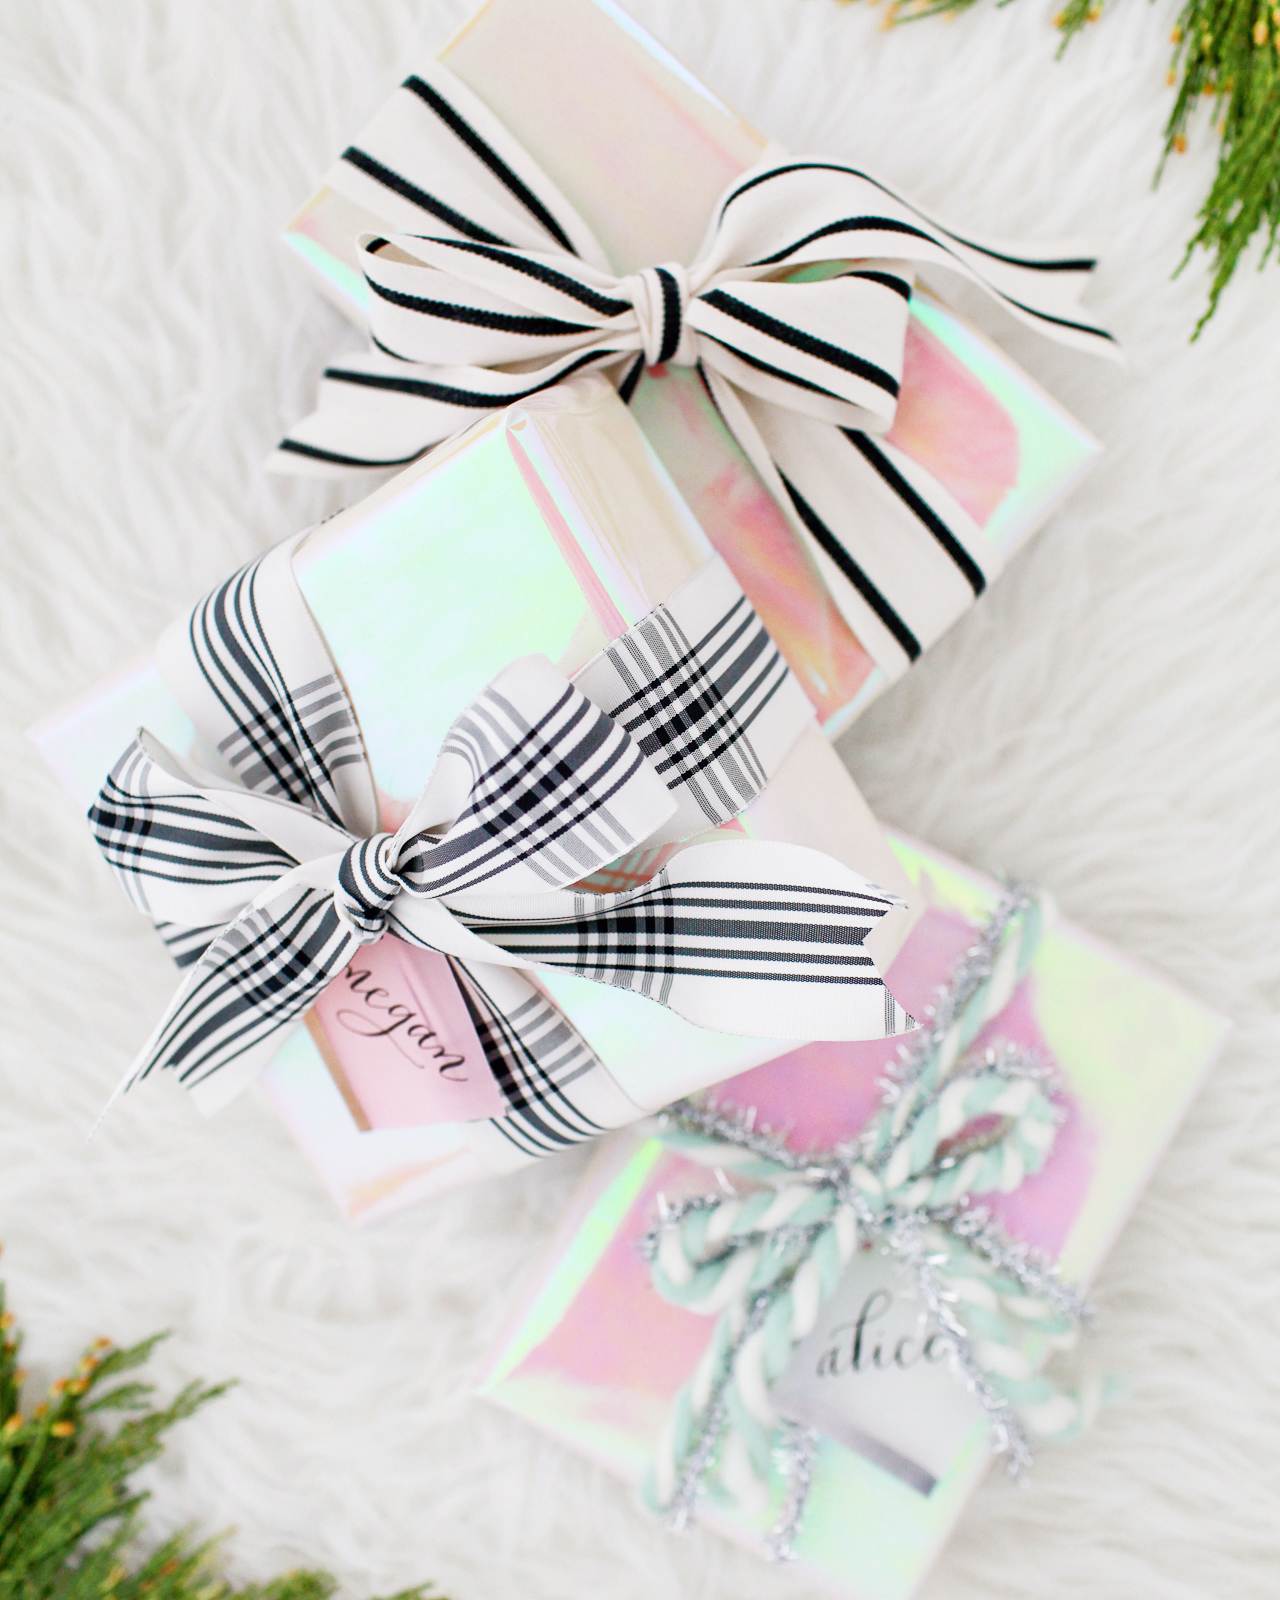
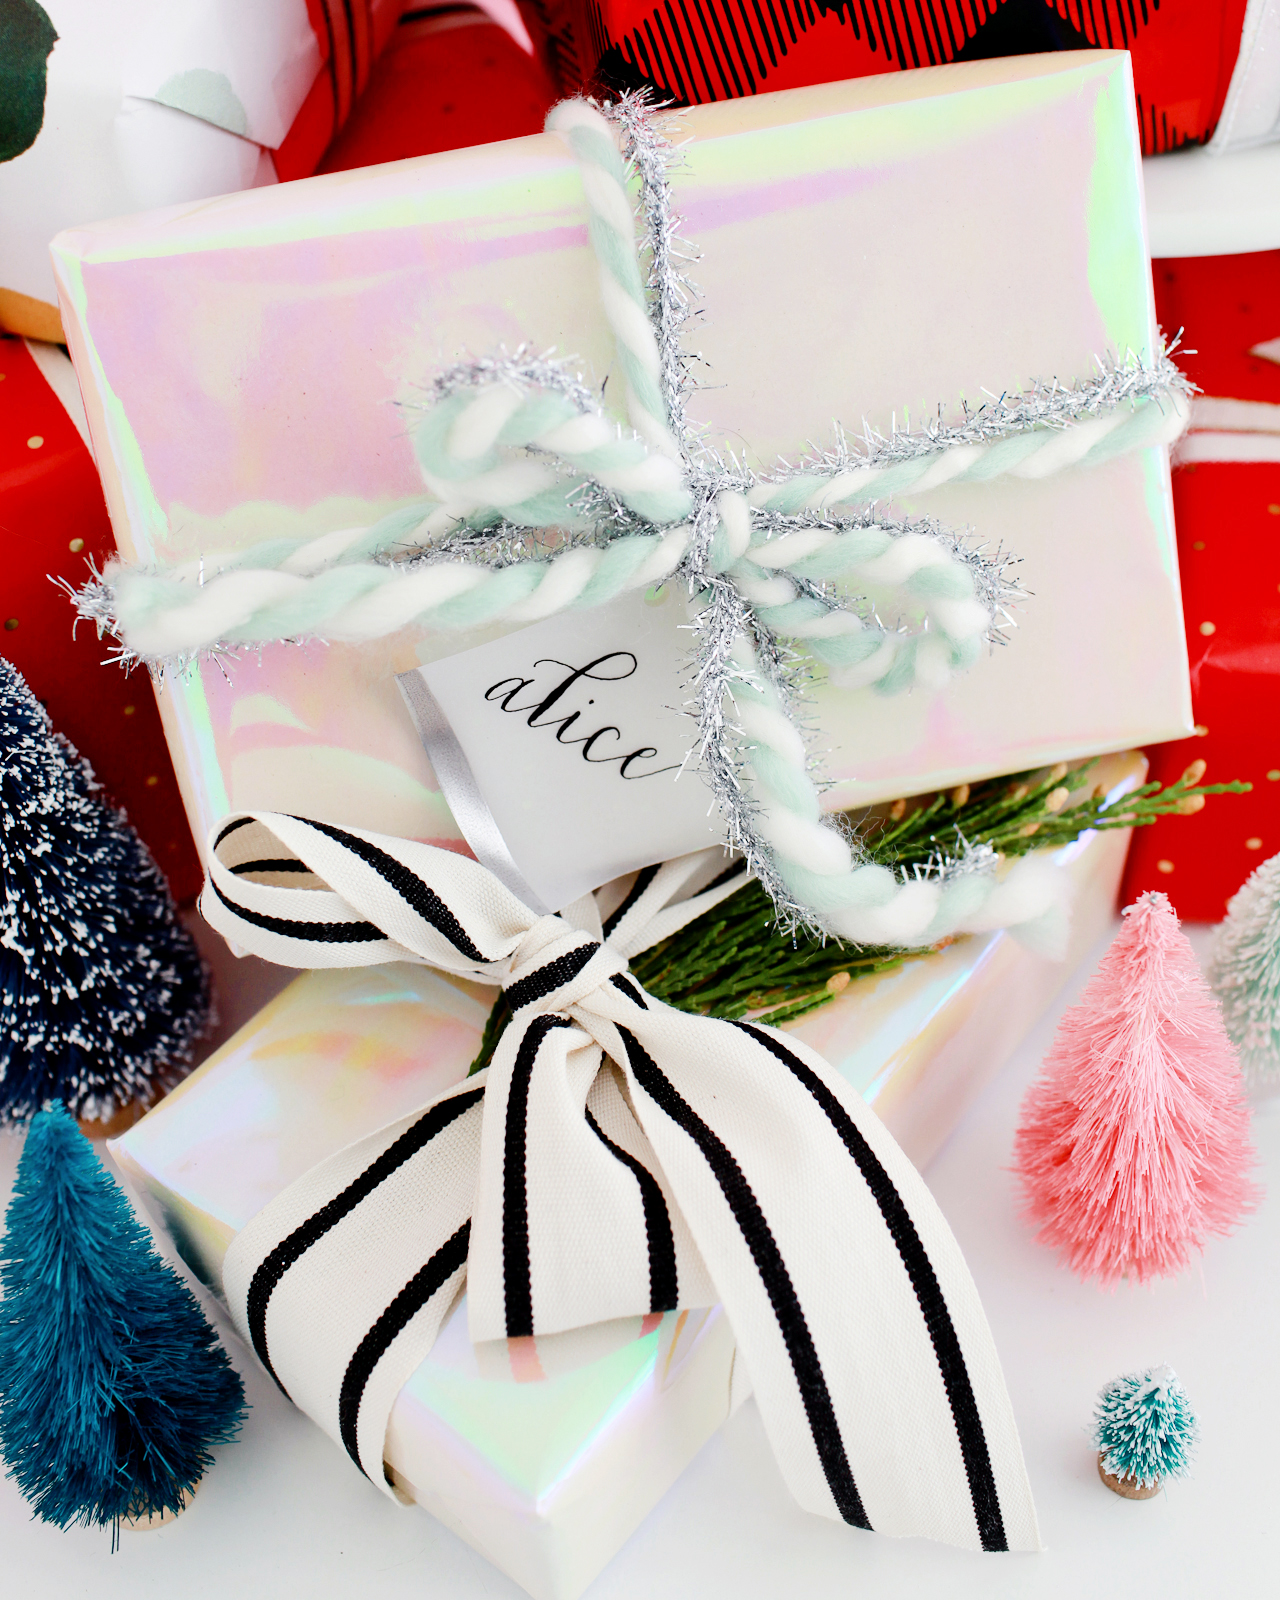
This iridescent white gift wrap is pretty much my favorite thing ever. That shimmer! And I love the way it can look surprisingly traditional or completely modern depending on the trim!

Beautiful Holiday Gift Wrap Pairings

Beautiful Holiday Gift Wrap Pairings

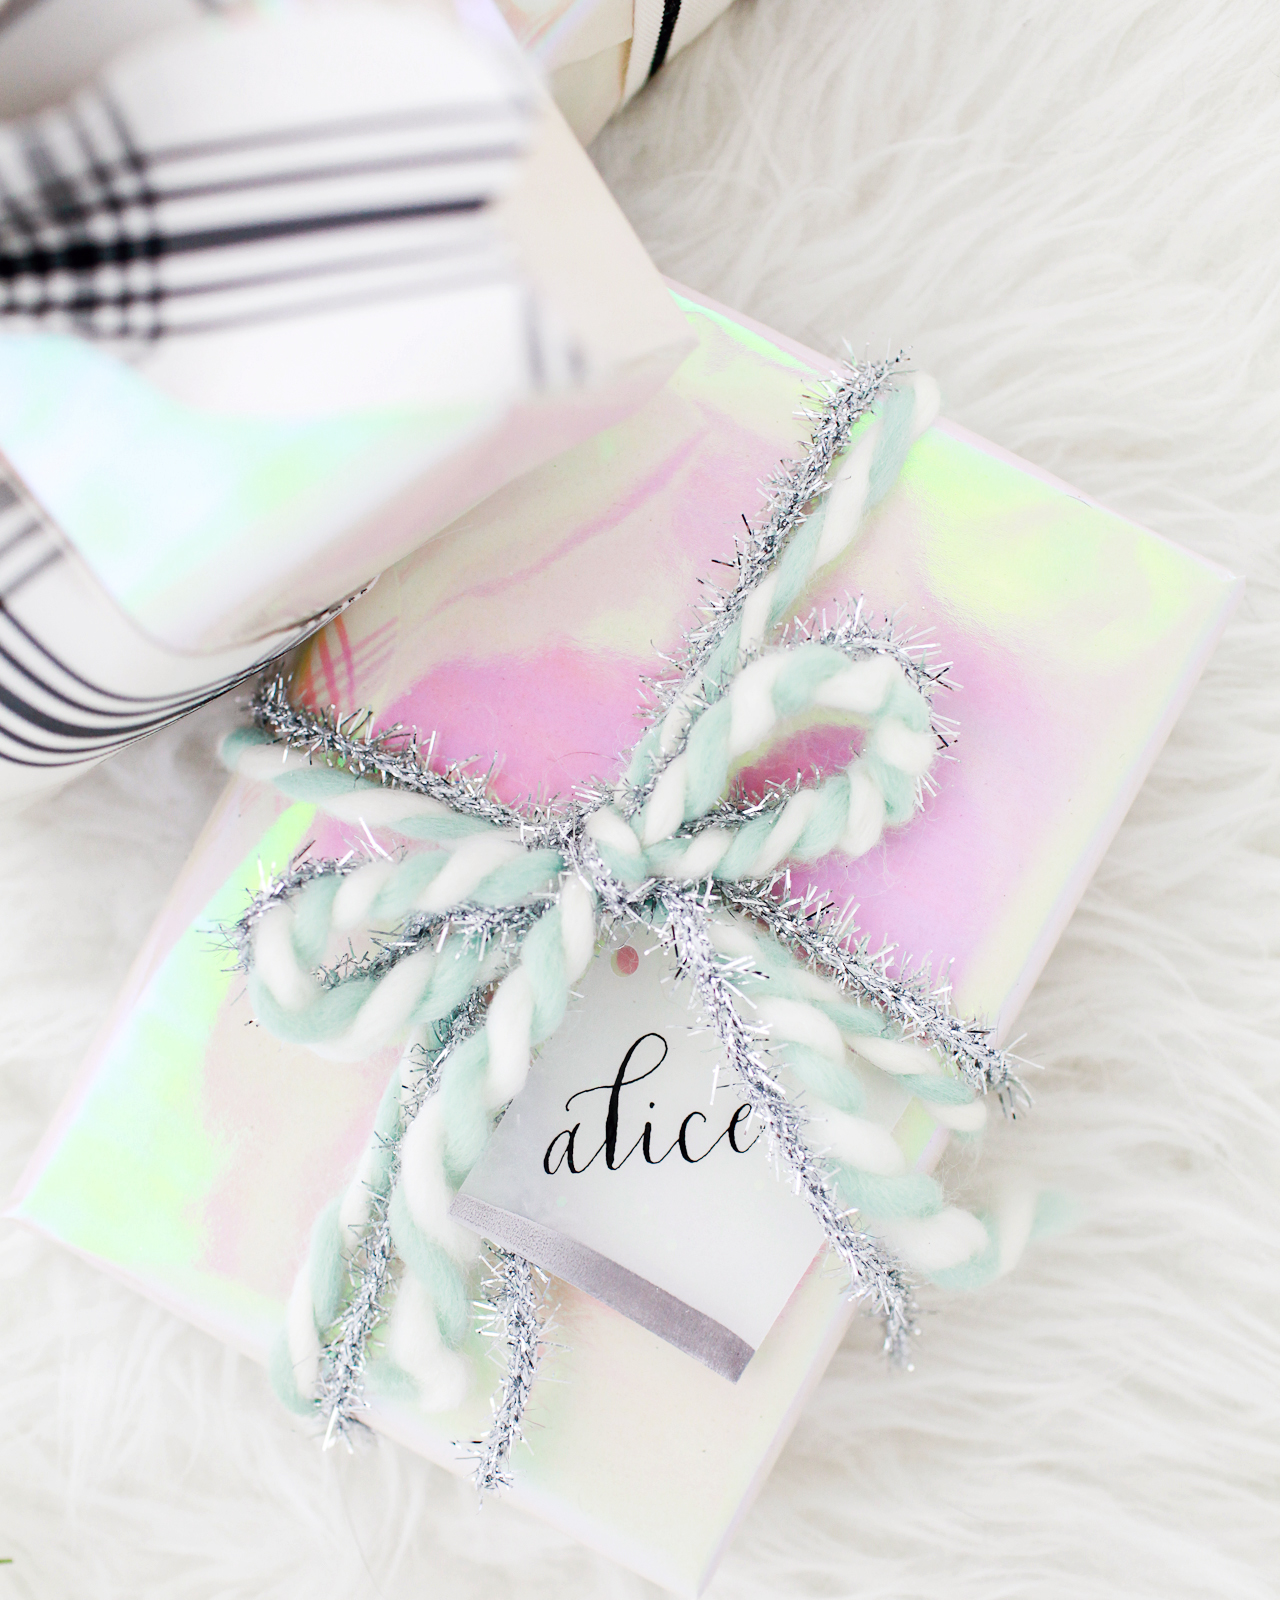
White Iridescent Gift Wrap | Plaid Grosgrain Ribbon | Wood Spool Stripe Ribbon (in Natural/Black) | Silver Tinsel Ribbon | Mint Color Twist Wool Ribbon

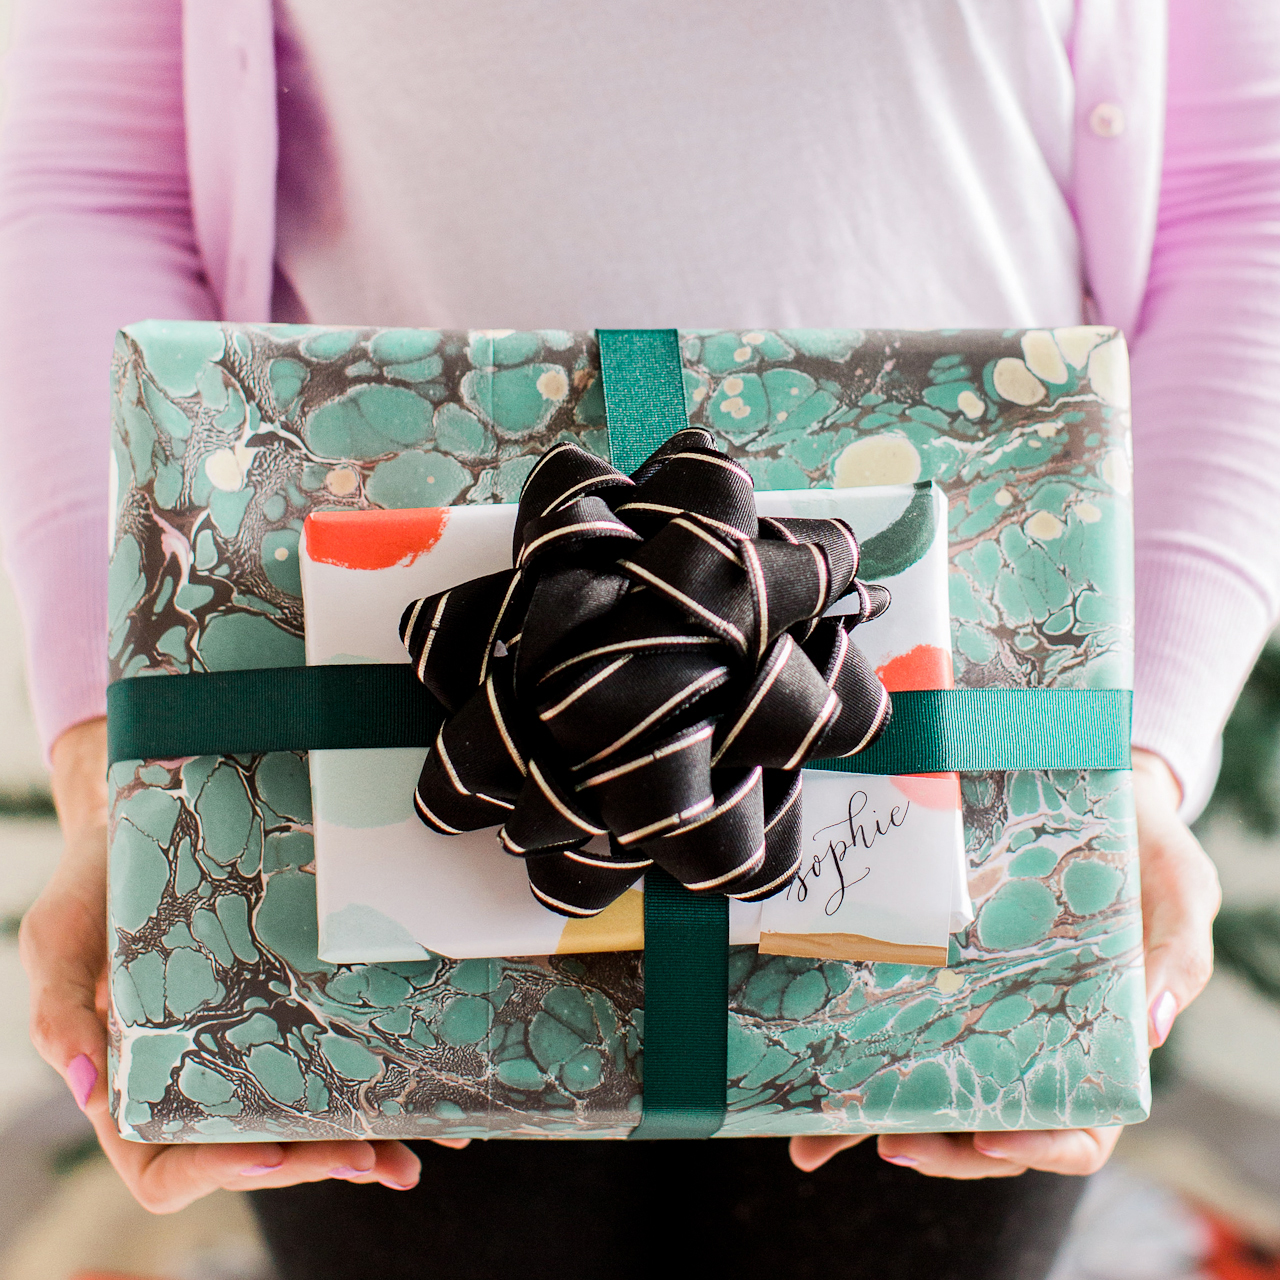
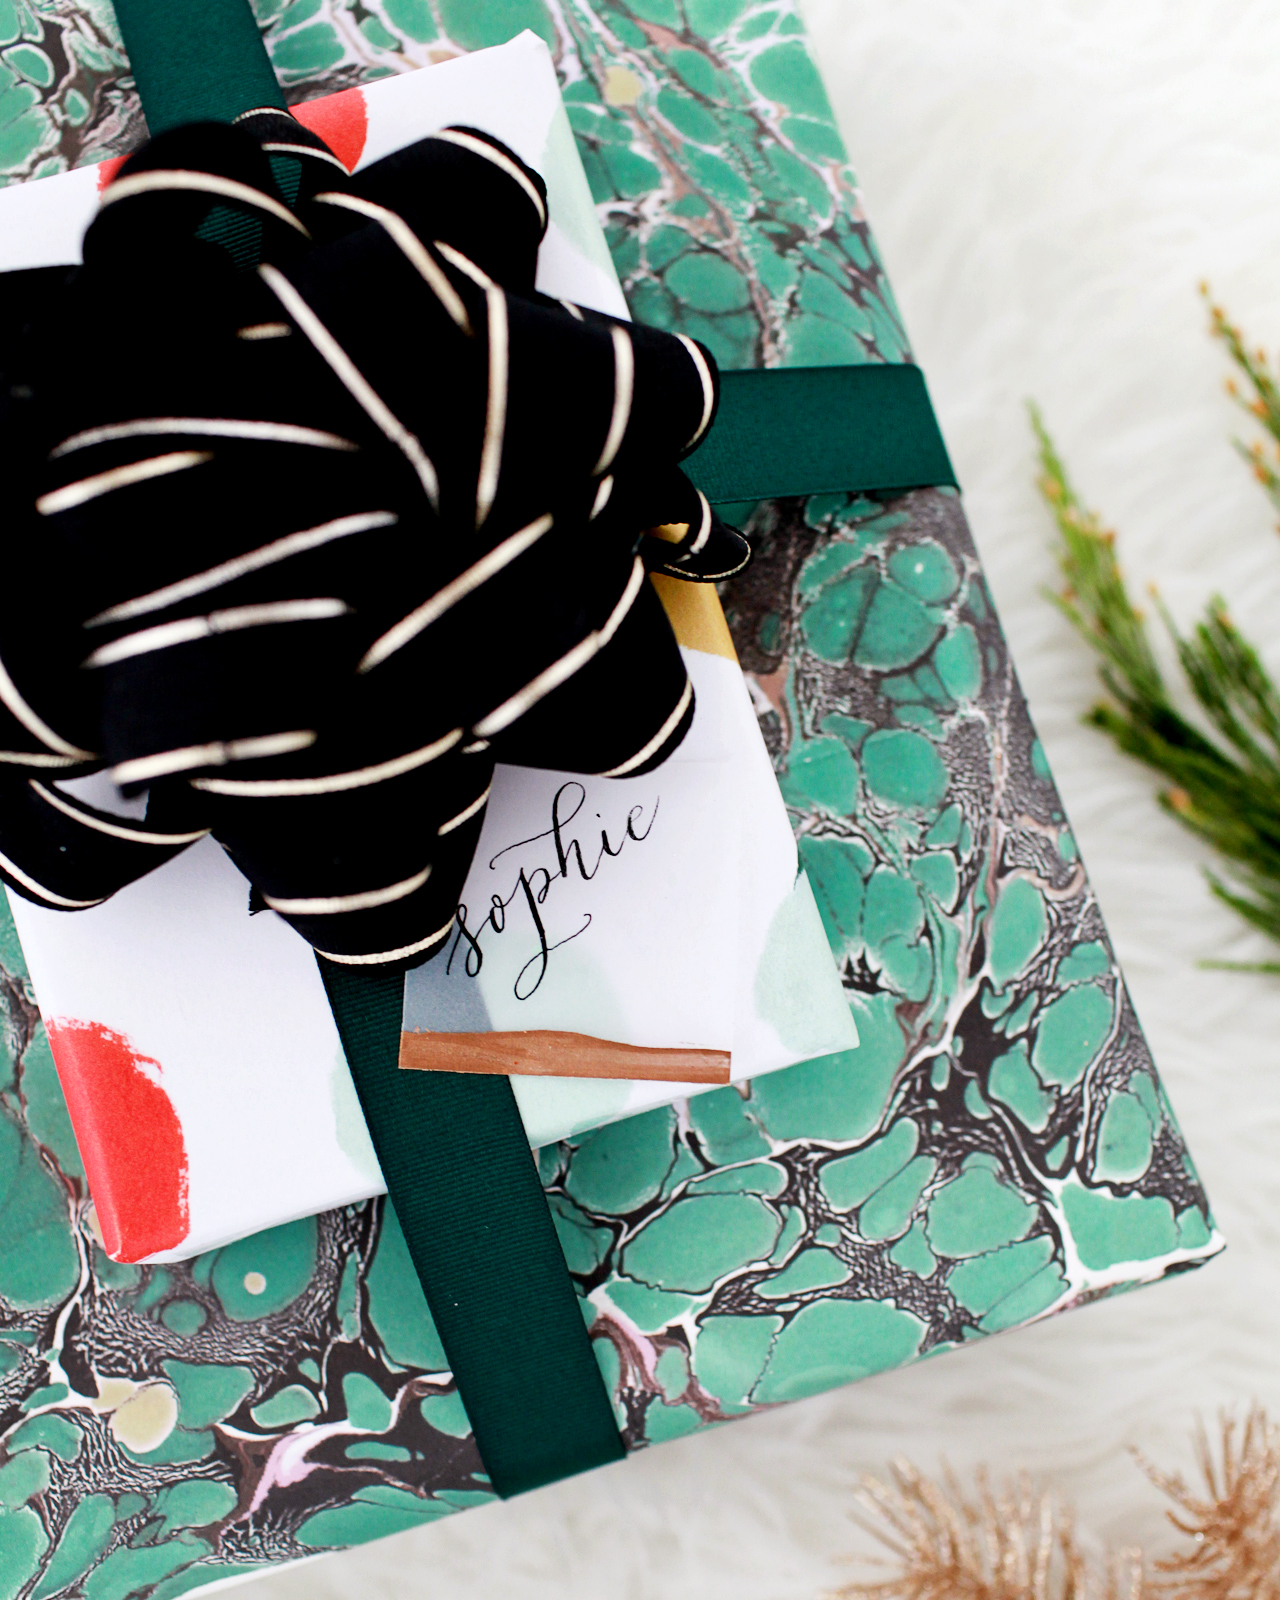
I’m completely obsessed with this green marbled gift wrap. The color is just perfect for the holiday season! This particular design is from Katie Leamon in the UK, but this fair trade handmade paper is also really pretty and can be found at Paper Source if you want it in time for Christmas.

Beautiful Holiday Gift Wrap Pairings

Beautiful Holiday Gift Wrap Pairings

Green Marbled Gift Wrap | Hand Painted Dot Gift Wrap | Green Grosgrain Ribbon | Black and Gold Bow

Beautiful Holiday Gift Wrap Pairings

Beautiful Holiday Gift Wrap Pairings

Beautiful Holiday Gift Wrap Pairings

Beautiful Holiday Gift Wrap Pairings

So that’s what I picked this year! What’s your holiday gift wrap style? Do you go more traditional or modern? Tell me tell me!

Gift Tag Calligraphy: Meant to Be Calligraphy

p.s. DIY gold and copper leaf hexagon gift tags!

Photo Credits: Meghan Marie Photography and Nole Garey for Oh So Beautiful Paper

DIY Watercolor and Gold Leaf Gift Tags

This is a sponsored conversation written by me on behalf of Cuties. All content and opinions are my own. Thank you for supporting the sponsors that make Oh So Beautiful Paper possible!

Thanksgiving is tomorrow, which means the season of giving is just around the corner! I grew up in Florida, so I always associate the months of December through February with amazing in-season winter citrus. My favorite little citrus fruit, Cuties, is finally back in our local grocery store – yay! Even though the days are shorter and the nights are longer, Cuties is sending us a dose of love and sunshine straight from their California groves right when we need it most. I’m so excited to celebrate both the season of giving and the return of Cuties season with these gorgeous DIY watercolor and gold leaf gift tags!

DIY Watercolor and Gold Leaf Gift Tags

Celebrate the Season of Giving with Cuties Mandarin Oranges

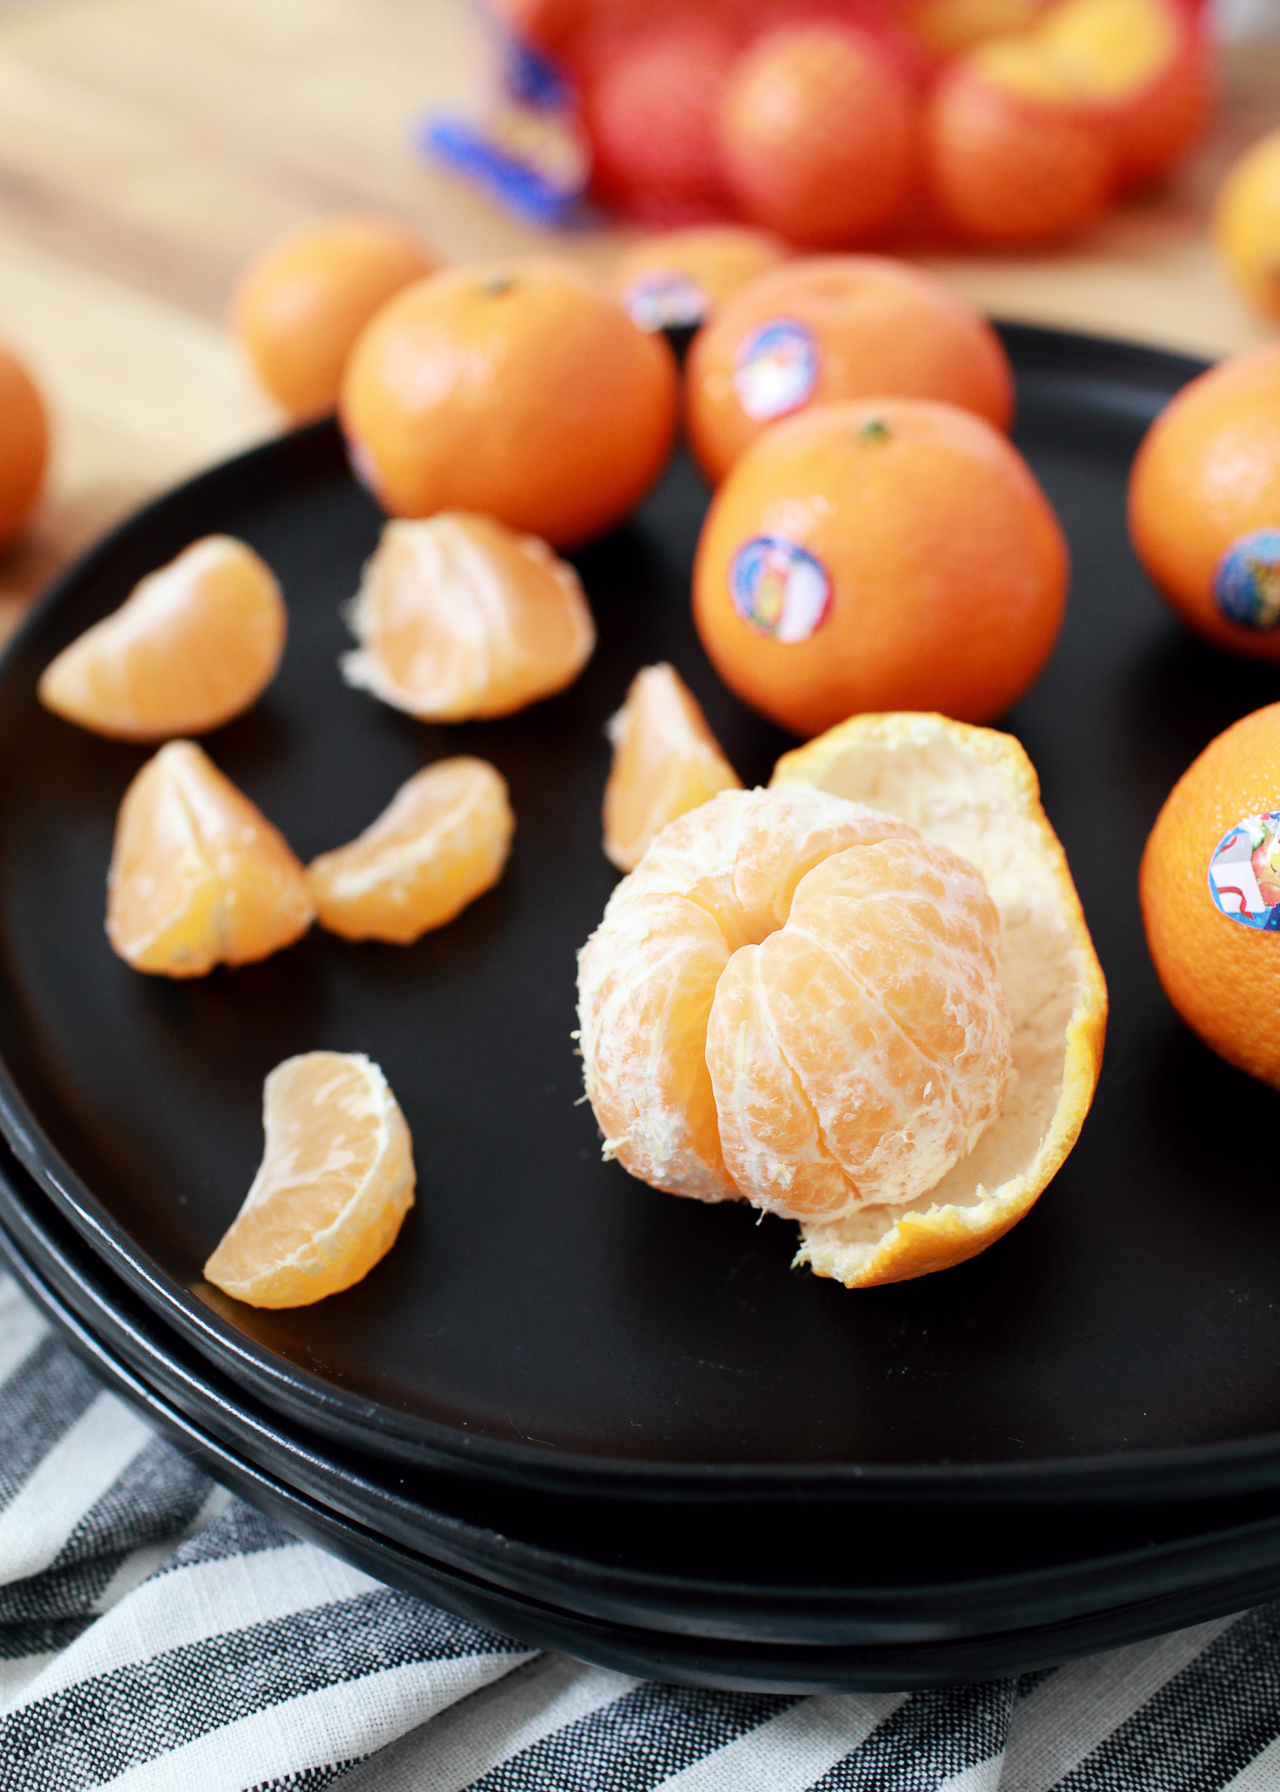
Now that I live in DC and spend most of my holidays with my husband’s family in upstate New York, I’ve learned to embrace the dark coziness of the winter months in the Northeast and Mid-Atlantic. We wrap ourselves in warm blankets, make tea and hot cocoa in the evening, light lots of candles with the seasonal scents of evergreen, vanilla, and citrus – and of course we snack on delicious, in-season winter citrus. My kids always reach straight for the bowl of Cuties on the kitchen counter: they’re sweet, seedless, easy for little hands to peel apart, and perfectly kid-sized. They’re also the perfect on-the-go snack, and we always bring a handful of Cuties when we’re out exploring on the weekends.

Celebrate the Season of Giving with Cuties Mandarin Oranges

One of the things I love most about being a mom of two little girls is seeing the way they offer love and affection so freely and easily. They’re full of hugs for all their little friends when I drop them off at school in the morning – and then again when I pick them up in the afternoon! Whenever her older sister is having a bad day or falls and scrapes a knee, my youngest daughter, Alice, will bring over her favorite toy or doll to make her older sister feel better. It’s the absolute sweetest thing to see.

DIY Watercolor and Gold Leaf Gift Tags

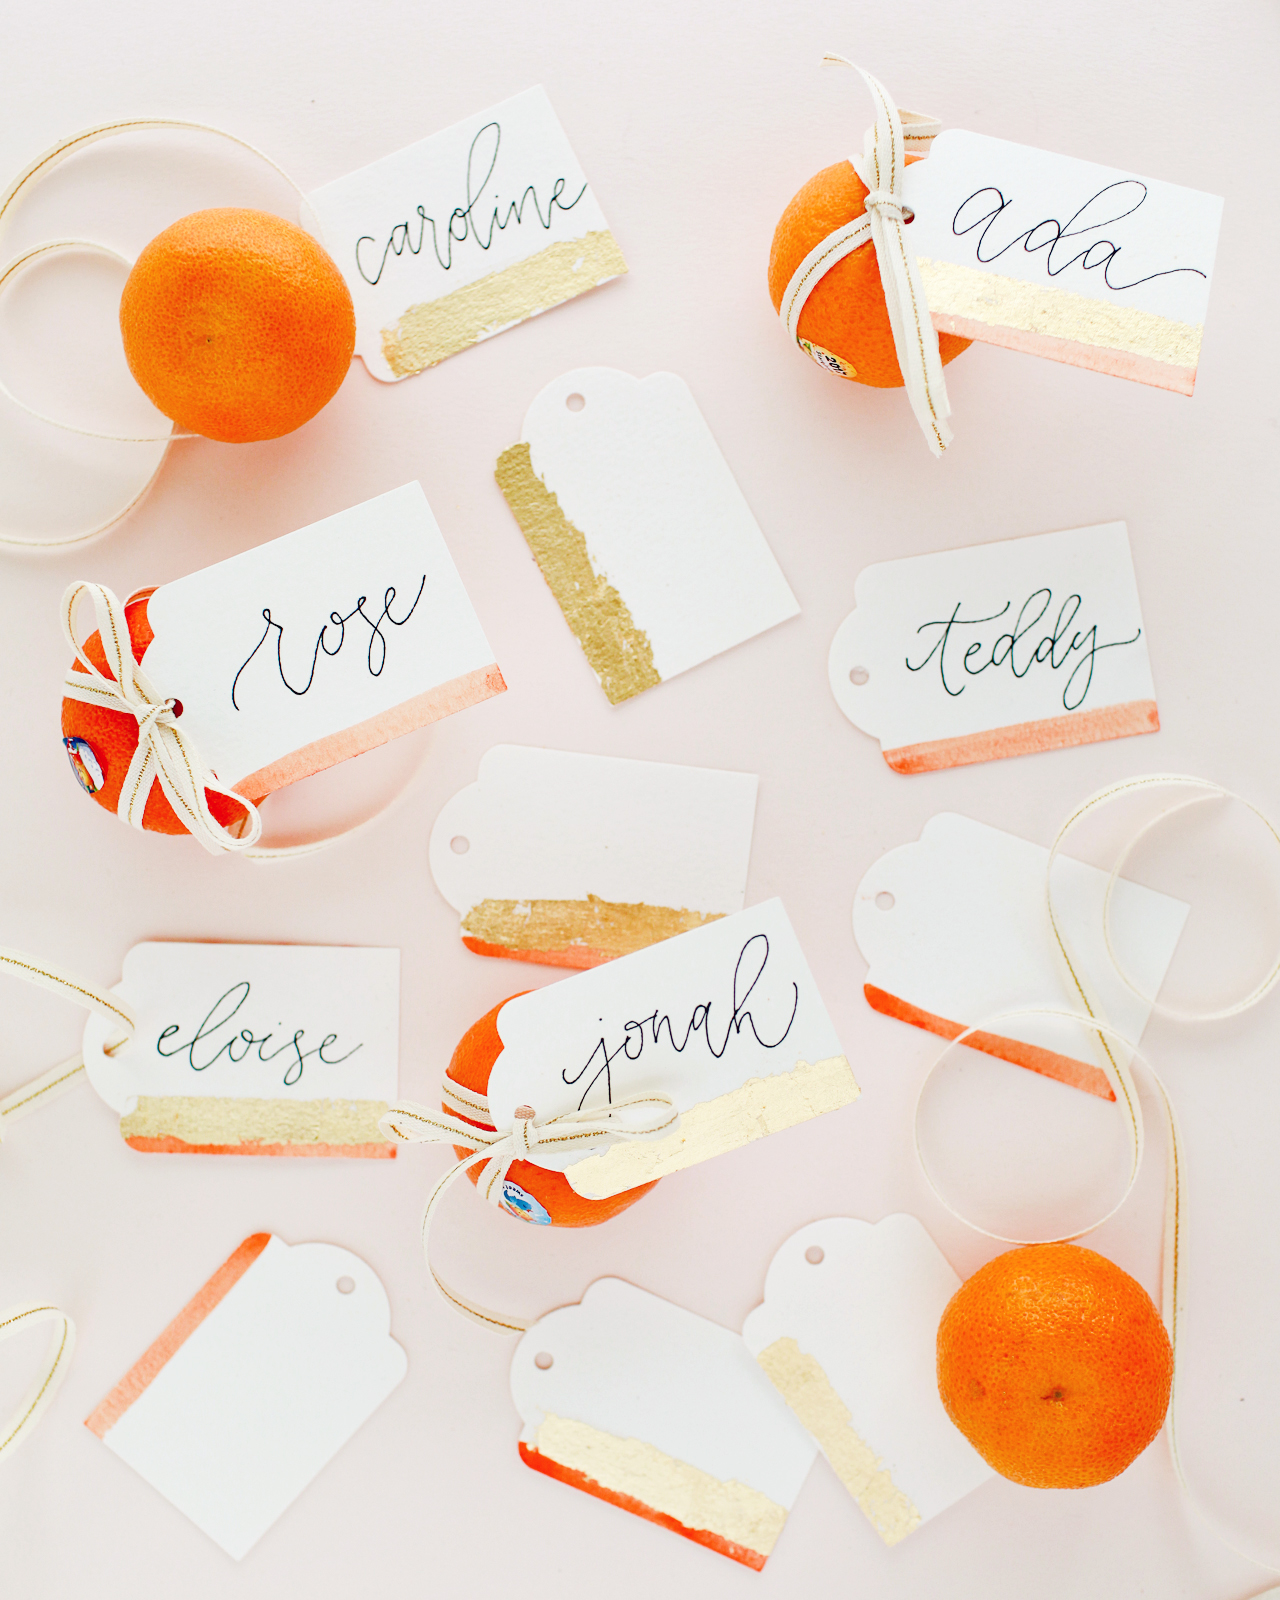
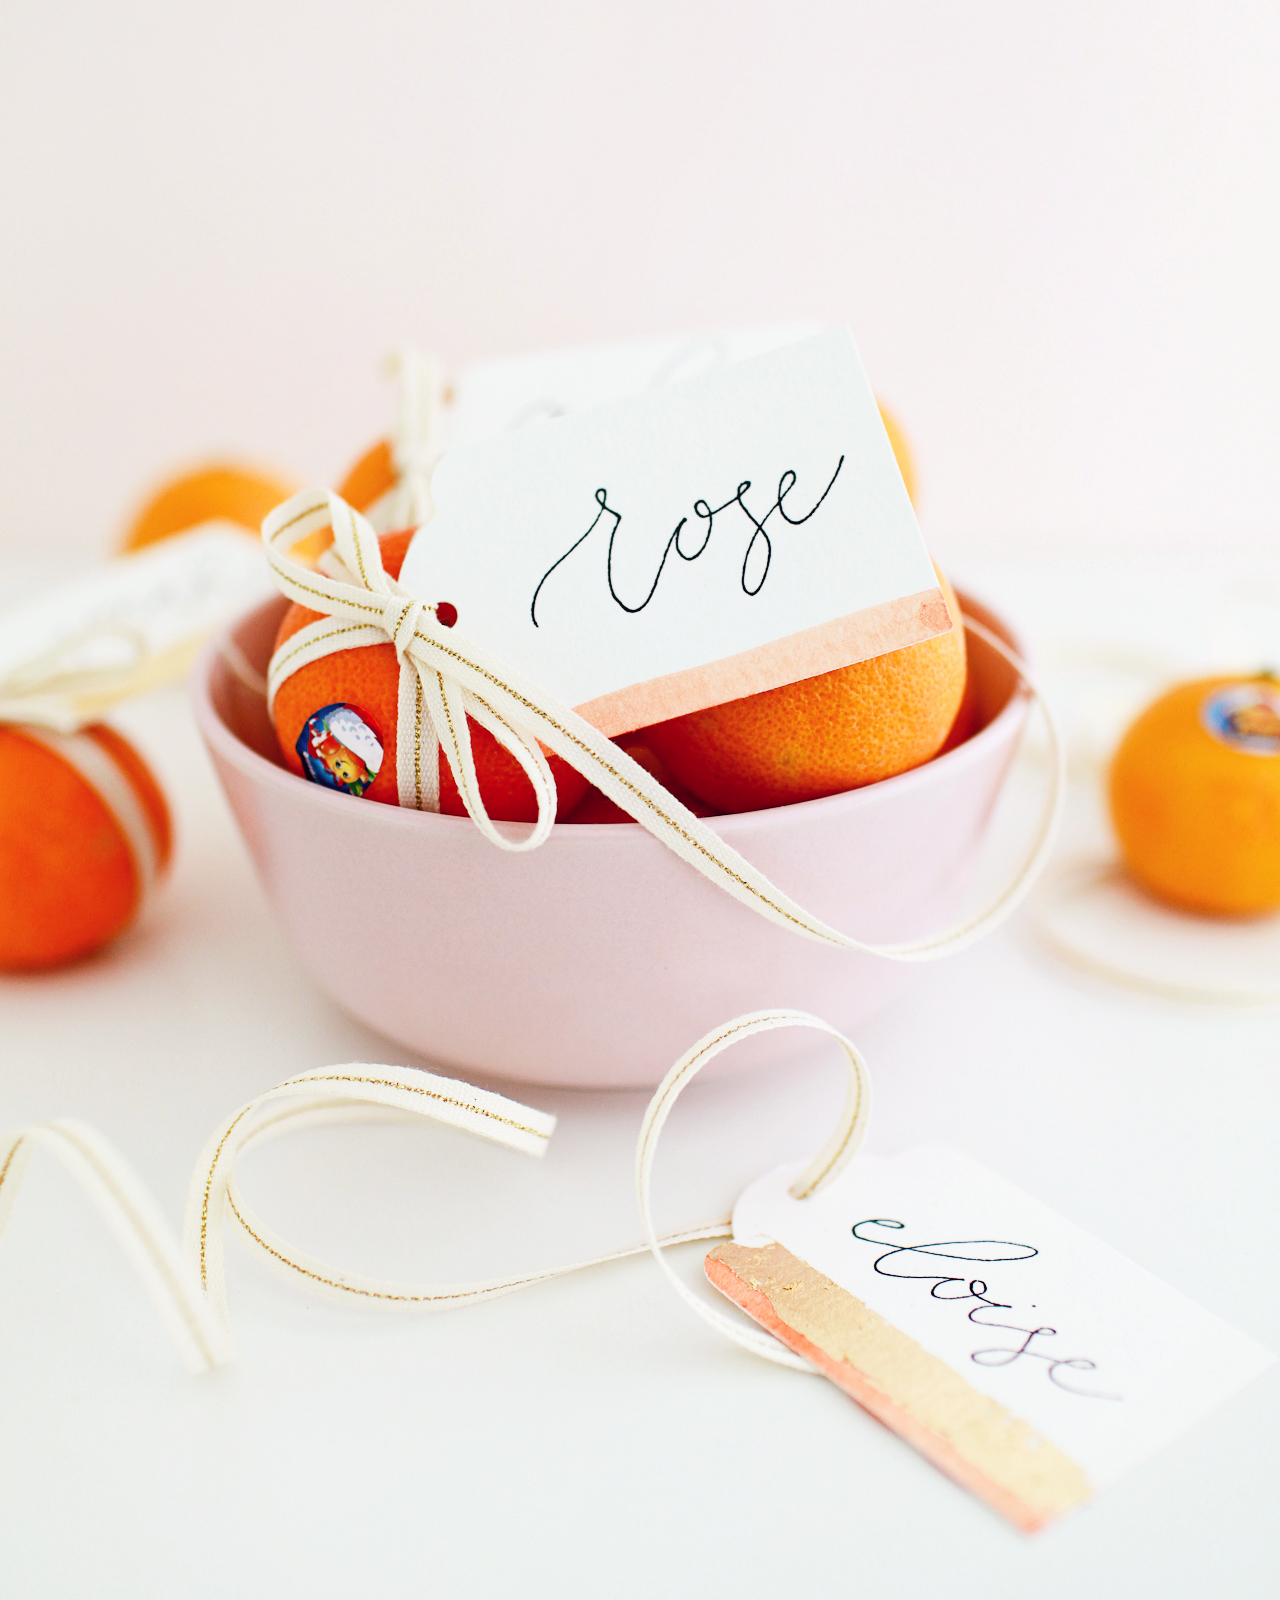
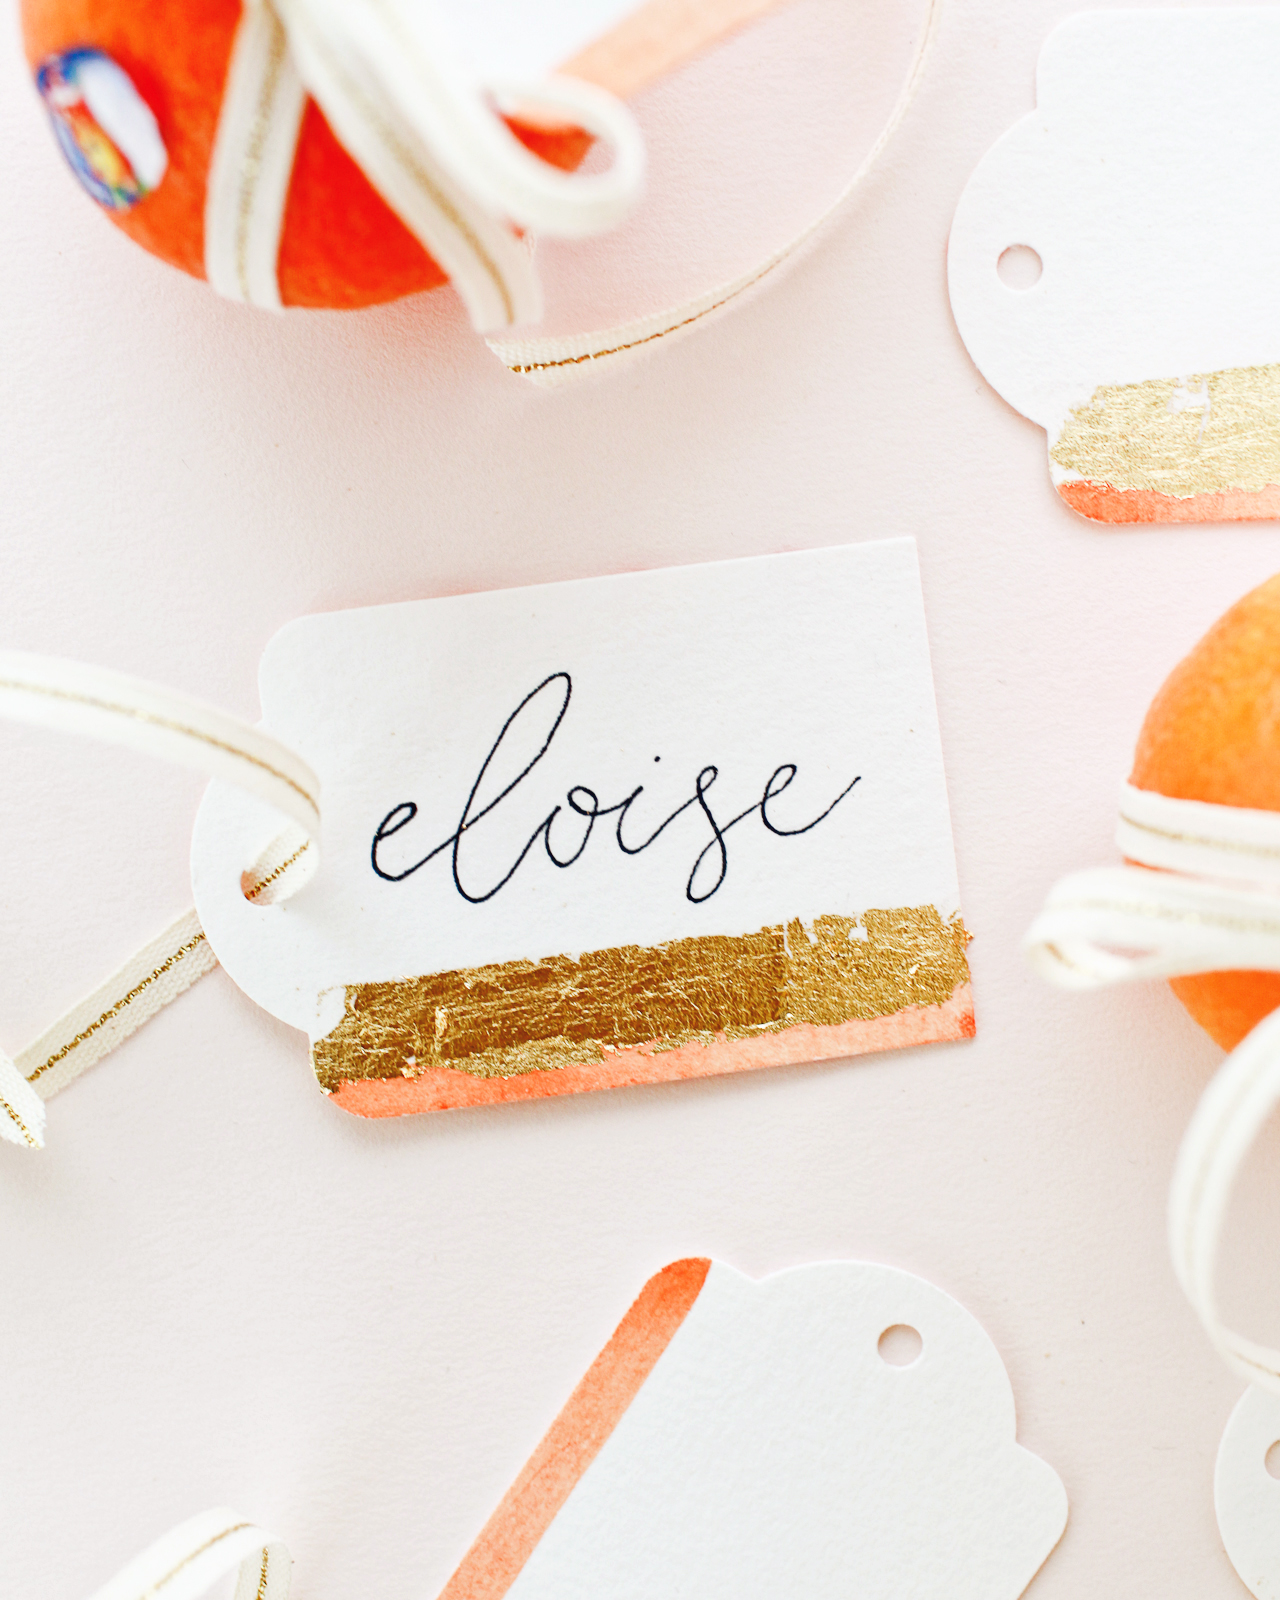
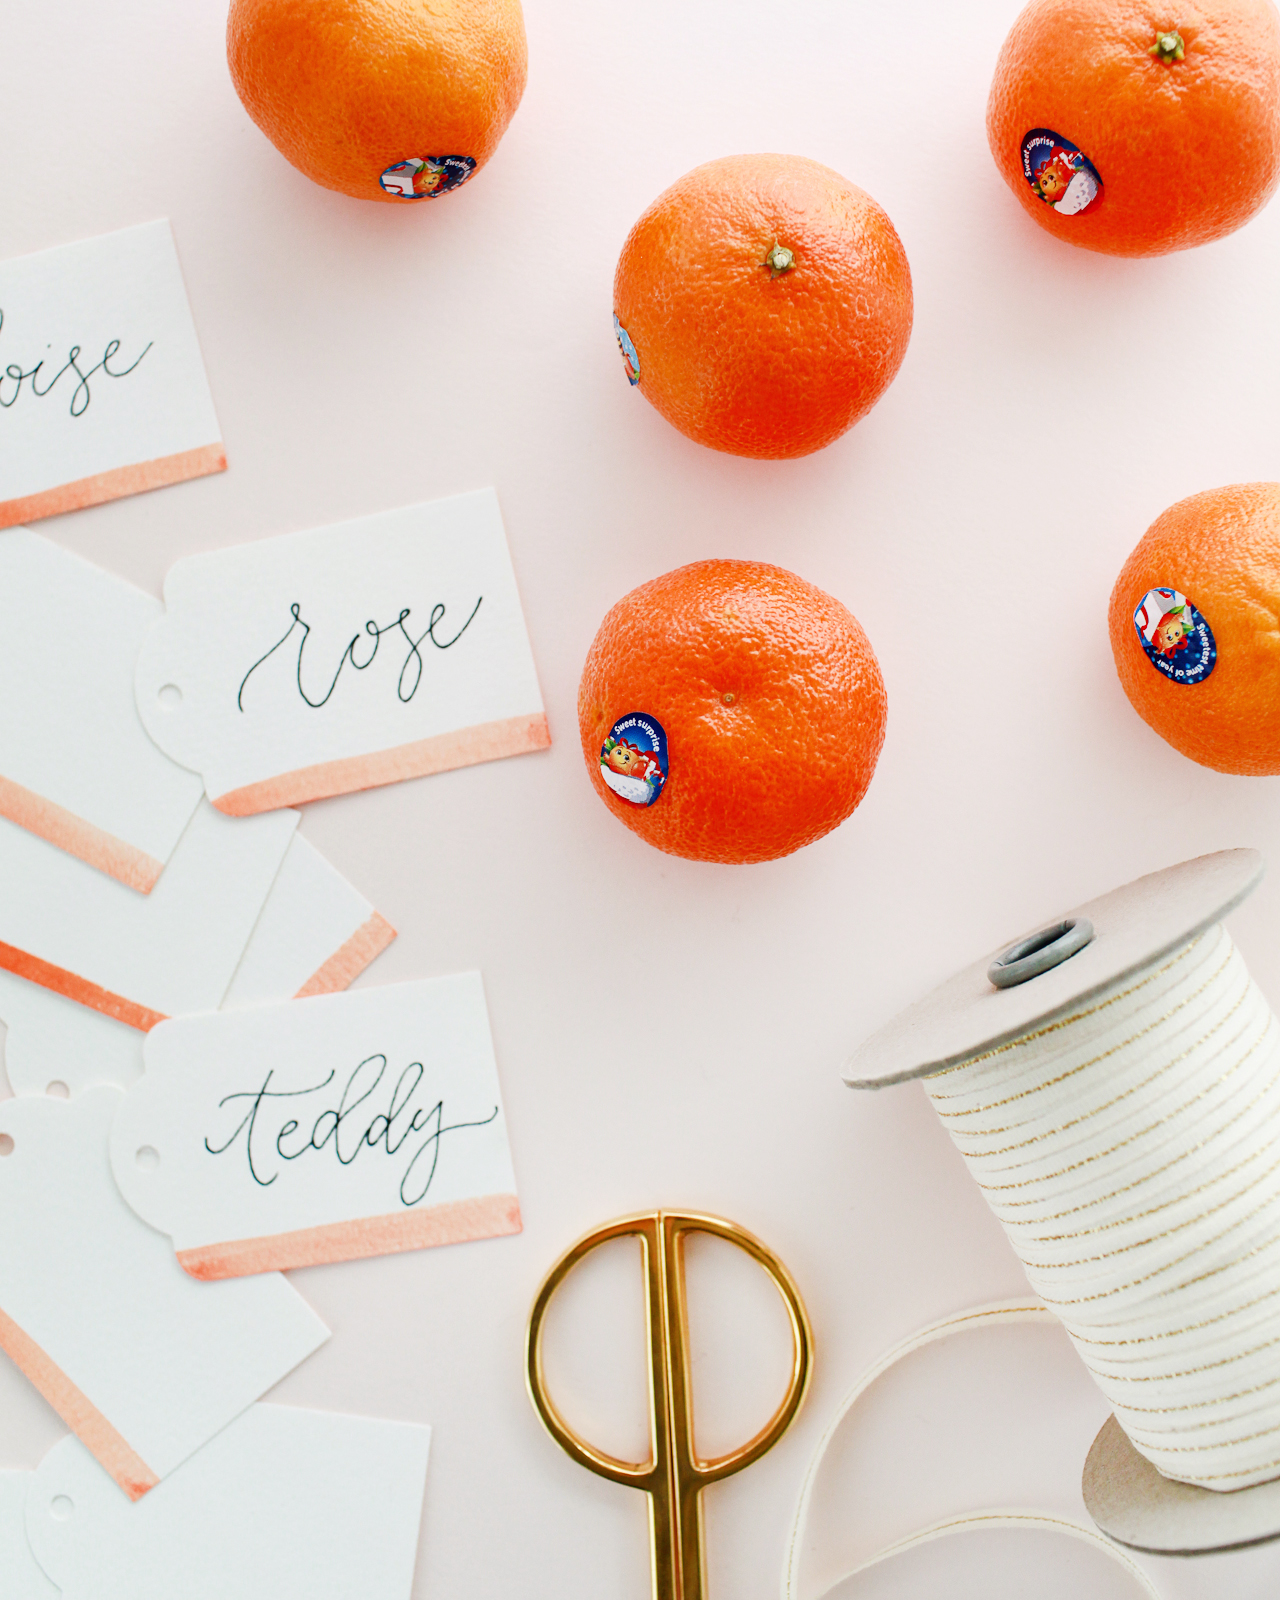
I wrapped a bunch of Cuties in these watercolor and gold leaf gift tags for my daughters to give to their teachers and school friends as our family’s Cuties Correspondents. I’ve been talking with my girls a lot lately about the concepts of kindness and compassion as we head into the holiday season, and these little treats are the perfect way to bring a smile to their friends’ faces as we head off for the holiday weekend. Even as adults, I’m sure we could all use a surprise treat with a sweet message to brighten our day. Cuties are the perfect snack to share with friends and loved ones, from preschool friends to coworkers, and these sweet gift tags make them even more special. Let’s make some!

DIY Watercolor and Gold Leaf Gift Tags

Supplies

Bag of Cuties!

Gift Tag Maker

Cotton Watercolor Paper

Watercolor Set or Watercolor Brushes

Size 6 Round Paint Brush

Gold Leaf Kit

Scissors

Ribbon

DIY Watercolor and Gold Leaf Gift Tags

To make the DIY watercolor and gold leaf gift tags:

Step 1. Use a gift tag maker to punch gift tags out of 100% cotton watercolor paper and create a small eyelet hole for the ribbon. If you don’t have a gift tag maker, you can use scissors and a standard hole punch. 100% cotton watercolor paper will best absorb the watercolor pigment without warping, so try to avoid lower quality paper or card stock for this project.

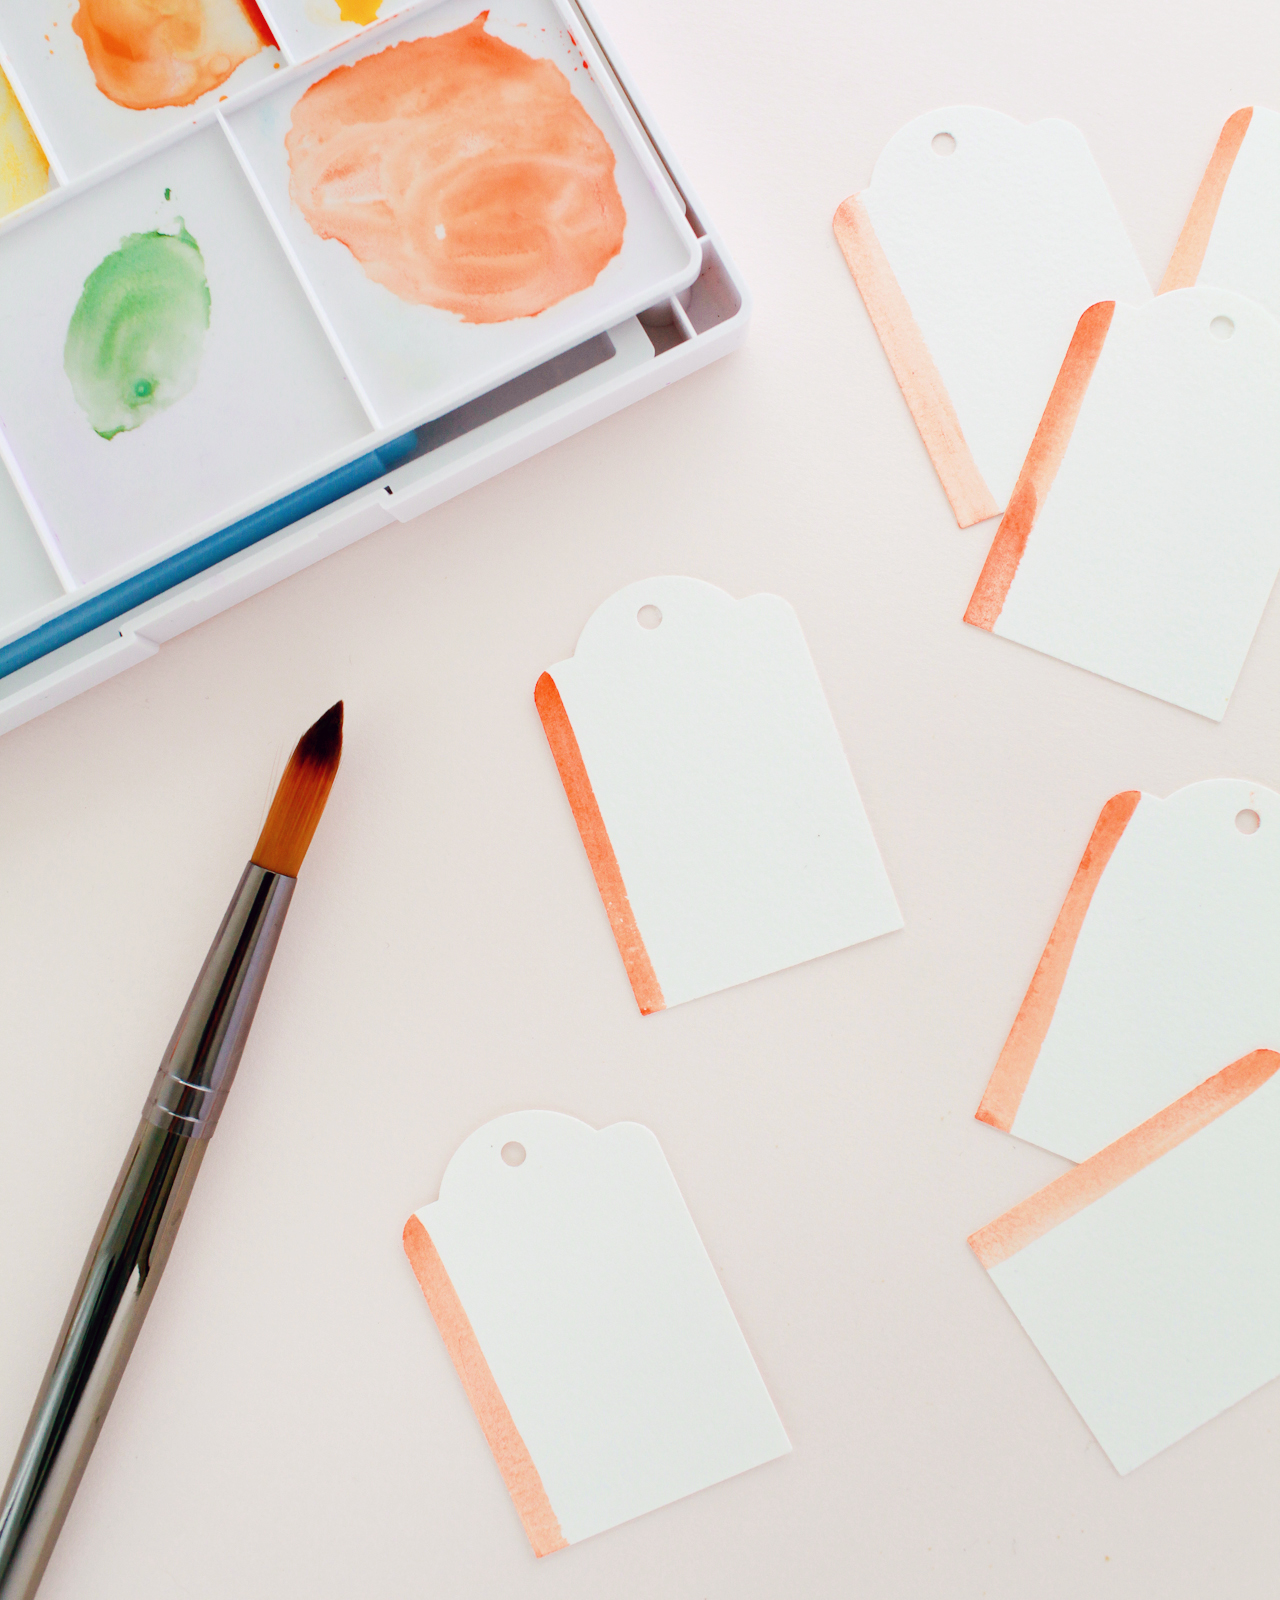
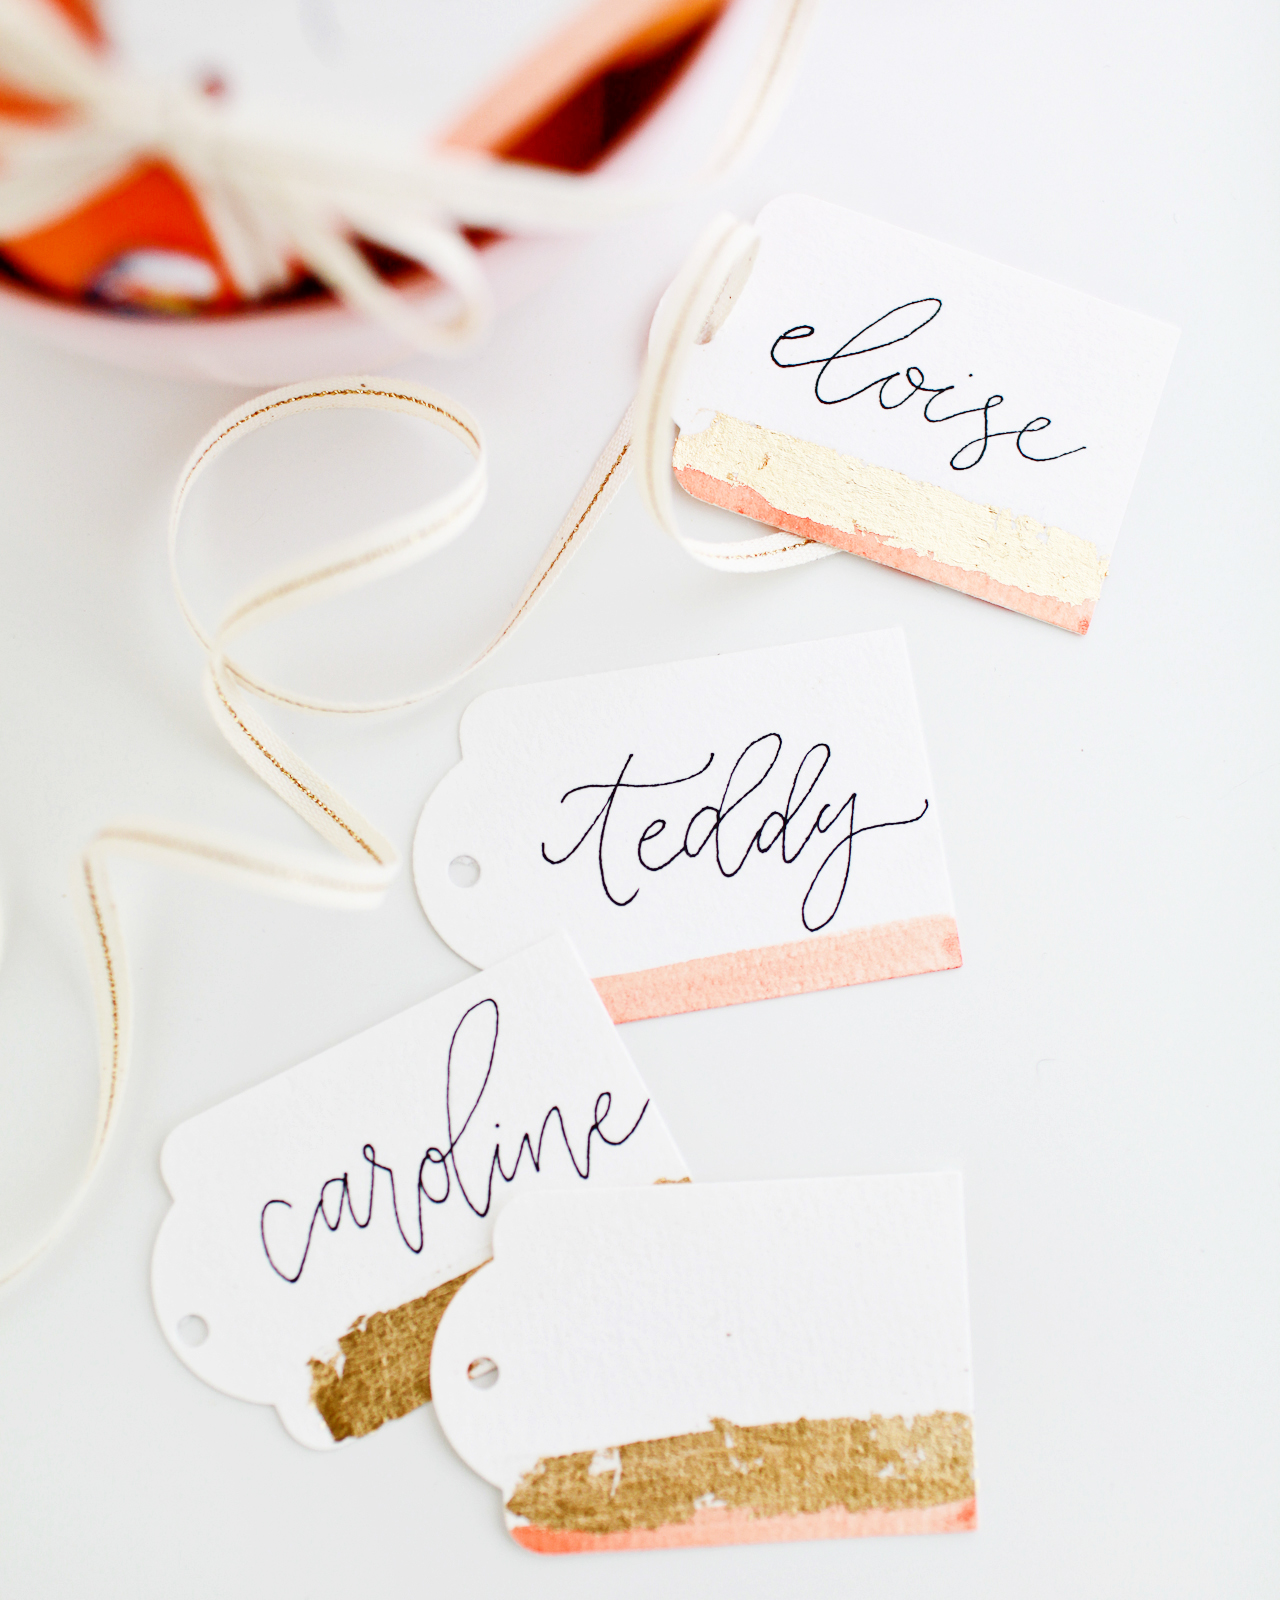
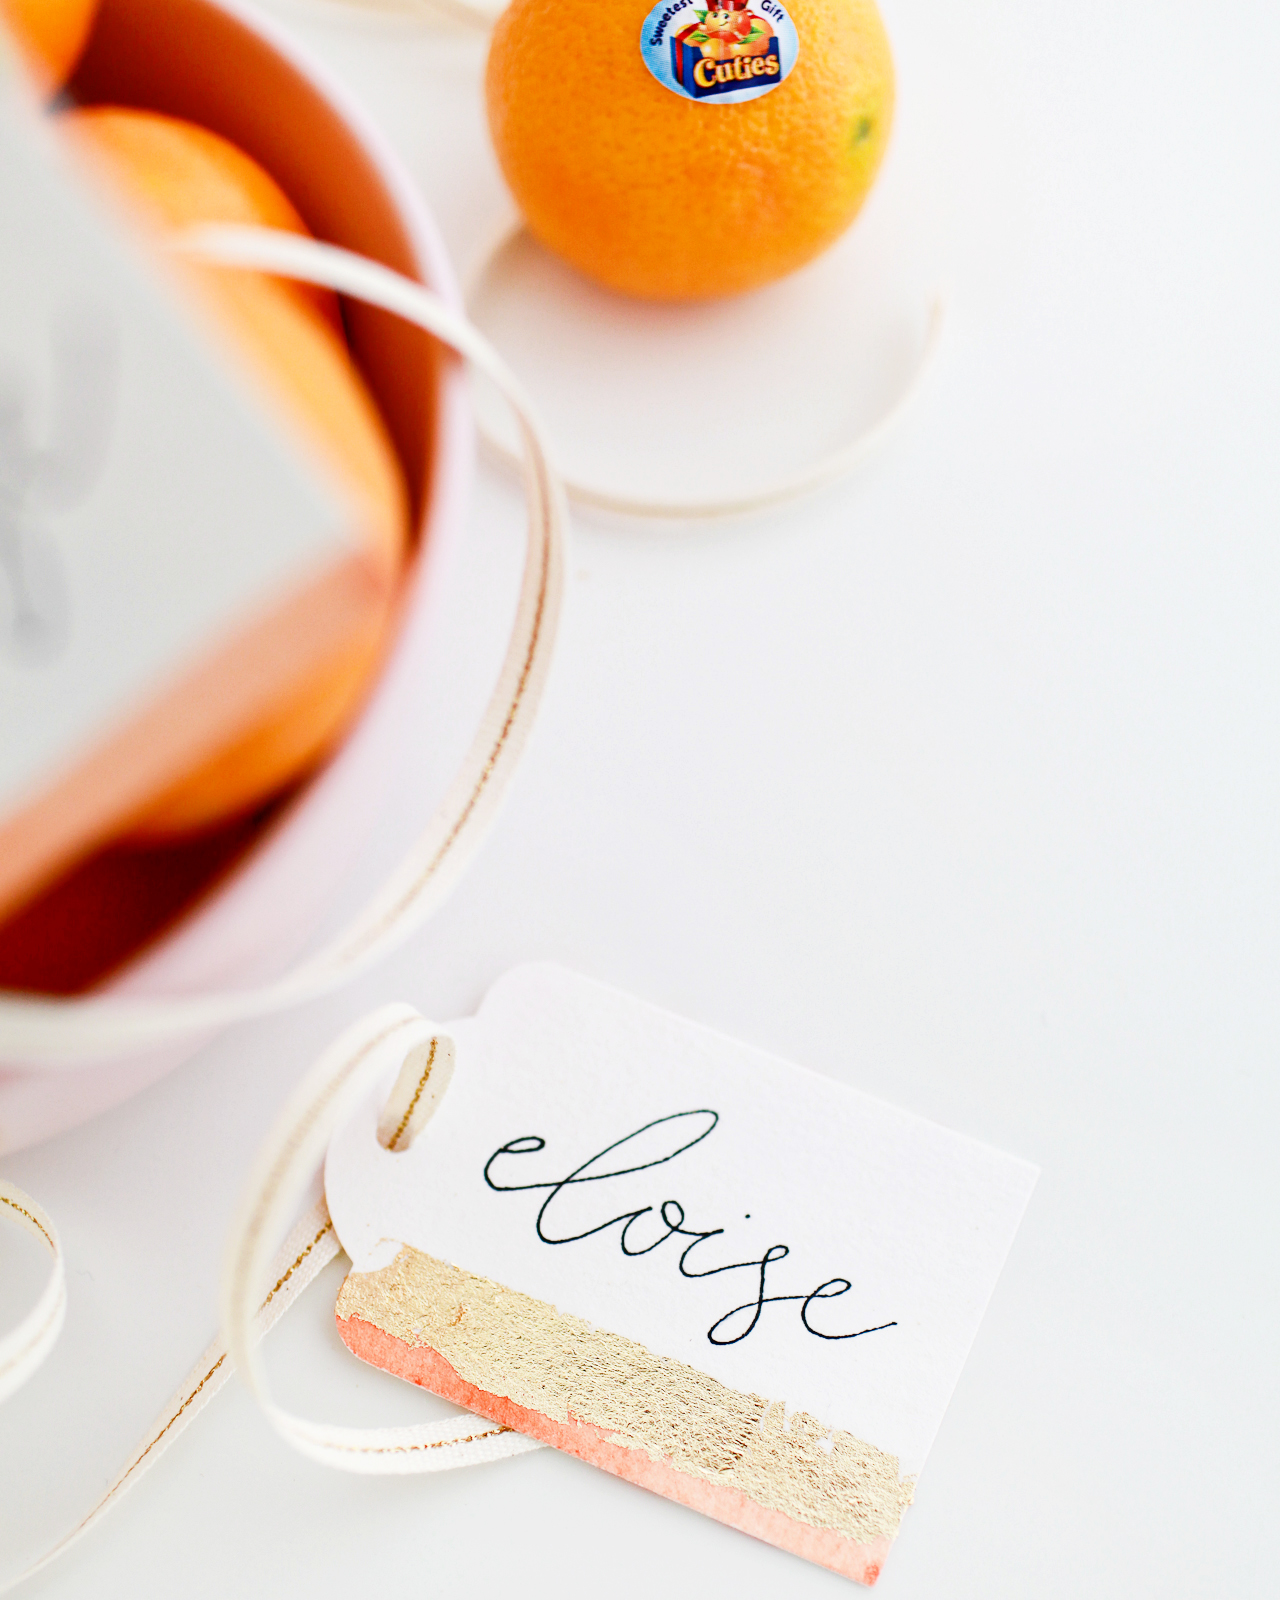
Step 2. Use a Size 6 round paint brush to paint a thin line of orange watercolor on one edge of the gift tag. I used this 30-color watercolor set, but these watercolor brush pens would be fun, too!

Step 3. Add a thin strip of gold leaf above the orange watercolor, leaving enough room to write a name above the gold leaf. Each gold leaf kit is different, so follow the instructions on your package for best results. 

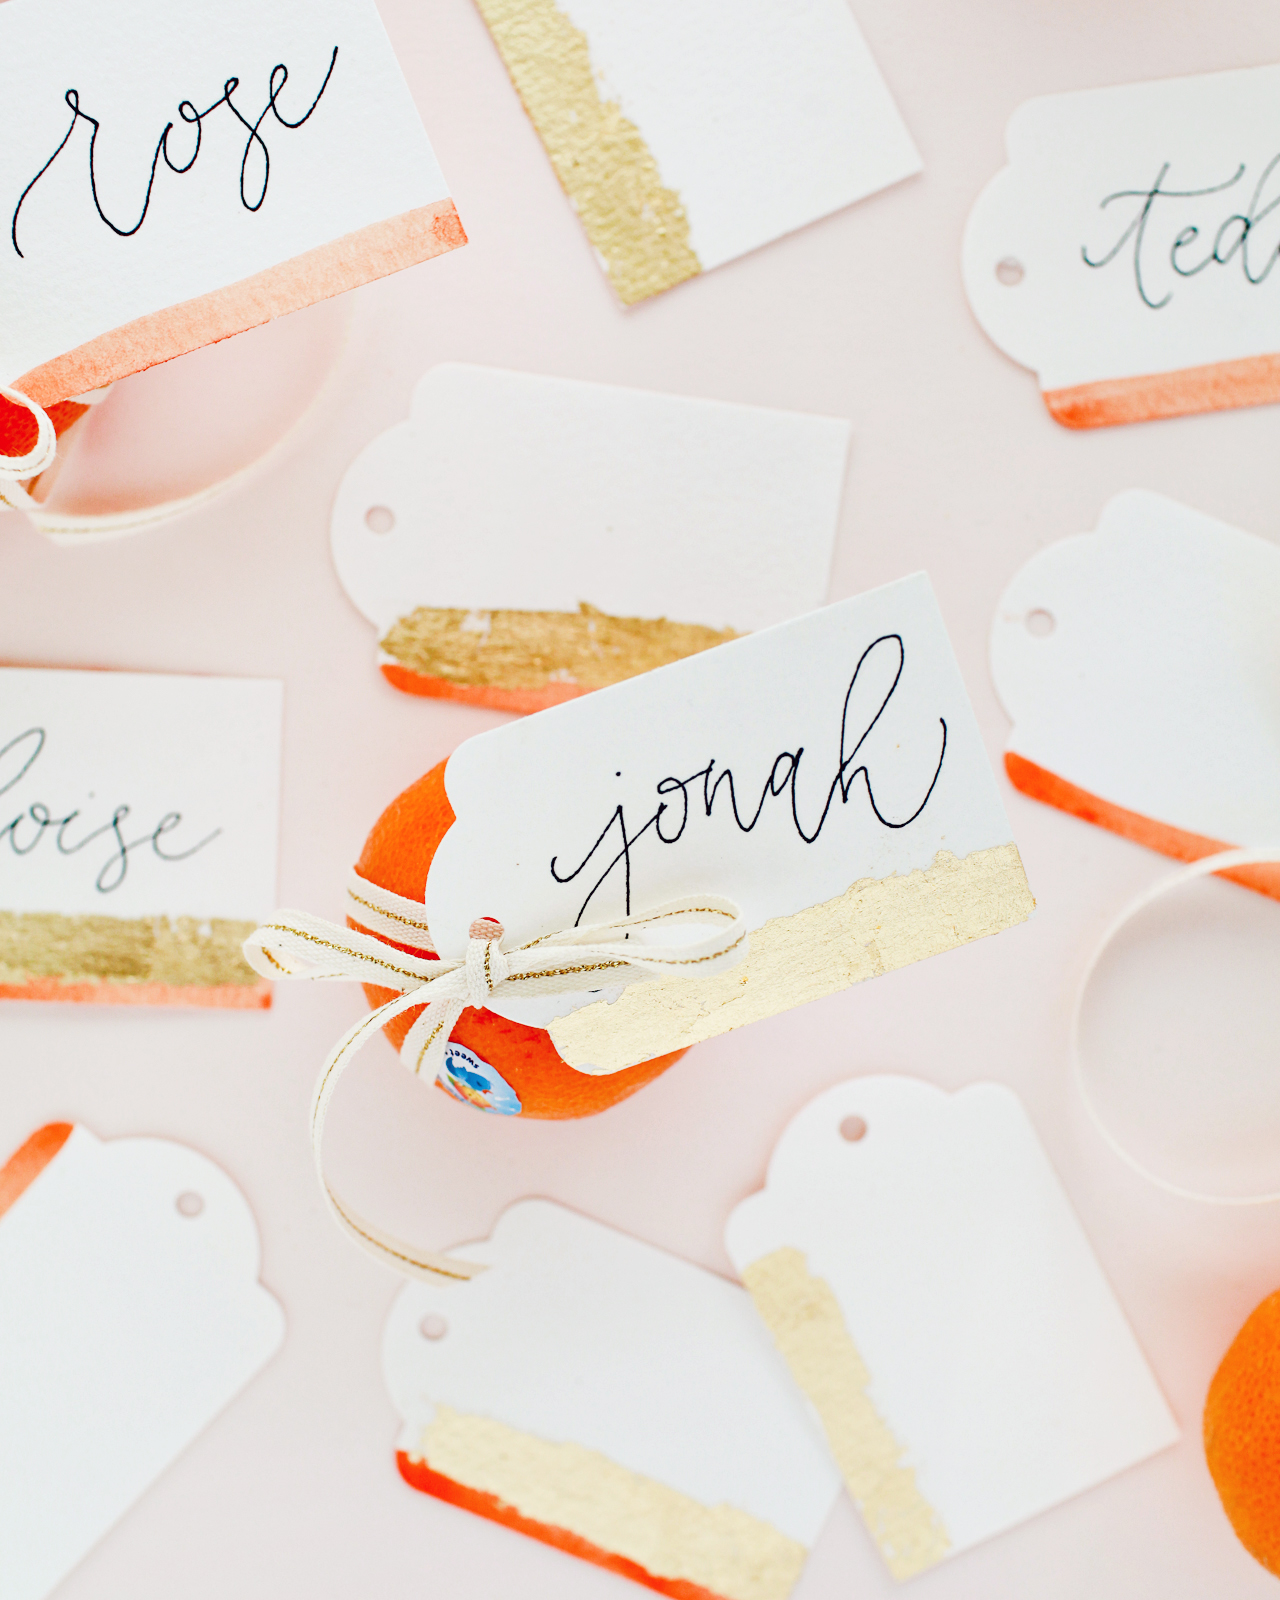
Step 4. Wrap a Cutie in your favorite ribbon (or place a few Cuties into a little bag!), then attach a gift tag and write the name of the recipient. Too cute!

DIY Watercolor and Gold Leaf Gift Tags

DIY Watercolor and Gold Leaf Gift Tags

DIY Watercolor and Gold Leaf Gift Tags

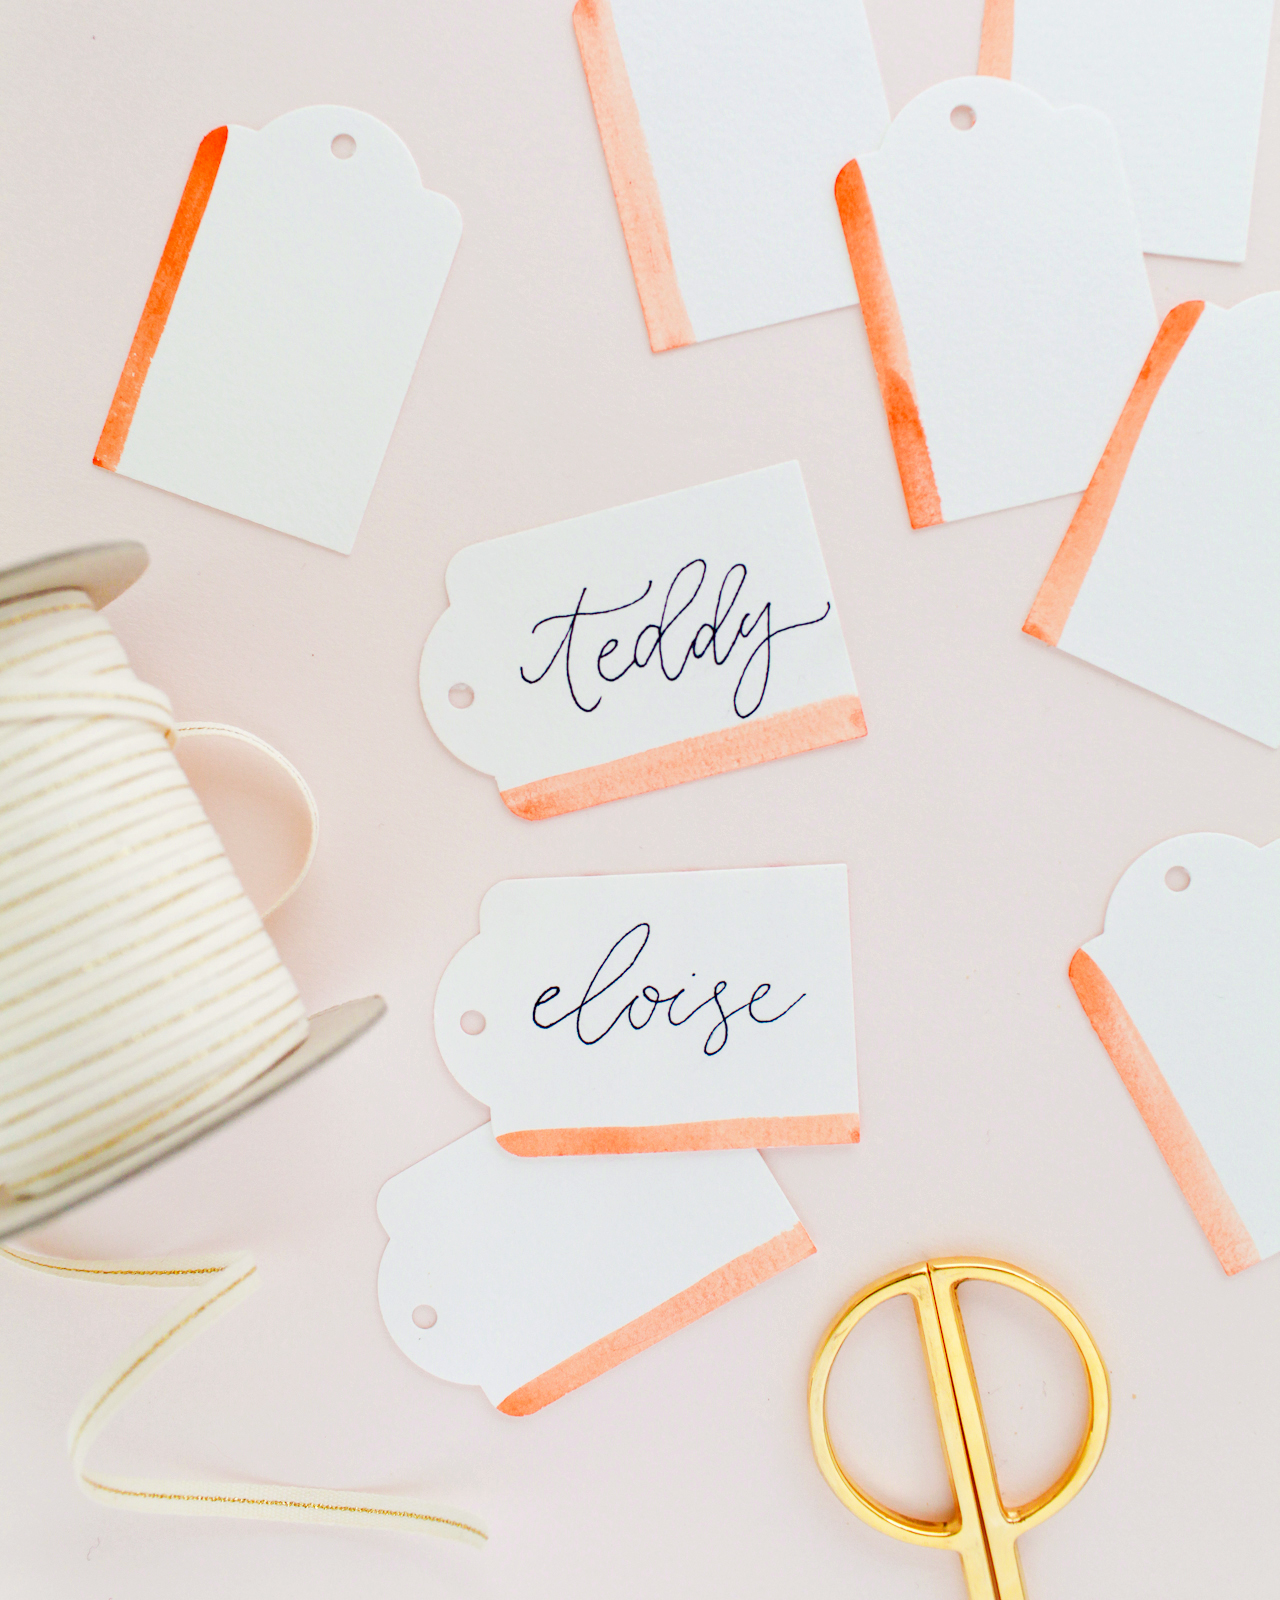
I mixed things up with some gift tags that only have gold leaf, some that only have the dash of watercolor, and some that have both – so fun! For older kids, I love the idea of writing a sweet little note on the other side, but since my kids are still very young we kept our gift tags simple. Now that they’re just learning how to write their names and read, the kids in my daughters’ preschool and kindergarten classes just LOVE getting little gifts or notes with their names on them!

DIY Watercolor and Gold Leaf Gift Tags

DIY Watercolor and Gold Leaf Gift Tags

These gift tags are such a fun and easy way to add a dose of color and sparkle to little gifts – and if you have older children, they can even join in on the painting and gilding process!

How will you be celebrating the return of Cuties season? Share your ideas for brightening someone’s day in the comments below!

This is a sponsored conversation written by me on behalf of Cuties. All content and opinions are my own. Brighten someone’s day and share the sweetness of the season by sharing Cuties with friends and loved ones during our #100DaysofSunshine!

Photo Credits: Nole Garey for Oh So Beautiful Paper
Understated and Elegant Cream and Gold Wedding Invitations

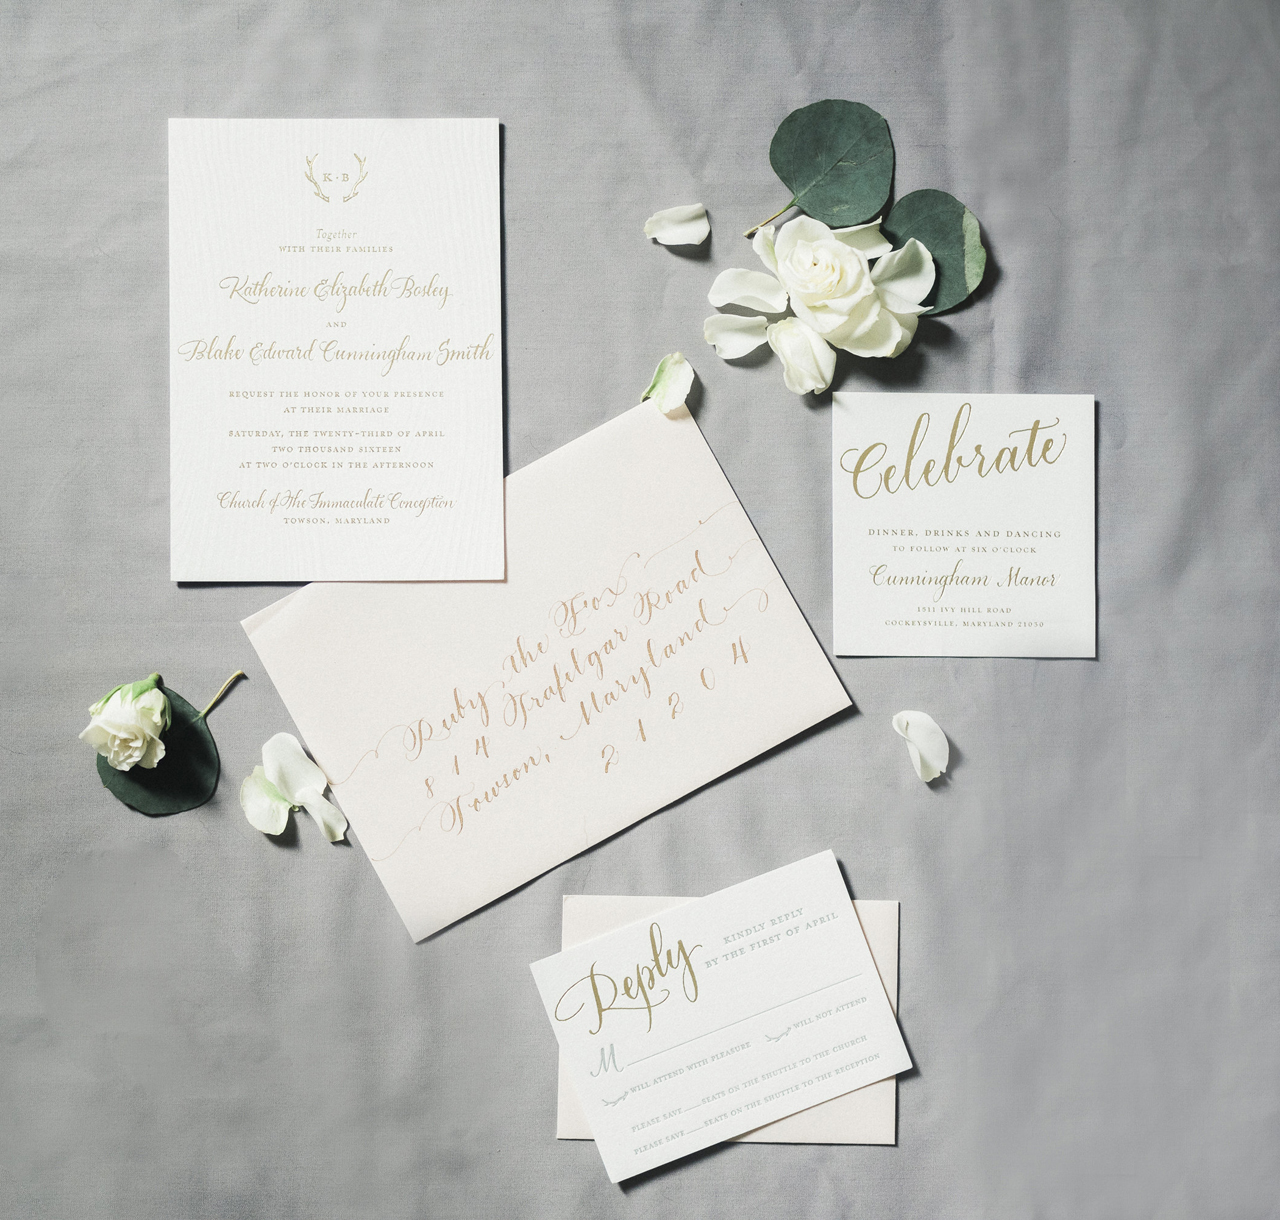
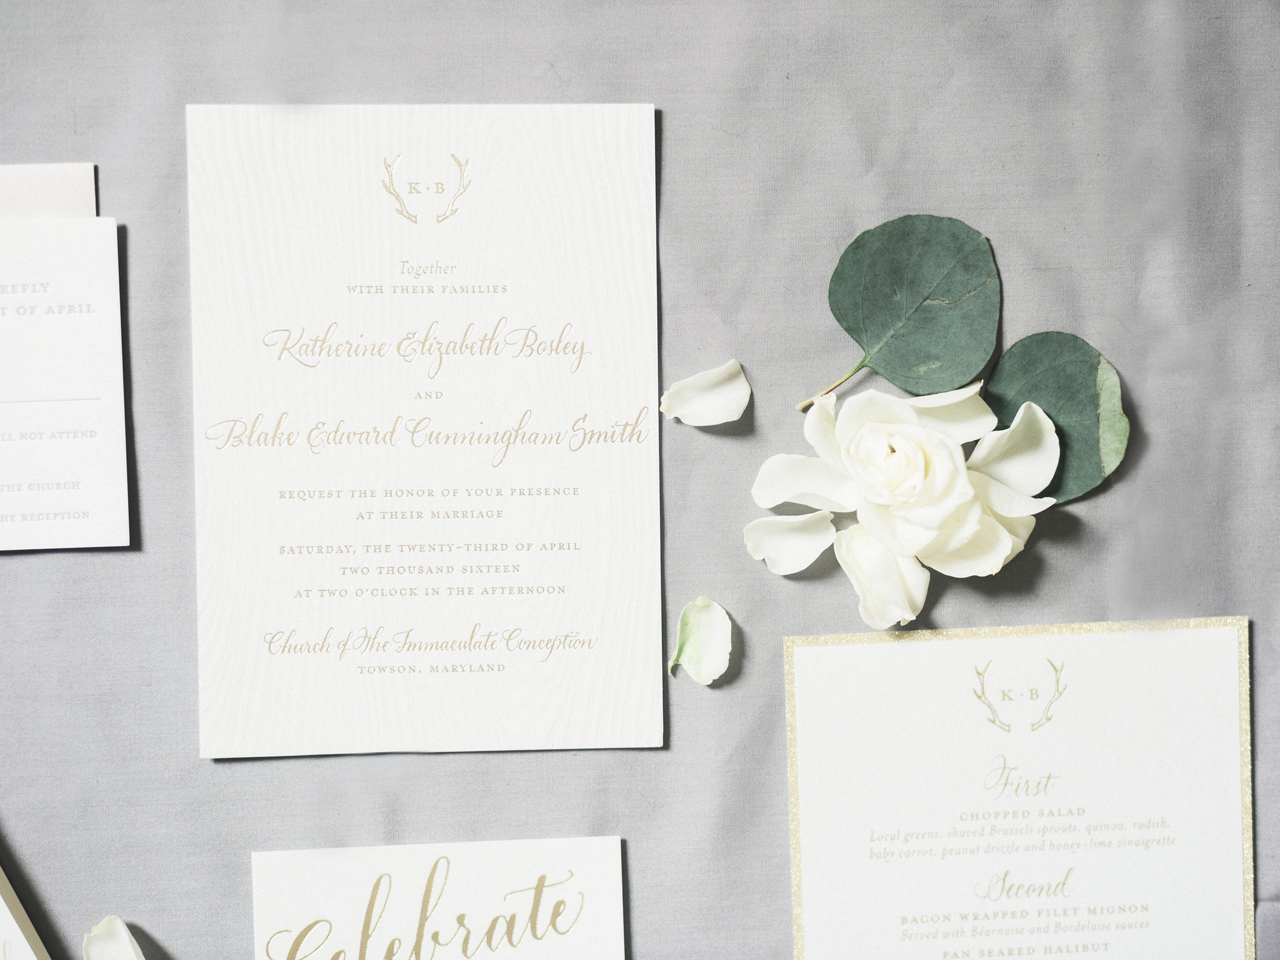
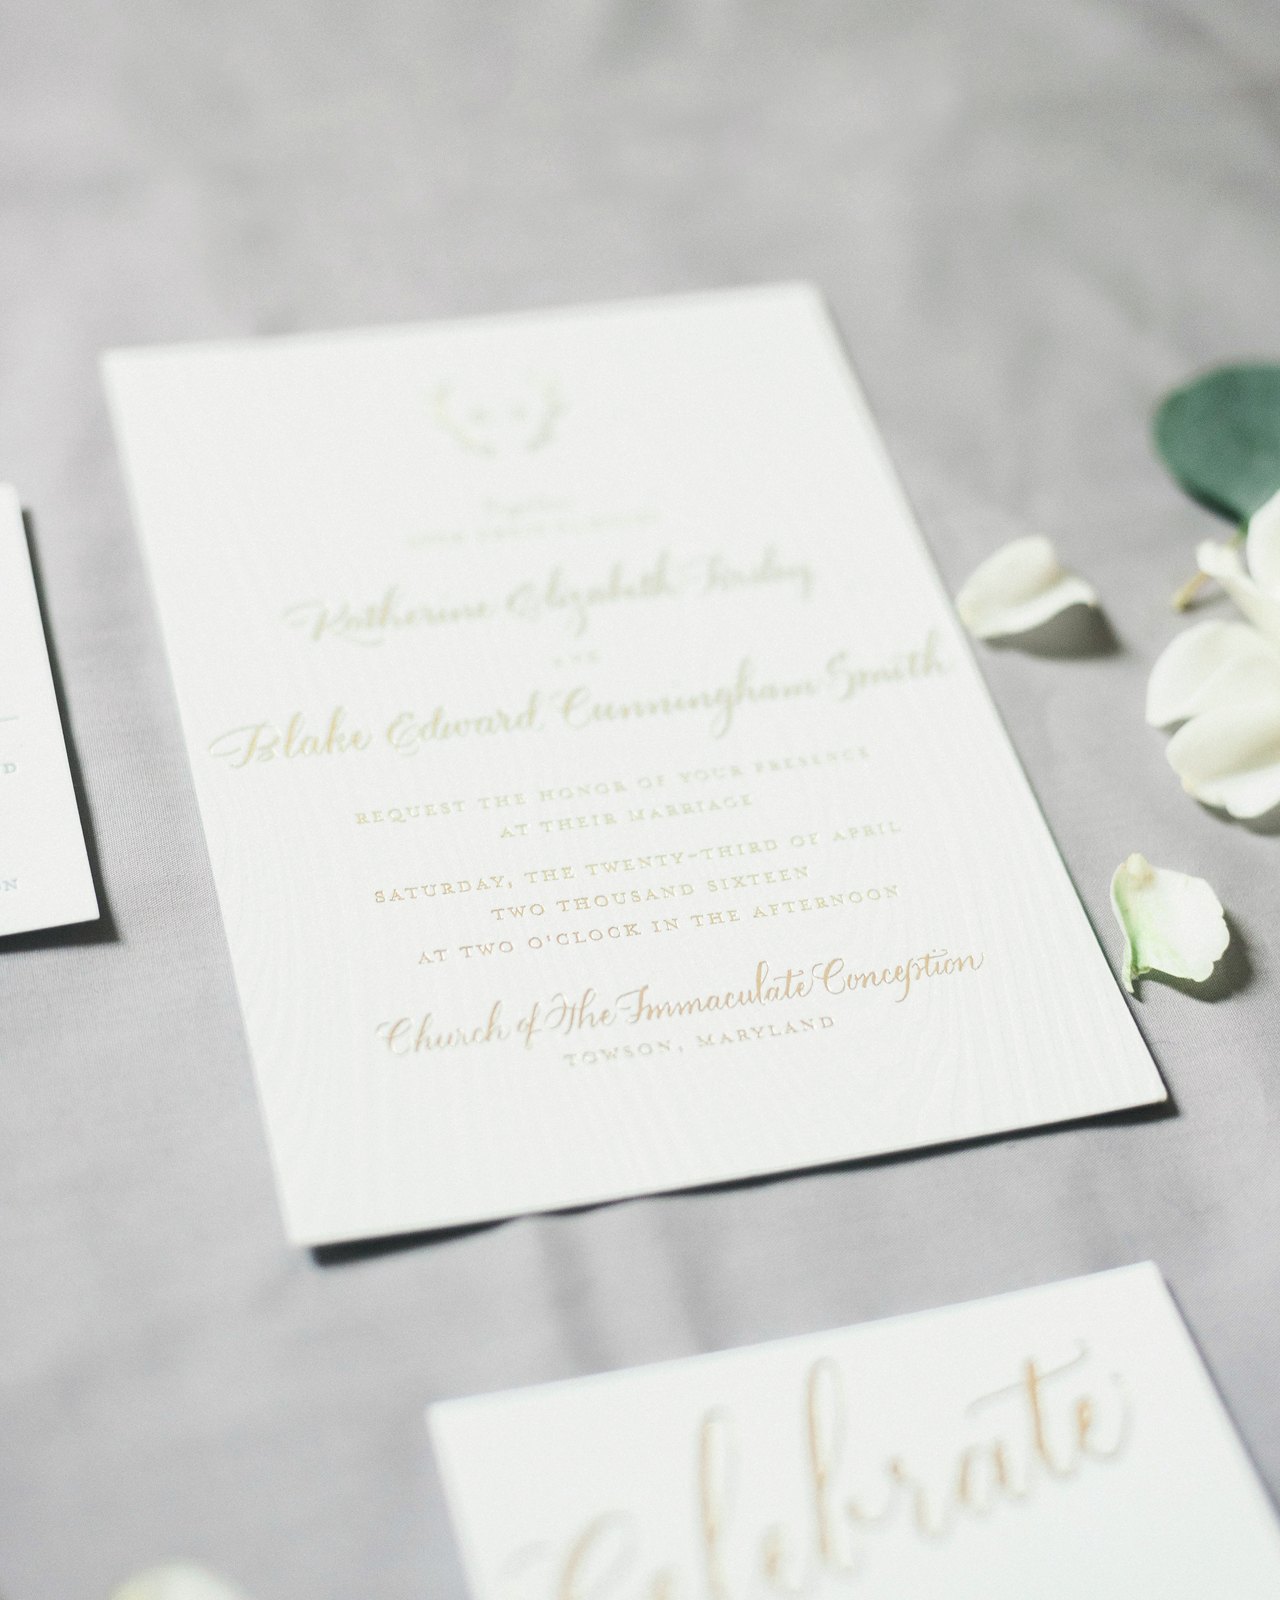
These elegant cream and gold wedding invitations by Megan of Ruby the Fox combine woodsy details with feminine glamour – all inspired by the wedding venue on the groom’s family farm in Maryland! A letterpress-printed woodgrain pattern, gold foil text, gold glitter envelope liners, and delicate calligraphy are just a few of the special touches in this invitation suite.

Elegant Cream and Gold Wedding Invitations by Ruby the Fox

From Megan: When Kate, the bride-to-be, reached out to me to design custom wedding invitations and day-of paper accessories for her Baltimore wedding, I knew it would be a treat. I love working closely with couples on bespoke paper suites that truly reflect their personalities and the look and feel of their wedding day! Both the bride and groom are from Maryland, and they got married at the groom’s family farm.

Elegant Cream and Gold Wedding Invitations by Ruby the Fox

Elegant Cream and Gold Wedding Invitations by Ruby the Fox

Kate knew she wanted something feminine and elegant but felt strongly about bringing in a “woodsy” element to keep in mind in her fiancé’s interests. To combine those two looks, we went with a blind faux bois pattern printed on double-thick soft white cotton paper on the main invitation as well as a gold foil printed logo featuring antlers and the couple’s initials! The rest of the elements were printed on 110lb cotton paper with a combination of dove gray letterpress and gold foil. The result was super luxe and beautifully tactile.

Elegant Cream and Gold Wedding Invitations by Ruby the Fox

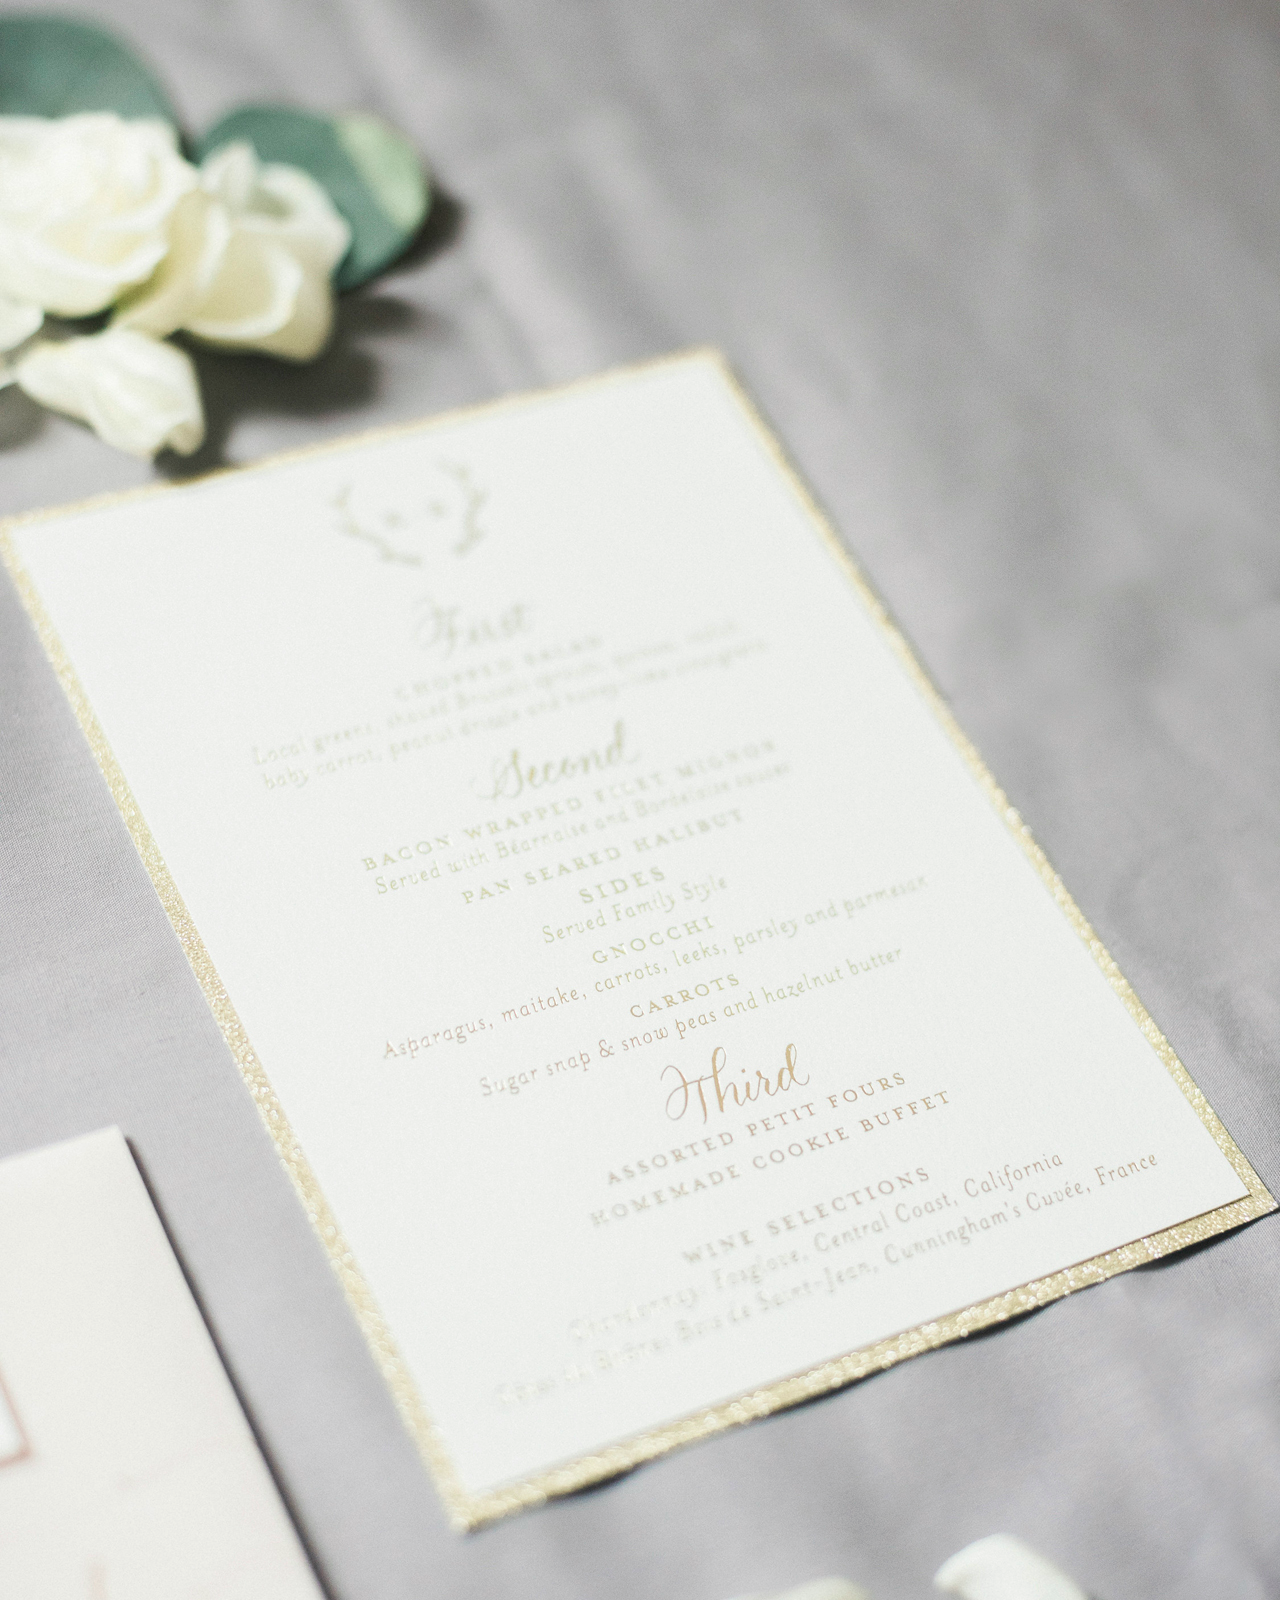
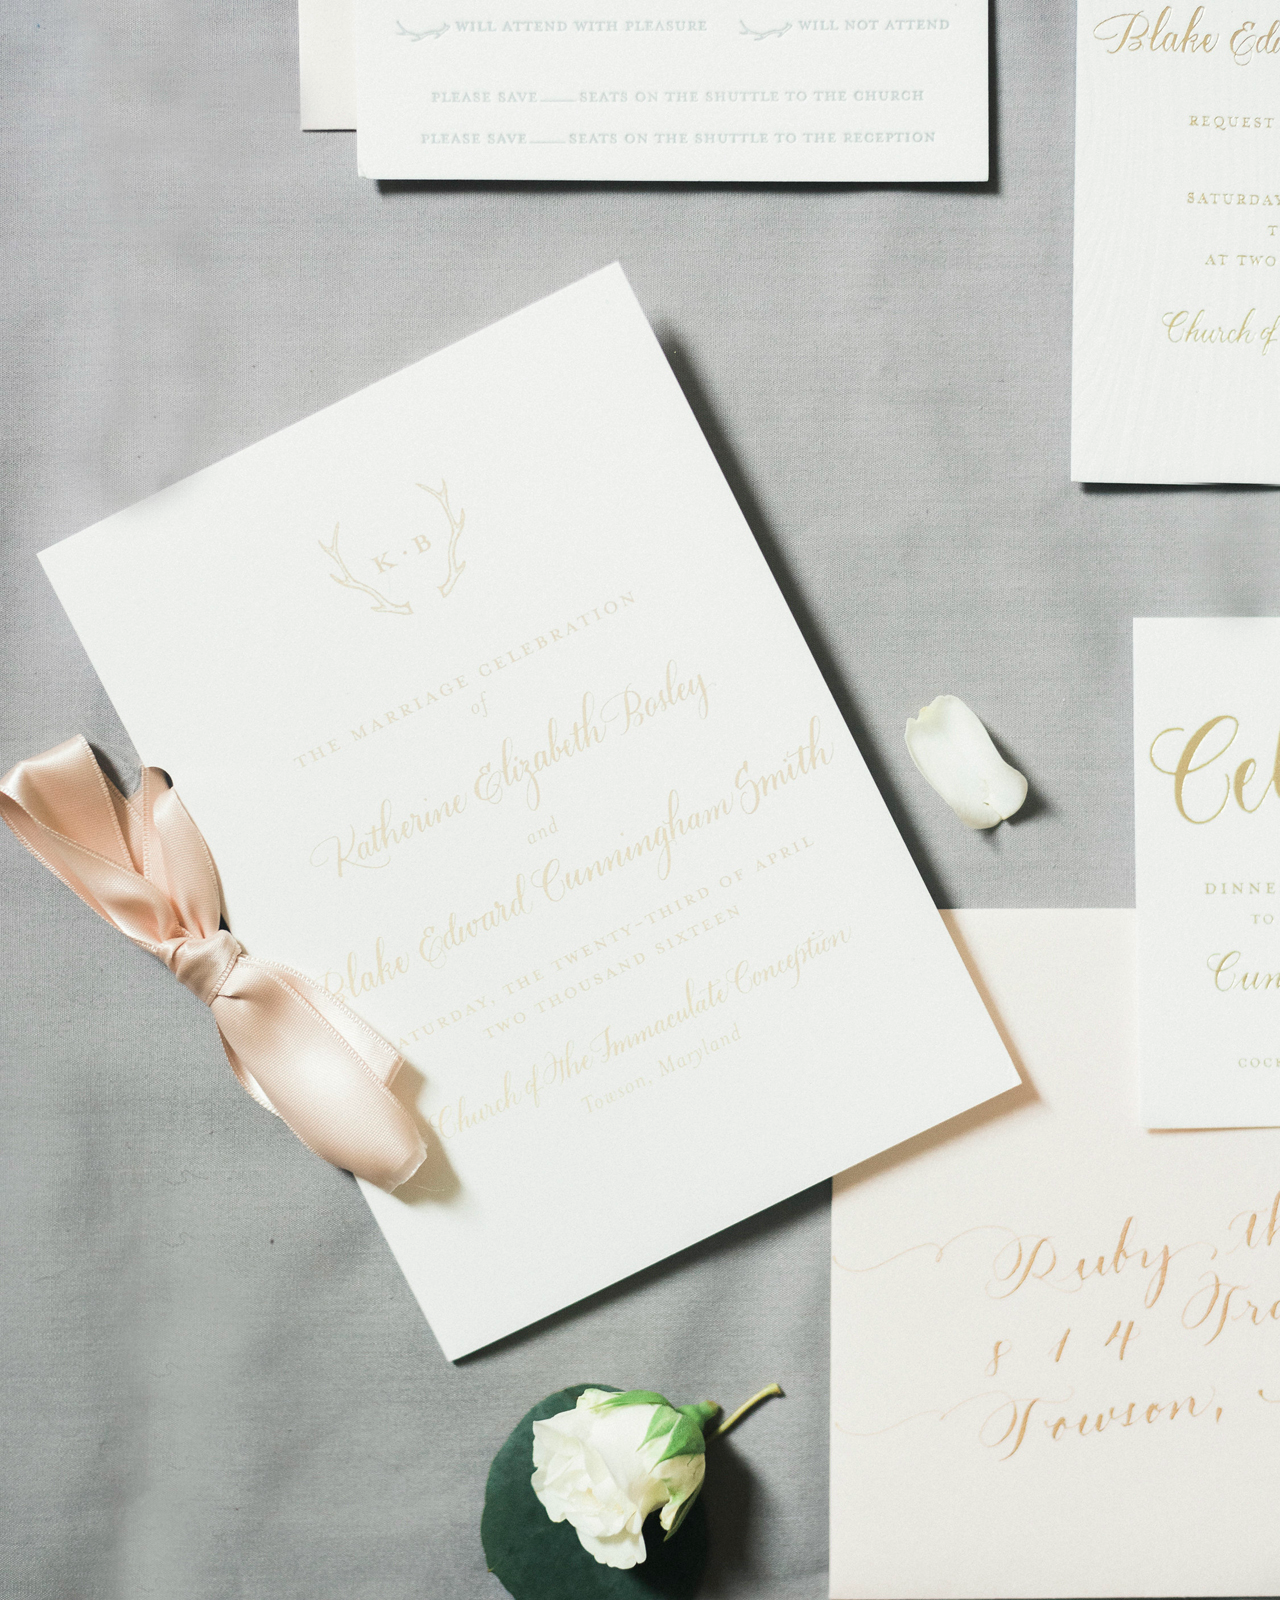
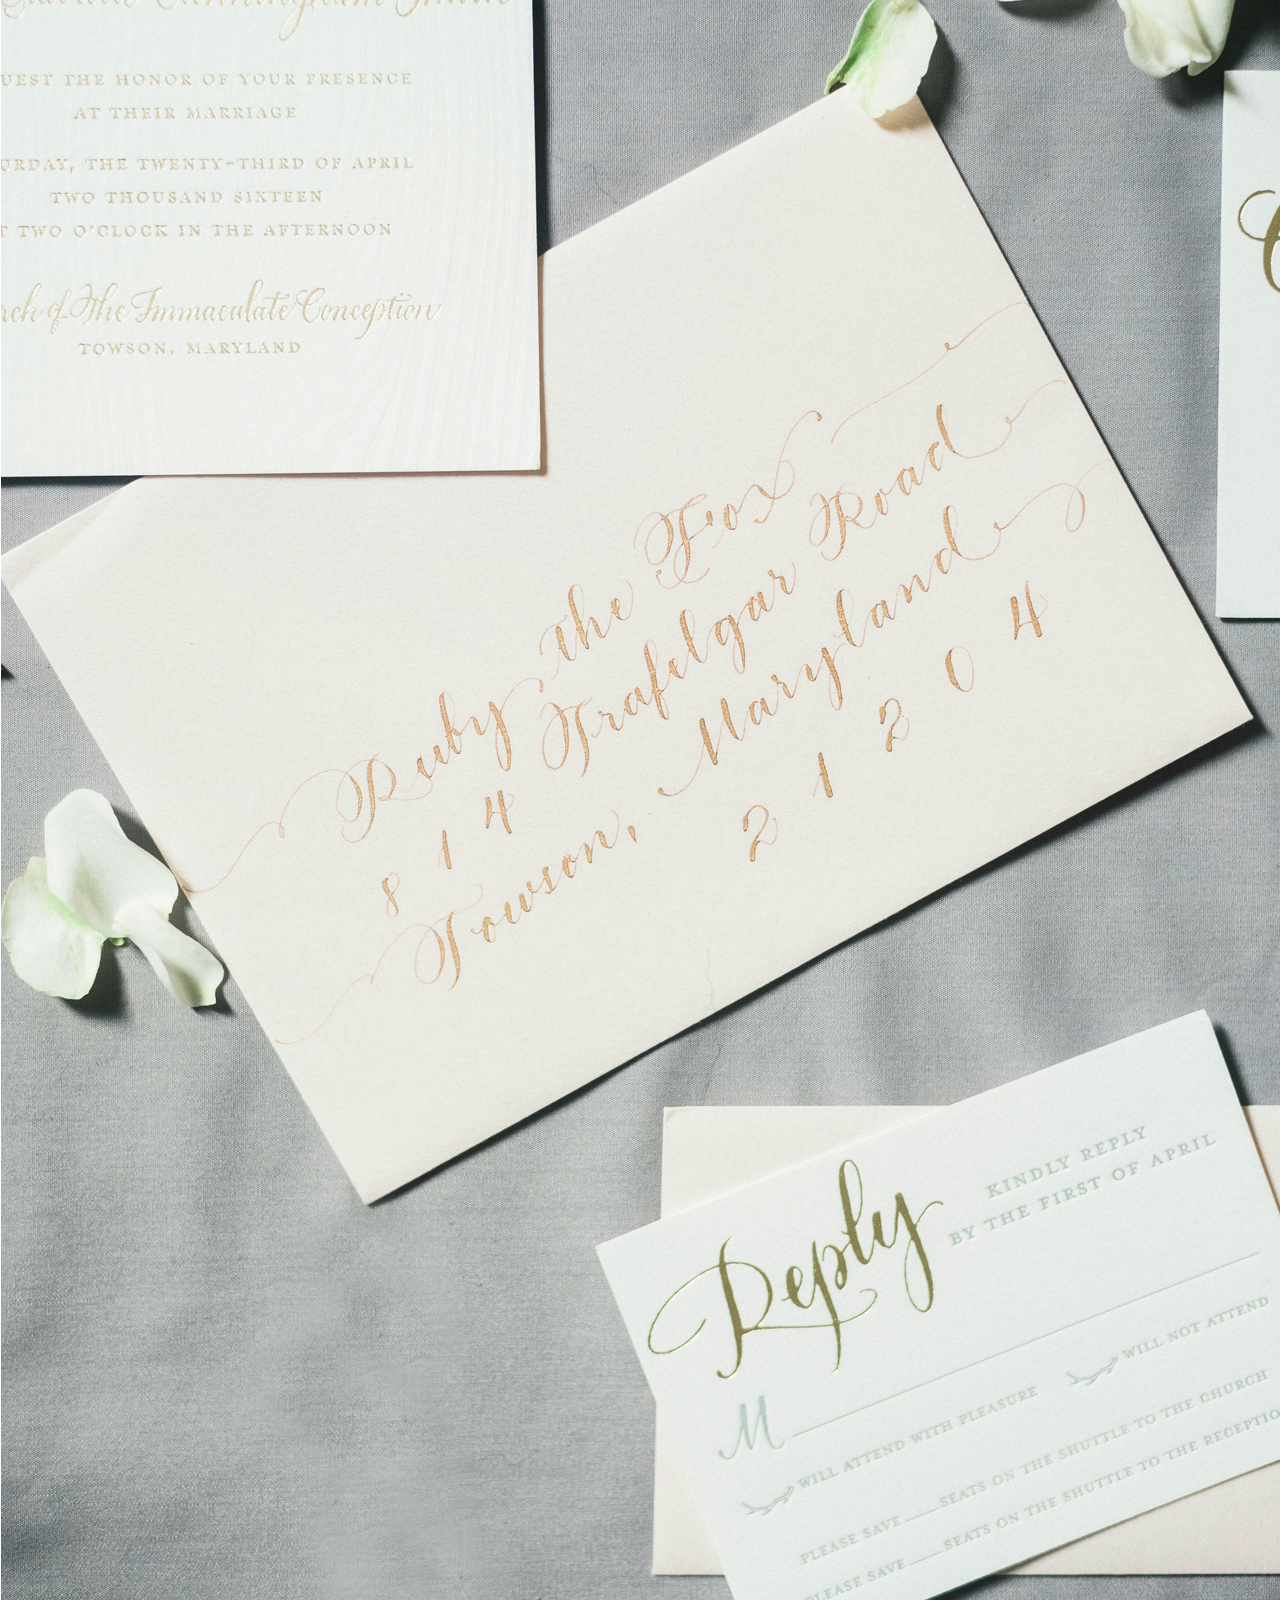
Subtle touches of blush were incorporated through the outer and reply envelopes as well as a satin ribbon on the program. We also brought in custom spot hand calligraphy as well as gold hand calligraphy on the outer envelopes to keep everything super custom. Although the bride was very aware of involving her fiancé and his likes/dislikes, we couldn’t resist using a bit of sparkle (ahem, gold glitter envelope liners and backers for the menus!) to keep things glam. It was the perfect amount of sparkle! We carried the antler logo throughout the entire paper suite which made for a beautiful, cohesive look.

Elegant Cream and Gold Wedding Invitations by Ruby the Fox

The final result was understated, feminine, and organic, which was the perfect combination for the couple’s upscale, chic farm wedding! This suite was so much fun to design and it ended up being one of my favorites from the season.

Elegant Cream and Gold Wedding Invitations by Ruby the Fox

Thanks Megan!

Design: Ruby the Fox
Printing: Copper Willow Paper Studio
Invitation Styling: Caitlin Kruse

Ruby the Fox is a member of the Designer Rolodex – you can see more of their beautiful work right here or visit the real invi­ta­tions gallery for more wedding invitation ideas!

Photo Credits: Krista Jones

DIY Hologram Glitter Dipped Easter Eggs

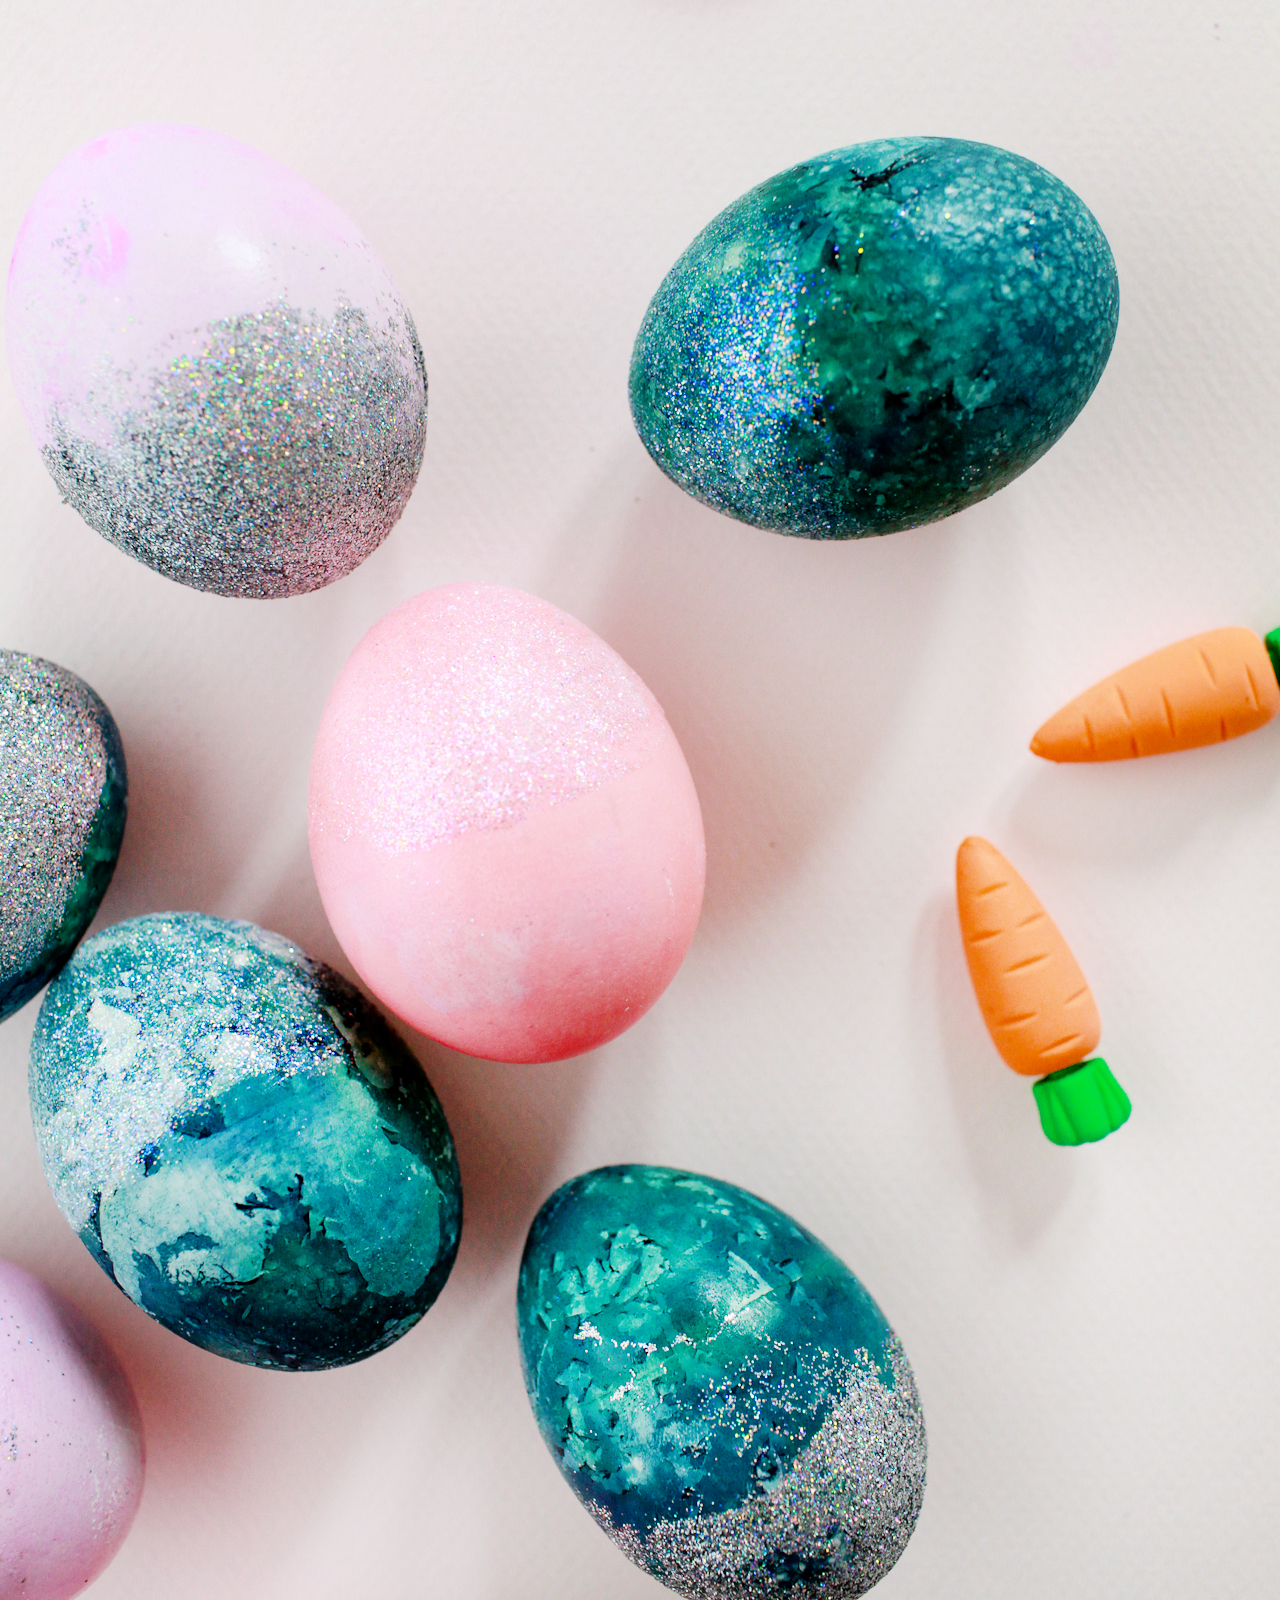
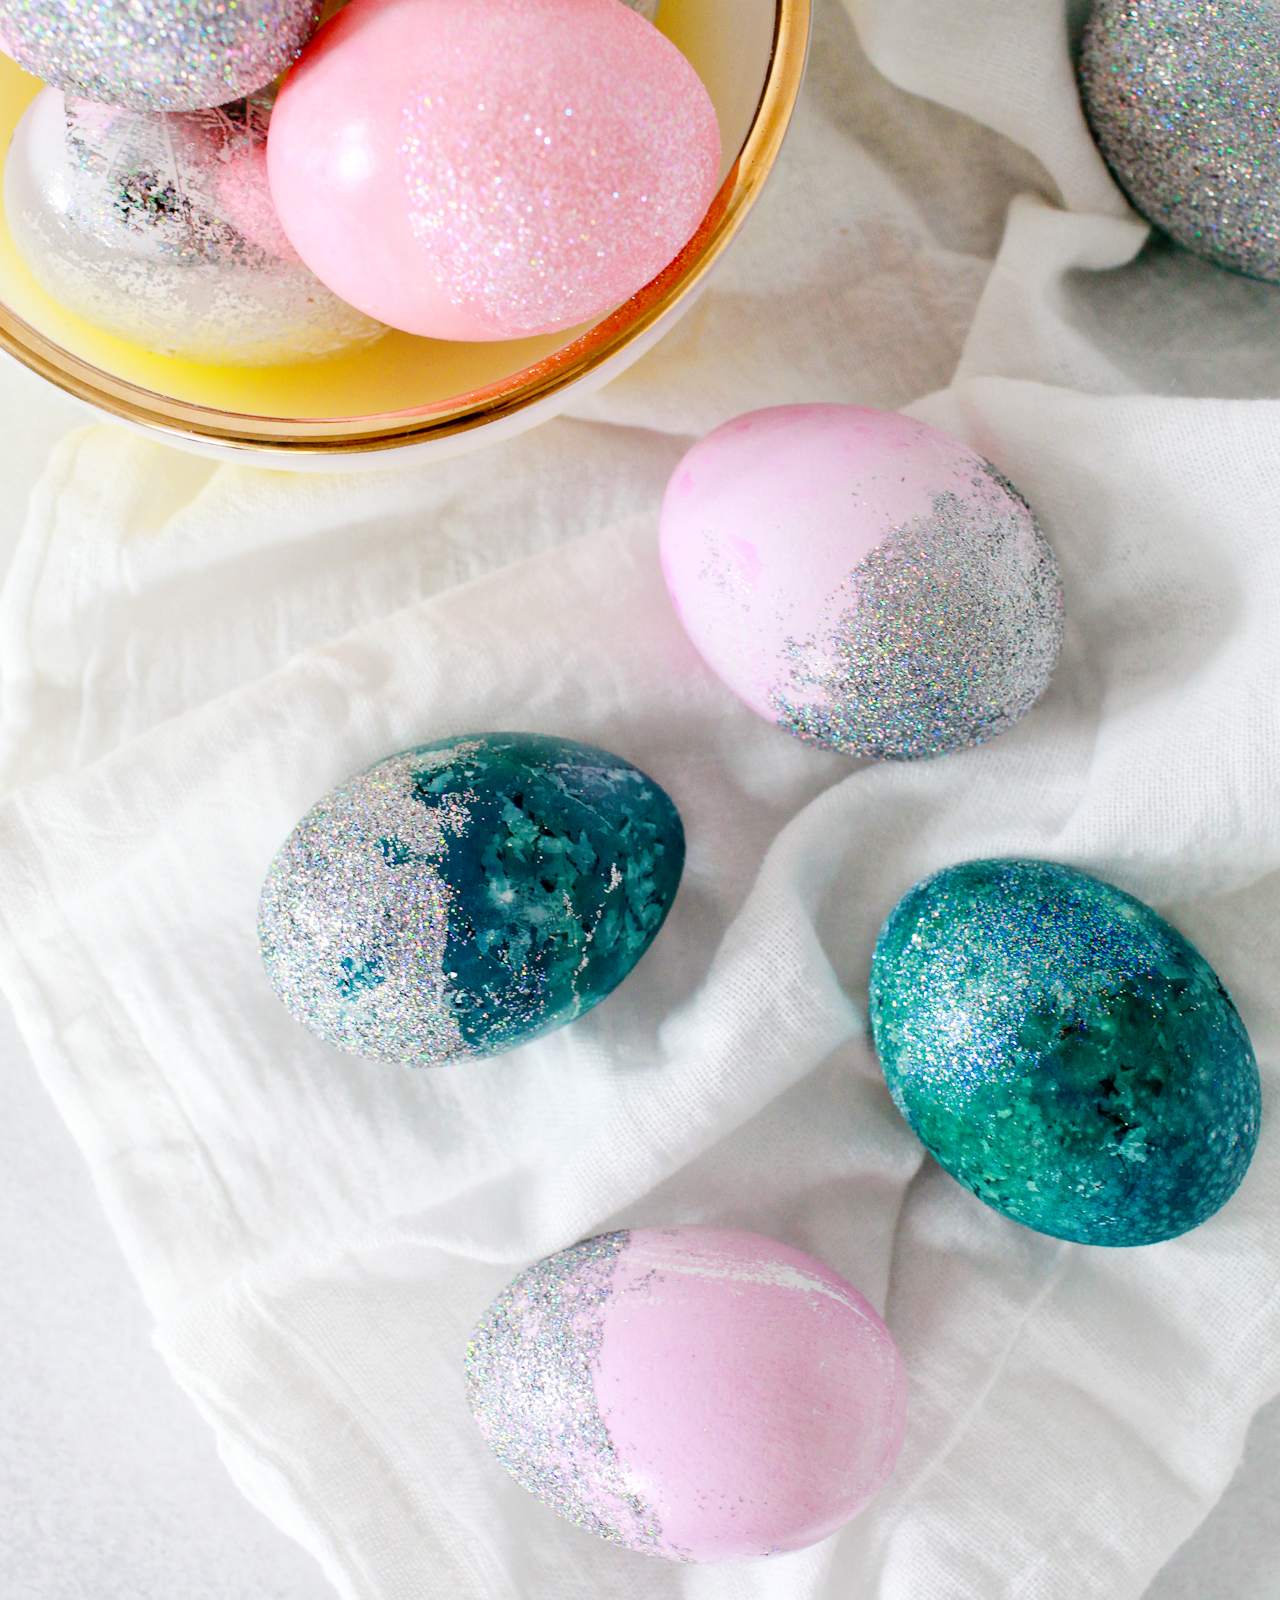
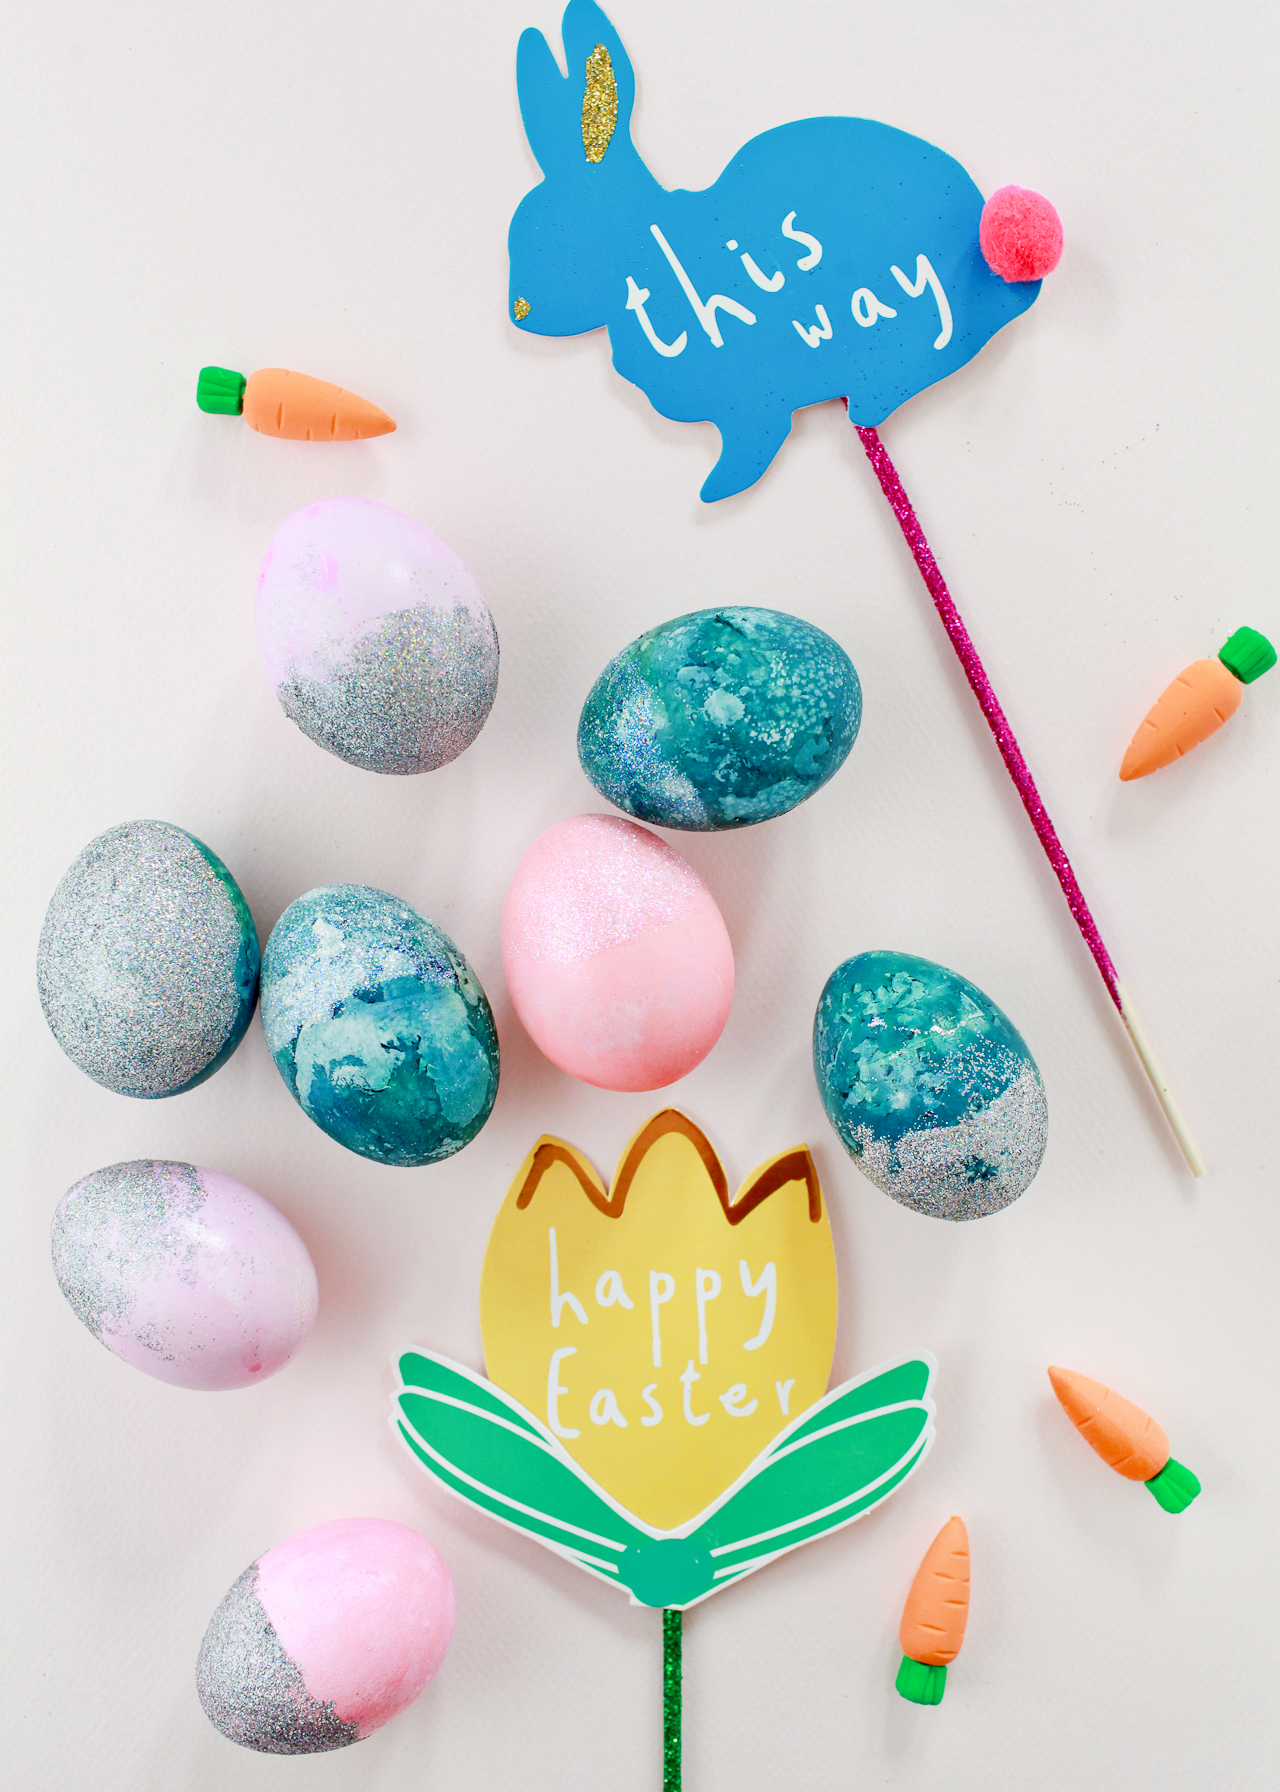
Easter is this weekend! Did it sneak up on you? Or do you already have all of your egg decorating activities planned out? So far this season, I’ve gone all in on my love for all things hologram and sparkly with these DIY marbled hologram galaxy Easter eggs and these DIY hologram foil Easter eggs. This week, I’m sharing a couple of last-minute Easter egg ideas that can easily be pulled off with a quick trip to your local craft store – and today we’re starting with these fun DIY hologram glitter dipped Easter eggs!

DIY Hologram Glitter Dipped Easter Eggs

The general idea behind these hologram glitter dipped eggs is roughly the same as the hologram foil eggs – but a whole lot easier to execute. Only three steps! They’re easy enough to do with tiny decorators, and if your kids love sparkly things as much as mine do, they’re pretty much guaranteed to be a crowd pleaser. Let’s make some!

DIY Hologram Glitter Dipped Easter Eggs

Supplies

Pre-dyed hardboiled eggs or faux eggs

Hologram glitter and iridescent glitter

Mod Podge or school glue

Paint brush

Non-aerosol Hairspray (optional)

DIY Hologram Glitter Dipped Easter Eggs

To make the DIY hologram glitter dipped Easter eggs:

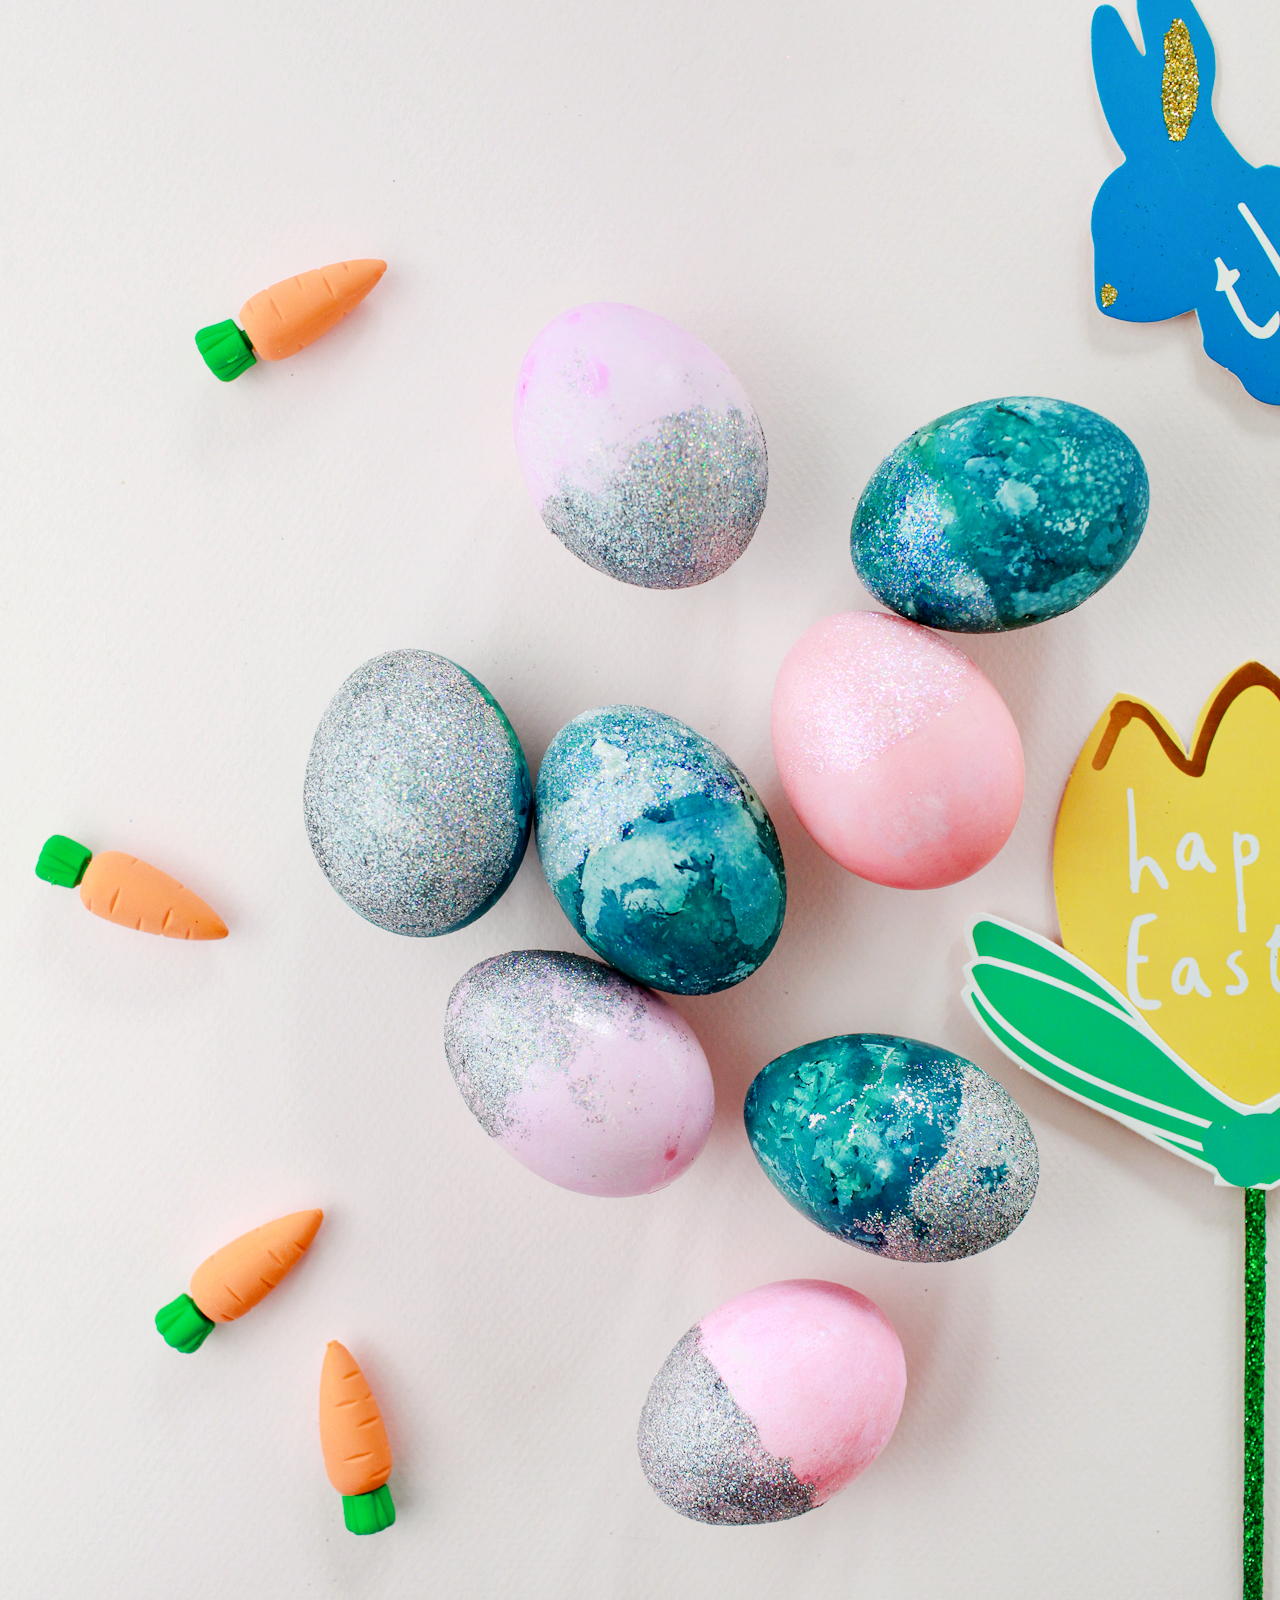
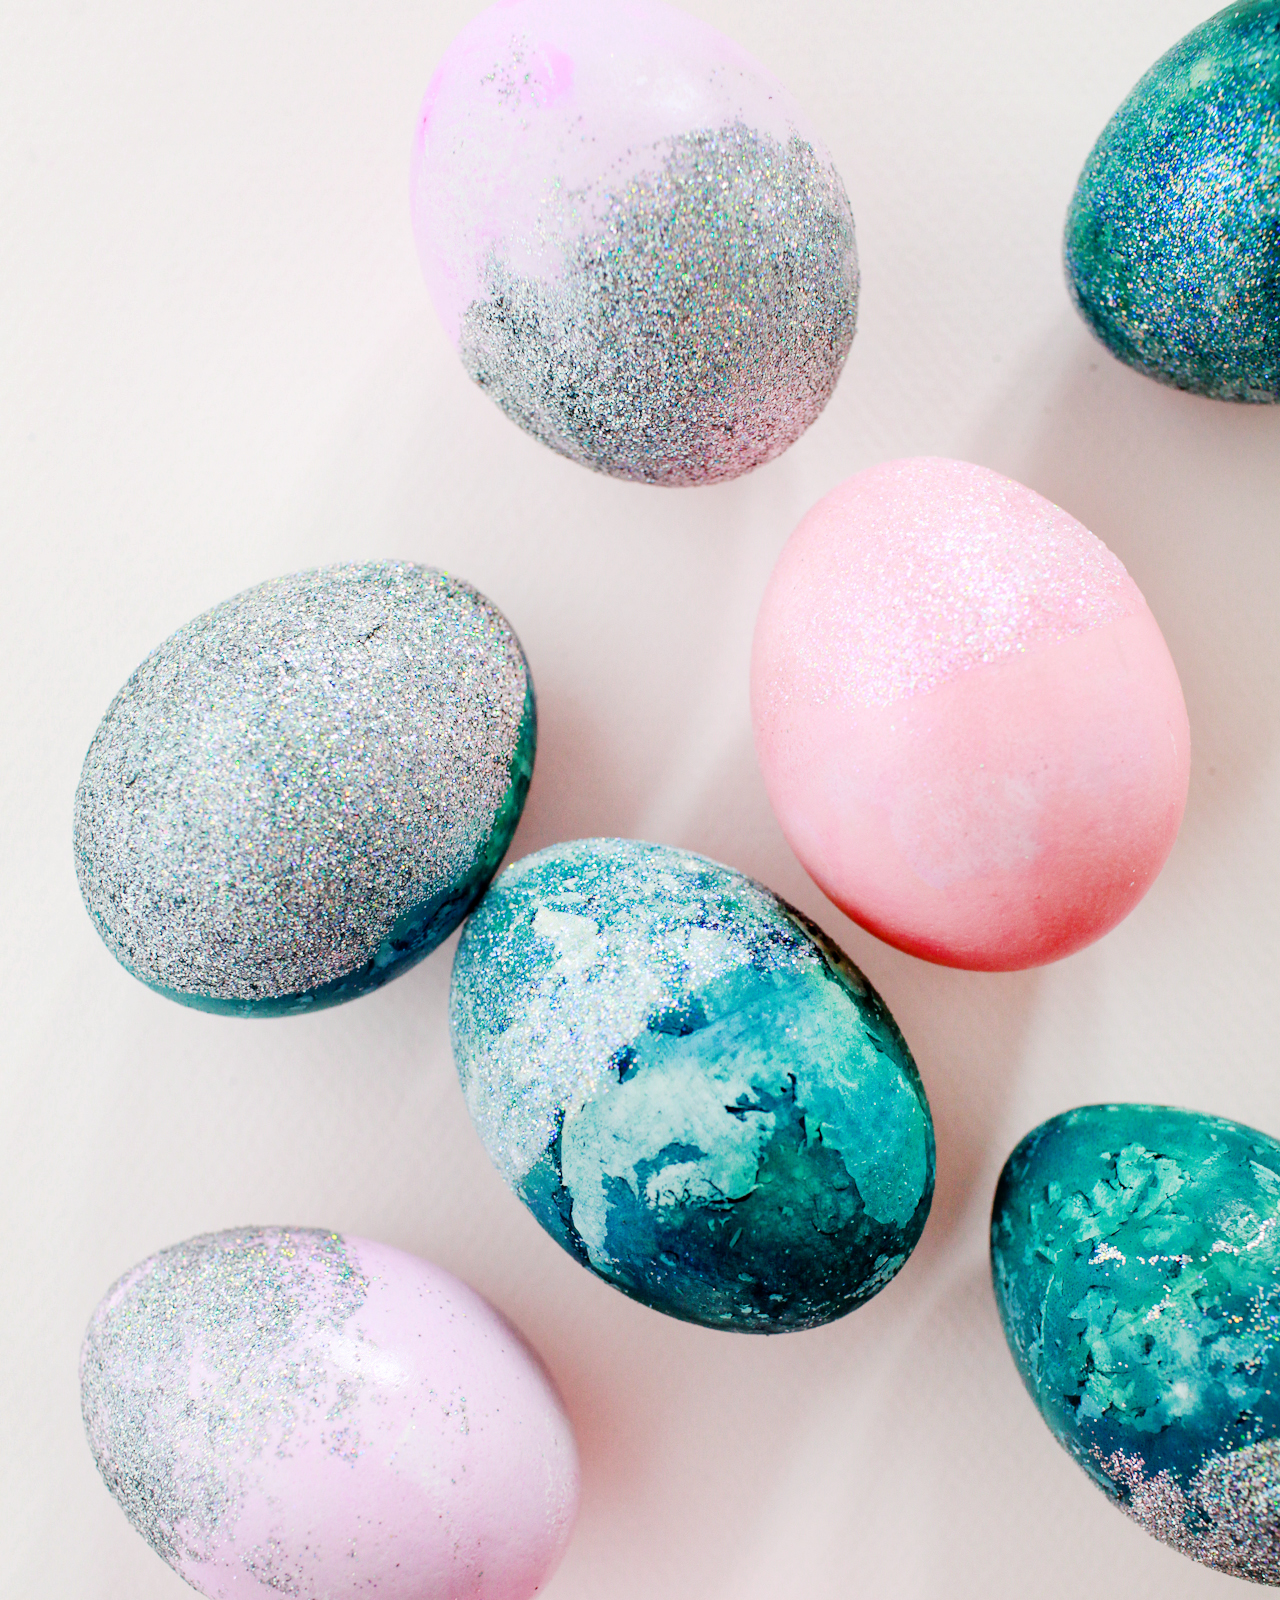
Step 1. If you’re using hard boiled eggs, start by dyeing your eggs in your chosen color palette. I used a mix of deep blue, light pink, and lavender hard boiled eggs. The deep blue eggs were naturally dyed with red cabbage (I like this tutorial for cabbage dyed eggs) and left in the dye bath for several hours to achieve that deep blue hue. The lavender and pink eggs were dyed with liquid food coloring. Allow the eggs to dry completely.

Step 2. Pour some of the glitter into a small bowl or paper plate. Paint a layer of Mod Podge or glue onto one half of an egg. Holding the egg by the opposite end, roll the glue-covered portion of the egg in the glitter until you’re satisfied with the amount of coverage. Set the egg onto a drying rack or sheet of wax paper and allow it to dry completely. Repeat this process for each egg.
Step 3. Once all the eggs are covered in glitter and fully dry, take them outside and spray them with non-aerosol hair spray to seal the glitter on the egg. Revel in your ability to touch the glitter dipped egg without getting glitter everywhere. Yay!
DIY Hologram Glitter Dipped Easter Eggs

DIY Hologram Glitter Dipped Easter Eggs

I used a food safe hologram and iridescent glitter to make my eggs, but if you’re not worried about using a food safe version you can easily find hologram glitter at Michael’s and other craft stores. And if you’re worried about getting glitter everywhere making these eggs, don’t be! Seriously, hair spray is like magic when it comes to sealing microscopic pieces of glitter without compromising the sparkle factor. Just give the entire glitter-covered area a nice coat of hair spray and everything will stay put. I picked up the cheapest bottle of non-aerosol hairspray that I could find at my local grocery store and it worked like a charm!

DIY Hologram Glitter Dipped Easter Eggs

DIY Hologram Glitter Dipped Easter Eggs

Just look at all that sparkle! The iridescent glitter is translucent, which creates a really beautiful tone-on-tone glitter effect with dyed eggs. But I still just can’t get over those rainbow sparkles from the hologram glitter. So pretty!

Photos by Nole Garey for Oh So Beautiful Paper