Best of 2011: Illustrated Wedding Invitations

Before we head off for the weekend and to count down the final hours of the year, I have one final collection of favorite posts from 2011 to share – illustrated wedding invitations!   I absolutely love it when designers incorporate line drawings and illustrations into custom wedding invitations.  Each invitation suite is like a little work of art!  Here are a few of my favorite illustrated wedding invitations from the past year:


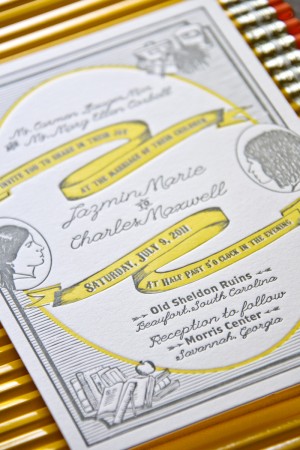
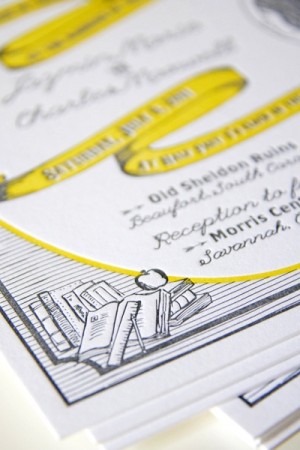
Charles + Jazmin’s illustrated wedding invitations by Belle & Union feature illustrated versions of their silhouettes along with details representing their respective passions – all in a beautiful yellow and gray color palette.

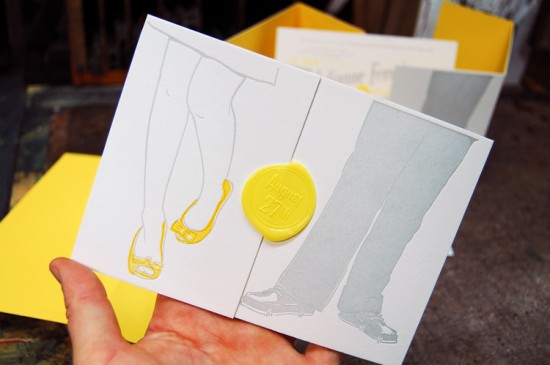
Julianne + Philip’s illustrated letterpress invitations from Mama’s Sauce featured joyful illustrations of the couple’s dancing shoes along with wax seals and beautiful edge painting


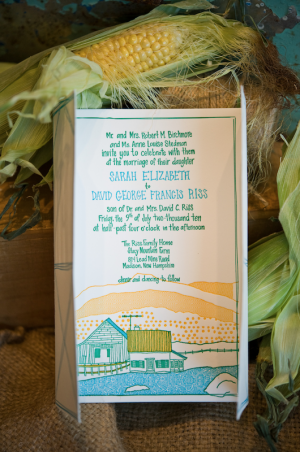
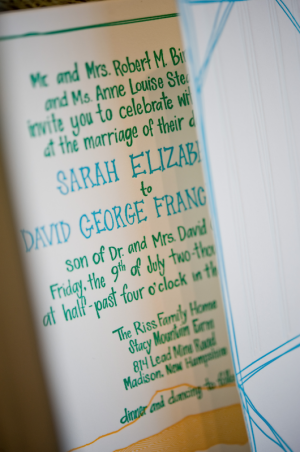
Elizabeth + David’s farmhouse wedding invitations from Gus & Ruby Letterpress feature hand lettering paired with beautiful illustrations from Nate Duval.  Gorgeous!

Gus & Ruby Letterpress is a member of the Designer Rolodex – check out more of their beautiful work right here!

Photo Credits: Elk Photo for Low Country Press; Mama’s Sauce; Brea McDonald for Gus & Ruby Letterpress

Arley-Rose + Morgan’s Neon Wedding Invitations

Happy Monday everyone!  And my oh my, do I love today’s wedding invitations.  The ladies of Ladyfingers Letterpress, Arley-Rose and Morgan, created these invitations for their Massachusetts farm wedding this past September.  They both have design school backgrounds and lots of experience designing and printing custom wedding invitations, so they knew they wanted to create something totally unique for their own wedding.  They ended up creating a fantastic poster-size invitation with exuberant hand lettering and neon ink.  So awesome!

From Arley-Rose and Morgan: At Ladyfingers Letterpress, we had been doing a lot of A7-size invitations for other couples.  We knew we wanted to break out of the box on many levels – including size – for the invitations, so we explored the idea of creating a poster.  After months of sketching and experimenting, we finally arrived at a colorful text-based drawing as the invitation.
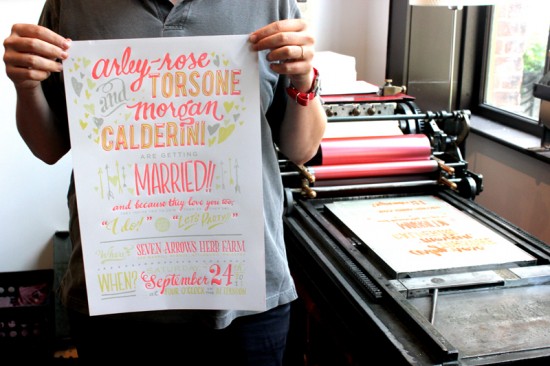
A friend of ours showed us a really neat glow-in-the-dark silkscreen poster, and as soon as we saw it we knew we had to have some glow-in-the-dark element to our invitations.  The large, 11 x 17″ poster was printed in three color offset and one color letterpress (fluorescent red!) on text-weight 32lb Lettra in fluorescent white and folded down in quarters to fit in a gray A9 envelope.

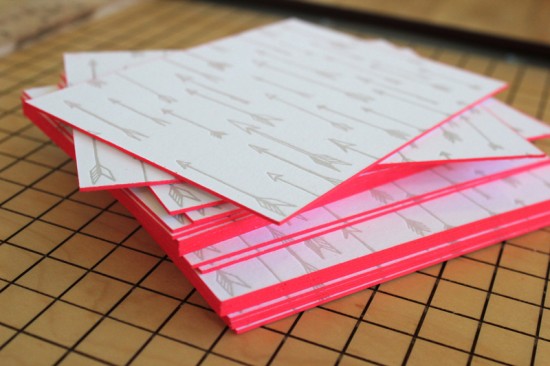
The location of our wedding was called Seven Arrows Herb Farm, so we incorporated these hand-drawn arrows throughout the design.  We created a pattern out of them and printed them on the backs of our RSVP and “Backyard Soiree” (aka rehearsal dinner) cards that were printed on thick 220lb Lettra and edge painted in fluorescent pink.  We also used the arrow pattern to create a one-color envelope liner.
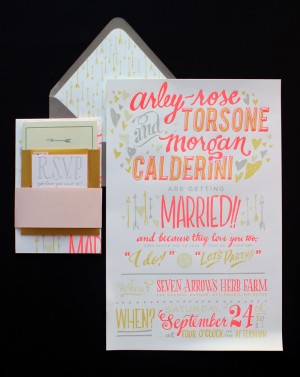
 

We created a booklet called “Interesting Bits of Knowledge” that included info regarding accommodations, attire, and one small yet important notice regarding an allergy of our wedding officiant.  This booklet enclosed our Soiree card and fit inside a gold enclosure with two pockets that we designed and die cut.  Our RSVP and return envelope fit inside the other golden enclosure pocket.

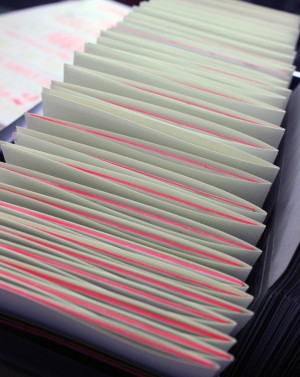
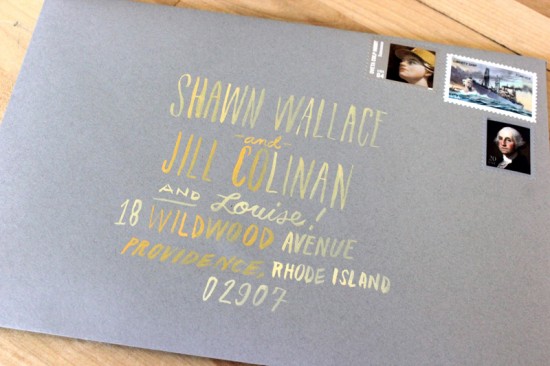
We didn’t have a giant mulit-tiered wedding cake, but in some ways, we did. It was called our invitation: The folded invite was stacked with the filled-up golden enclosure and wrapped with a pink plastic-like belly band and stuffed into our lined envelopes.  Arley hand-painted the addresses on the front with gold and white guache and the envelopes were sealed and taken over to the post office!
Thanks Arley and Morgan!  Check out their wedding over on their blog Ladies in Love – and check out more of their beautiful letterpress work right here!

Check out the Designer Rolodex for more tal­ented wed­ding invi­ta­tion design­ers and the real invi­ta­tions gallery for more wedding invitation ideas!

Photo Credits: Ladyfingers Letterpress, with many thanks to Carrie for sending over the link.

{happy weekend!}

Happy Friday everyone!  This week was a lot of fun, from a date night with my husband to hanging out with Kyle from Power + Light Press in her Moveable Type Truck last night!  You might remember Kyle’s letterpress kickstarter project from last year, and she’s spending a few days in the DC area this week.  So if you want to see what this letterpress business is all about (and try out a couple of presses yourself), you can go visit Kyle near the Dupont Circle metro this afternoon from 4:30 – 7:30 p.m. or go see her in Baltimore this weekend!  For folks outside of the DC area, check out the rest of her tour dates right here.  But in the meantime…

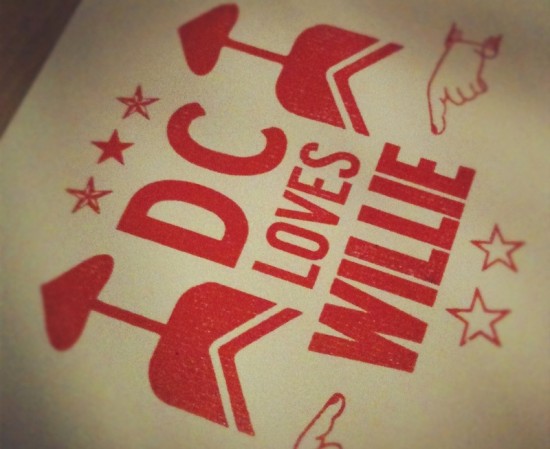
This is the print that I made last night with Kyle.  Willie Nelson was playing a concert across the street.  Ha!

…a few links for your weekend!

This week on Oh So Beautiful Paper:

A big welcome to the newest Designer Rolodex members!

  • Spark
  • The Pressroom & Co.

That’s it for me this week!  We’ve got a fun cocktail recipe coming up a bit later this afternoon – but here’s a hint: it’ll help keep you warm!  I hope you all have a wonderful weekend, and I’ll see you back here on Monday! xoxo

{photo by me}

Inspired By: Neon!

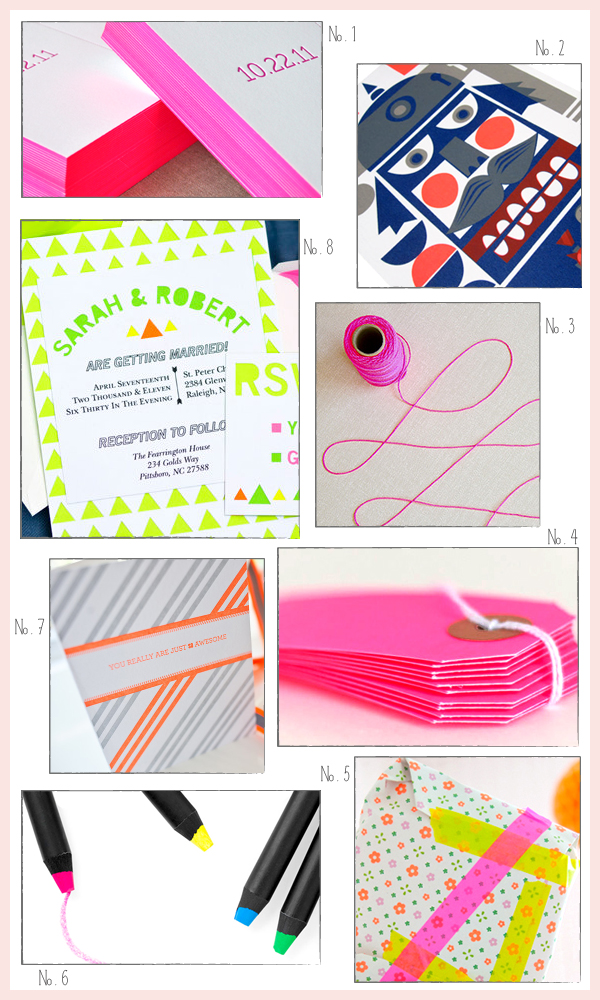
I’ve been in love with the neon design trend since May, when the bright fluorescent colors made a big splash at several exhibitor booths at the National Stationery Show.  More recently, I’ve been pleased to see neon used as accents for wedding invitations, from envelopes (like Jon and Alecia) to edge painting.  So today I thought I’d do a little round up of awesome neon paper goods and accessories!

No. 1 Neon wedding invitation edge painting by Delphine; No. 2 Nutcracker print with orange neon details by Bombina Studios; No. 3 Neon twine (available here in multiple colors) by Angela Hardison via You Are My Fave; No. 4 Gift tags by Knot & Bow (and more from Lox + Savvy here); No. 5 Neon washi tape (also available here) via Minimega; No. 6 Neon crayons from MOMA; No. 7 Neon letterpress greeting cards by Fig. 2 Design Studio; No. 8 Neon papercut wedding invitations by Love Citron

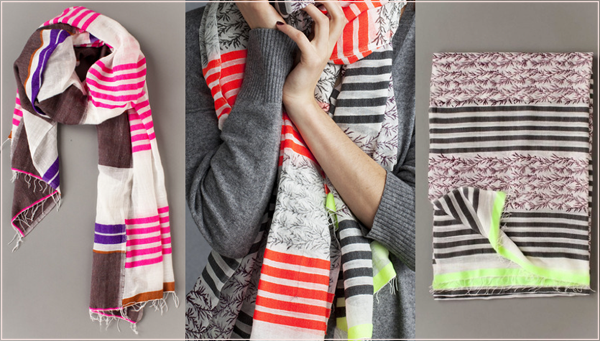
These aren’t made from paper, but I couldn’t resist including these gorgeous scarves with neon details from lemlem.  So, so pretty.

{images via their respective sources}

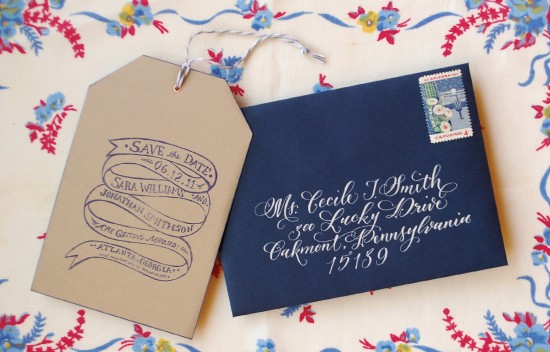
DIY Rubber Stamp Edge Painted Save the Date Tags

It’s the ladies of Anti­quaria, back with another fab­u­lous and cre­ative DIY project for you!  This week they’re here with instructions on how to create a rubber stamp save the date tag!

At Antiquaria, we love everything vintage!!  In this save the date DIY, we were inspired by the look of old luggage and parcel tags.  There is something very lovely and familiar about this tag shape but to have it professionally die cut can be quite costly.  We emphasized the shape with “edge painting” using a very nifty and easy trick!!

DIY Rubber Stamp Edge Painted Save the Dates

DIY Rubber Stamp Edge Painted Save the Dates
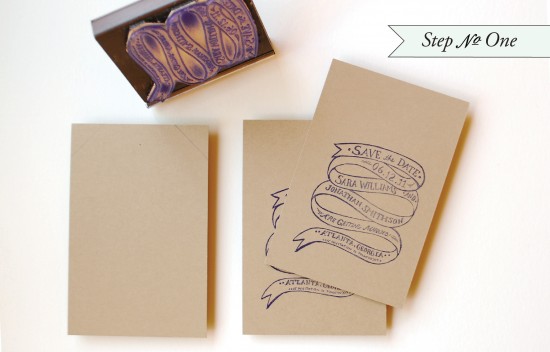
Step One: Cut your kraft paper into a 4.5″x6″ rectangle.  Ink your save the date stamp (we used our “Ribbons and Banners” stamp) with your desired ink and make a print on your paper.  Be sure to press evenly on a hard work surface.  Let the ink dry overnight.

DIY Rubber Stamp Edge Painted Save the Dates

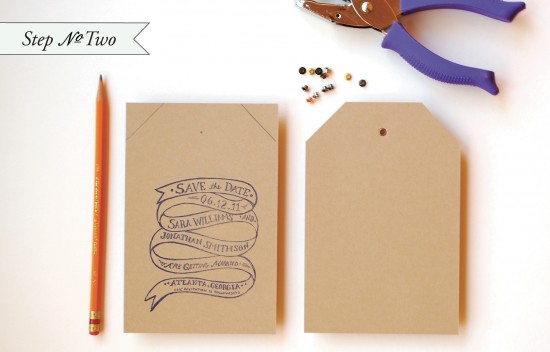
Step Two: Next, draw 1.5″ diagonal lines on the top corners of the save the date.  Also draw a small dot in the center, about 3/4″ from the top.  Once you have your markings in place, cut off the corners with a pair of scissors or an X-Acto knife & ruler.  Punch a 1/8″ hole where you have placed the dot.  Insert a small craft grommet and install using a grommet tool.

DIY Rubber Stamp Edge Painted Save the Dates

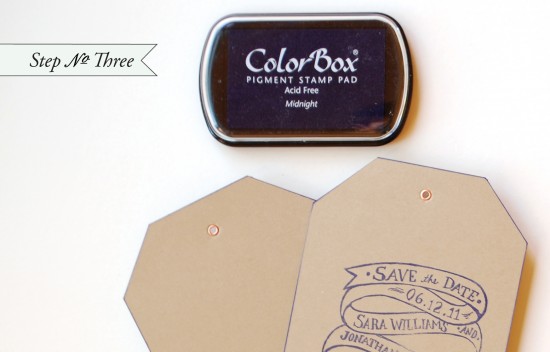
Step Three:  Using the same or a coordinating ink color, drag edges smoothly through the pad to create the “edge painted” effect.  Let dry overnight.

DIY Rubber Stamp Edge Painted Save the Dates

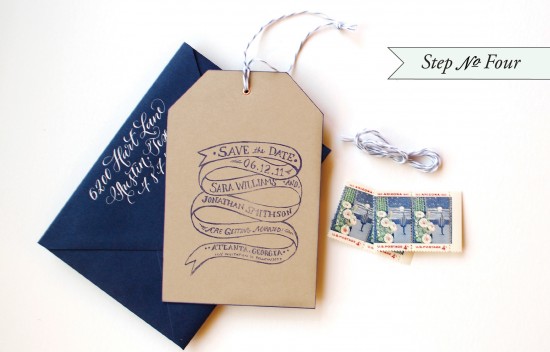
Step Four:  Assemble the save the date. Tie twine or ribbon through the brad and add fun postage and calligraphy to bring it all together!!

Materials:

“Ribbons & Banners” Save the Date Stamp

Kraft Card Stock, cut into 4.5″x6″ rectangles

Stamp Pad (we used navy)

Pencil

Scissors or X-acto & Self Healing Craft Mat

1/8″ Hole Punch

A6 Envelopes

Gray Striped Twine

Photo Credits: Antiquaria