My kids think Easter is the greatest thing ever. They get to decorate eggs, then hunt for them several times over with their friends and cousins, and of course there’s plenty of chocolate involved. Total kid jackpot, right?? Over the years I’ve done some really fun Easter egg projects, from simple marbled Easter eggs (which I’ll be doing with my 3 year-old’s preschool class on Friday!), to DIY illustrated temporary tattoo Easter eggs, to Easter eggs dipped in hologram glitter, to DIY galaxy Easter eggs. But I realized that I’ve never done anything specifically for plastic Easter eggs – the kind that split in half so you can hide something inside. Let’s fix that today with these DIY Matisse-inspired Easter eggs!

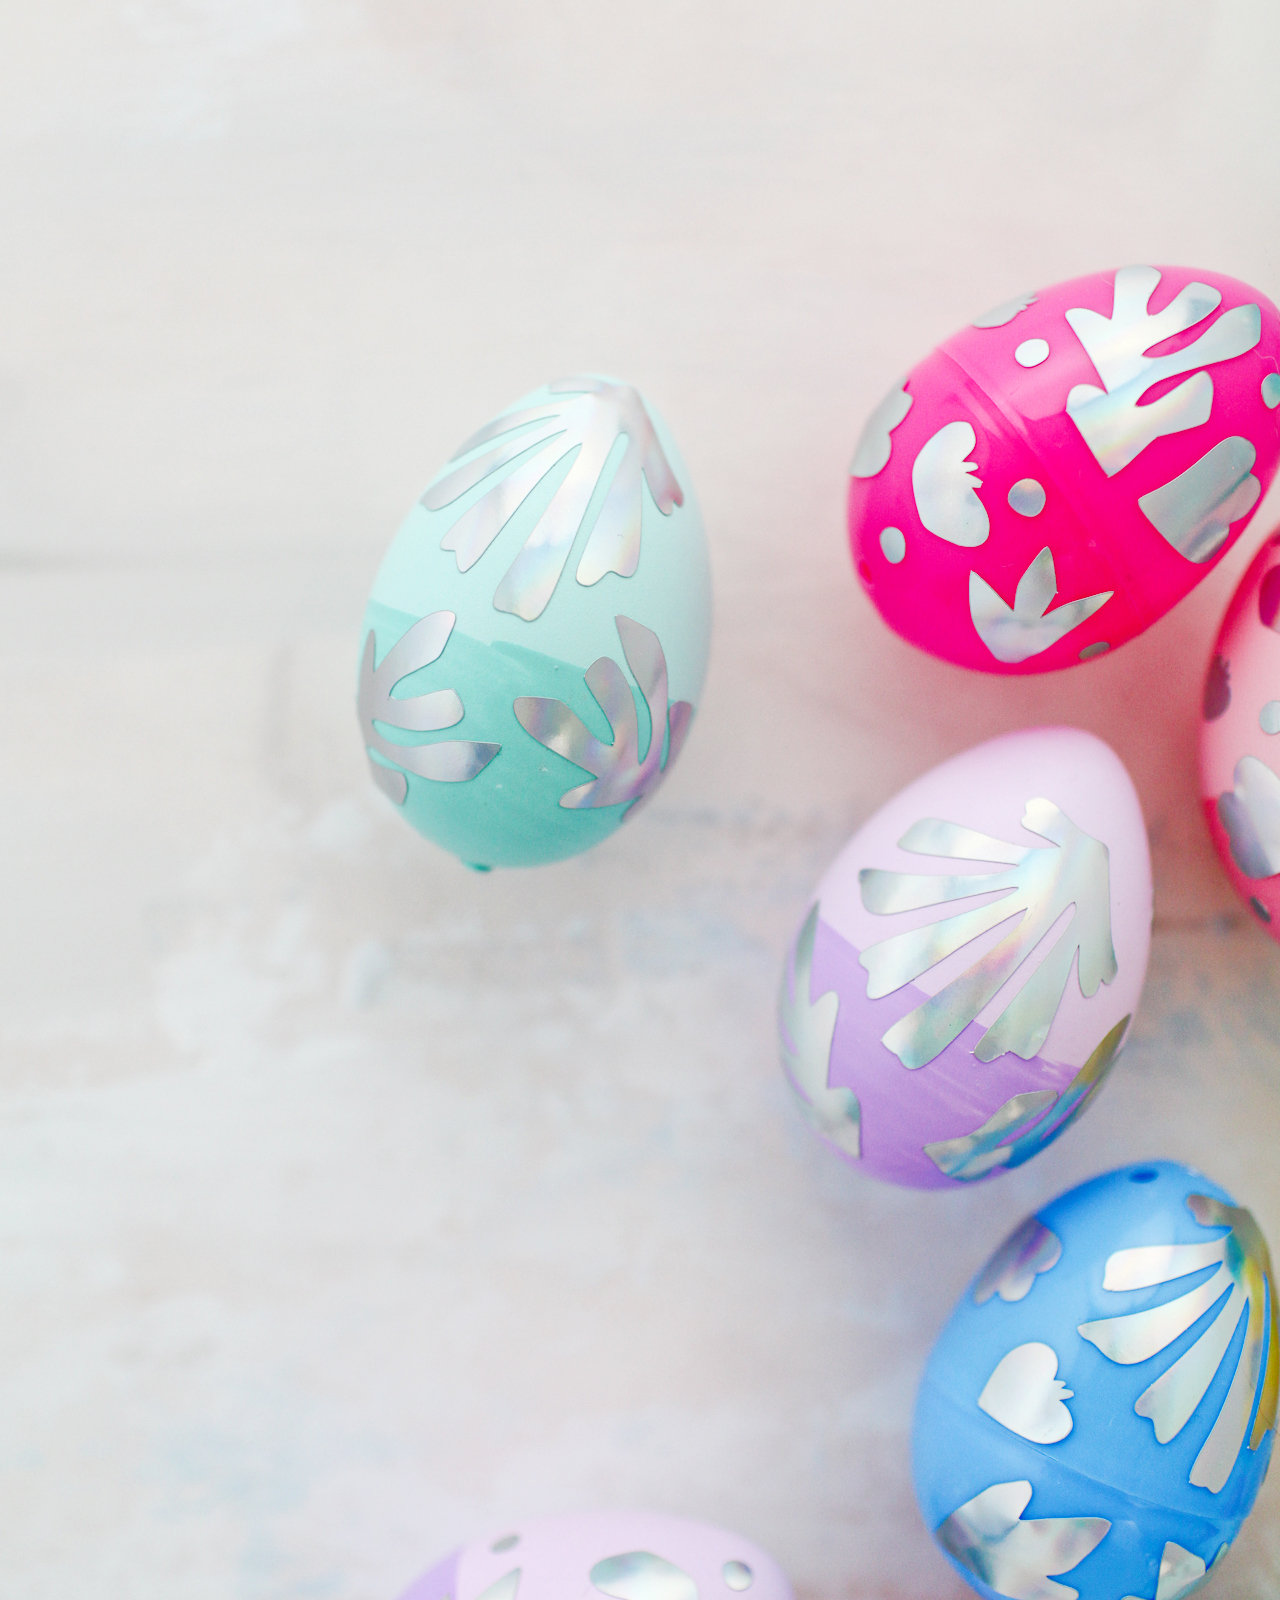
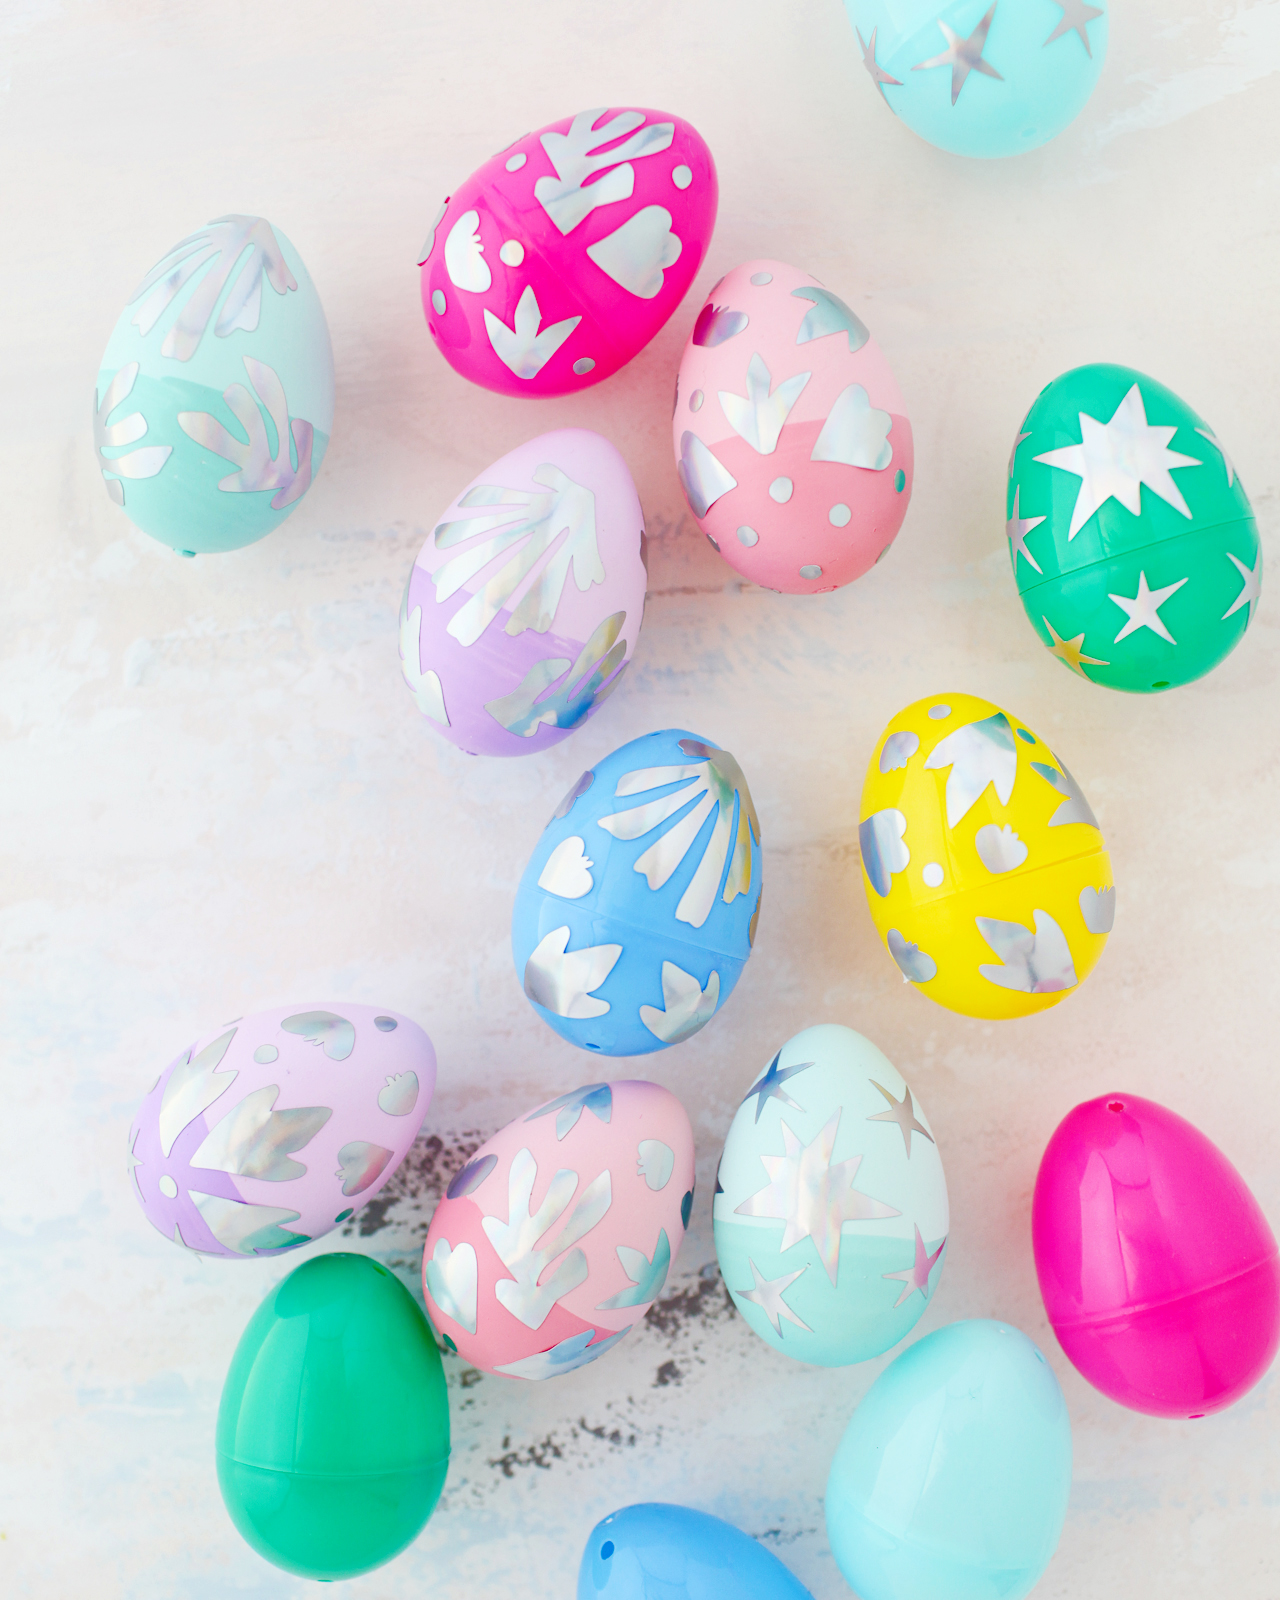
After doing temporary tattoos, marbling, nail polish, and glitter – this was my first time using craft vinyl to decorate Easter eggs! But after making these colorful Matisse-inspired pumpkins for Halloween, I knew I wanted to give it a try! This time, I let the plastic eggs bring in all the color and chose a “neutral” silver hologram vinyl to make the shapes. If hologram vinyl isn’t your thing, these eggs would be super cute with a regular metallic vinyl or a mix of colorful vinyl. The more color, the better!
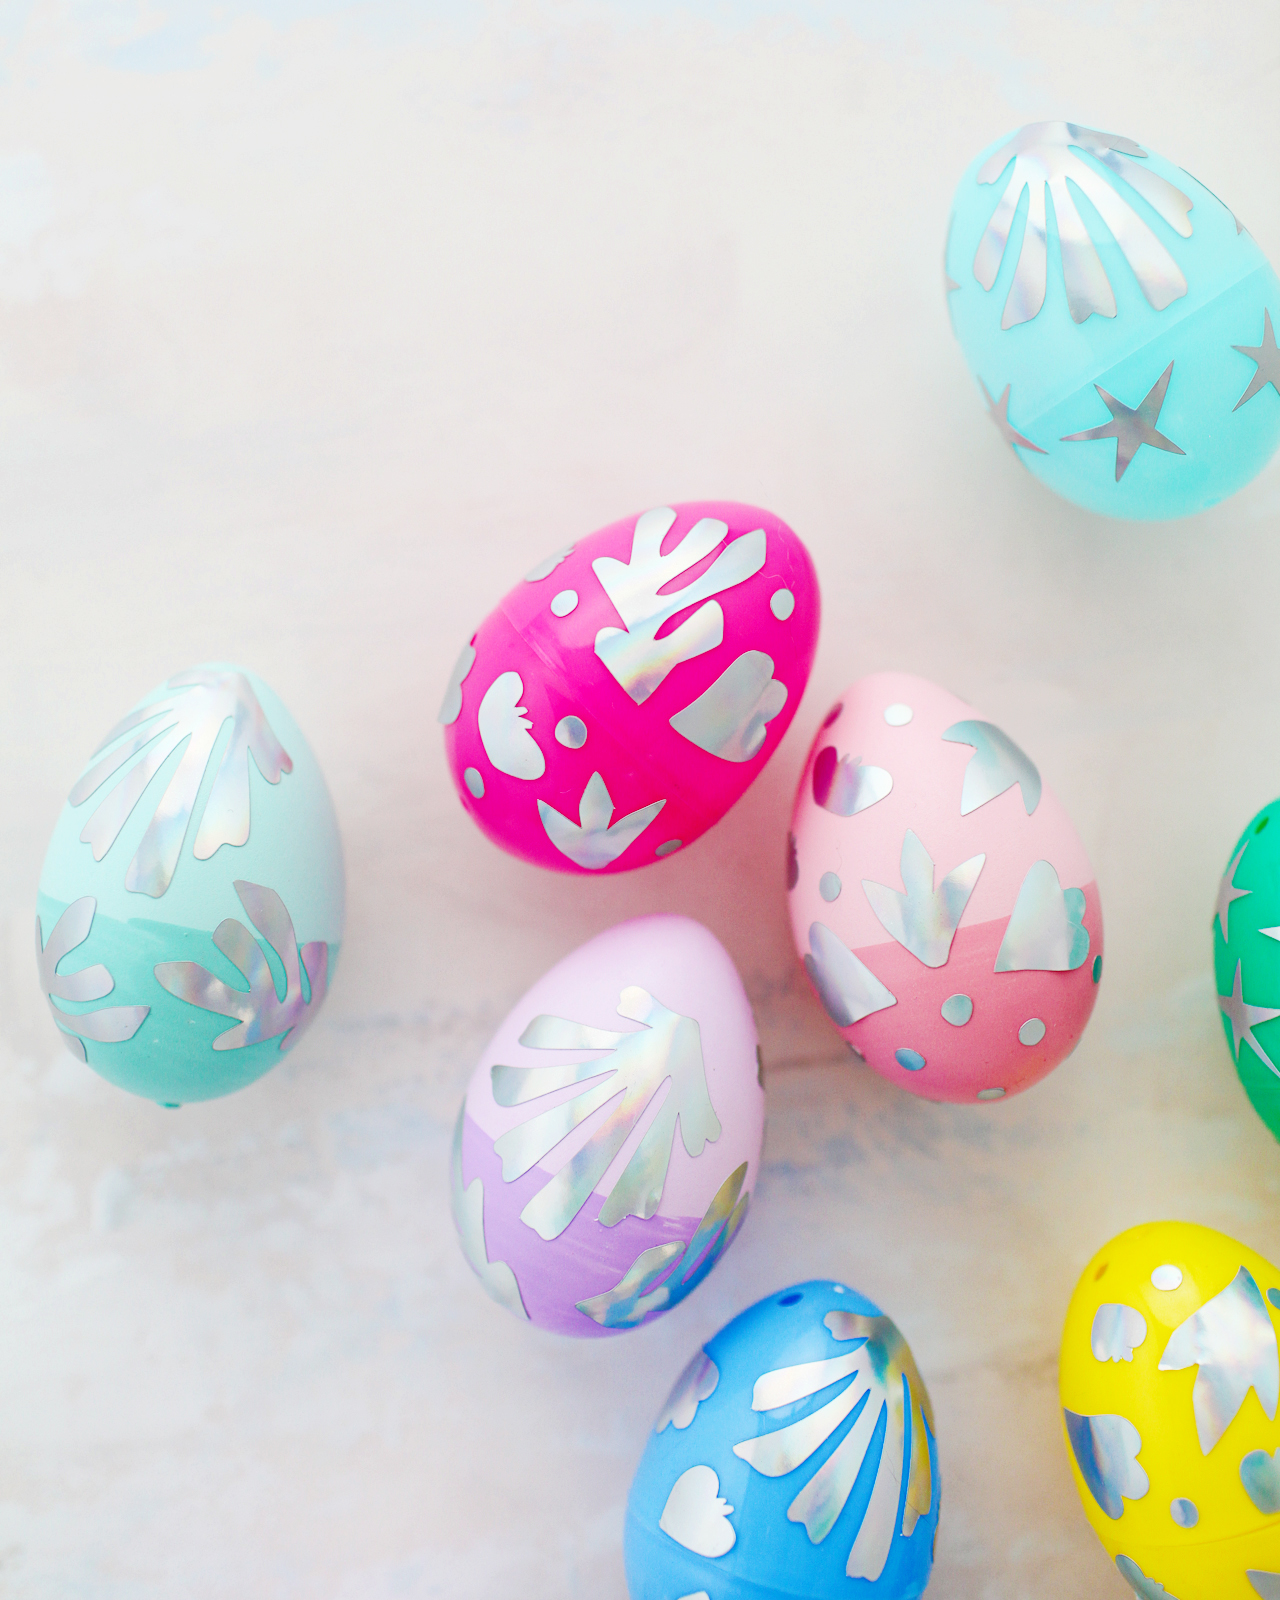
My kids LOVE this kind of plastic Easter egg. And with a fun surprise inside, what’s not to love? I grabbed a few colorful plastic eggs from my local Target and a roll of silver hologram vinyl – and voila! Between the colorful plastic eggs and vinyl shapes, this was so easy and fun! Just pop a little treat inside, apply the vinyl shapes, close it up, and you’re good to go! Are you ready to make some??
Supplies
Plastic Easter eggs in fun colors
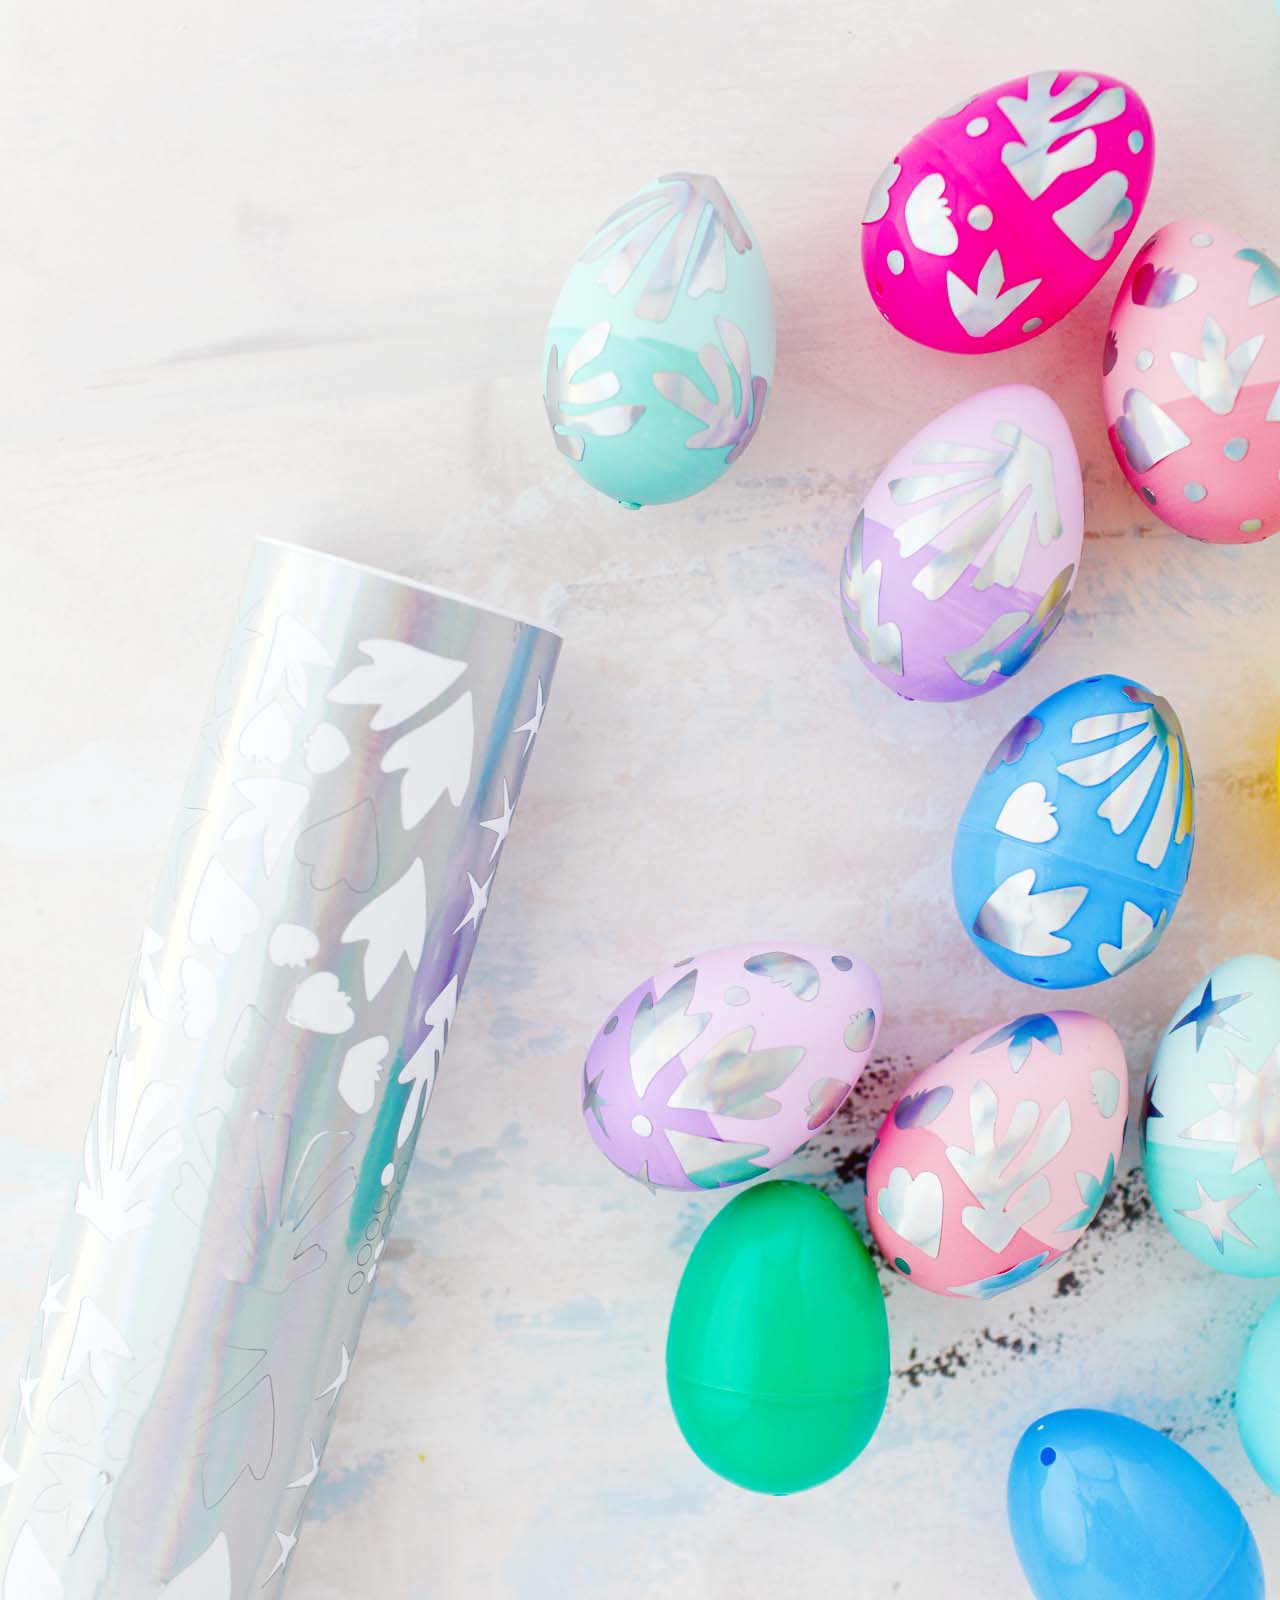
Craft vinyl in your chosen color (I used this hologram foil)
Silhouette Cameo or Cricut Explore cutting machine
Note: If you don’t have a Silhouette or Cricut, you could also paint the Matisse-inspired shapes onto the Easter eggs using acrylic craft paint. I know a couple of you painted the shapes on your pumpkins back in October – so clever!
To make the DIY Matisse-inspired Easter eggs:
Step 1. Download our templates at the bottom of the post, and use your Silhouette Cameo or Cricut to cut the shapes from your vinyl. Each template should cover approximately a dozen Easter eggs.
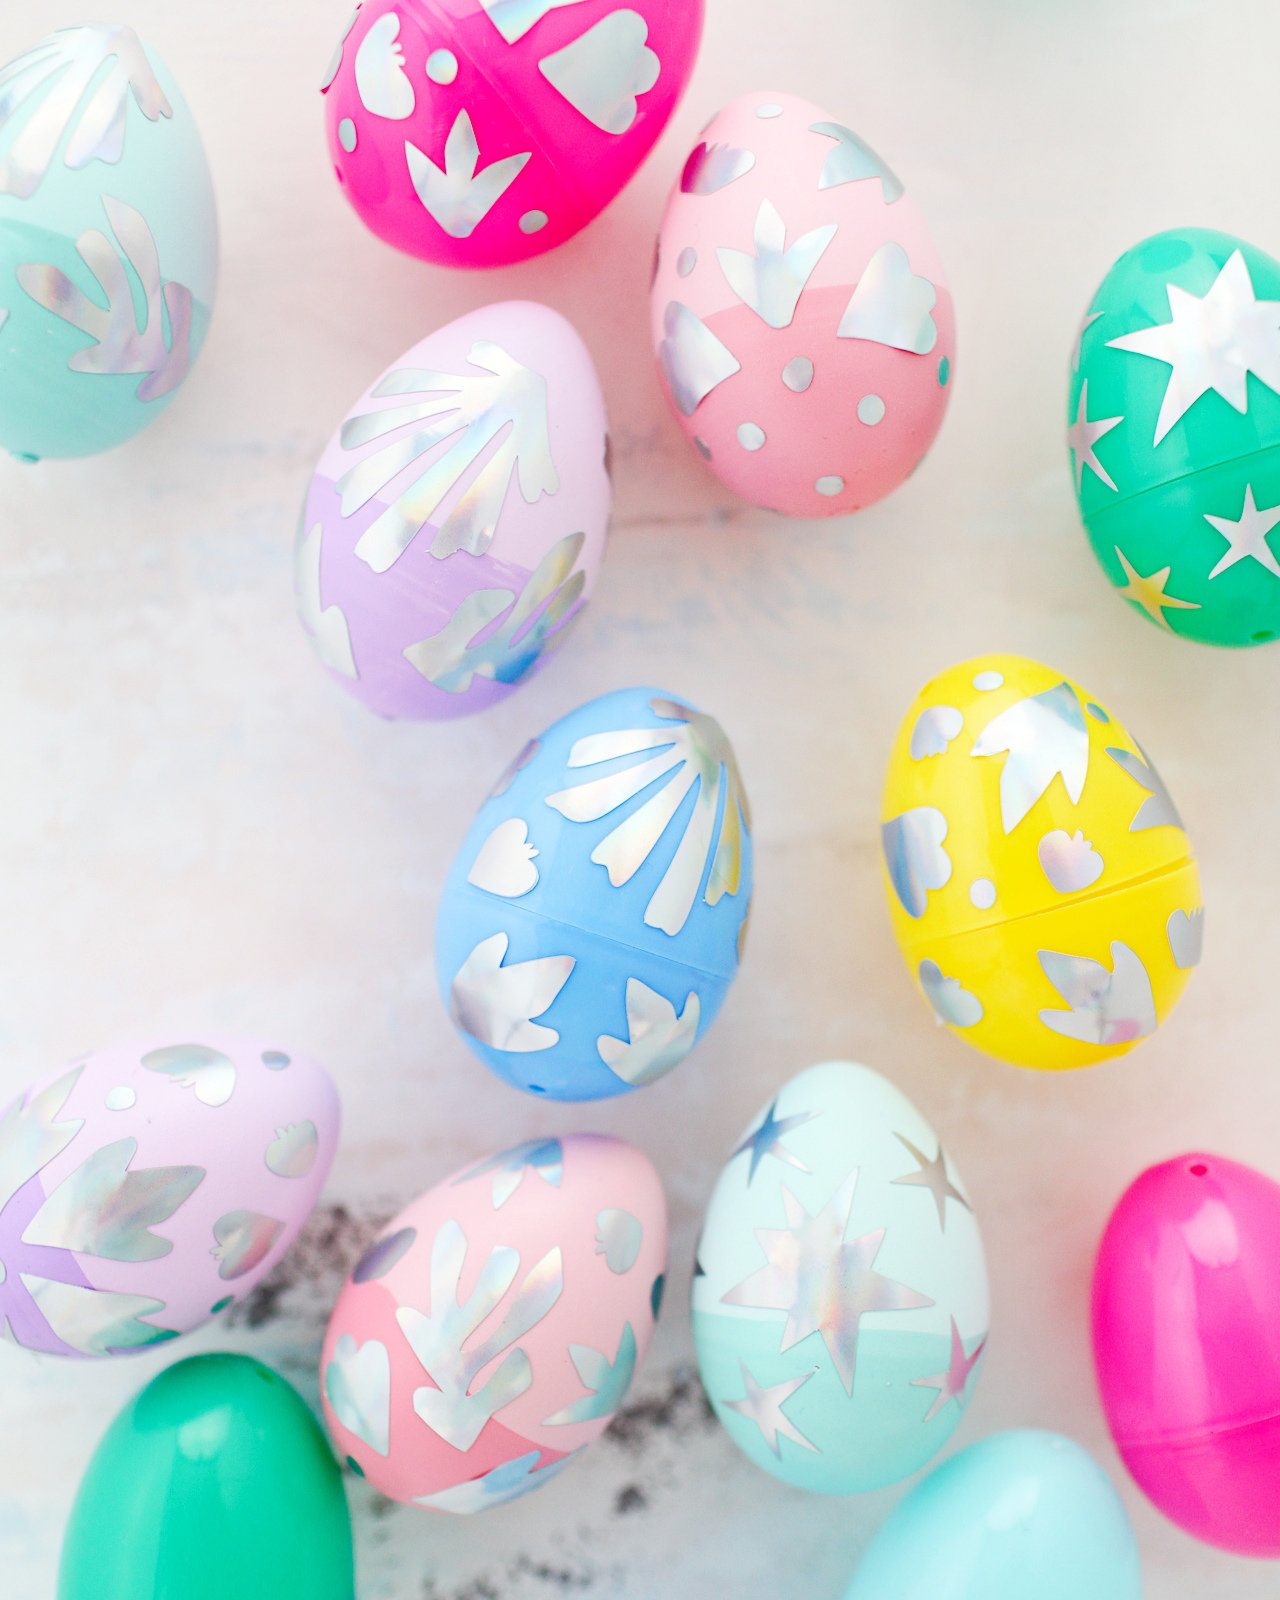
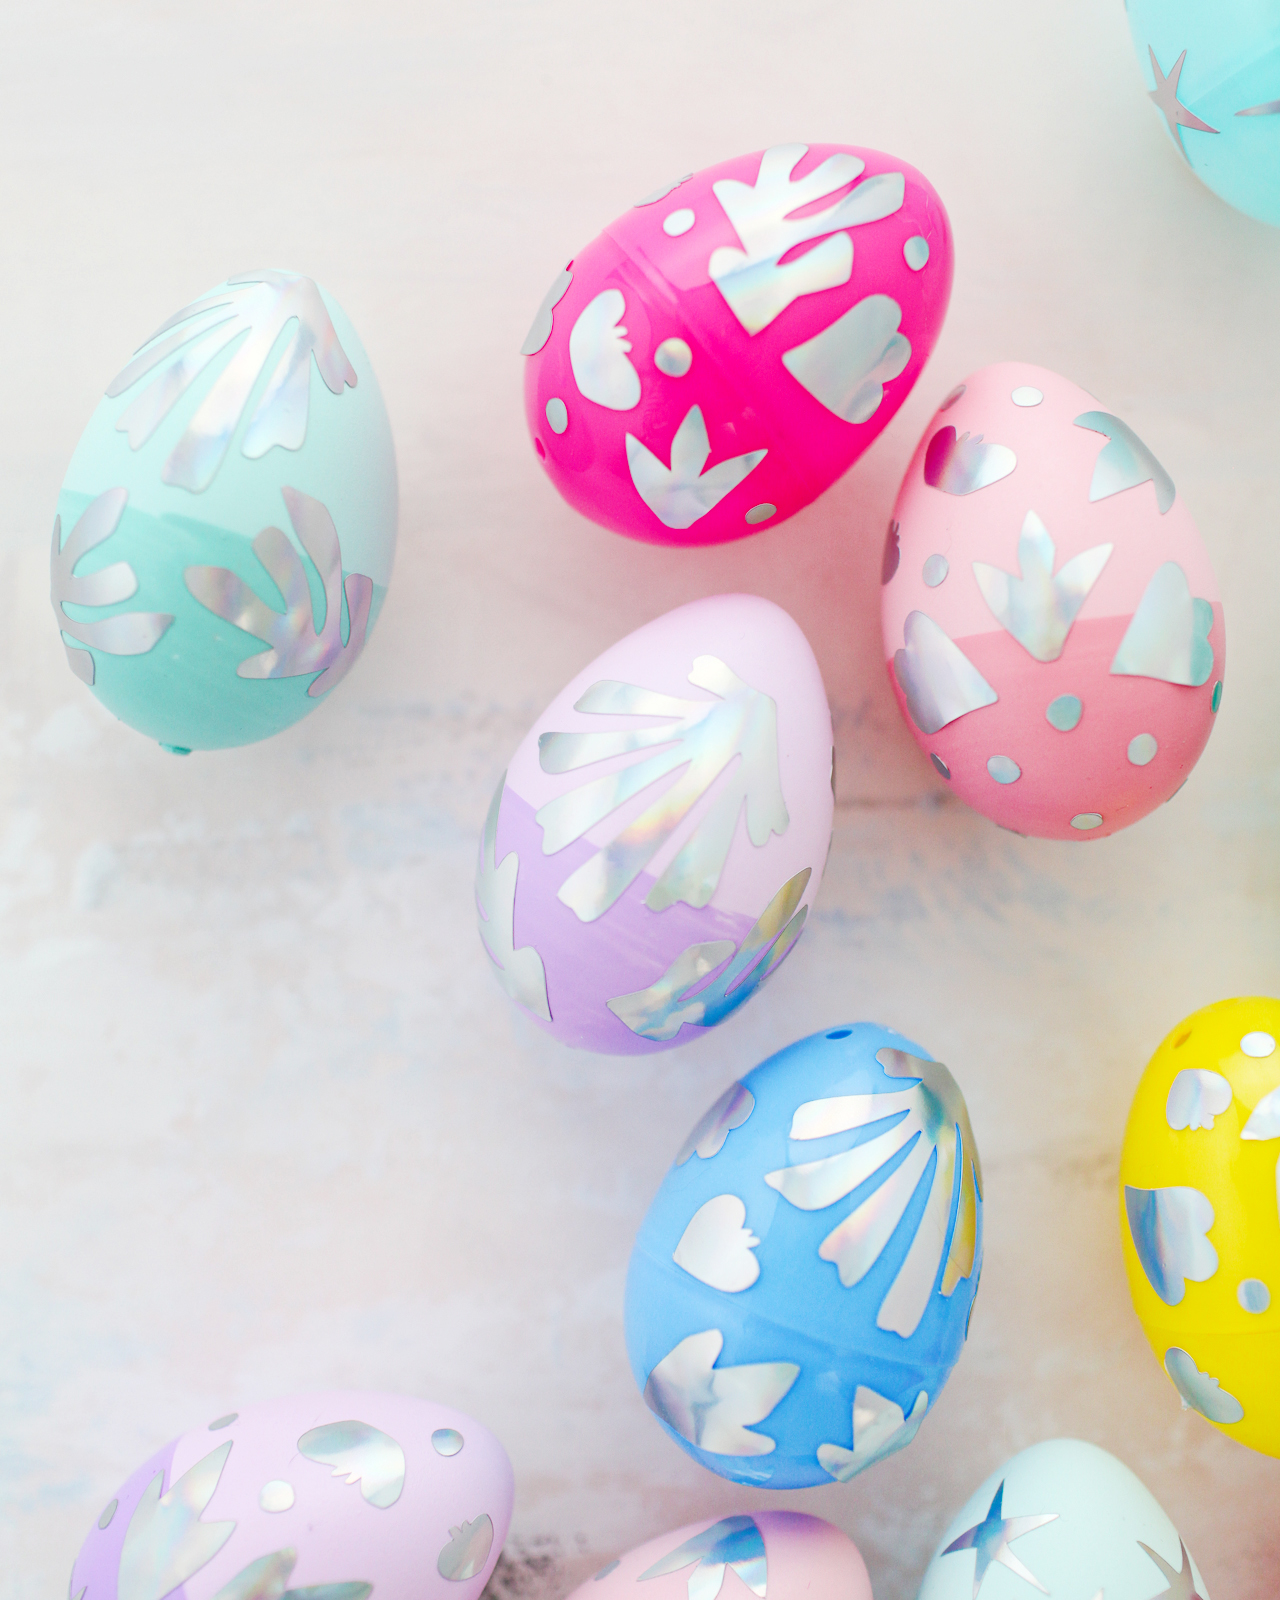
Step 2. Carefully peel individual shapes from the adhesive backing and apply to the faux Easter eggs like a sticker. I found it easiest to start by placing two or three of the larger shapes around the Easter egg, then fill in with the smaller shapes. If you place a shape and then change your mind, you should be able to move it by very carefully peeling the vinyl from the Easter egg and moving it to a new spot.
Step 3. Continue placing vinyl shapes until you’ve covered the entire Easter egg, and enjoy!

So fun, right? If you make these, or any of our other Easter egg projects, please be sure to share a photo on Instagram with the hashtag #madewithosbp so I can see it!
Download the templates below!
MATISSE-INSPIRED EASTER EGG TEMPLATE (Silhouette Studio file)
MATISSE-INSPIRED EASTER EGG TEMPLATE (SVG file)
p.s. DIY Hologram Foil Easter Eggs, DIY Painterly Pink and Gold Easter Eggs, and DIY Illustrated Temporary Tattoo Easter Eggs
Photo Credits: Nole Garey for Oh So Beautiful Paper