We all love to dress up our envelopes with beautiful postage stamps, gorgeous calligraphy, and pretty address labels. But what about cards (and envelopes) delivered in person? I always try to personalize the front of my hand delivered envelopes, whether it’s a simple hand drawn border or a pretty flourish around the recipients’ names. This week I thought I’d share a few of the ways I’m personalizing my hand delivered holiday cards, although you can totally use these ideas year round. These aren’t really tutorials – just a few ideas that I wanted to share. Today we’re starting with my favorite idea: hand painted envelopes!
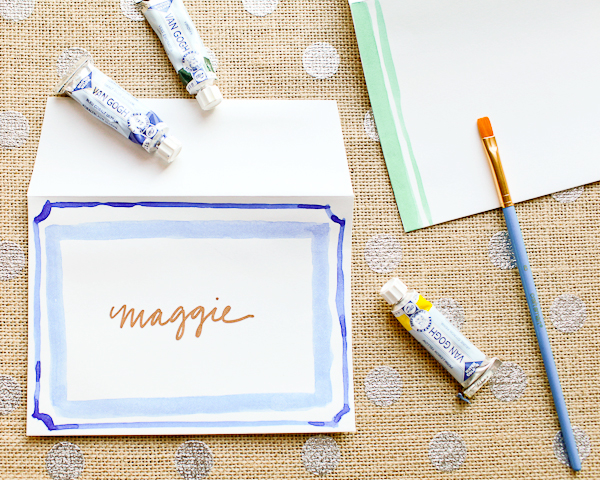
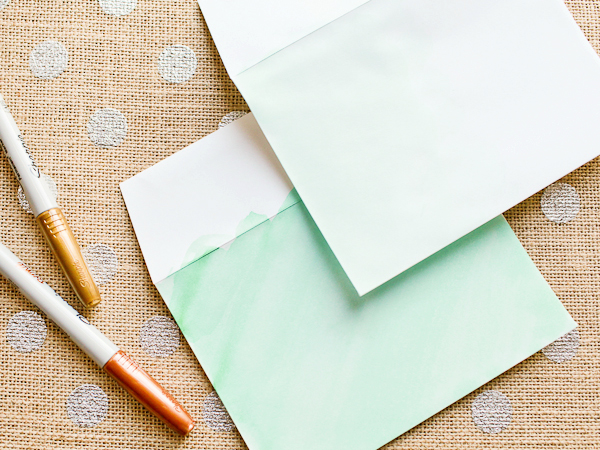
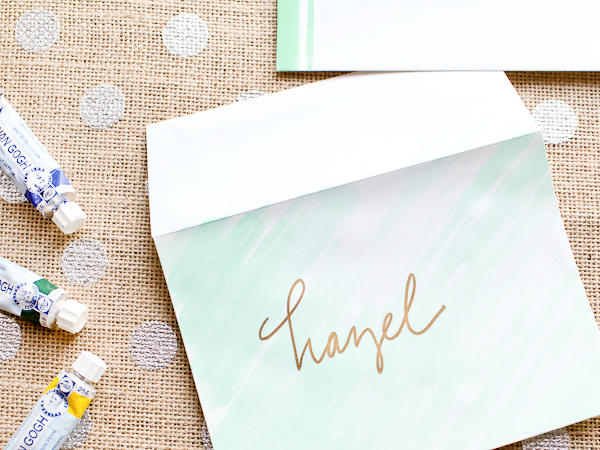
Watercolor paints are one of my favorite ways to dress up light color envelopes – the pattern options are endless! I’m partial to stripes and line borders, but you can also create a watercolor wash by using more water to dilute your chosen color. For this example, I used a deep cobalt blue and emerald green on Mohawk Superfine White envelopes.
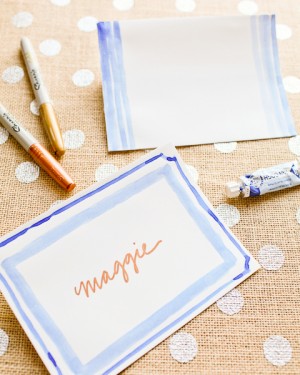
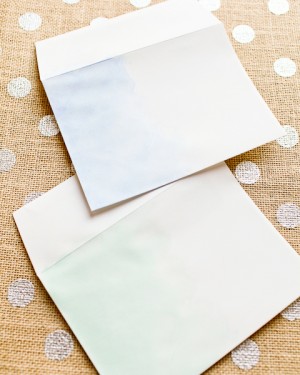
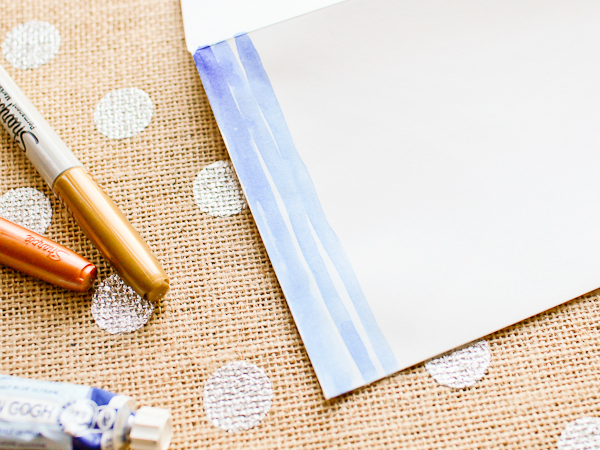
You’ll probably want to play around with colors and patterns on some scrap paper before moving on to your envelopes. Normally, watercolors would be used on super thick paper, so depending on your particular envelopes there will most likely be some warping/wrinkling in the paper. I’m not bothered by this, but just make sure that the envelopes are completely dry before you insert your card or address the finished envelope.
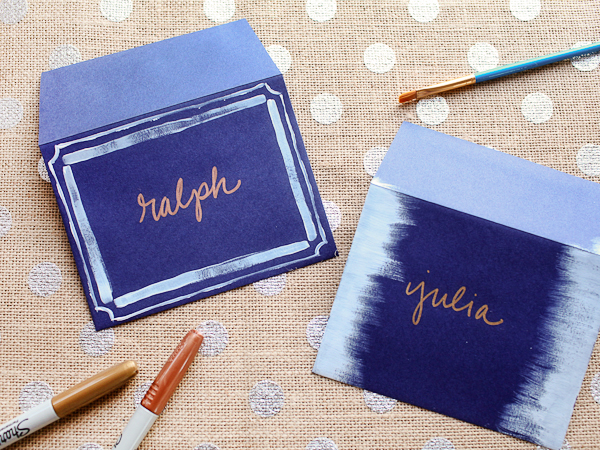
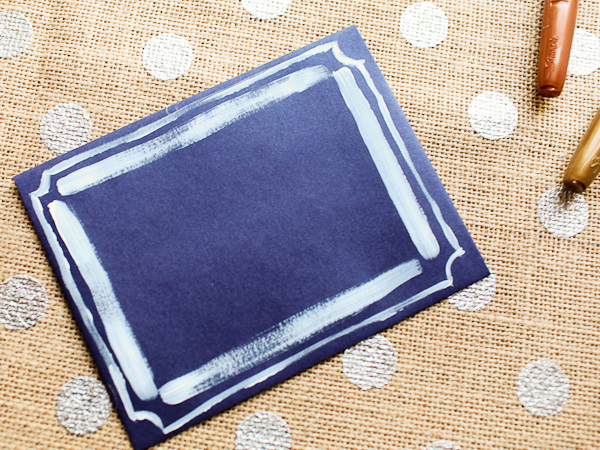
For darker envelopes, I like to use opaque acrylic paint for a fun light-on-dark effect. Here I used white acrylic paint on Mohawk antique vellum envelopes (in Iris) paired with my favorite gold and copper metallic Sharpie markers.
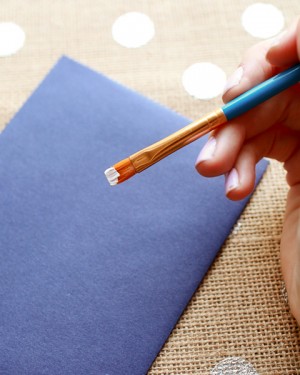
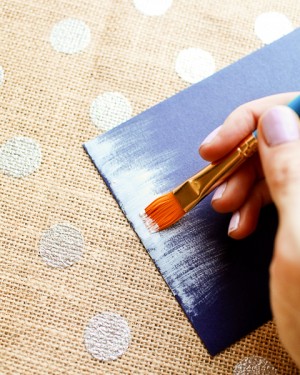
To create a dry brush effect along the edge, simply start out with a small amount of paint on the edge of your brush. Too much paint, and you’ll loose the feathery texture. Starting at the top left corner of your envelope, paint a horizontal stroke – moving in a single motion until your brush runs out of paint. Repeat down each side of the envelope. Let dry, then write the name of your recipient on the envelope!
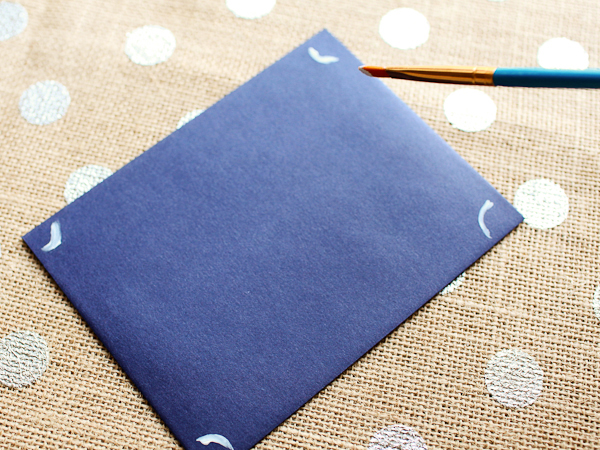
For the border effect, I like to start with the small curves in each corner to serve as guides. Then draw lines to connect the ends of each curve. I used the flat edge of my brush for the outer frame to achieve a thinner line, then switched to the broad edge of the brush for a thicker inner frame. Don’t worry about painting perfectly straight lines – any wobbly lines or changes in texture will only add to the hand painted charm. Let dry, then write in the name of your recipient – and done!
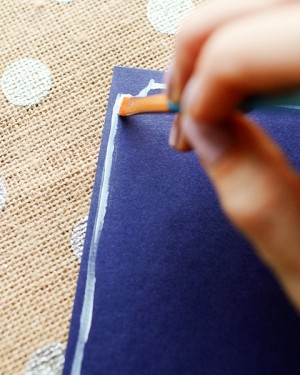
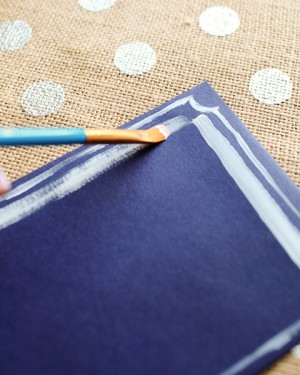
I’ll be back with a couple more ideas later in the week!
Photo Credits: Nole Garey for Oh So Beautiful Paper
